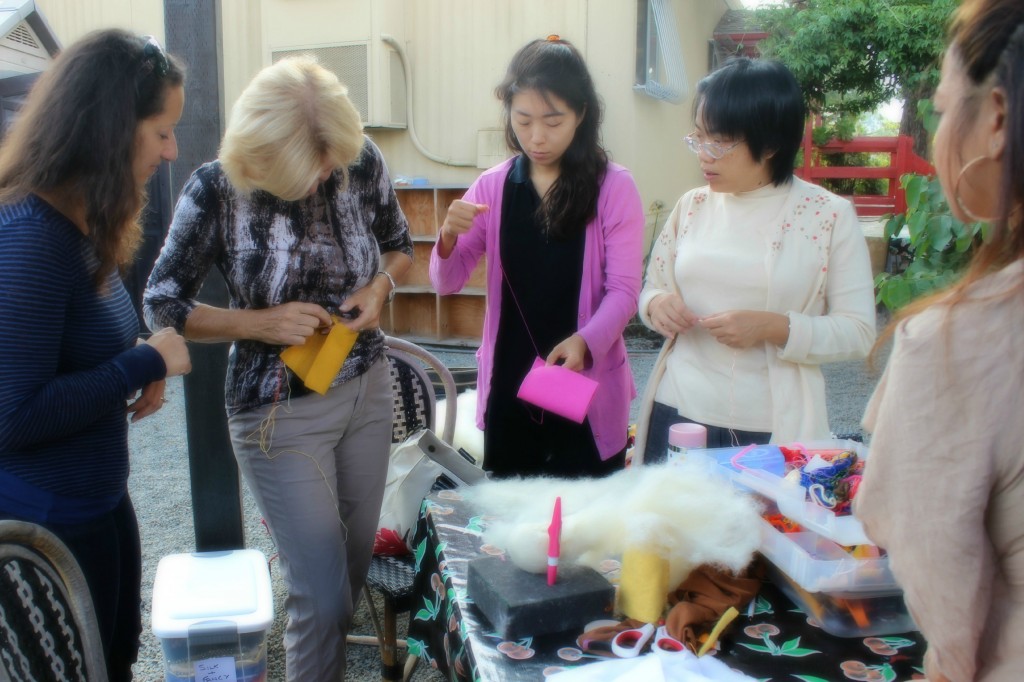
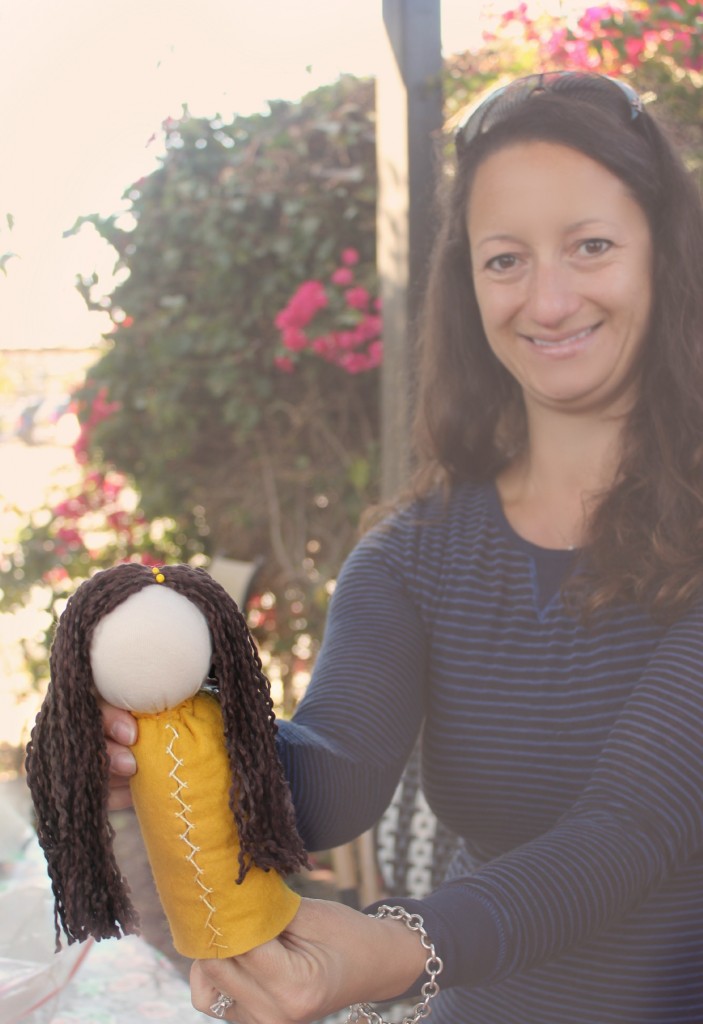
Christine demonstrating the herringbone stitch.
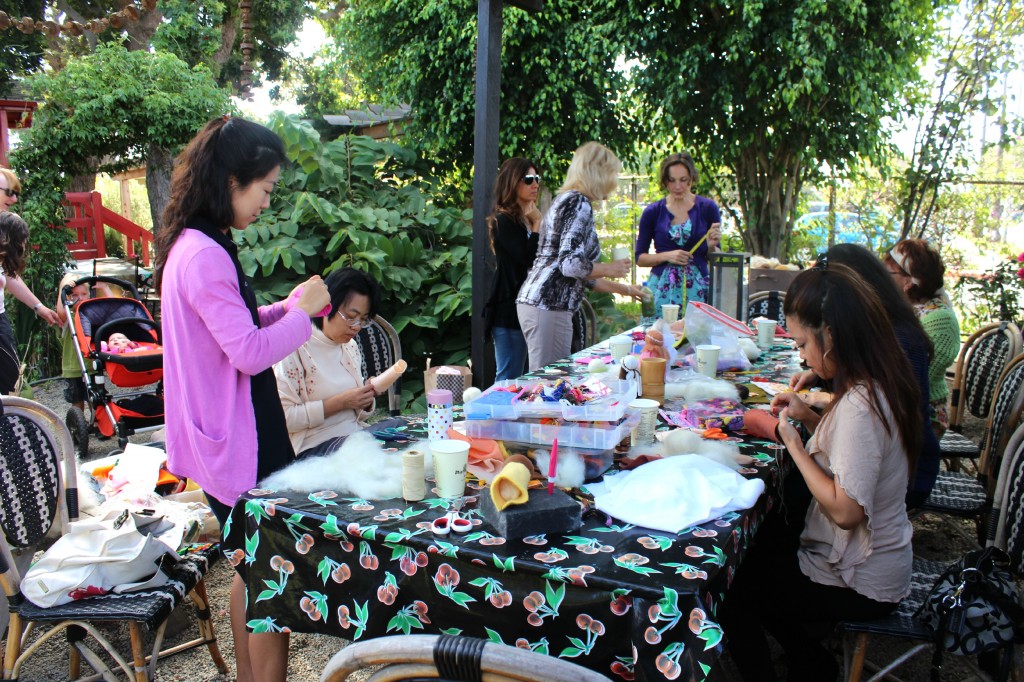
Tuesday morning, October 1, 2013. Today, our craft group gathered in the gazebo outside of The Company of Angels school store to make table top puppet dolls. Thank you Rachel Skelly and Christine Newell for organizing our Waldorf School of Orange County weekly craft group get togethers! – Jzin
For a $10 fee, Christine Newell showed us how to make Waldorf-style table top puppets. We had access to plenty of fun crafting materials such as felt (puppet doll body), chiffon (capes), ribbons, rovings (stuffing the head), specialty yarns (puppet hair), wooden discs (doll base), colorful embroidery floss and so on.
Christine brought in her two table top puppet dolls as examples.
Selecting Colorful Fabrics for Skin, Body and Cape
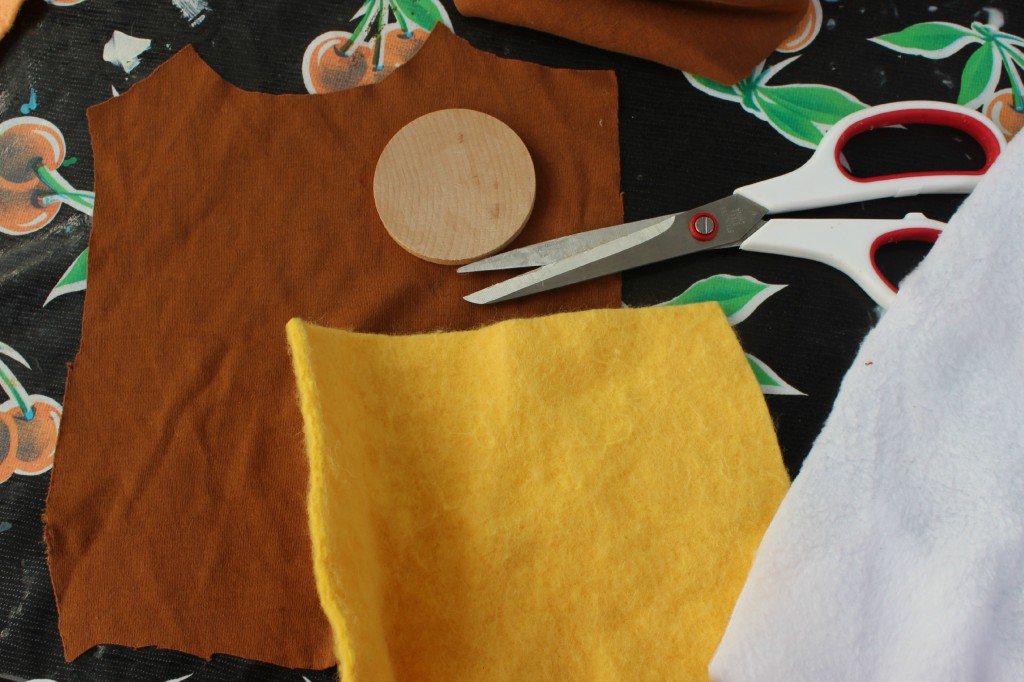
We started by choosing fabrics for our puppet’s skins, bodies and capes. I chose 100% dark brown cotton for the head of my African boy puppet. For the “body”, I picked a hand-dyed felt of warm yellow. I used a soft piece of golden silk for his “cape” (not shown here).
Christine provided us with wooden discs (shown in the picture above, to stabilize our table top puppets, so they do not topple). These wooden discs were 7″ in perimeter. Based on this perimeter, we cut colorful felt pieces into 5″x7″ rectangular pieces to form the bodies of our table top puppets.
I chose a very thick piece of felt for my “body” (that yellow one, above). Christine told me that would make my work harder. I realized that later. Not only the extra thick felt would turn out harder to blanket stitch, it was harder to make a running stitch on the neckline to gather the neck into a smaller circumference. If I had used a regular thickness felt, it would have made my sewing and gathering (the neckline) easier.
We cut our “head” skin color cotton fabric to an approximately 10″x10″ square.
As for the cape, we cut out rectangular pieces of fabric, such as chiffon, silk or some other fun novelty fabrics.
Sewing Puppet Body into a Cylinder
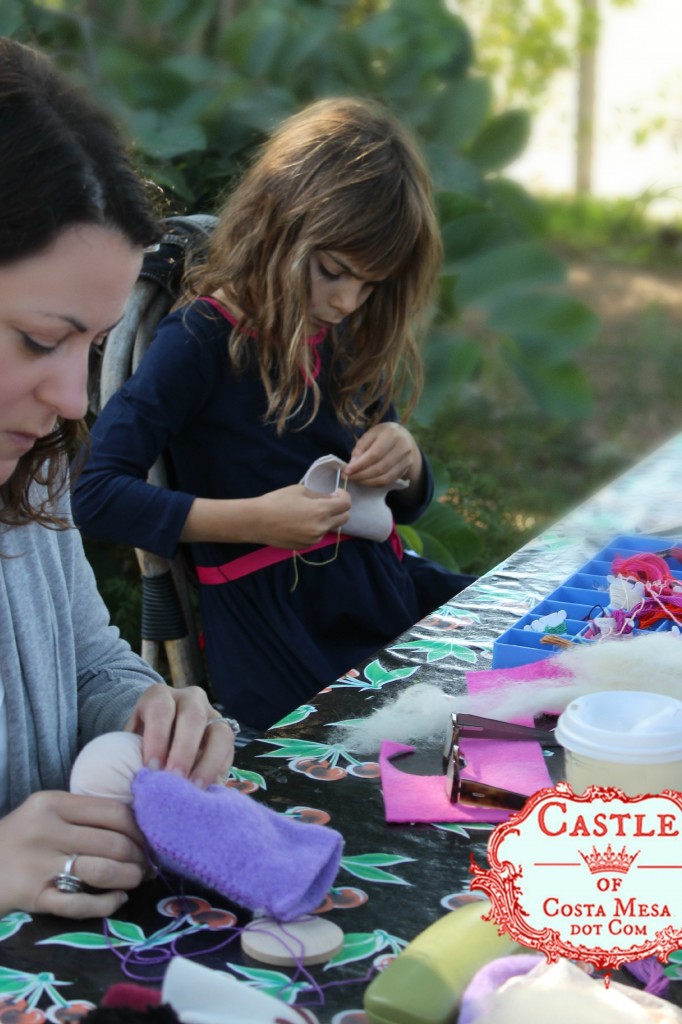
After cutting out the 5″x7″ rectangular “body” piece in felt, we used a wider eyed needle and colorful embroidery floss to sew up the body into a cylinder. I used a blanket stitch, and decided to hide the sewing in the back side of my doll. Yasmine used a herringbone stitch and displayed her needle-work in the front side of her doll.
Remember to cut your fabric a little longer than 7″ if you are going to use the decorative herring bone stitch.
Anička sewing up her rectangular piece of beige colored “body” felt using a blanket stitch.
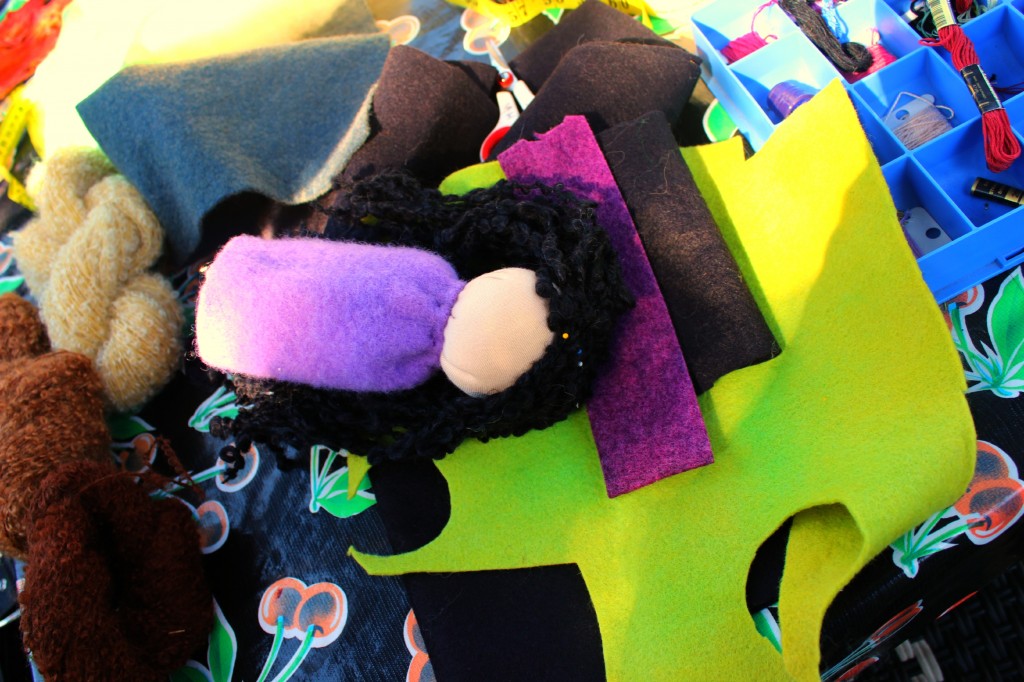
Heather’s lavender “body” all stitched up with blanket stitch. She is stuffing the head of the doll into the resulting cylinder shaped body.
Sheryll sewed up her puppet’s body with a herringbone stitch. The decorative stitches were meant for displaying in the front side of the doll.
Herringbone Stitch by needleandthread.com on youtube:
Blanket stitch tutorial by GulfCoastCottage on youtube:
Gallery of Past Projects from The Waldorf School of Orange County Craft Group
Making Doll Head with Roving and “Skin Fabric”
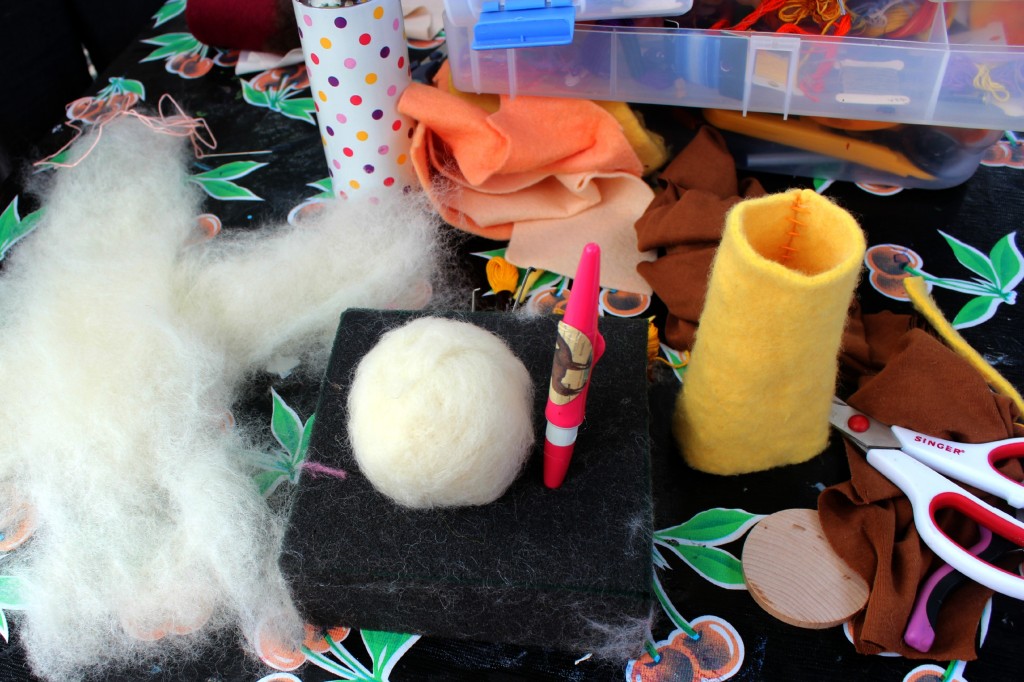
Left to right: 2 pieces of white batting, crossing to form an “X” shape. My “head” batting on my needle-felting foam board. Next to it is my golden yellow puppet body.
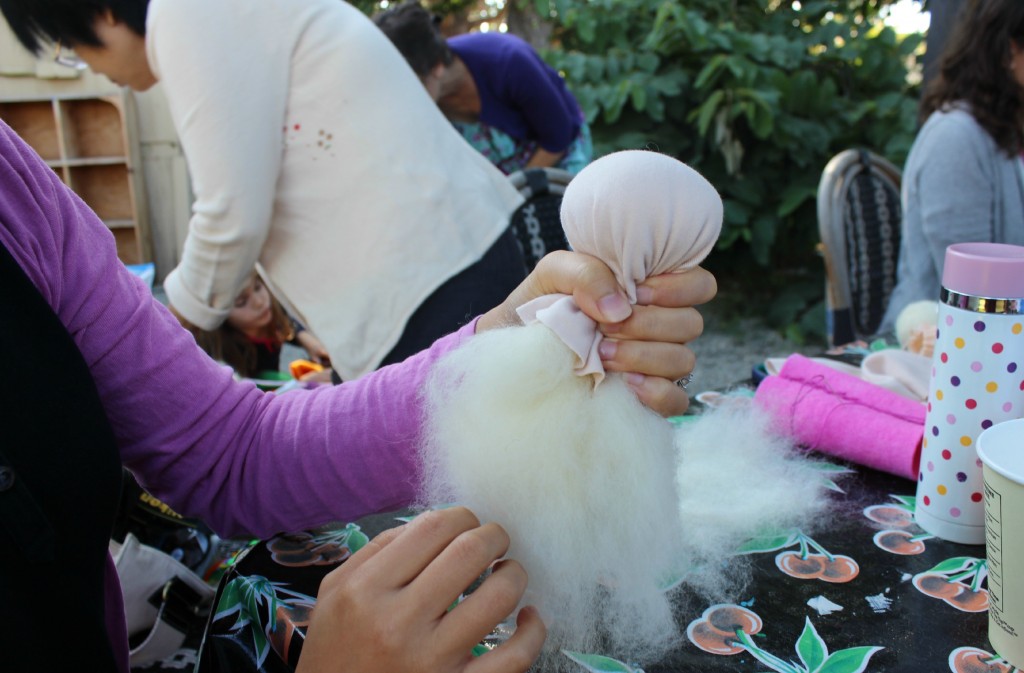
Placing the above “ball” into the center of the X shaped roving pieces (top, left), I wrapped up the ball of batting with my 10″x10″ piece of “head” fabric, allowing excess batting to dangle.
Here is Gloria’s puppet “head” in 10″x10″ “skin” fabric and dangling wool batting. The dangling wool roving allows the head to be more solidly anchored to the body.
Head and dangling roving of my little Nubian Prince puppet:
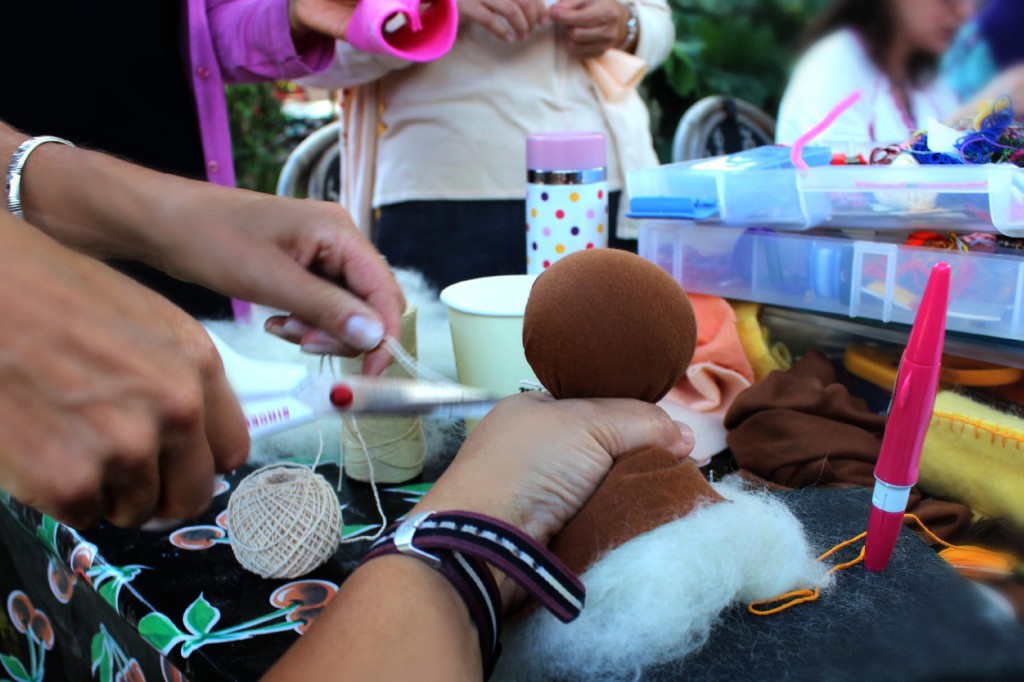
Christine helped me tie up my “head” by going around twice with a piece of twine and tying a knot.
I had to choose a side of the head to designate as the “face”. I proceeded to tug at the fabric and remove wrinkles on the “face” side of the head. The idea is to pull the “face” side of the head to be as wrinkle-free as I can.
Gathering the Neckline with a Running Stitch
After sewing up the body we continued by sewing a running stitched for the puppet neckline. Pulling the running stitch, we gathered the neck up.
Here is my simple little Nubian Prince, a running stitch on the neckline. I had to use my little pair of pliers to pull my stitches through since I chose a to use the thickest piece of yellow felt for the body. Mental note: Next time I shall use felt of a normal thickness.
When the neckline is satisfactory, we anchored the head to the body by sewing them together.
Yasmine’s puppet with neckline nicely gathered. Notice a nice, smooth face.
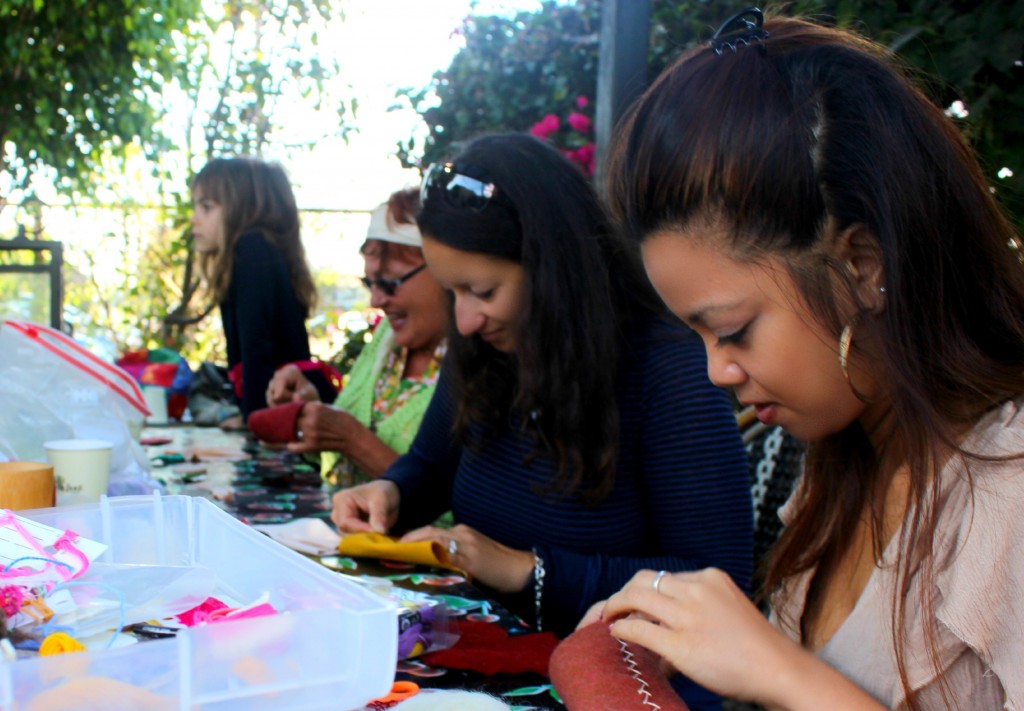
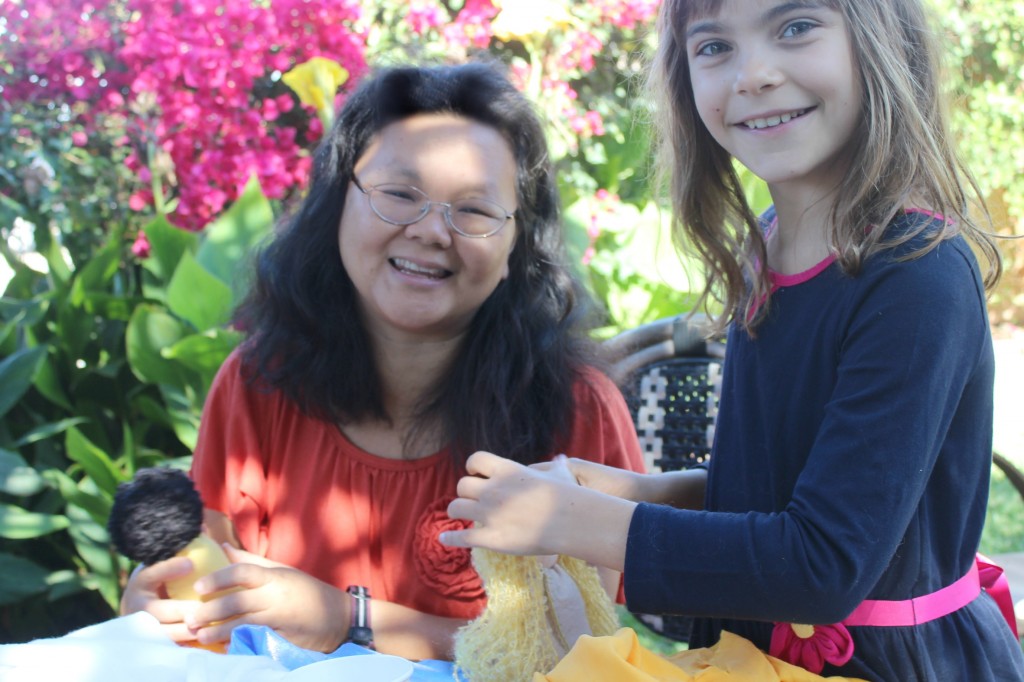
Happy times crafting in the garden.
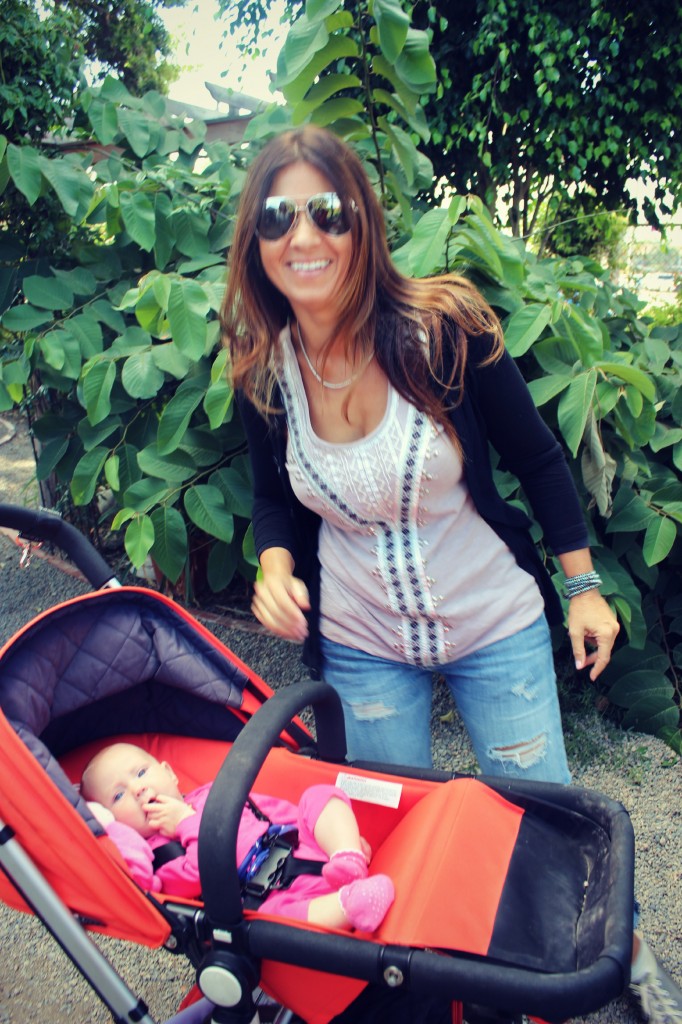
Visitors to our garden. Hello! Hello! Beautiful people.
Hello gorgeous baby Ruby!
Sewing A Removable Cape
We had the option of sewing a piece of cape onto the puppet. However, most of decided to make detachable capes.
We start with our rectangular piece of silk or chiffon fabric. We sewed running stitched on the necklines to make a cape for our puppets. We added a ribbon if we wanted the cape to be removable and changeable for added play.
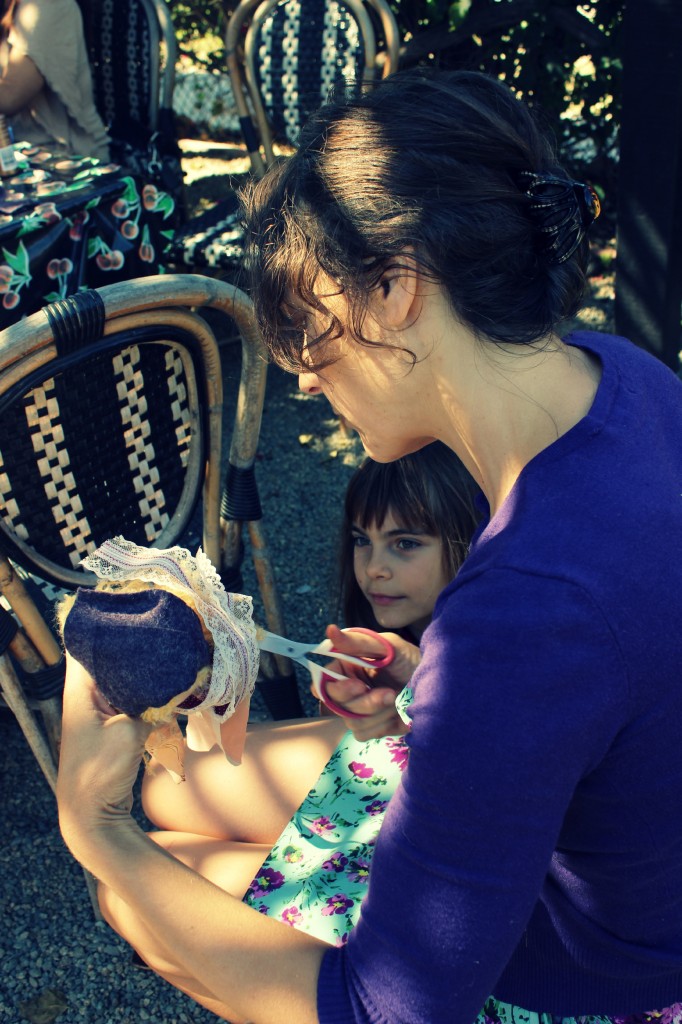
Trimming the hem of the cape yielded a rounded cape. Alena trimming the bottom of the cape into a rounded edge.
Sewing the Hair
Christine provided us with many exciting yarns to choose from to make the hair for our puppets. The hair is sewn in last so that the long hair will not get in the way during the sewing process.
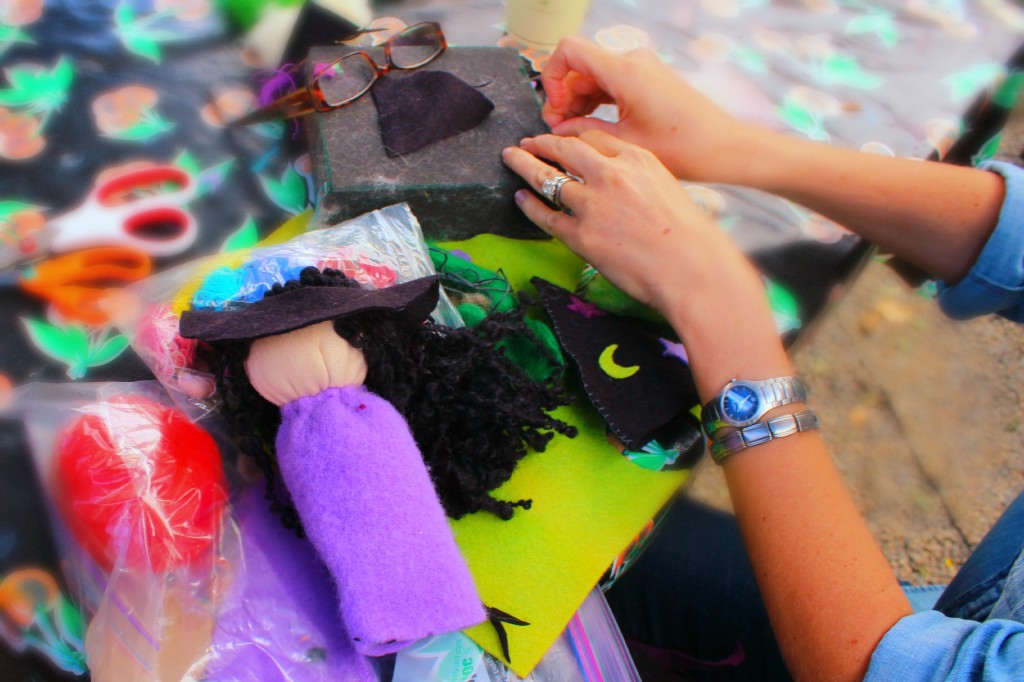
Heather’s witch table top puppet. She is making a witch. Mind you, not a diabolical conspirator of the Devil, but a practitioner of occult intangible arts feared by those unfamiliar with the nature of its powers, um, and also the gender of its practitioner.
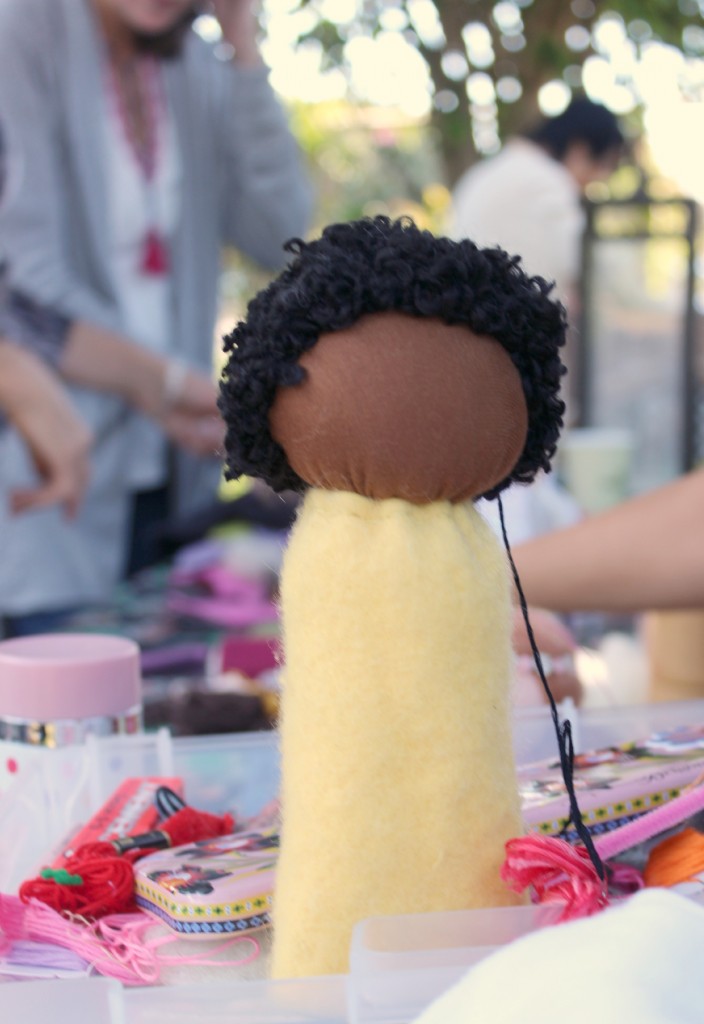
I had planned to glue on the black hair onto my table top puppet. In a jiffy, Christine crocheting my black yarn into a hair cap! using black thread, I sewed that hair cap onto my puppet.
Anička attempting to needle felt mohair boucle yarn hair onto her doll’s head. I have not tried that and wonder if the wool roving underneath the head fabric will felt enough to stably hold the hair.
Embellishing the Doll…
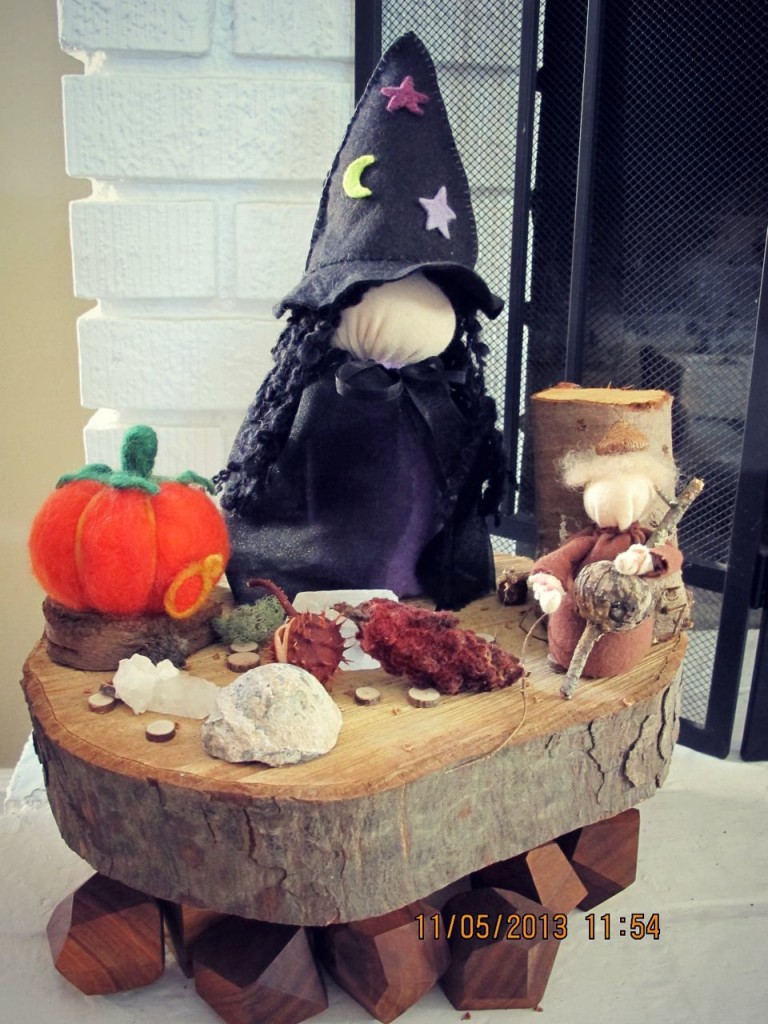
October 7, 2013. Heather decided to needle-felt stars and moon the the witch’s pointy cape.
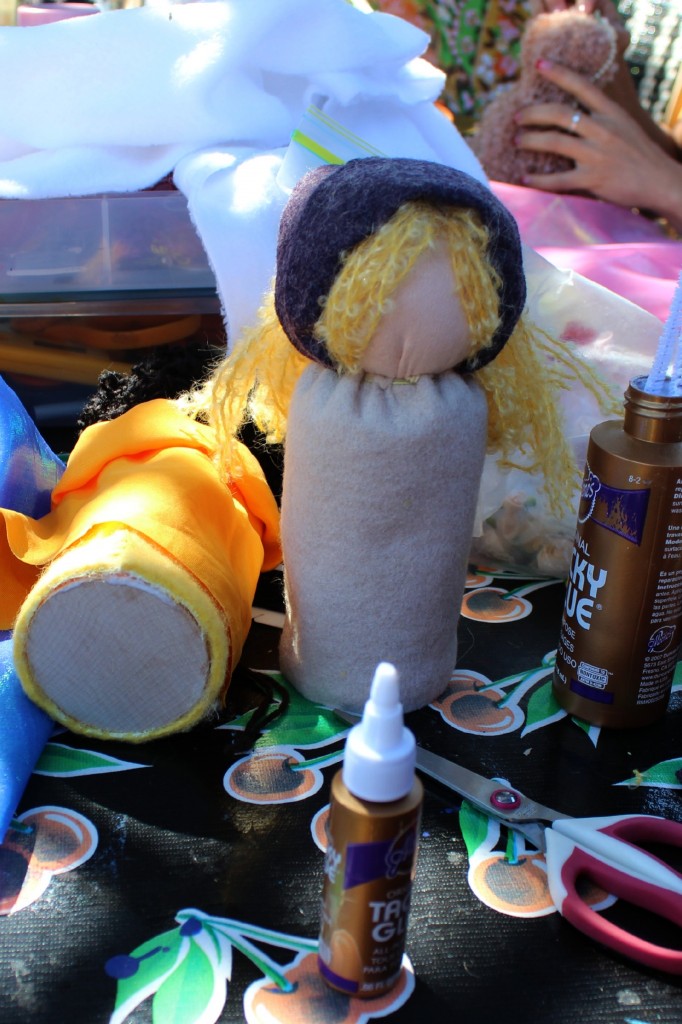
Lastly, glue on a wooden disc as a base to stabilize the table top puppet doll.
My doll lying down on the left, next to Anička’s doll on the right. Alena has decided to add a Czech style scarf for her hair.
I applied Aleene’s tacky glue inside the hem of the “body” fabric and carefully inserted the wooden disc, then let the puppet rest and dry.
Voila! Our Handmade Table Top Puppets Made This Morning
Yasmine’s Renaissance Princess, in front of the Company of Angels school store.
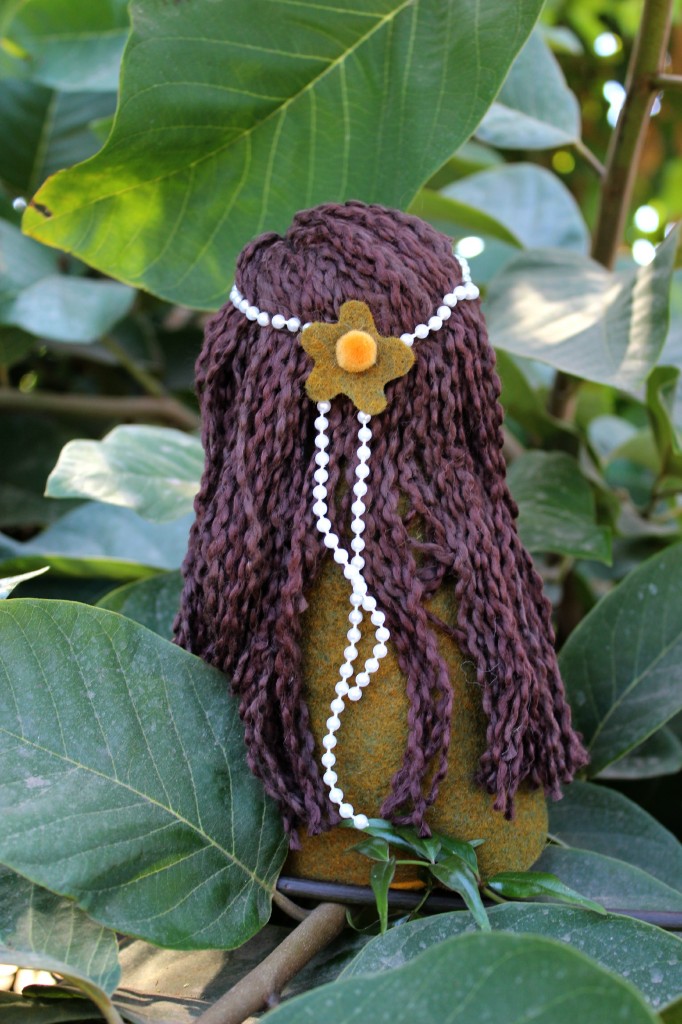
Yasmine’s Renaissance Princess, back view.
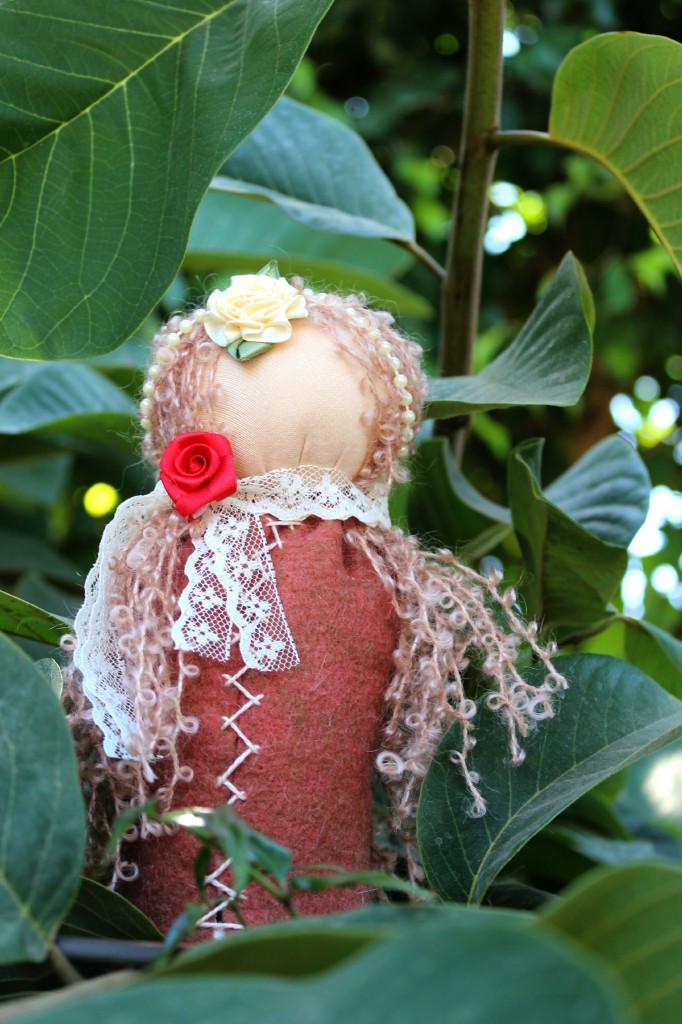
Sheryll’s table top puppet princess doll.
Anička with her new table top puppet, freshly made this morning!
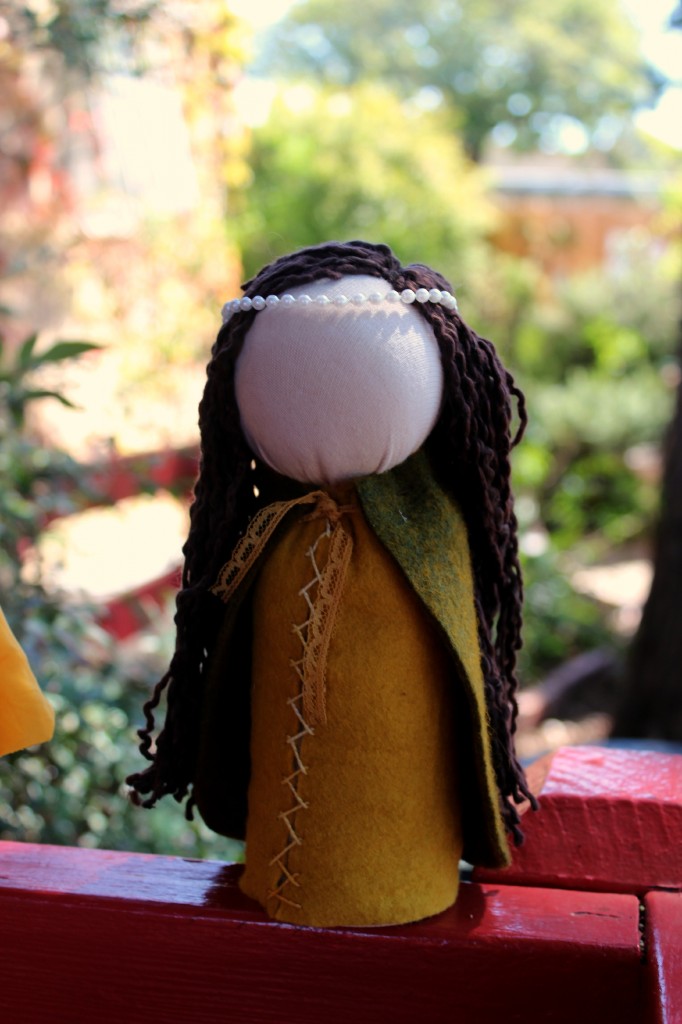
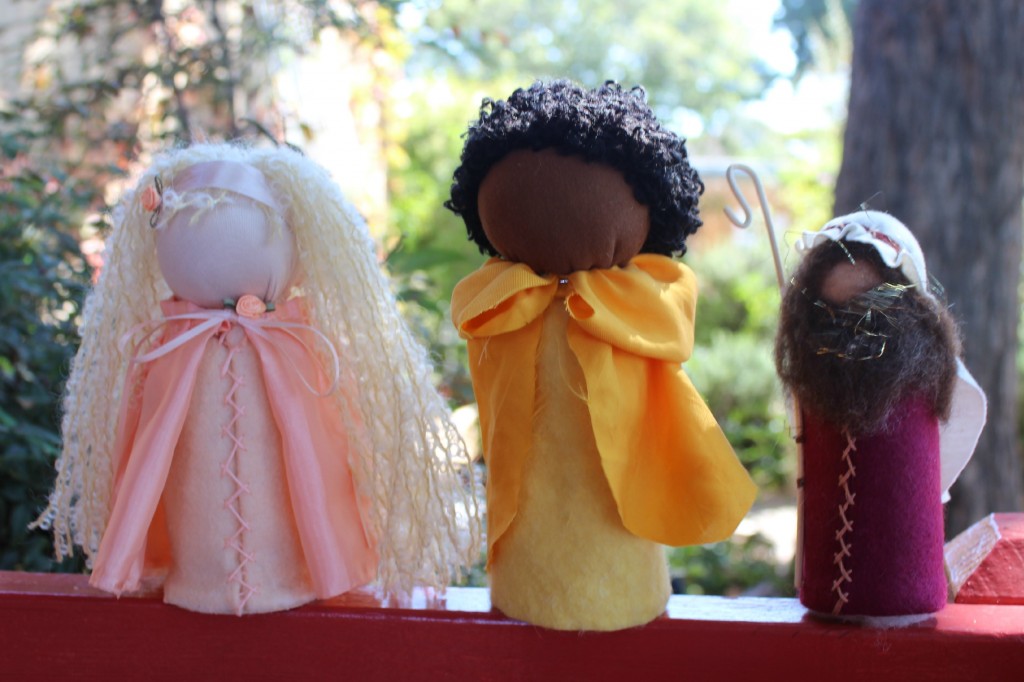
Josephine’s fair maiden in peach (for her daughter), my Nubian Prince and Christine’s Moses.
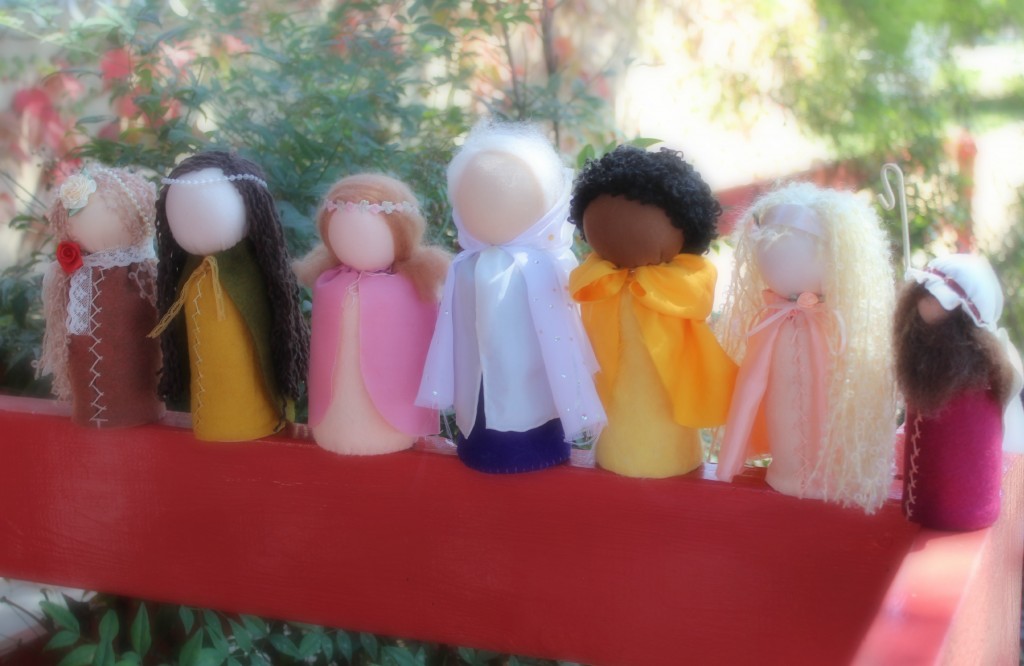
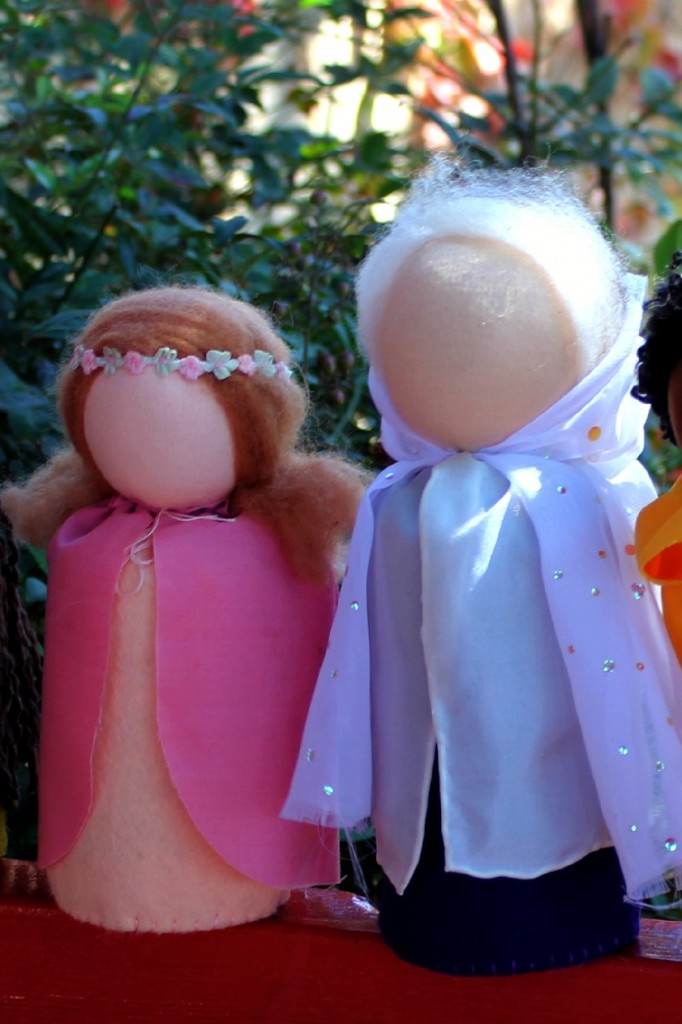
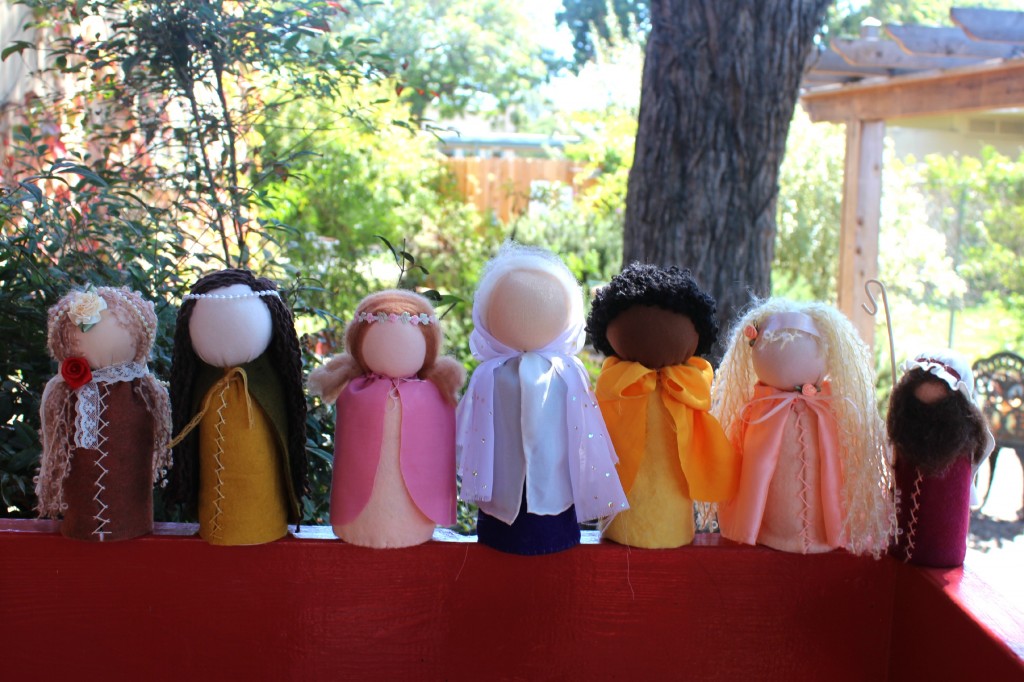
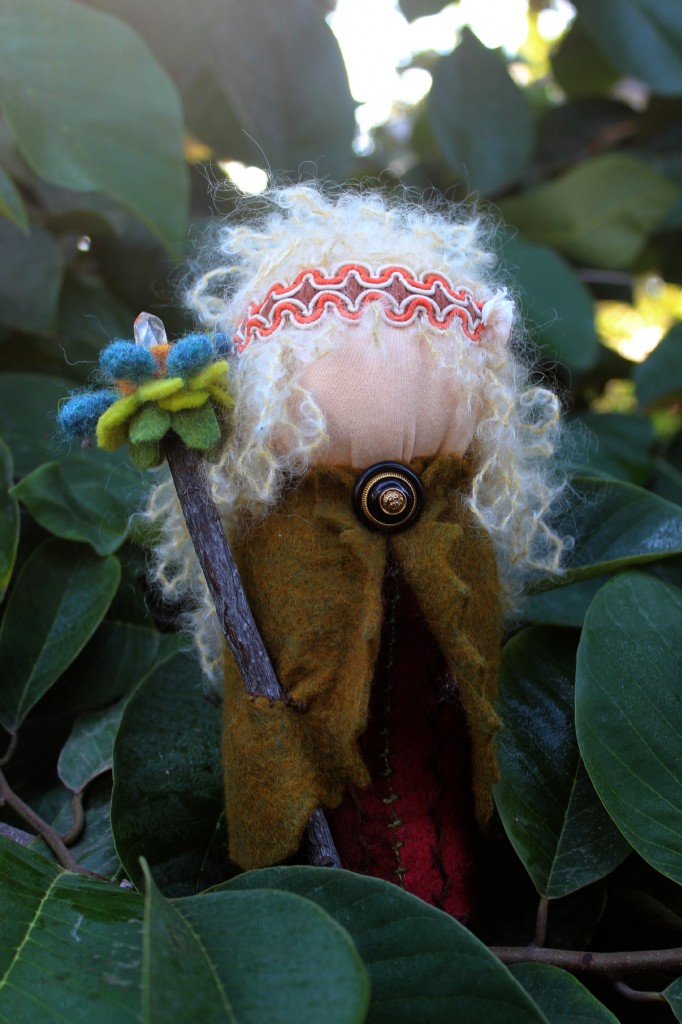
Left to right: Sheryll’s princess, Yasmine’s Renaissance maiden, Christine’s sweet springtime girl, Christine’s archetypal old woman, Jzin’s African boy, Josephine’s fair damsel for her daughter, Christine’s shepherd with staff for a nativity scene.
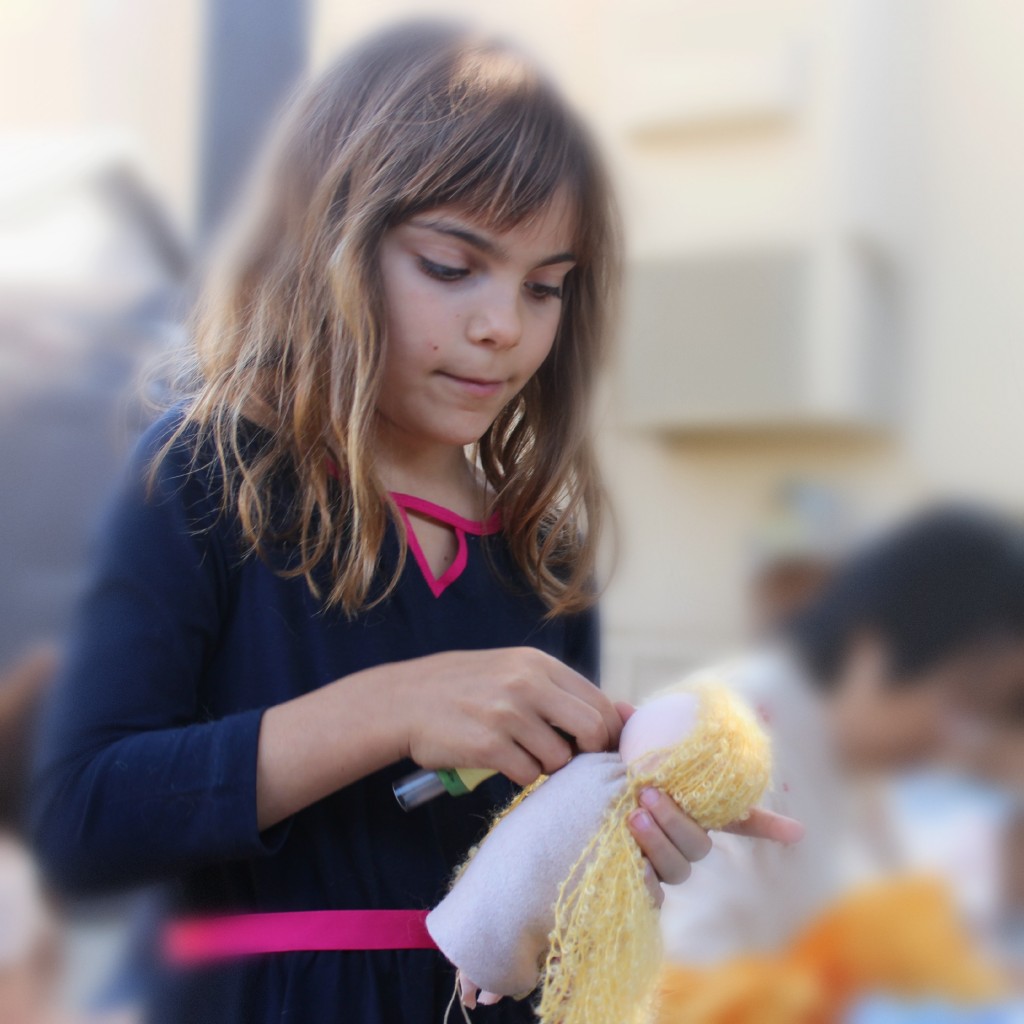
In the middle of the line up: Gisela’s little blonde girl with scruffy hair.
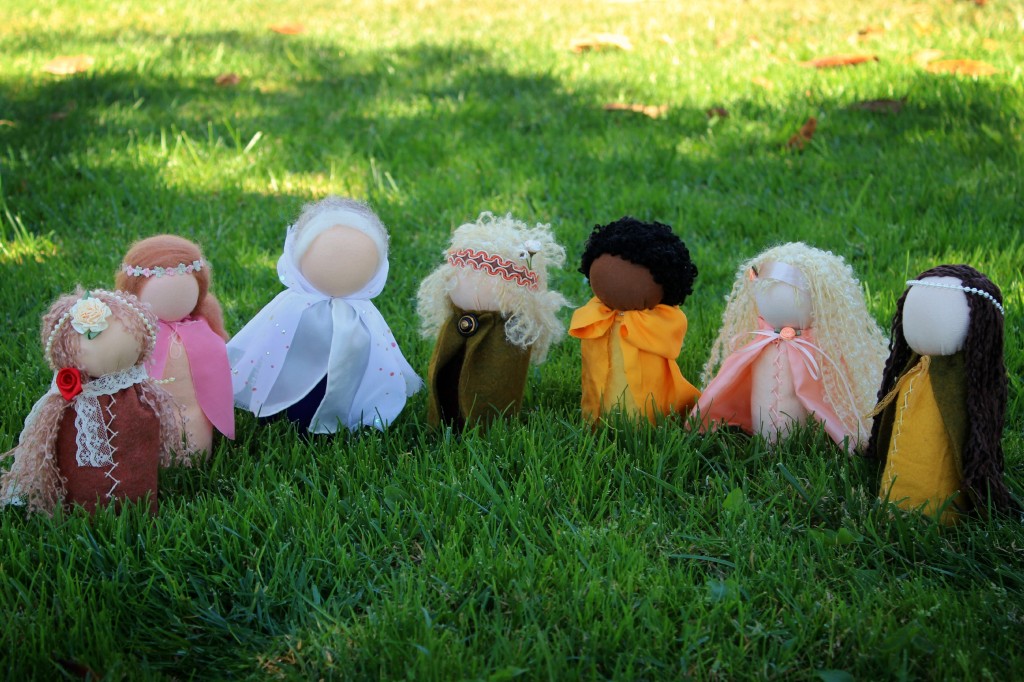
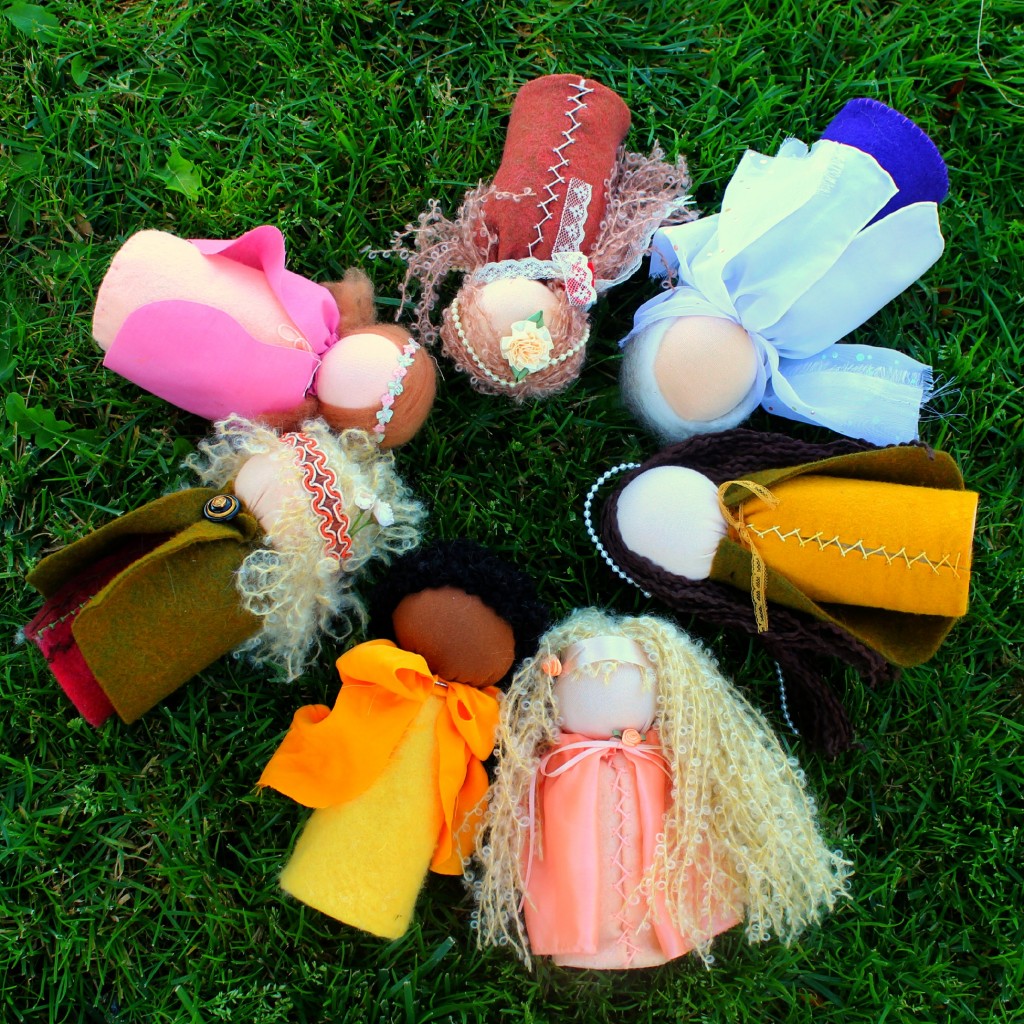
Some of our handmade bounty from this morning. Not all dolls were pictured here.
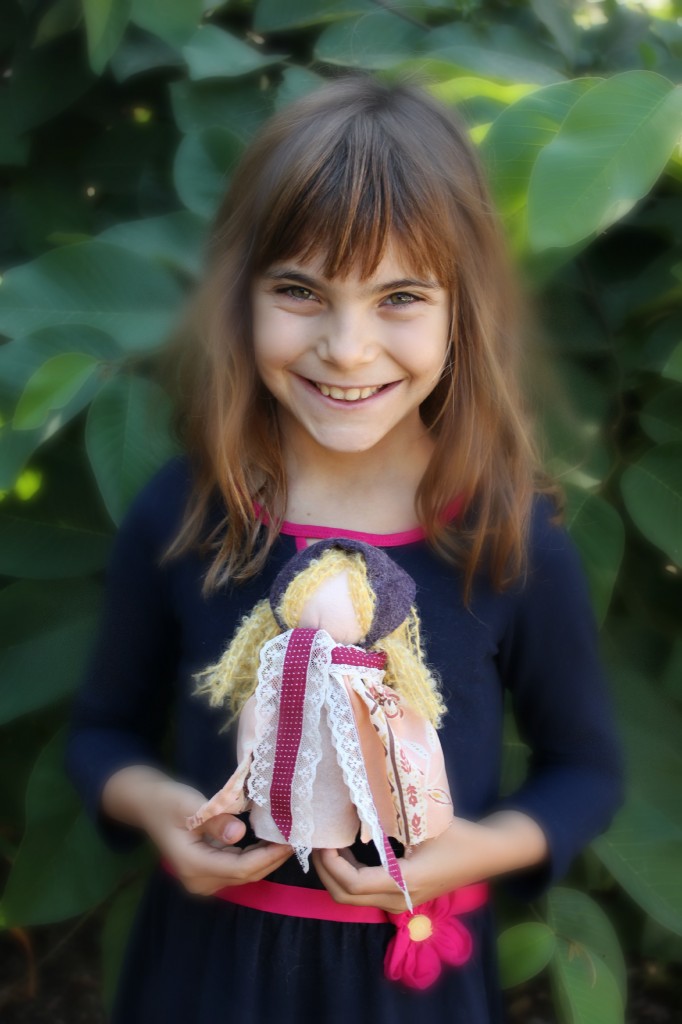
Addendum: October 15, 2013. Finally, I was able to photo a closer look at Gisela’s table top puppet today.
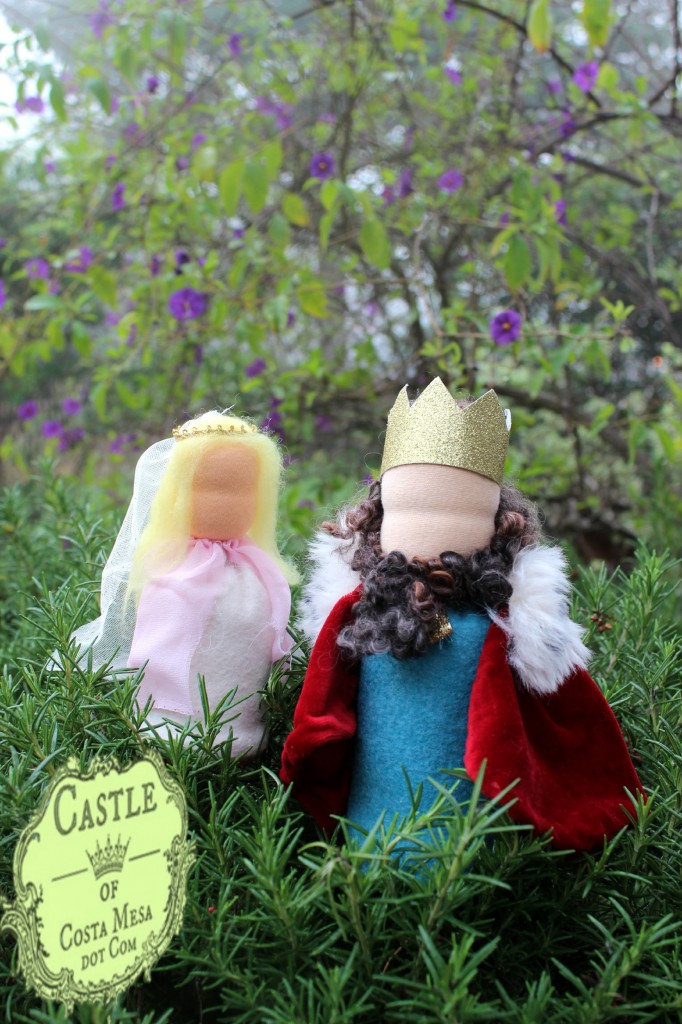
February 5, 2015. I made a king and a princess for Michaela for our Waldorf School playgroup classroom.
November 7, 2013. Heather e-mailed me a picture of her completed table top puppet witch. Look at the cute little fall nature table she has set up by the fireplace. There is a mouse in his pumpkin house (October 15, 2013 Craft group project) and an acorn child to keep the witch company!
That’s all. See you all next week! (Please bring your unfinished table top puppets, I hope to photograph them next Tuesday morning.)
Next Week: Wet-Felted Flowers Again
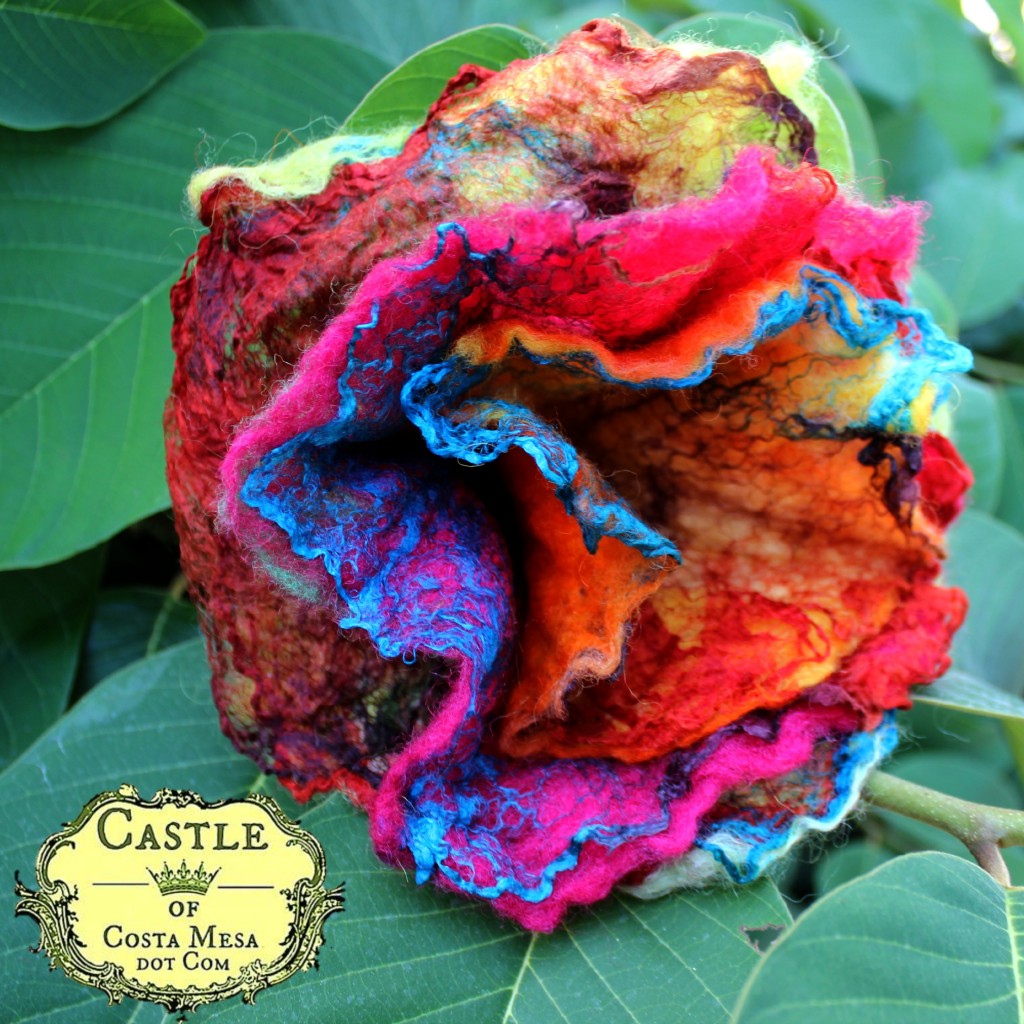
Next week Christine will show our craft group how to wet-felted flowers with mawata silk hankies again!
Here is one that I made at craft group 2 weeks ago. Click here to see the photos from that day.
Christine Newell’s Upcoming 16 inch Waldorf Doll Making workshops
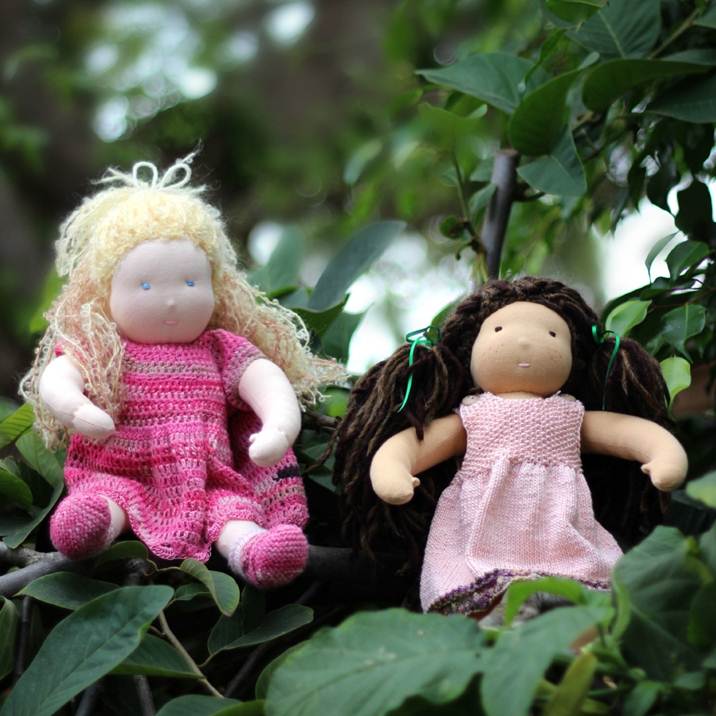
Here are handmade 16 inch Waldorf Dolls made by Kimmy (on the left) and Luka (on the right).
Click here to see gorgeous photos from her past workshops.
Cost: $100 all materials included.
Waldorf School of Orange County, Wednesday mornings 9am to 11:30am:
Waldorf School of Orange County, Thursday evenings 6:30pm to 9:00pm:
- day 1 Oct 3rd, 2013
- day 2 Oct 10th, 2013
- day 3 Oct 17th, 2013
- day4 Oct 24th, 2013
Maple Village School, Long Beach, Thursdays mornings 9:30am to 12:00pm:
The purpose of doing consecutive workshop allows you to join any of the 3 workshop at any location and time, you just need to complete day 1 through 4 to have a completed doll.
- Sign up sheets will be in the WSOC Company of Angels and the Office of Maple Village School.
Recycled doll workshop:
Waldorf School of Orange County, 9:00am to 11:30am
Maple Village School, 9:30am to 12:00pm
- day 1 Oct 31st, 2013
- day 2 Nov 7th, 2013
Cost : $50 all materials included
Again you can join any location and time just need to complete days 1 and 2.
That’s all for now, looking forward to seeing you and sharing new crafts.
Jzin’s latest handmade Baby Fairy doll…
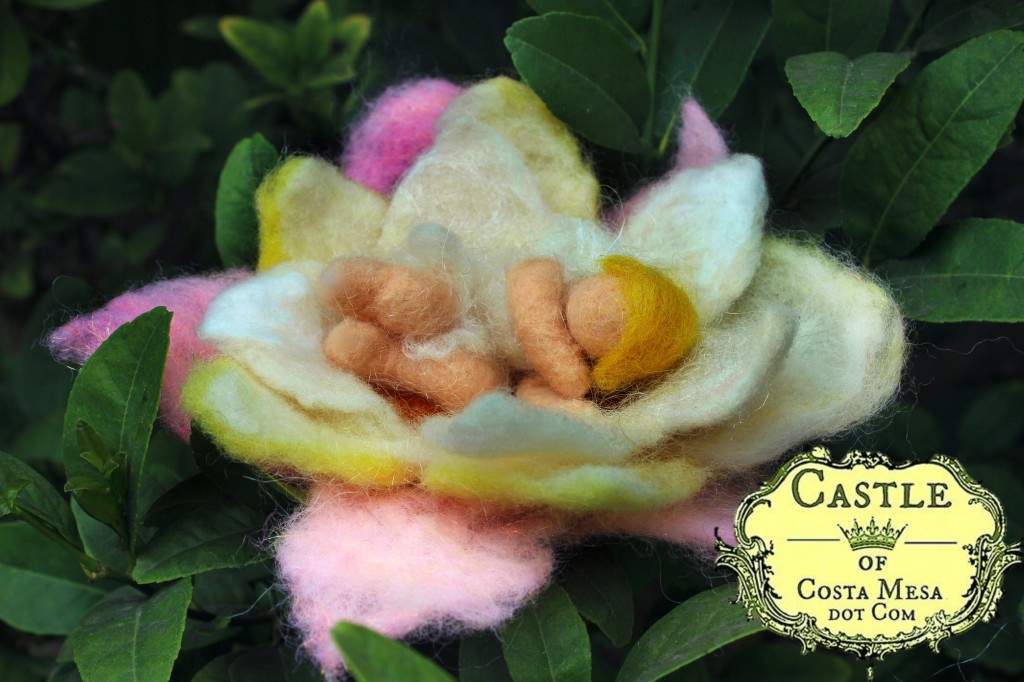
September 16, 2013. Our baby fairy is made with love. She loves to fly around your garden in the day time. In the evening, she gets very tired (after all, her wings are still so tiny) and falls asleep in her bed which is a large lily flower. She is afraid to sleep alone and would love to sleep next to the bed of your little child. A little blanket will keep her warm. She is available on Castle of Costa Mesa Etsy store, click below picture to go to Etsy.
The flower above was wet-felted at craft group!
Support Our Local Waldorf Community/ Place a Free Ad
If you are interested in placing an ad on “Support Our Southern California Waldorf Community” (free if you are a member of Southern California Waldorf community) please e-mail me a good picture and a link.
Meanwhile, please support our local peeps! Thanks! – Jzin
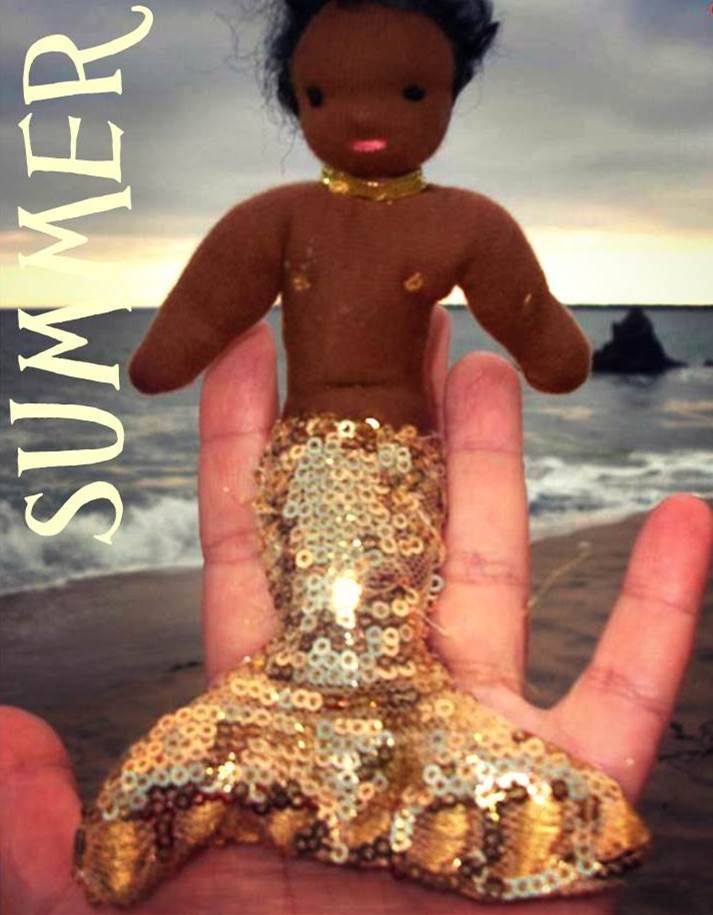
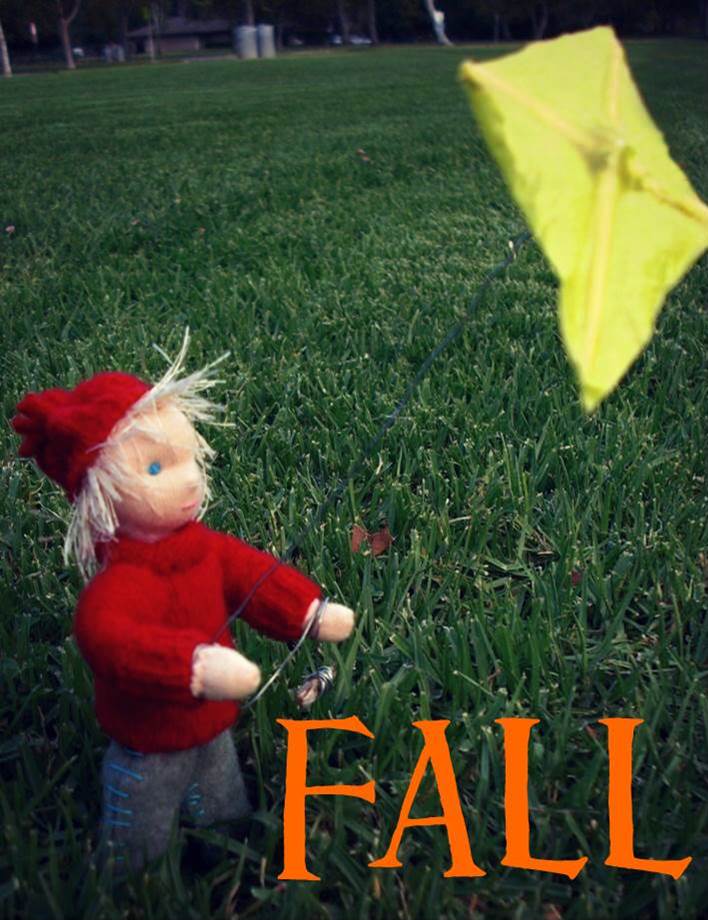
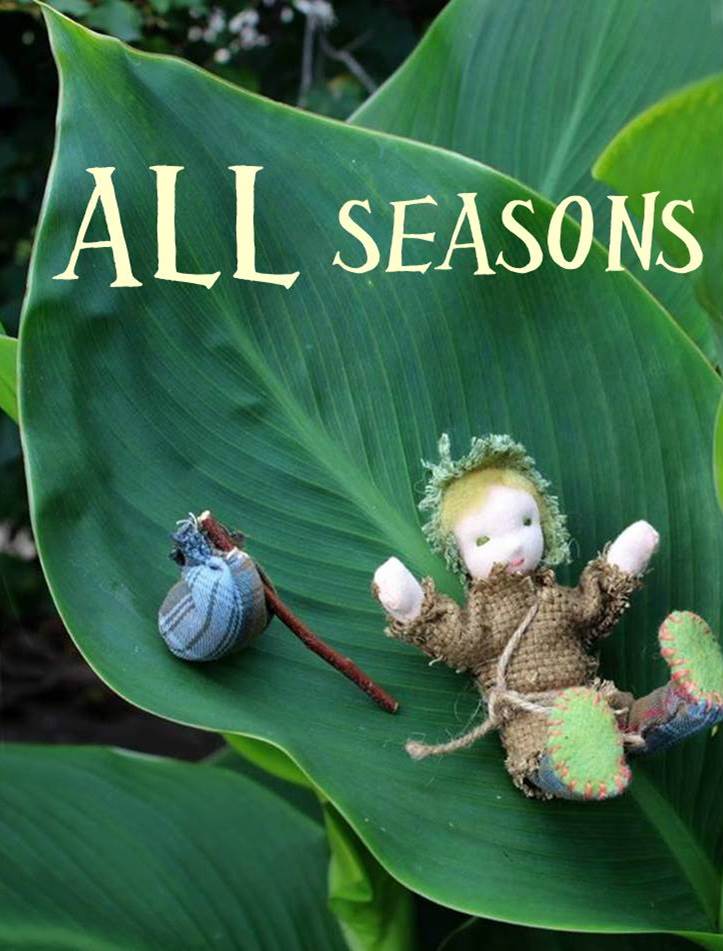
Waldorf Seasons Table Dolls by Castle of Costa Mesa
Castle of Costa Mesa’s Etsy Store
You may support my crafting mania and justify my obsessive hoarding of craft supplies by shopping on my handmade Etsy store on the link below. Please do! – Jzin
Click on the image below to enter Castle of Costa Mesa Etsy store
Just for fun, click here instead view a gallery of my handmade dolls.
Castle of Costa Mesa Handmade Doll Giveaways
I give away my lovingly handmade dolls periodically. If you “Like” my Castle of Costa Mesa Facebook page, you will be notified of upcoming giveaways. Click here to view the list of my past giveaways. Perhaps the next winner could be YOU?


