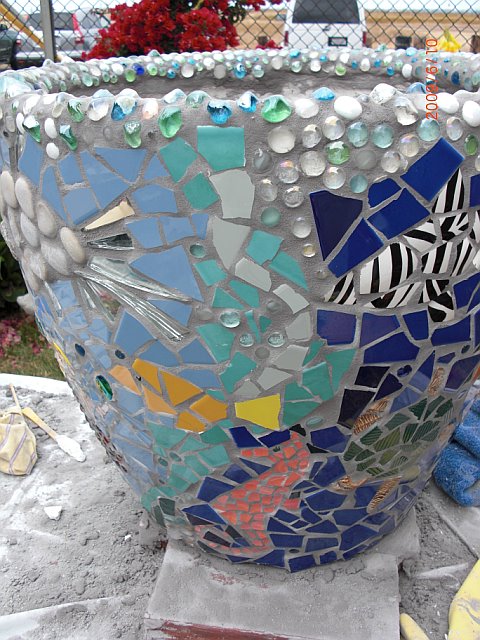
Summer 2009. Our craft group got together to mosaic a large planter for our Fall School Benefit. Rachel Skelly, our mosaic guru taught us how to mosaic that summer.
It was a messy project, we had to wear old T-shirts or other covers (my old white lab coat from my molecular biologist days came in handy). This messy project requires dedicated space. We left the project outdoors to sun/air dry, covered at night by tarp for weeks over summer.
Materials needed:
- old shirts to protect your clothing
- sun hat if you work in the sun for hours
- acrylic glue
- sanded grout
- big bucket to mix grout with water
- big stick to mix and stir grout and water
- water source to wash hands, to mix grout
- tiles, broken crockery/dishes/cups, glass beads, etc
- old rags to wipe off grout, acrylic glue and other mess
- shoe boxes to organize your tiles by color, if you have tons of tiles
- hammer to tap and break tiles
- large piece of tarp to cover your work
- smaller pieces of tarp or very very sturdy plastic to cover tiles as you break them
- space to let project air dry without being disturbed
- friends to chat with as you work!
- something else crucial that I inevitably forgot to write down. But it will come to you loud and clear when you really need that thing!
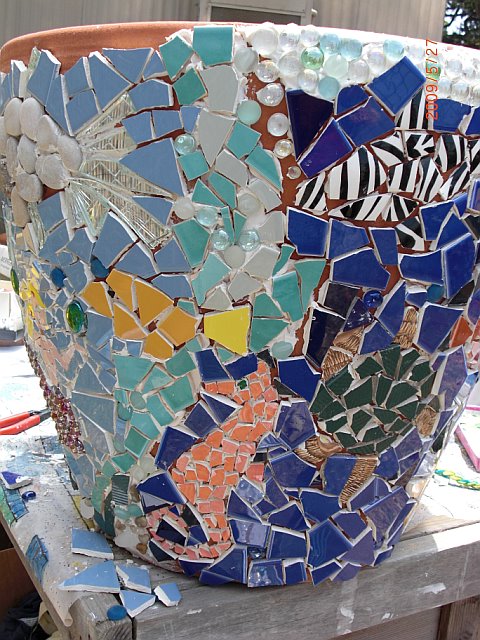
The Octopus
![BG[1] Under the sea mosaic planter. CastleofCostaMesa.Com](https://castleofcostamesa.com/wp-content/uploads/2011/09/BG1.jpg)
We broke tile pieces by putting square tiles inside a folded piece of sturdy material such as empty rice sack or tarp. Then we gently tap the tiles with a hammer through the tarp/hard plastic bags. This is done on irregular surface such as the ground of the garden (but not on soft grass). Since the ground is not flat, the tiles break when tapped with a hammer. The tarp/sturdy plastic protects us from being pelted by flying smithereen of tiles.
We glued the broken tiles onto the pot, using local hardware store acrylic glue.
We glued the tiles on using acrylic glue from Home Depot hardware store
We applied glue with disposable plastic picnic knives. It is very helpful to draw out the image first either in your mind or on a piece of scrap paper, then transfer the image on to the planter.
![BG[2]. Under the sea mosaic planter. CastleofCostaMesa.Com](https://castleofcostamesa.com/wp-content/uploads/2011/09/BG11.jpg)
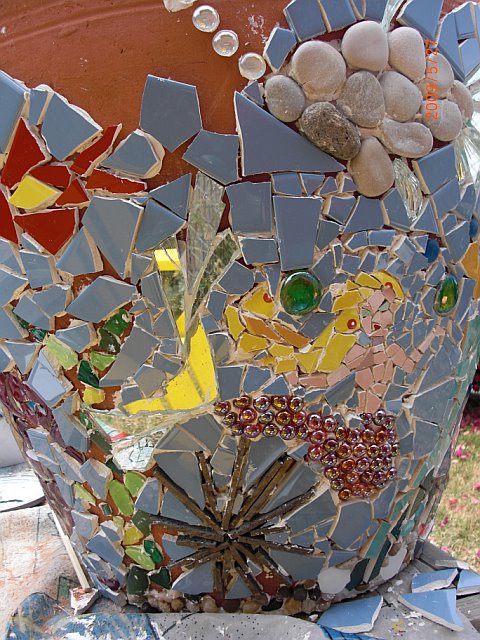
The acrylic adhesive is white, as you can clearly see on the rim of the pot. This is before grouting.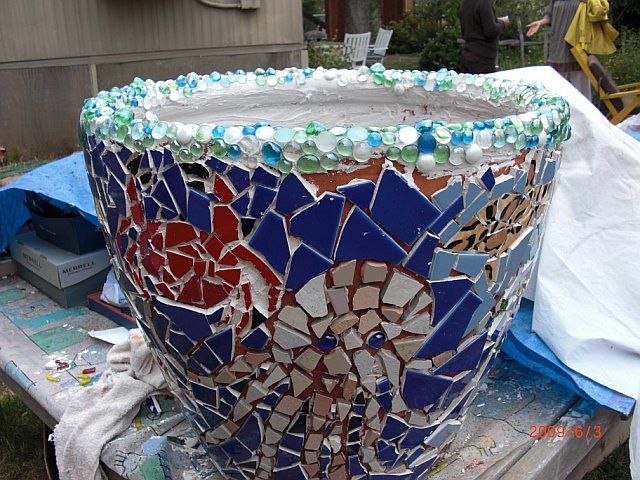 I bought irregularly shaped glass vase fillers on sale from Target garden decor section (these glass pebbles were intended as decorative weights for glass flower vases) and “fairy tears” from Michaels to make foamy bubbles on the rim of the planter. Rachel advised us against using anything plastic (e.g. plastic beads, plastic “gems”) because these will dry to an ugly dull finish after grouting and cleaning.

glass pebbles
After the whole planter was decorated and the glue dried in the sun, we finally applied grout liberally all over the pot. After that, we wiped off the grout with old rags.
Tis’ a messy affair to mix sanded grout. Careful not to inhale!
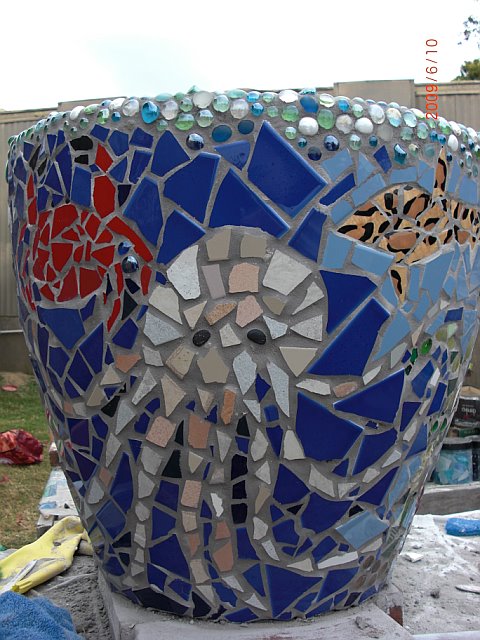
The Crab
Broken tiles, just glued on and left to dry …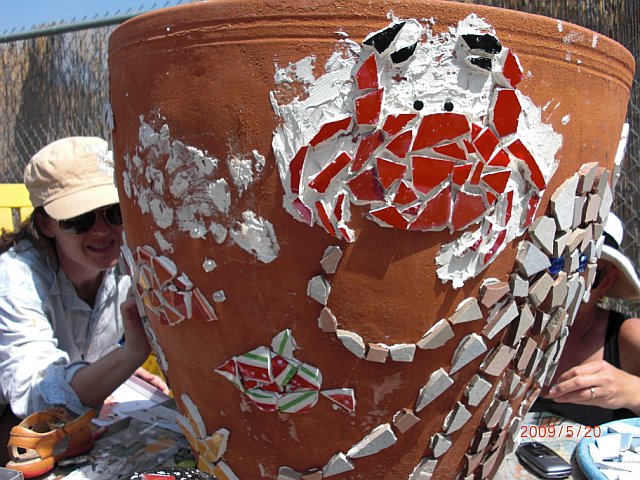
The crab side, grouted and finished.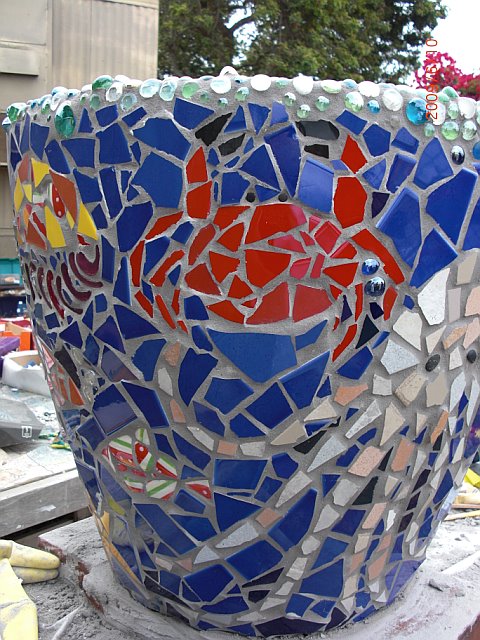
The Mermaid
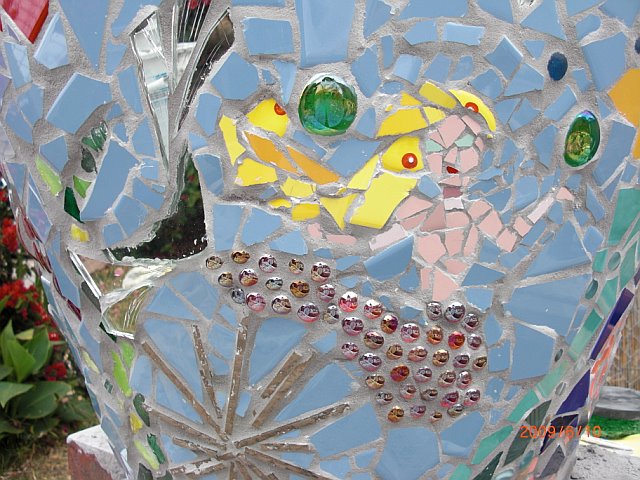
I decided to put in a mermaid for our “under the sea” ocean themed planter.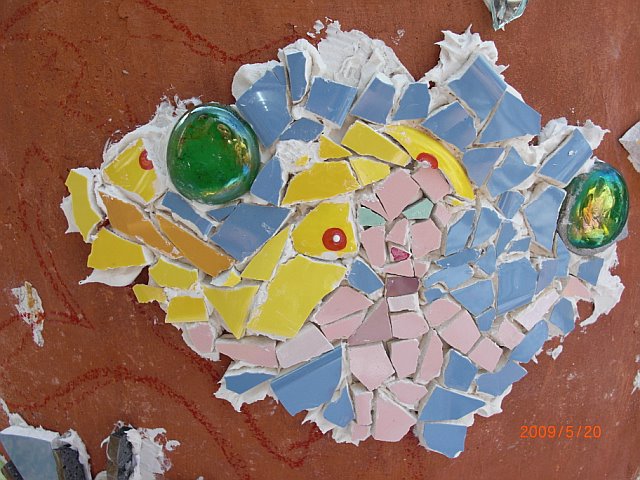
another view…I love the little sea urchin made by Julie on the bottom left.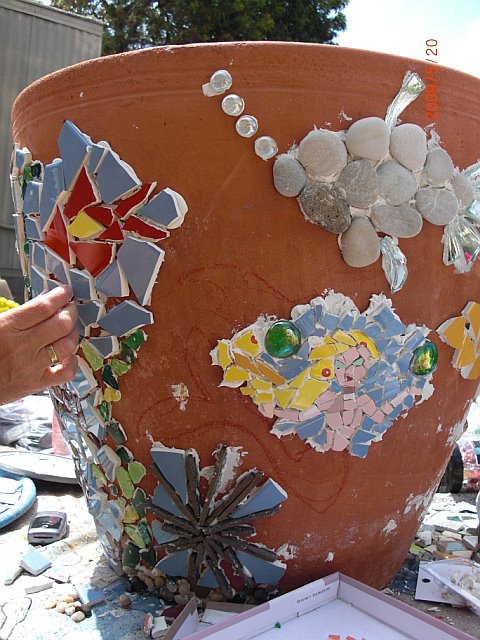
The Seahorse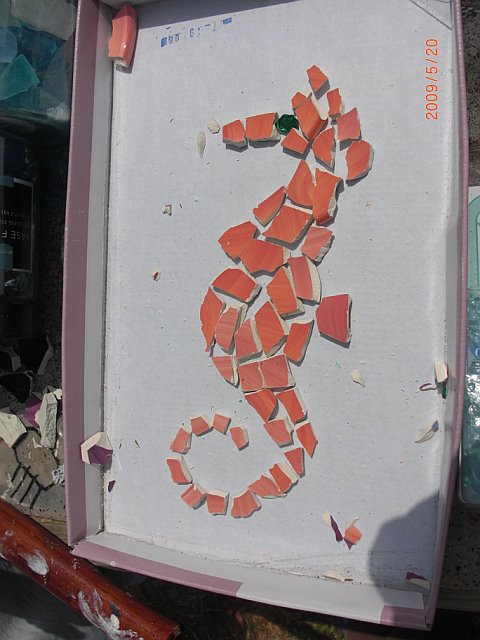
Lynn’s jelly fish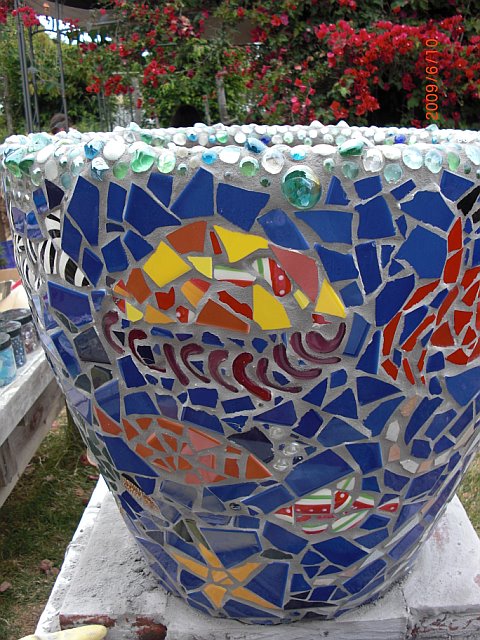
The Rock Fish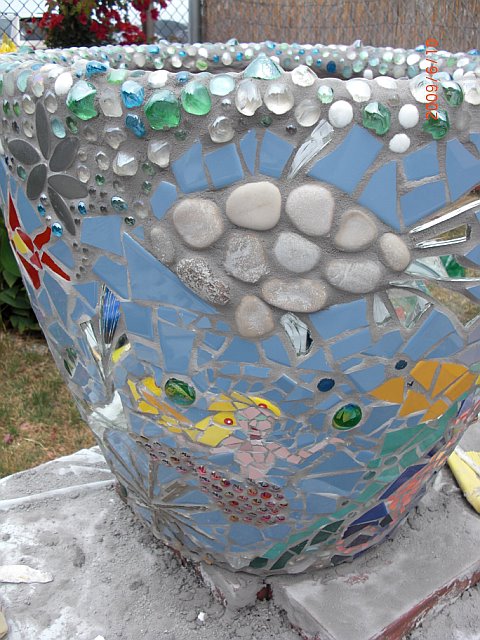
Thank you Rachel for getting together the materials, including the tiles, acrylic glue, grout, tools, etc. She also broke some mirrors into pieces, which were quite fun to use. I brought irregularly shaped glass “marbles” for the bubbles effects.
when Nunu was in preschool, she received a mosaic kit (below) from Santa Claus. We decorated stepping stones to decorate the Preschool garden. It was fun and Nunu got a taste of taking care of her school environment. A kit is good to use if you want to focus on a relaxing mosaicking experience with your child and not worry to much about exposure times to neurotoxic hygroscopic dusts of grout flying in the air and waiting for things to dry, set and such. Well, you still have to wait and take precautions but kits are easier if a small child is crafting with you.
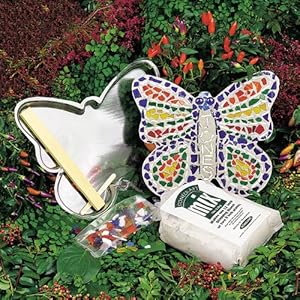
If you want to dabble in mosaic making with your child, there are mosaic kits online as well. Comes with all you need for the very beginner or a great project for a child.
A Beginner/Children’s Mosaic Kit
My great source of inspiration is Antonio Gaudi. A picture of Park Guell:
Click here to view photos from our previous craft group get togethers.
Check out my handmade Fairy Tale Dolls: Dolls and Tales page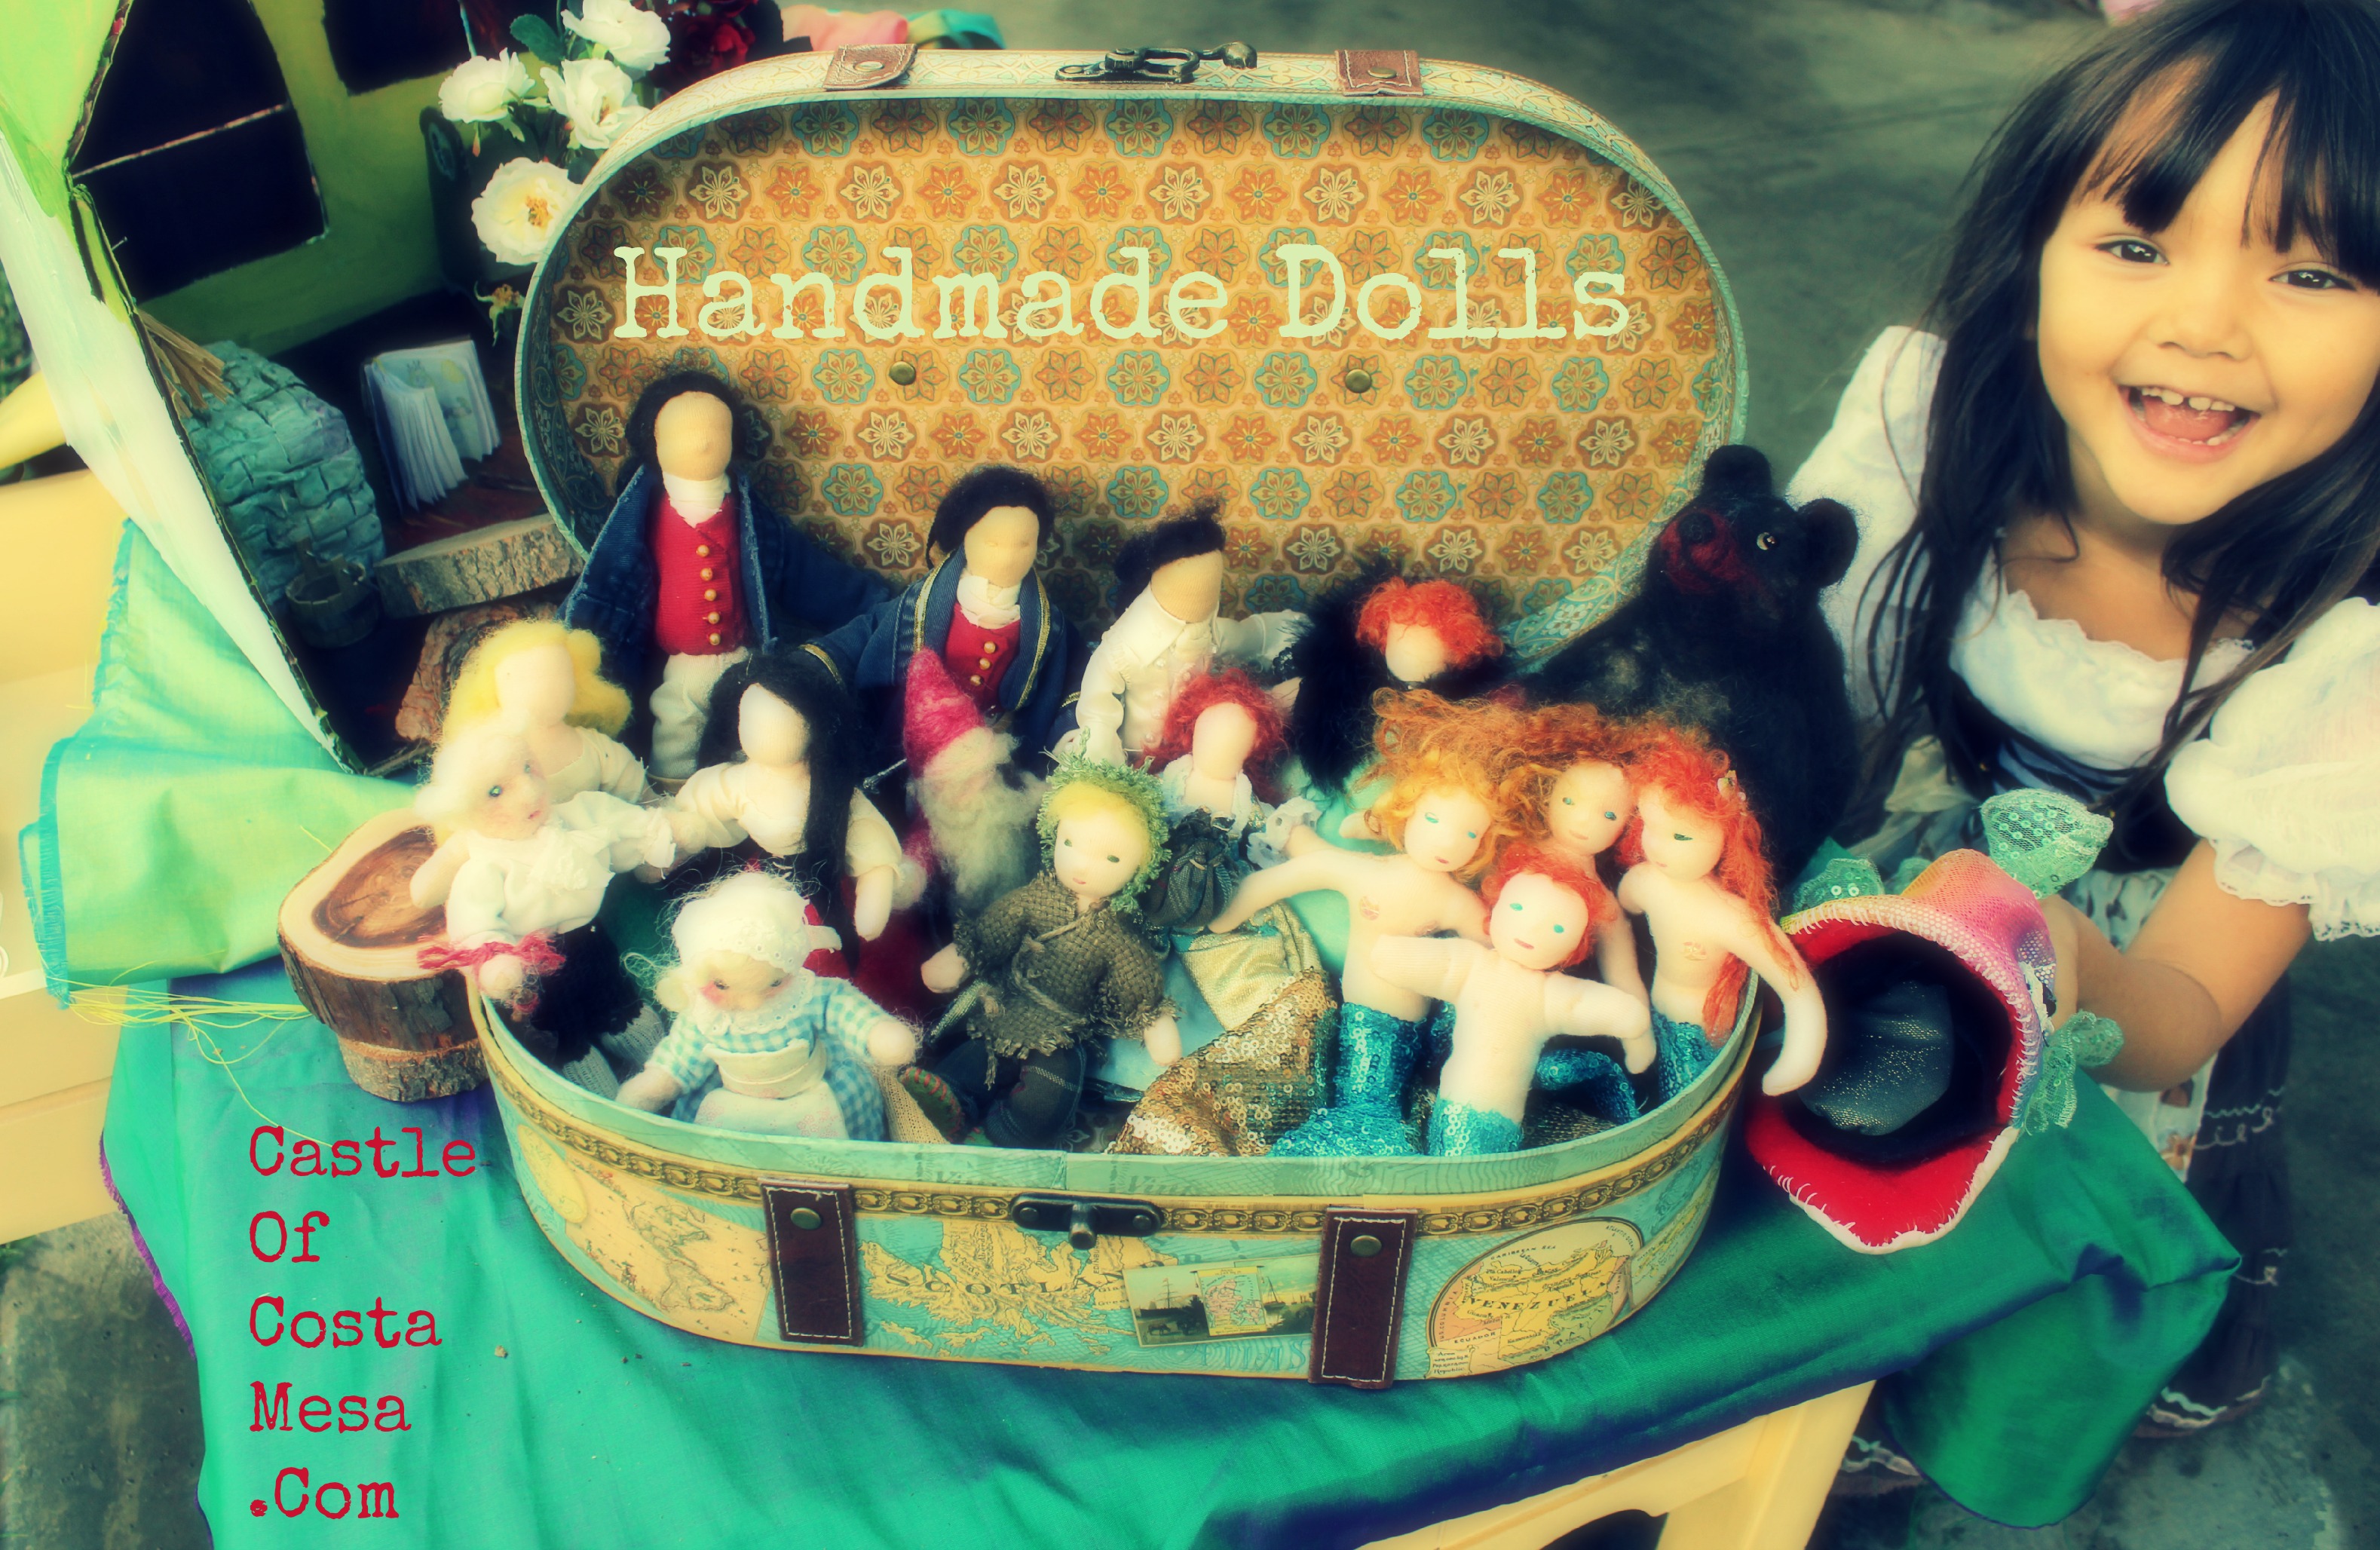
Check out my handmade dolls for Waldorf Seasons Nature Table
I am giving away a handmade doll in Fall 2012. Please leave a comment below and suggest the doll(s) you will like to see on my giveaways. – Jzin
If you liked this page, please “Like” me on facebook! Thanks! – Jzin


