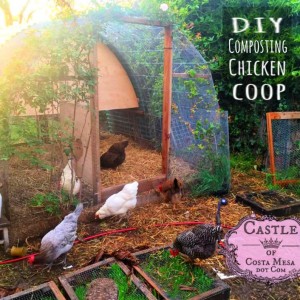
This page is unfinished because I need to go chat with the chickens.
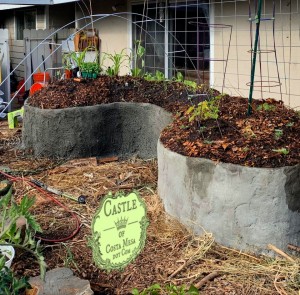
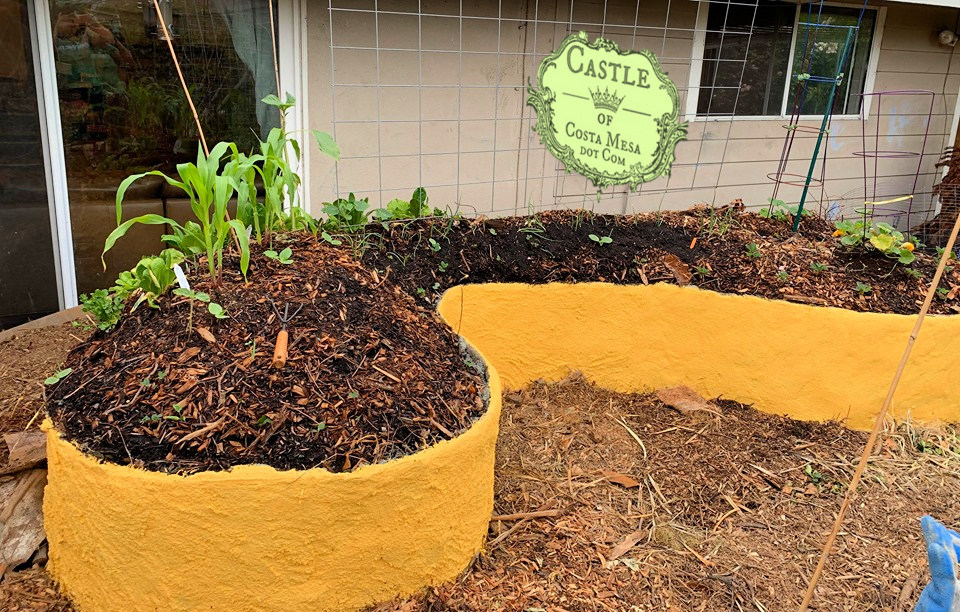
I have a large cemented patio that has a lot of sunshine but I was unable to grow on cement, so I decided to build a ferrocement hügelkultur to grow food on it last spring.
I love ferrocement to contain my hügelkultur, so they do not spill out in my small urban residential garden.
I also especially love the curvy shape of ferrocement and I want to lead my vines up my roof to cool down my living room.
labor intensive
#curvedconcretebeds
xxxxx
Last year, I wanted to build a curvy, free-formed structure to grow food on my sunny cemented patio.
Photo 1. Who knew metal laths could form such a beautiful shape of a macrophage? April 17, 2019.
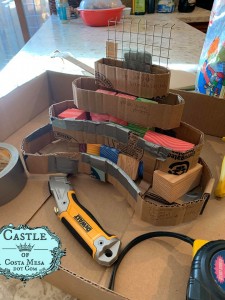
Photo 2. Sketch book filled with ideas. I wanted it to be “magical, no-watering, no-fertilizing, year-round growing” and other dazzling features, such as growing food on the roof, shaped like a multi-tiered Greek amphitheater, etc, which since had been temporarily scaled down. Journal pages, March 10, 2019.
Photo 3. I scrounged for snippets of knowledge from the internet and learned to work with ferrocement, to build my contained Hügelkultur. Photo: April 16, 2019.
The ferrocement raised bed is anchored in 7 spots into the concrete. I thank my husband for trusting me to play in the garden, drilling holes, covering patio concrete to test out my experimental ideas. Girls, that is true love! Photo: April 18, 2019.
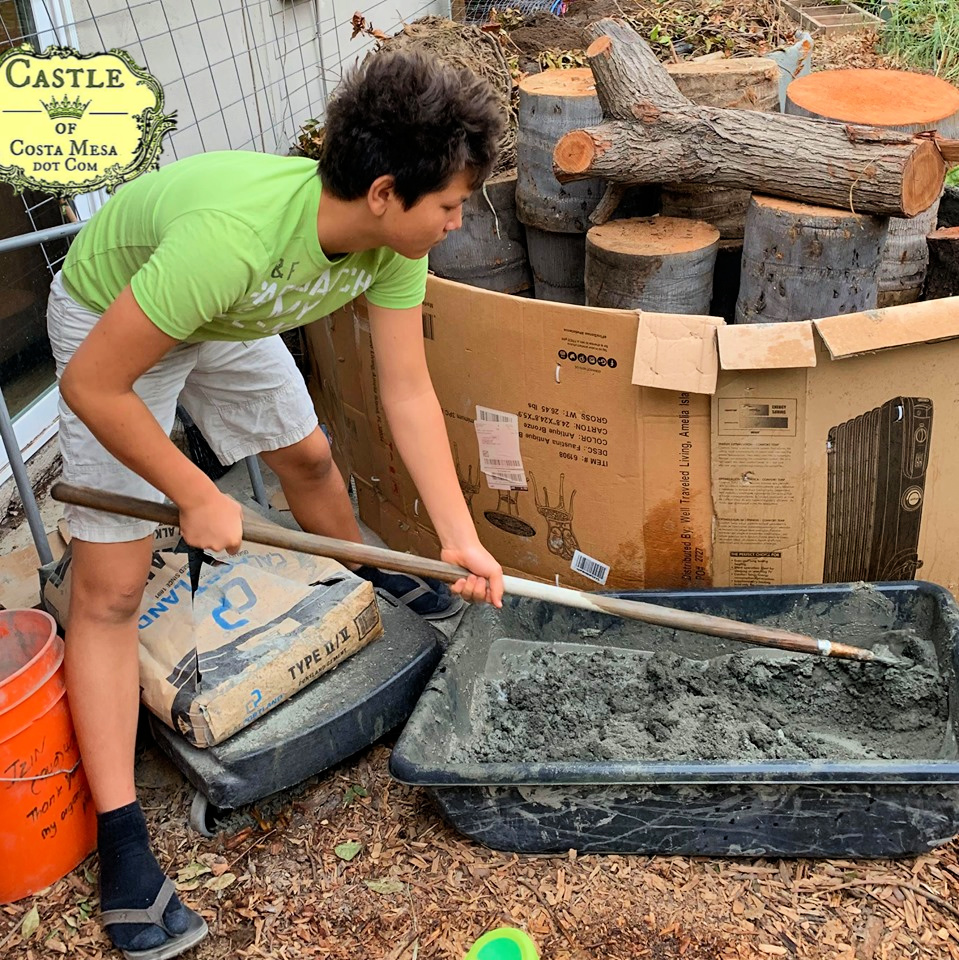
My son Vihren, mixing cement. He is always eager to help with his strong muscles. April 27, 2019.
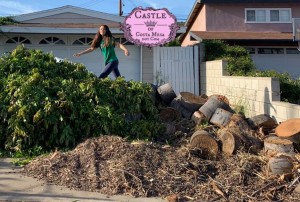
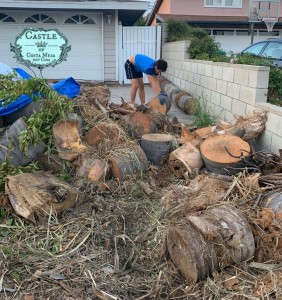
Tree trimmer Mario happily diverted landfill-bound tree stumps into our driveway.
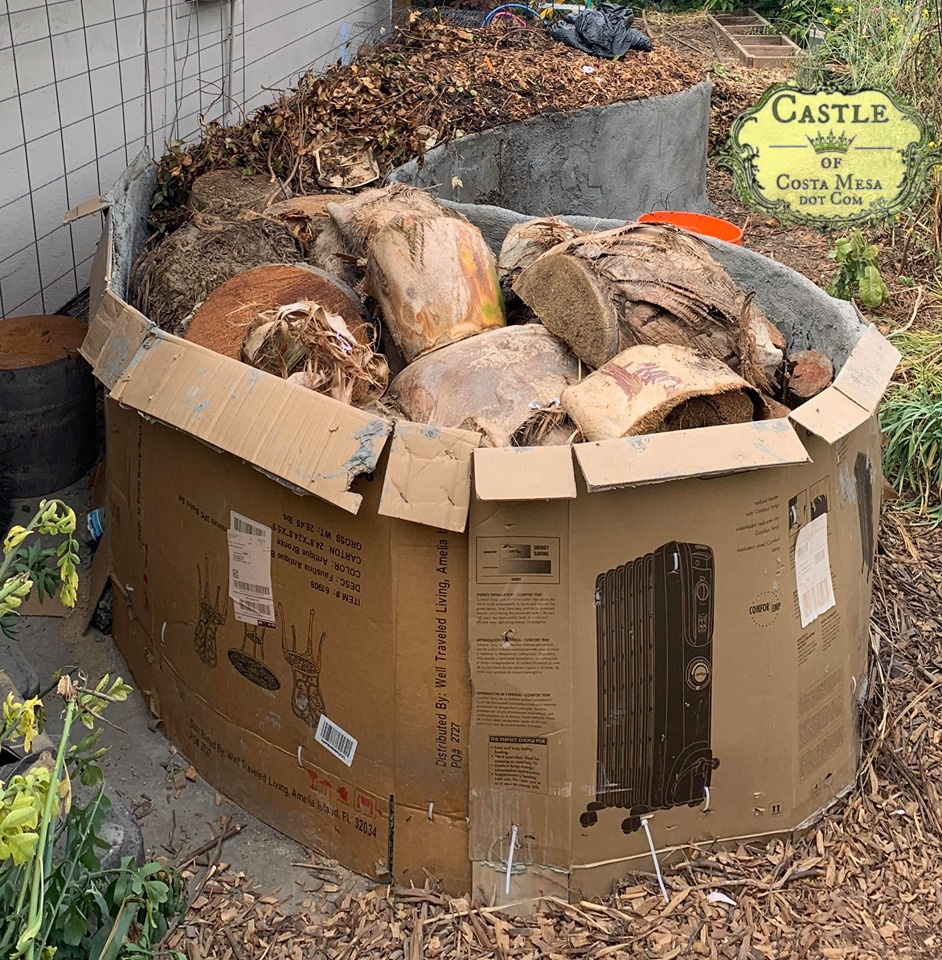
Hügelkultur. Carbon-rich, woody materials to soak up water and release nutrients, feeding soil web ecosystem as they decompose.
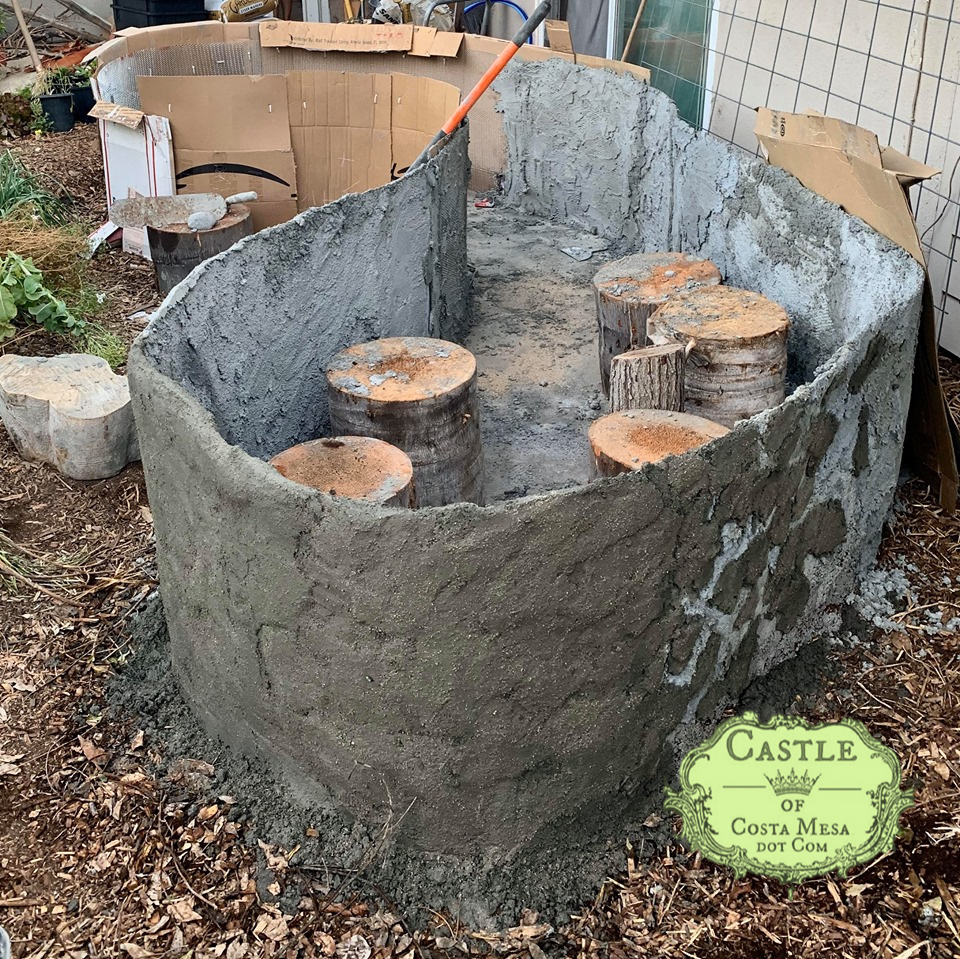
Spring 2019. Newly finished ferrocement hügelkultur. It was done in a hurry to finish before the rain.
Note: It did need watering in year one in our dry, Southern California, zone 10b garden.
xxxxx
Follow us on Instagram: @CastleofCostaMesa, linked here: www.Instagram.com/CastleofCostaMesa
You can support our work by shopping on our handmade Castle of Costa Mesa Etsy shop.
Table of Contents
- Goals
- Materials
- Steps
- Design
- Preparing the Site
- Setting up the Frame
- Anchoring the Shape to the Ground
- Adding Drainage Holes
- How to Work Alone to Apply Wet Cement
- Mixing Cement
- Plastering
- Collecting Contents of the Hügelkultur
- Adding Palm Tree Logs. Lasagna Composting Layers
- Closing up the Ferrocement Bed
- Curing, Painting the Walls
- Year 1: What I Planted Here
- Updates
- My Thoughts
- My Original Designs and Ideas
- References
Goals: No-Watering, No-Fertilizing, Shading the House from Summer Sun beating down, A thing of beauty.
- Back to Table of Contents
- I wanted this structure to do the following:
- Turn my sunny, concrete patio into space for growing food.
- Use plants to convert the very hot Southern California summer sun to delicious foods, to shade our very hot living room.
- Something beautiful. Not an angular wooden raised bed.
- Harvest water. No-watering hügelkultur sounds very tempting.
- Create rich soil web ecosystem with decomposing wood. Extract nutrients of trees. No need to fertilize
- Raised bed of decompositing materials keep the soil warm, extend growing season.
- Keyhole structure to enable easy harvest for meal preparations.
The following were also wishes but was vetoed, so I did not proceed.
- I wanted to grow vertically, tiered growing onto the roof, expand growing space by planting on the roof.
Materials and Tools for Making The Ferrocement Bed
This is my first time working with cement! I have zero experience in this. Thank you YouTube video as a learning too!
- Armature
- 5 expanded metal lath from Home Depot. 27″ tall x 8 feet long. $8.75 per sheet.
- Zip ties.
- 6 pieces of 3/8th inch (?) rebars
- Cement work:
- Portland Cement 1 bag so far. 4/16/19
- All-purpose bagged sand 2 bags so far. 4/16/19
- optional, but helpful: Cement mixing tub
- tool/hoe to mix cement with
- cement applicator trowel
- tile sponge
- If you are working alone: large sheets of flattened carboard boxes
- waterproof gloves
- dust mask
- If you are working alone without a helper:
- very large cardboard boxes, zip ties
- optional: bottle of water withing arms reach. you can get thirsty! (I am a mom, I tell you so!)
- To see contents of the Hügelkultur Garden Bed, click here: Collecting Contents of the Hügelkultur
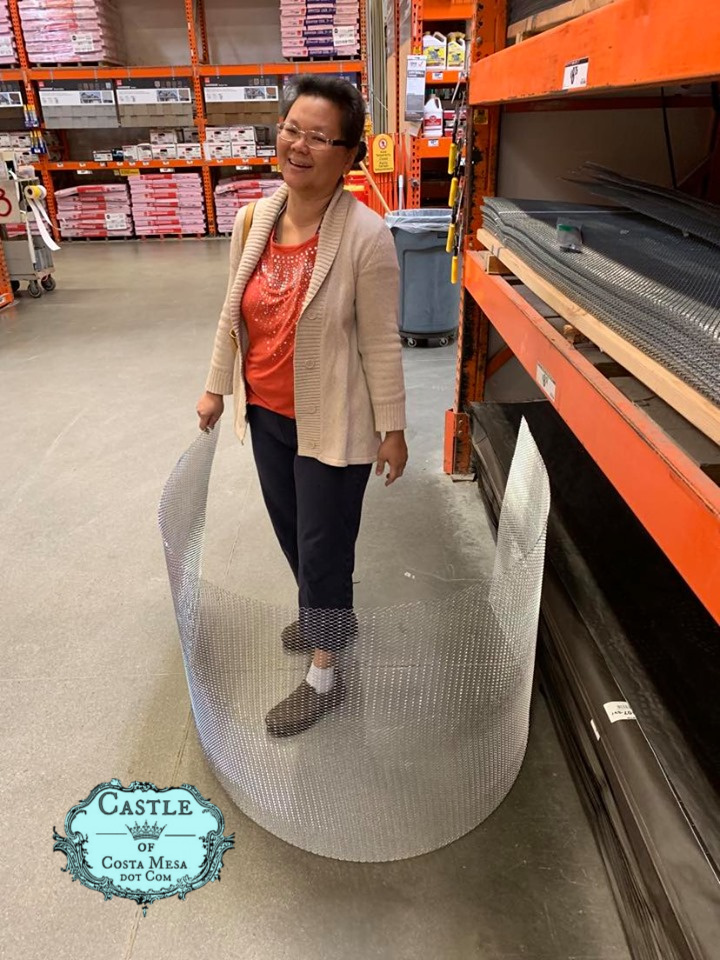
March 4, 2019. Researching materials at The Home Depot. Here is how high the metal lath sheets are. That will be approximately the height of my raised bed. $8.75 per sheet.
Photo of cement, sand
Steps
Design
Preparing the Site
- Back to Table of Contents
- I cleared the area to reveal the concrete flooring.
- I sketched out the desired shape with chalk
Setting Up The Frame
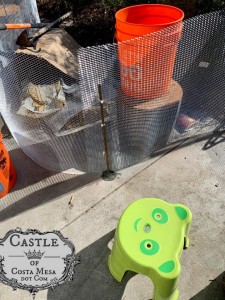
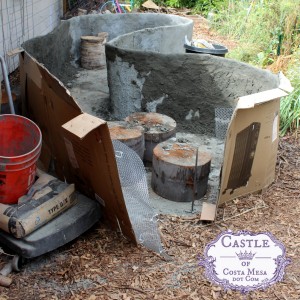
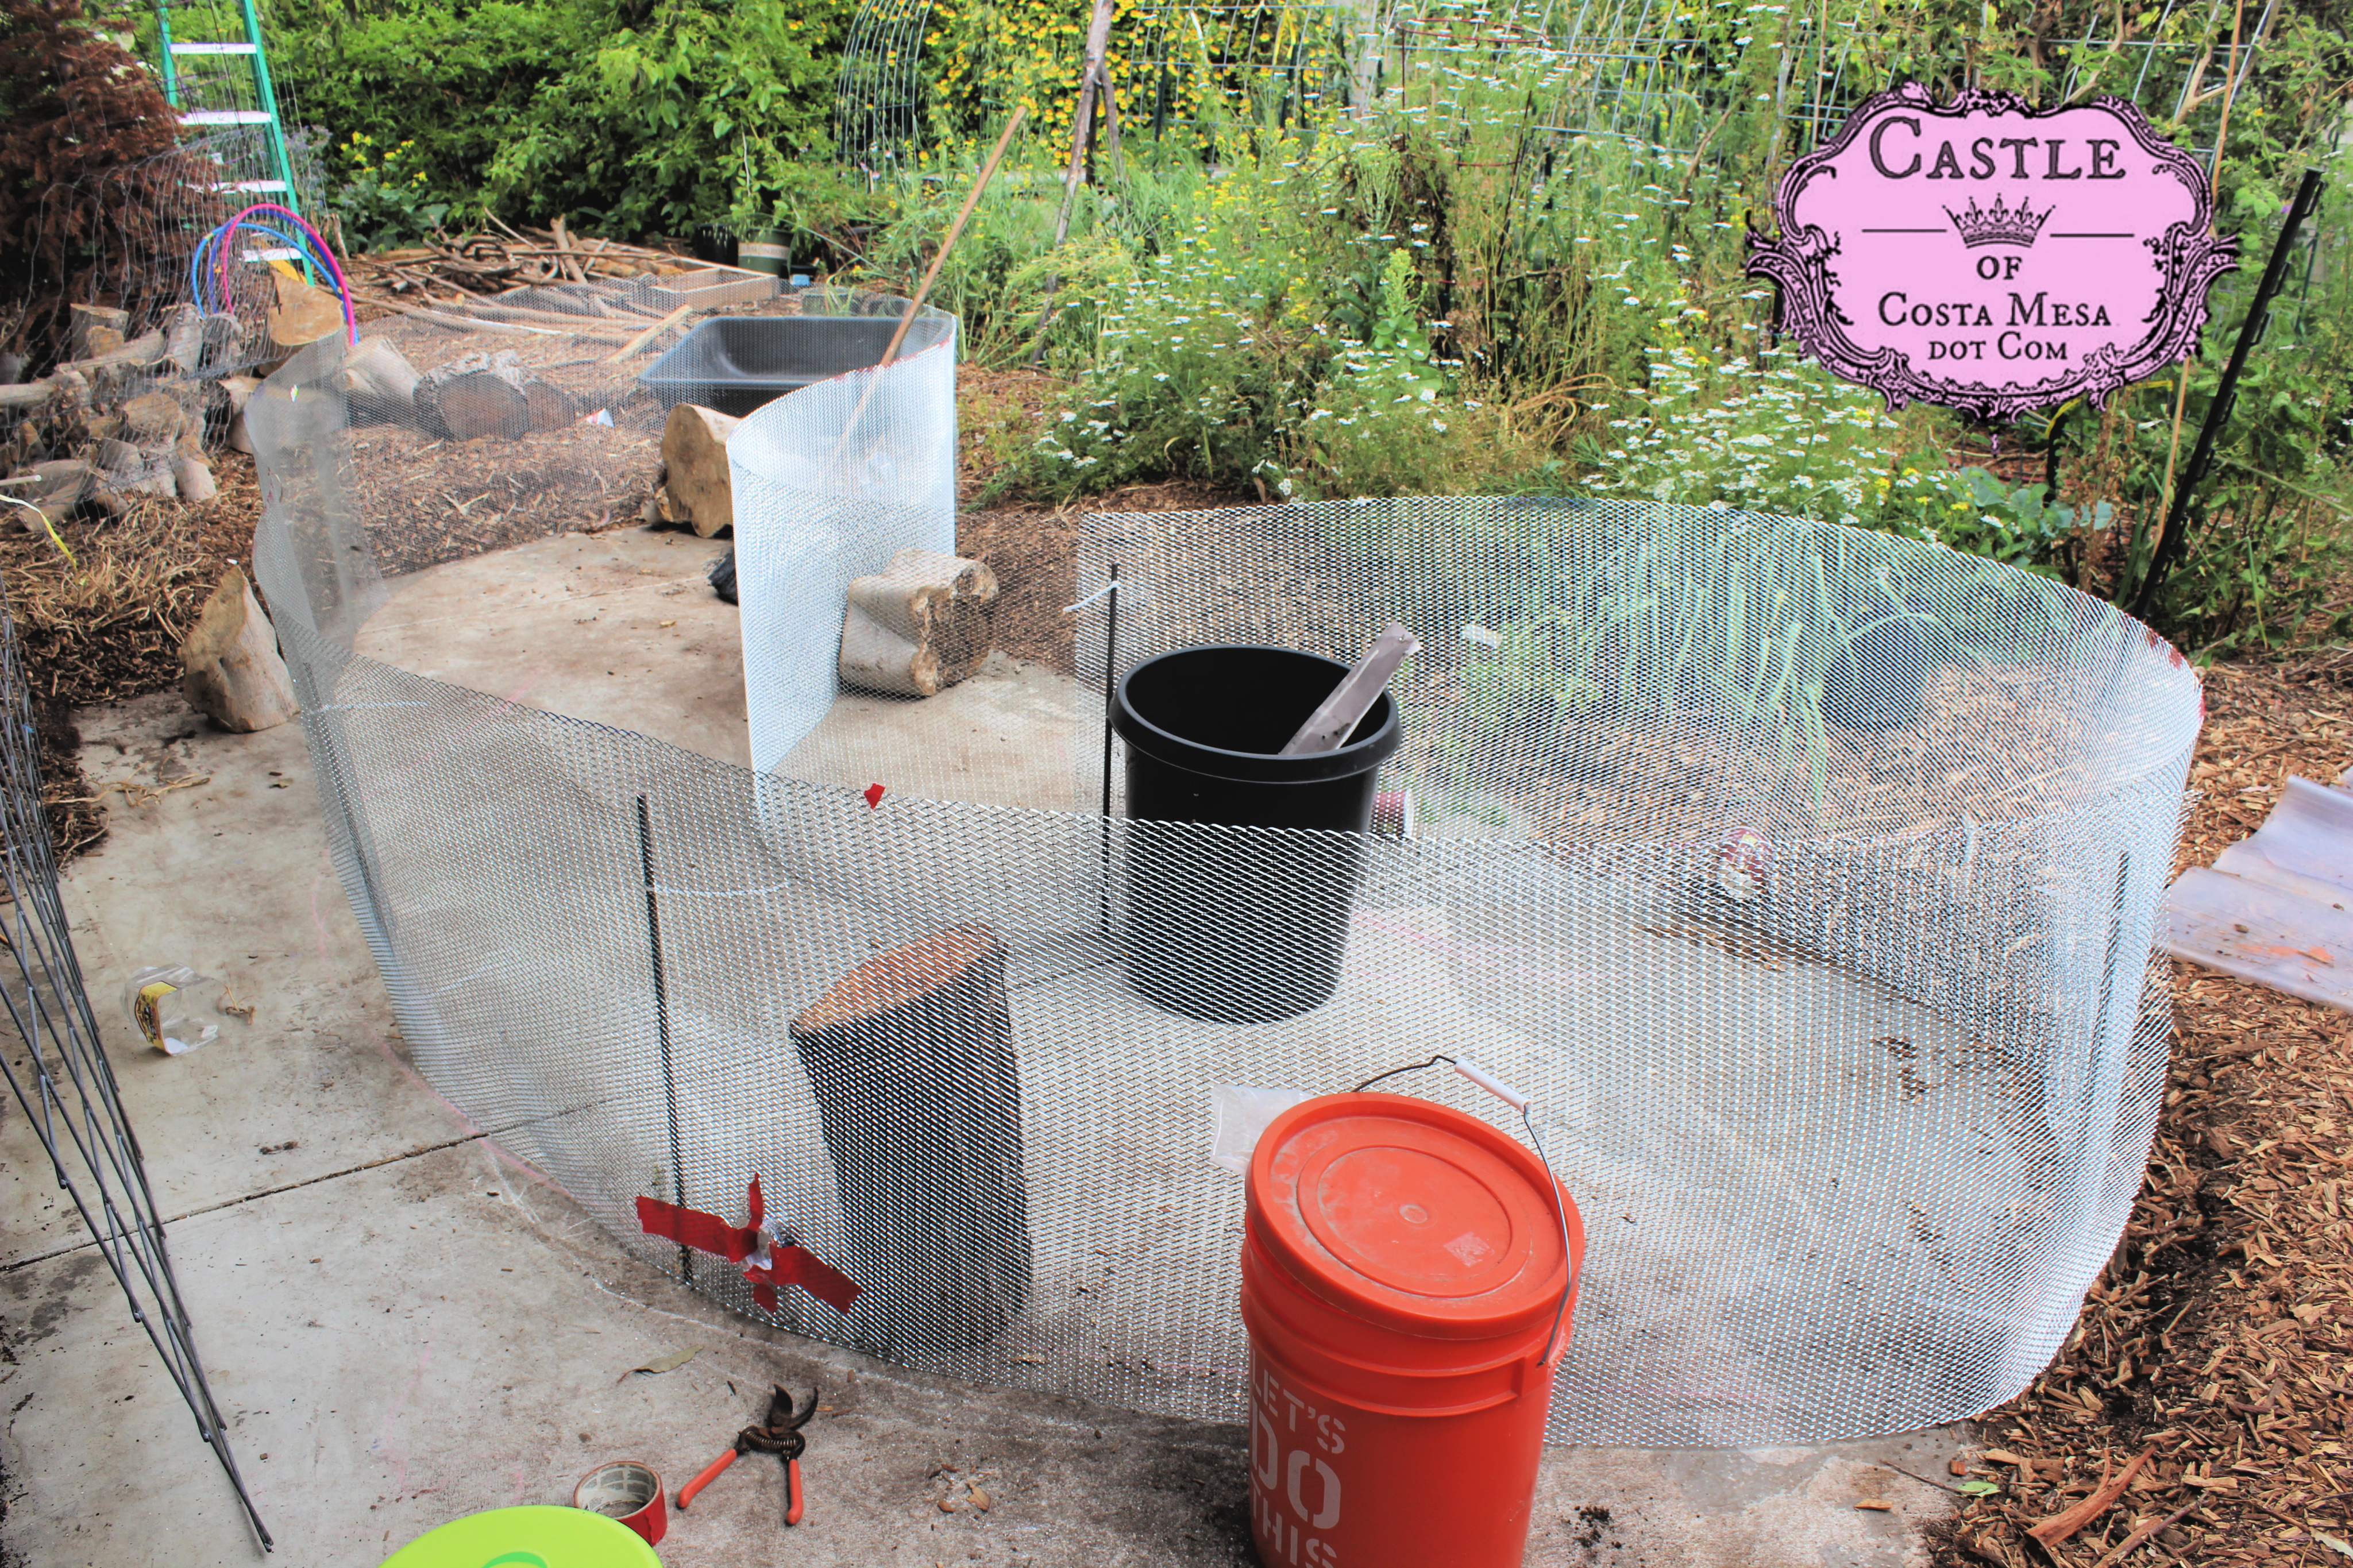
April 16, 2019. Setting up the metal lath in the kidney shape as sketched.
I cut open holes to make drains at 5 locations. Paper cups and recycled food containers to make drains.
When the shape is to my liking, I removed the zip ties at the end closest to the front of my house so that I could easily roll in logs to fill the ferrocement hugelkultur
April 17, 2019.
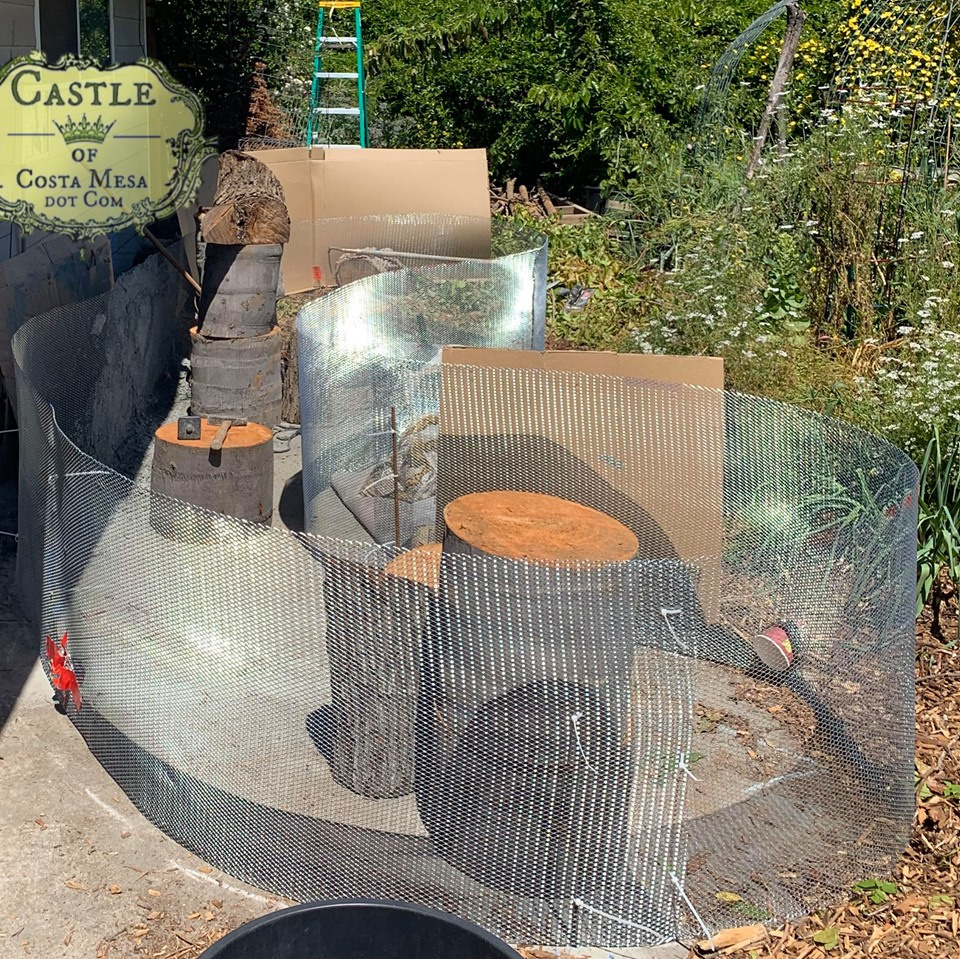
Tying Metal Lath to Frame
April 17, 2019. Our beloved neighborhood inventor, Bill happily came over to help me drill holes to into concrete to insert short rebars affixed the metal lath, to stabilize my structure.
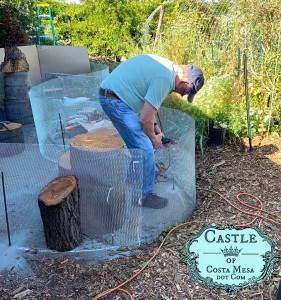
April 18, 2019. Anchored.
Adding Drainage Holes
I added drainage holes in several location at the lowest points.
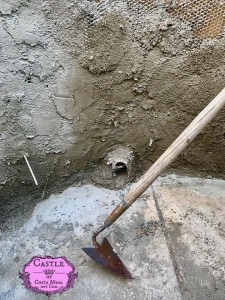
April 16, 2019. I hate creating wastes. I took my mother-in-law out to coffee. I hate to see single-used items getting discarded, so I squirreled away the once-used coffee cups and duct-taped them onto the curvy bed walls as drainage holes.
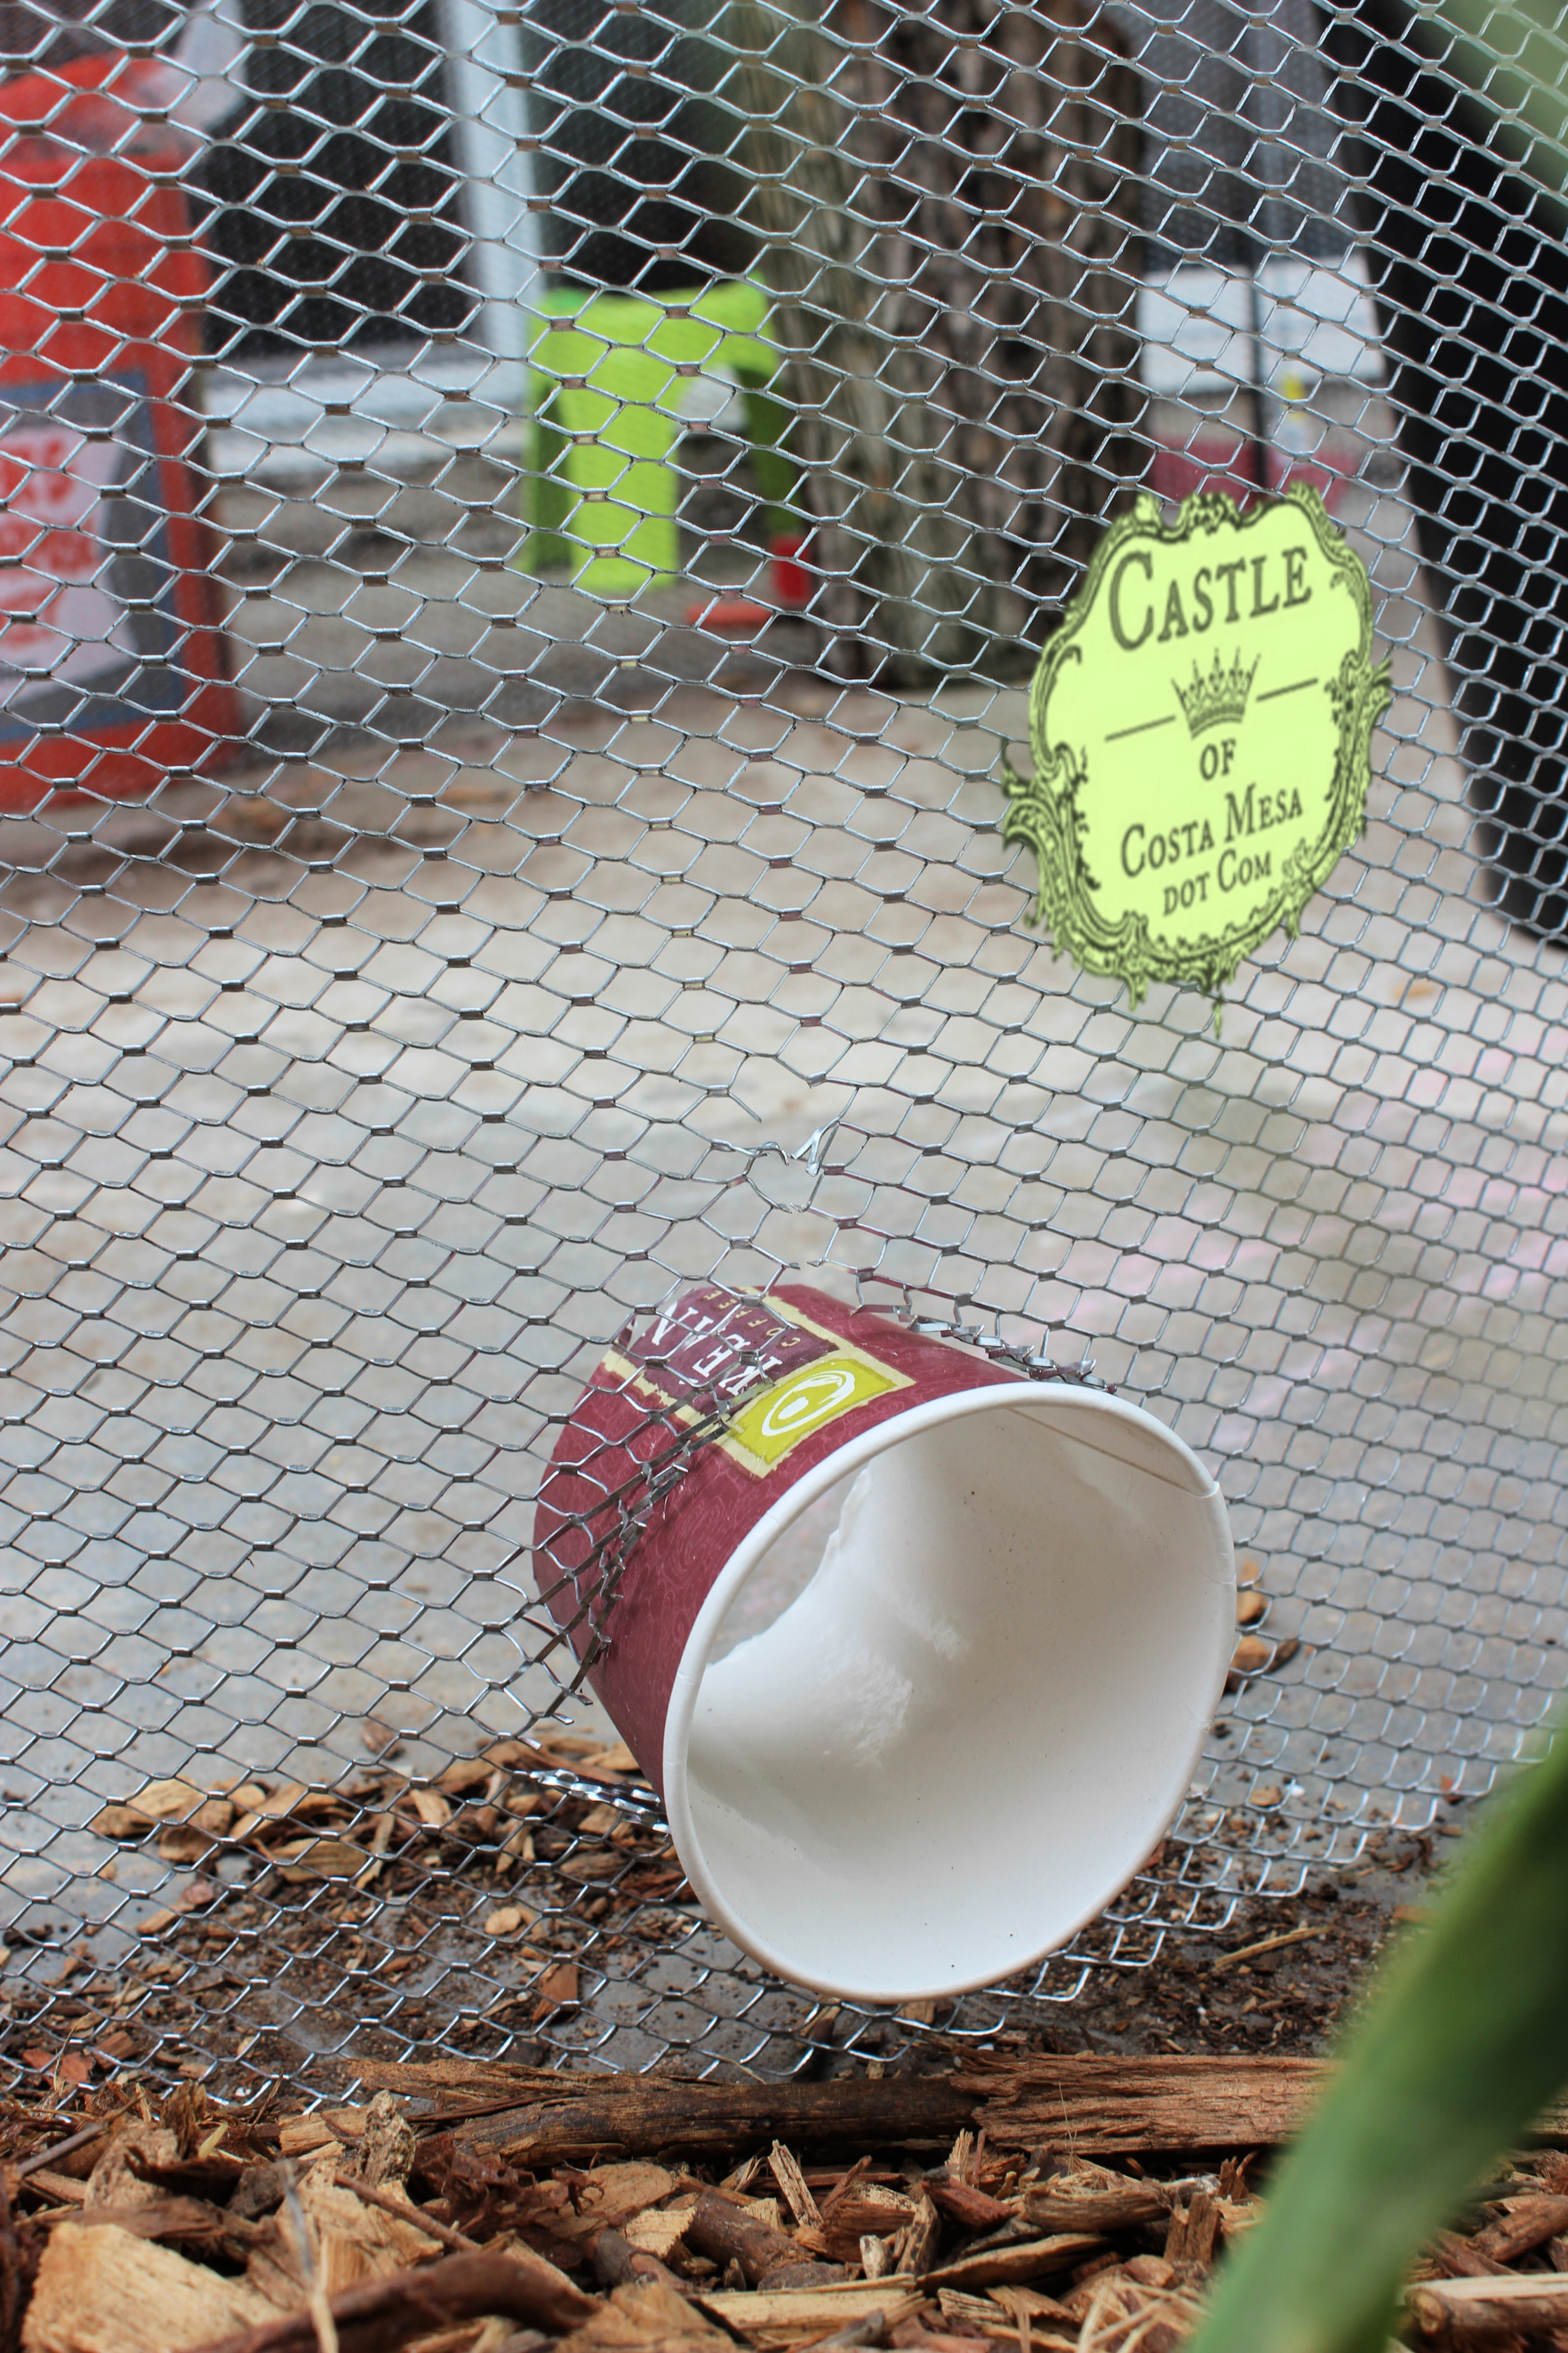
Duct tape! I hope it works to hold the cups and plastic tubs in place on the metal lath wall. Yay! It does! I love you duct tape!
April 19, 2020. Viola! Drainage holes.
Anchoring the Shape to the Ground
Mixing Concrete
Dust mask. Do not inhale.
Composition:
check protocol details form journal
Portland Cement, Sand
[Portland cement in mixing tub]
[wet cement in mixing tub]
April 27, 2019. Vihren mixing cement.
Adding Mortar to The Frame
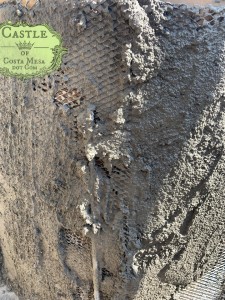
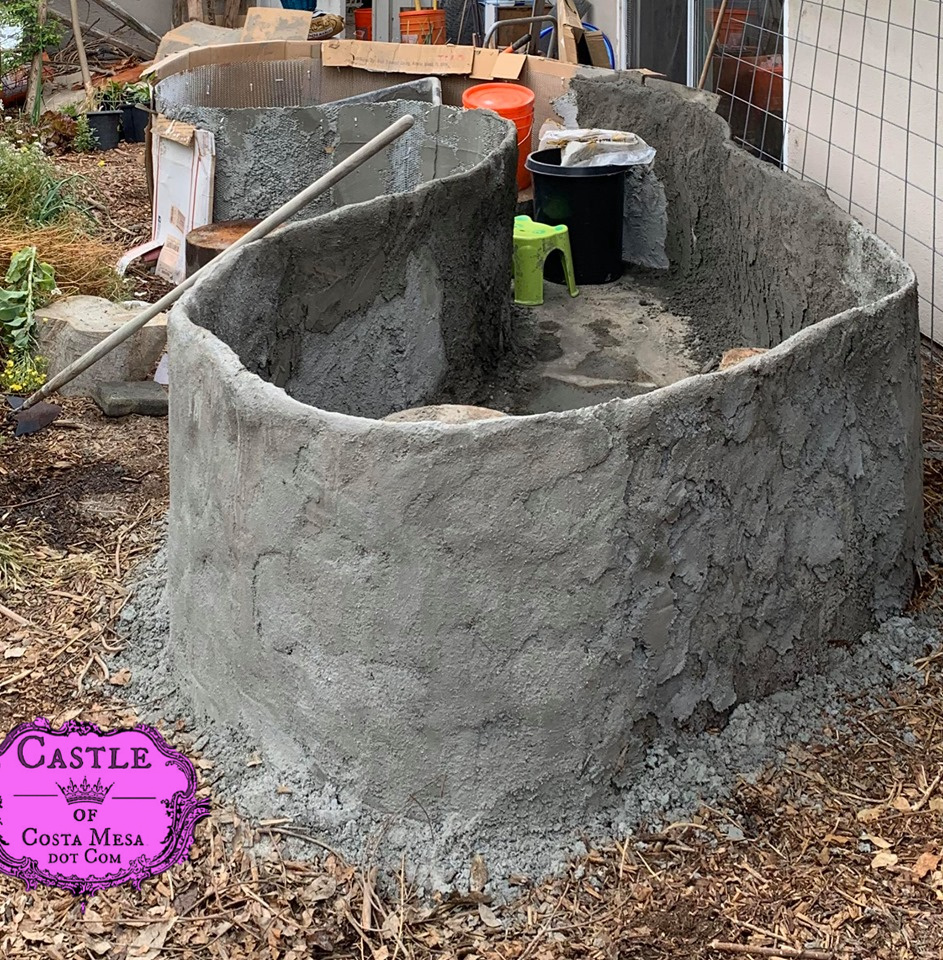
First coat just locks the wet cement in place, providing some thickness. After that dries, the wall becomes rigid and easier to work with. The surface is rough. The second coat is to make it look nicer. You could smooth it out with a big yellow cement sponge like I did on the North side of the bed, or use your hand to spread it, leaving beautiful finger marks like I did on the south side of the curvy bed.
- April 16, 2019. My ferrocement bed is 28″ high, that is the width of my metal lath. I am unable to straddle it to cover both sides with mortar simultaneously. Hence, when I add mortar to one side, it slides down and unable to stick to the metal lath. I devised this plan, so I could get work done alone.
- I puntured holes and zip tied large cardboard sheets to the metal lath.
cardboard, clamp
April 18, 2019. Cement dried overnight.
cardboard attached to lath with zip ties, ready to be mortared.
Eco-Sense Living. At 4:52 minute mark, see how Gord applies and pulls upwards the wet cement by straddling the metal lath walls? I am too short to straddle the metal lath wall. So, what to do?
At 4:18 minute mark, they mention that they use 2 parts sand, 1 part Portland Cement.
Eco-Sense Living, Curvy Beds Part two. Gord applies the final coat of cement on the layer that had cured beneath, sponging the new wet cement with wet tile sponge to smooth it out.
2:17 minute mark: Gord smooths out the top ridges of the curvy wall with damp tile sponge.
April 19, 2019. Close up texture.
How to Apply Wet-Cement Solo, Without the Aid of Another Person
- This is how Gord applies cement.
April 16, 2019. Getting acquainted with this medium.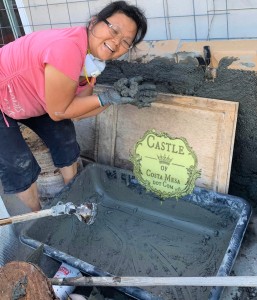
- April 18, 2019. I zip tied large cardboard sheets to the metal lath. This allows me to work solo.
Plastering
April 25, 2019. Patches of wet cement drying.
April 27, 2019.
April 27, 2019. The south end open, to receive hugelkultur contents.
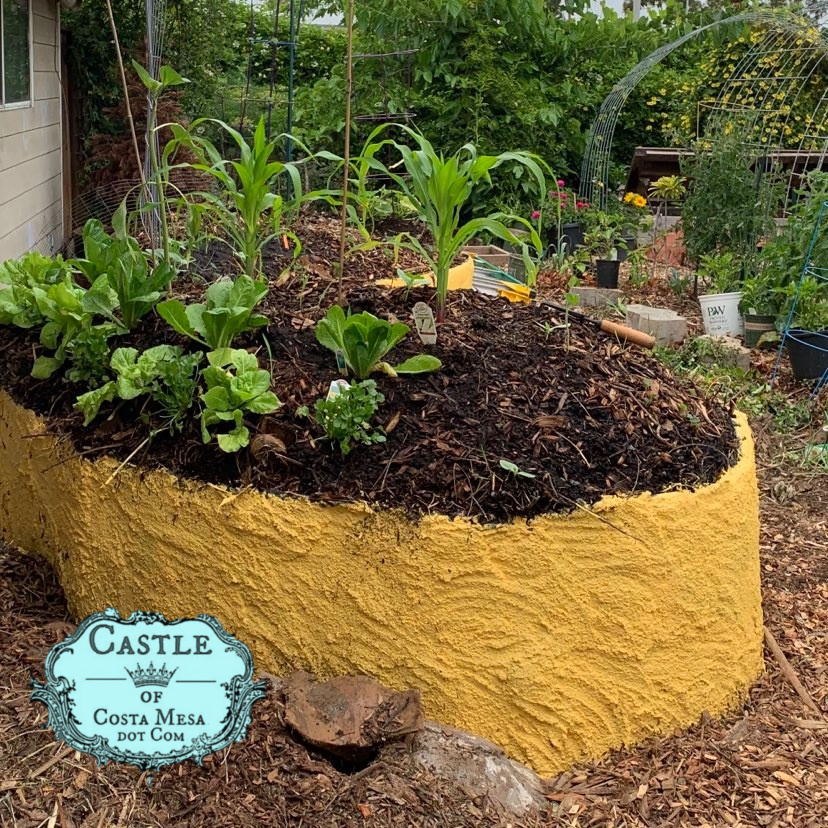
- This was my first time working with ferrocement. On the north side of my curvy ferrocement hügelkultur garden bed, I smoothed out the wall surface, thinking it would look more finished.
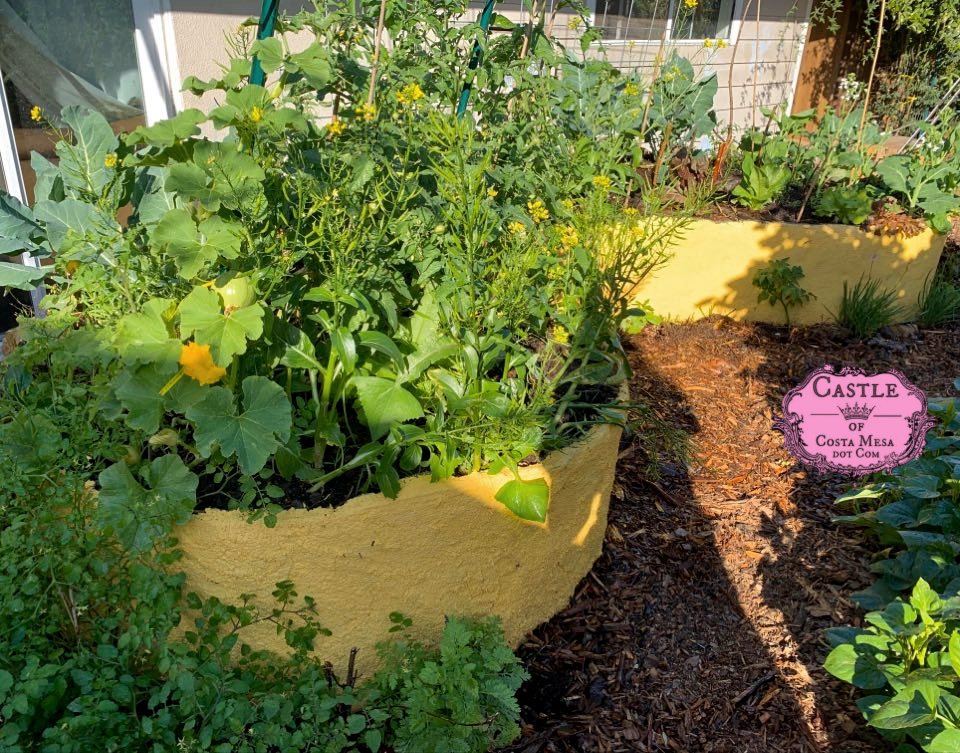
- I ended up really loving my handmade textures on the Southern walls, where my brute struggles and naive process were so beautifully recorded in wave-like marks of my hands. Photo: May 9, 2019.
Filling Garden Bed with Hugelkultur Contents
Collecting materials.
April 15, 2020. We have been amassing piles of materials for this project on our driveaway: Logs from the tree trimmer, newly pruned tree in the neighborhood, etc. Tree trimmers and gardeners are happy to unload their things for us so they do not need to haul it out of the city for a fee.
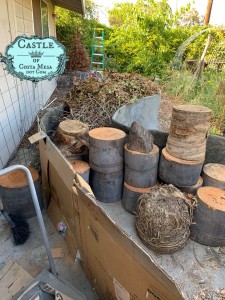
April 16, 2020. Sorting out the tree stumps to fill the hugelkultur.
[Vihren and Jzin lying in ficus branches and leaves]
Note: Filling carefully, avoid air pockets generated from different materials decomposing at different rates.
Air pockets – be sure to tamp down your layers well.
Another problem was as the lasagna layers were settling in Year 1, it created sink holes and air pockets, especially between the large, hard tree stumps. In retrospect, I should have tamped down each layer especially the branches and twigs, when filling the hügelkultur.
Adding Palm Tree logs
April 28, 2020.
Closing up Ferrocement Garden Bed
content
content
Collecting Contents of the Hügelkultur
Curing, Painting the Walls
May 5, 2020. The walls, drying from the rain, curing and waiting to be painted.
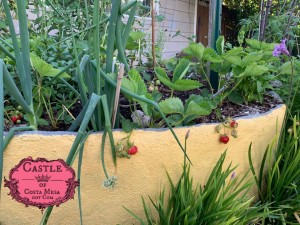
- May 9, 2019. My yellow phagocytosis.
Year One: What I Planted Here
I decided to grow mostly annual crops here in the first year so I can pull them out at the end of the growing season to see how the roots fare in this experiment and to understand the process better.
We did have to water this “magical, no-watering” bed in the first year, in our dry Southern Californian climate.
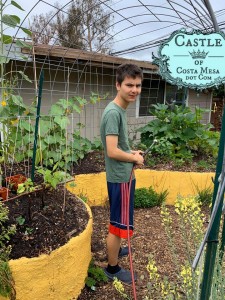
June 25, 2019. Dimiter watering our “magical, no-watering” ferrocement Hügelkultur Curvy Garden Bed.
- Here were some of the crops I grew in Year One.
- Mara des Bois strawberries from Norse Farms
- Earliglow strawberries from Norse Farms
- Black Oil Sunflowers as pollinator, ornamental and later as fodder for the chickens
- Peter Pan squash
- Cocozella di Napoli squash from Baker Creek Heirloom Catalog
- Lettuce, red bunching onions, Radish
- On the foot of the hugelkultur bed (Remember this is build on our cement patio!), I planted an herb garden:
- thyme, variegated thyme, mexican oregano, parsley, peppermint, holy basil, rosemary, chiogga beets
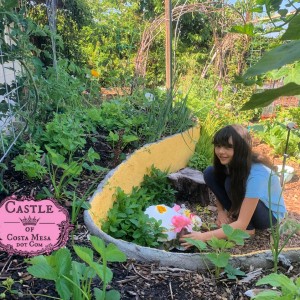
June 25, 2019. The Ferrocement bed, viewing South.
November 26, 2019. By Winter, the ferrocement bed is filled with winter crops, such as yuchoy, broccoli, cauliflower, various lettuce, herbs (basil, society garlic), kabocha squash etc.
Year Two
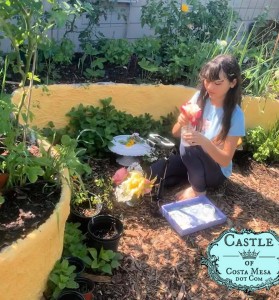
April 30, 2020, at the base of my big yellow phagocytosis: Elena setting up and shooting a video for Ms. Ingrid’s Chemistry class, explaining the chemistry that goes on in the process of making her delicious paleo lemon pie.
May 7, 2020. Dangling strawberries ripening on the ferrocement raised bed.
My Thoughts, What I leaned so far.
Need to water. We did have to water this “magical, no-watering” bed in the first year, in our dry Southern Californian climate.
Air pockets – be sure to tamp down your layers well.
Another problem was as the lasagna layers were settling in Year 1, it created sink holes and air pockets, especially between the large, hard tree stumps. In retrospect, I should have tamped down each layer especially the branches and twigs, when filling the hügelkultur.
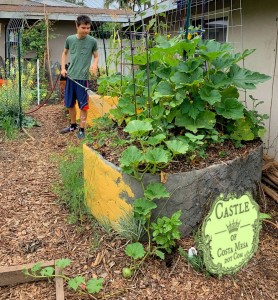
Photo 3. June 16, 2019. Despite the various Year 1 snafus, we really enjoyed the pretty, curvy raised bed that allowed us to grow more food on what was once concrete. Photo 3 shows other crops grown in other non-hügelkultur areas of the garden as well.
My Original Designs and Ideas
- Rice Terrace – increase growing surface
Microvilli
February 23, 2019. Mock up.
References: Ferrocement Works by Others
I am so grateful for Youtube as an educational tool, allowing me to learn so many new skills by watching how others do them.
Ecosense. Check out Gord and Ann’s website here.
An article from Backwoodshome.com: Building a ferro-cement shed by Robert Van Putten.
For the cement, I decided to use a mix of one part Portland cement to three parts sand, with as little water as possible.
Other Topics
Click here to see our active decay cycle composting chicken coop.


