Wednesday, January 23, 2013. Today Christine Newell showed us how to make felt the “easy way” using water-soluble Artfelt potato starch based paper.
Here is our crafting journey this morning.
Click here to view last week’s project: Knitted Sheep Marionette.
Check out the “Gallery of Past Craft Group Projects” here.
What is Artfelt?
“It’s not needle felting. It’s not wet felting. It’s not fulling. It’s Artfelt and it is revolutionizing the way we felt. The artfelting technique utilizes Artfelt paper, a patented new paper specifically developed to ease and speed up the felting process.” – Artfelt.
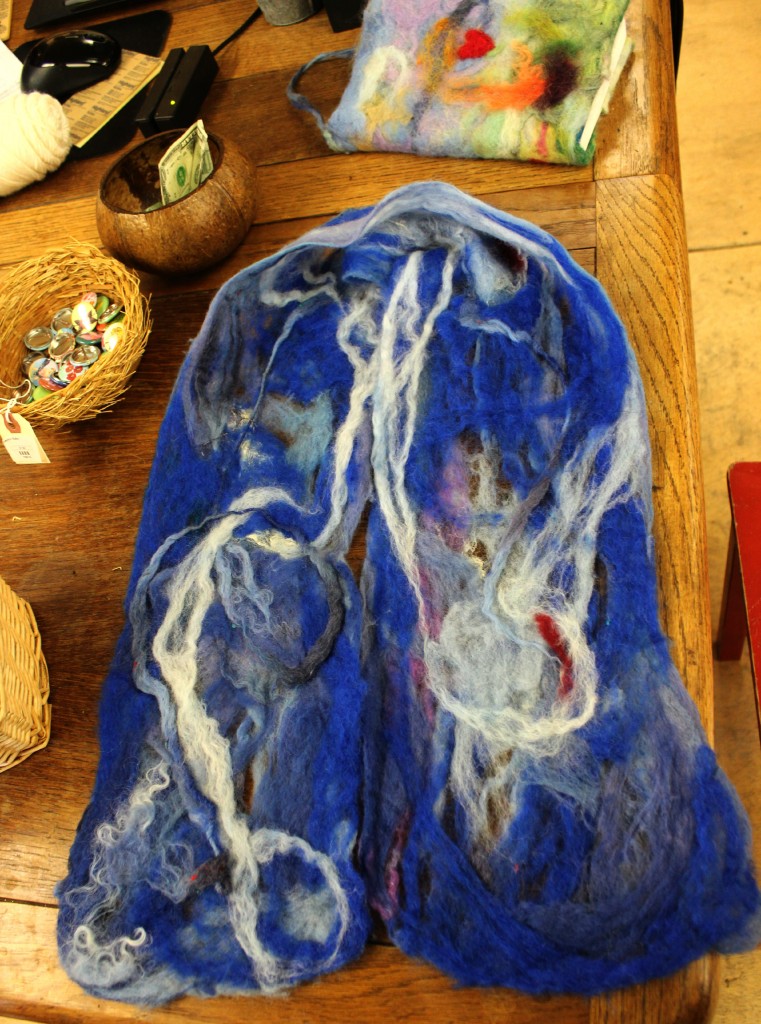
Here are some examples of the Art Felt scarves on sale at The Company of Angels Store: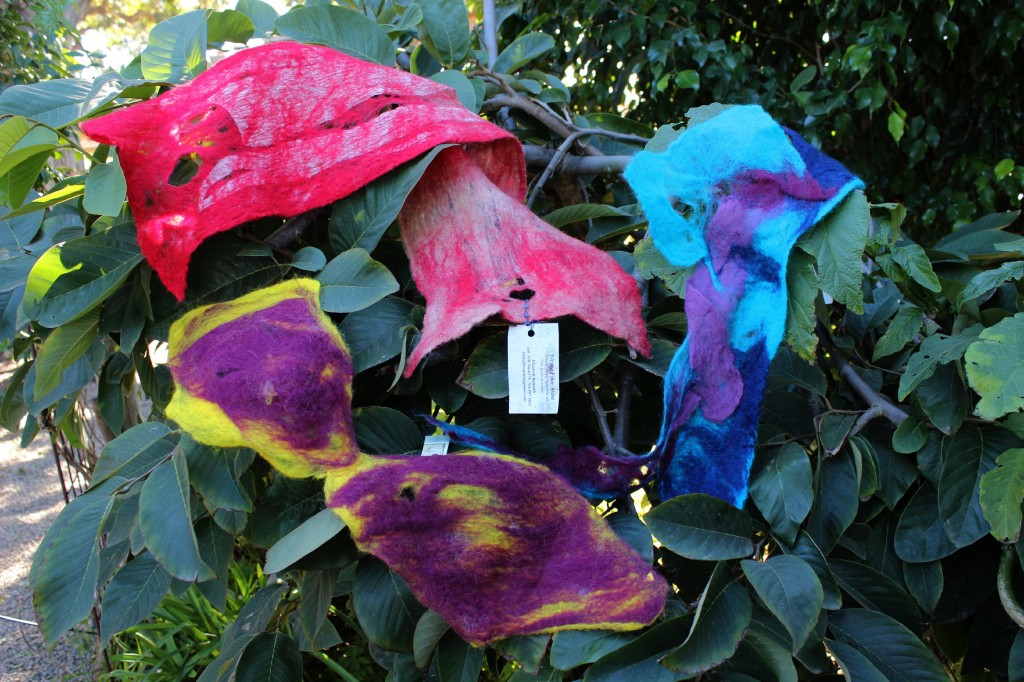
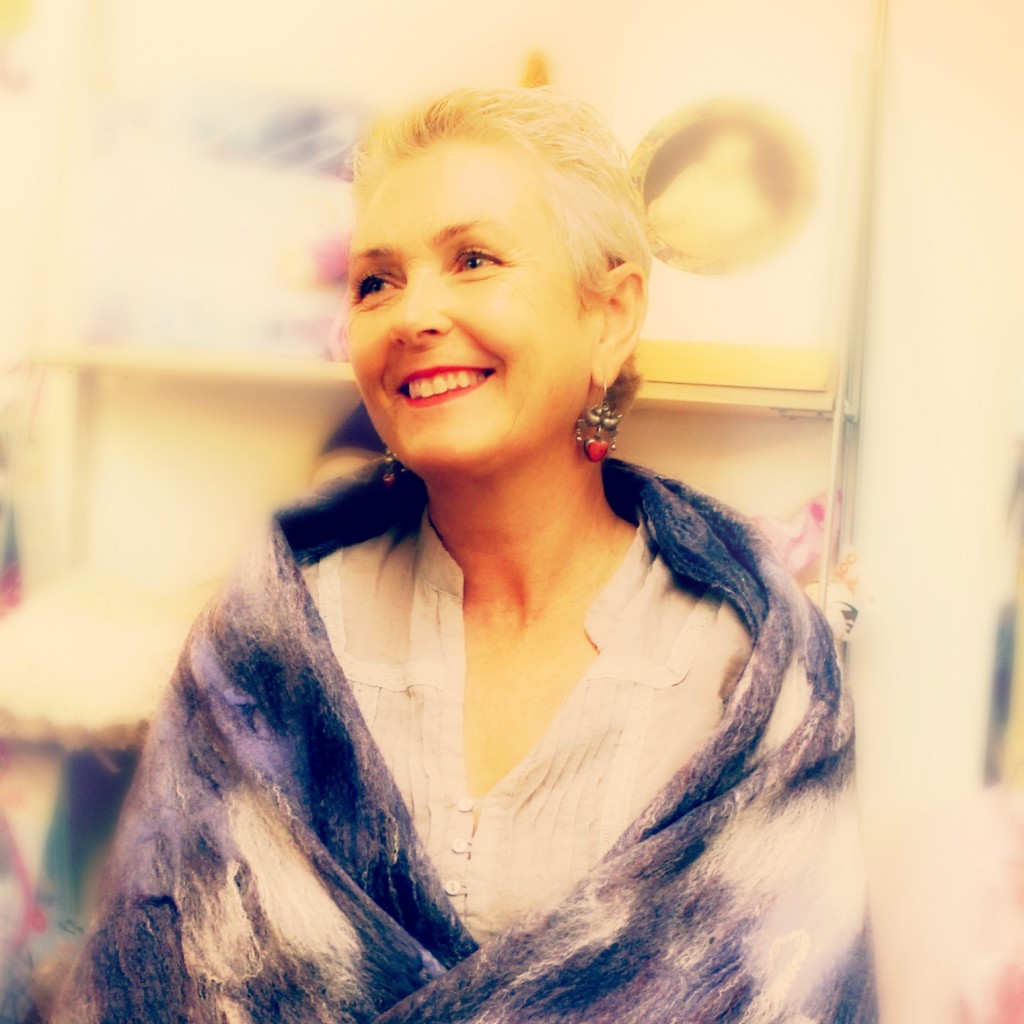
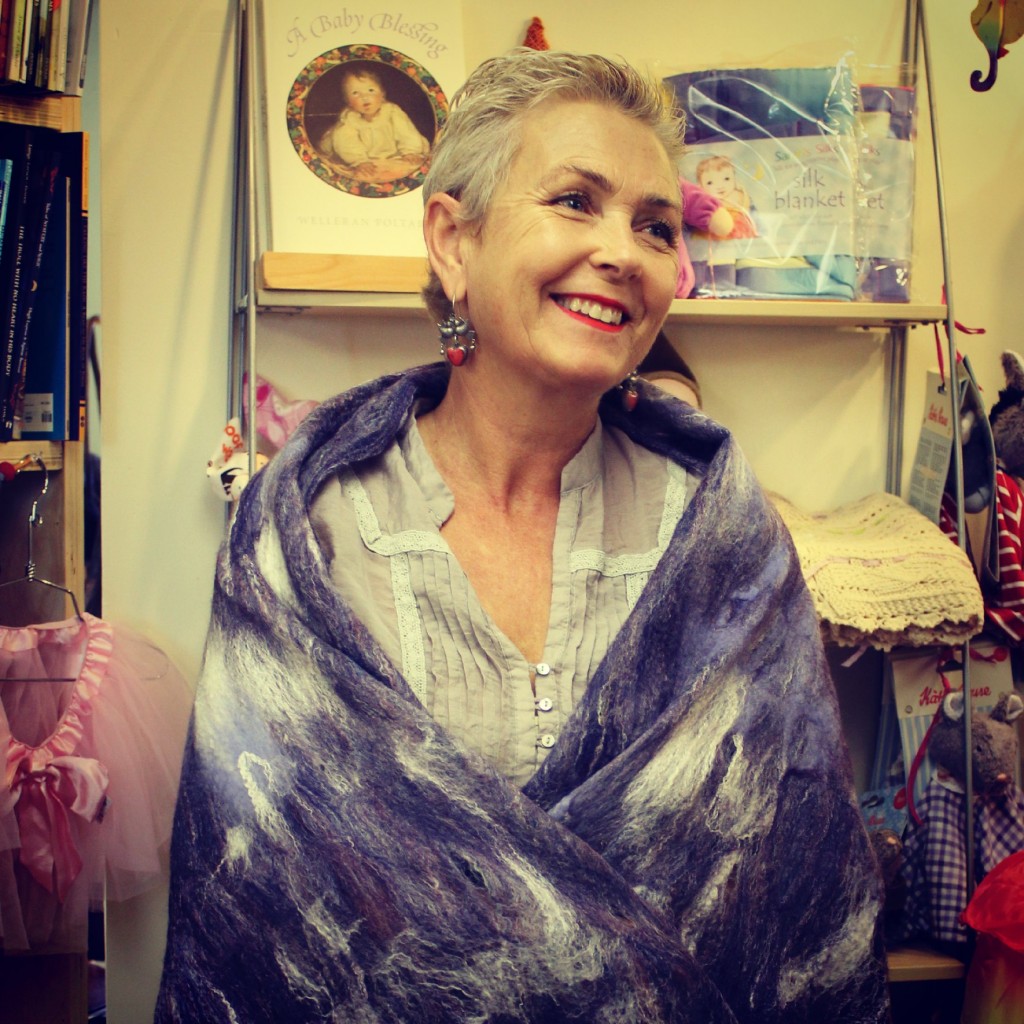
Our beautiful Rachel modeling a large Artfelt shawl, available for purchase at The Company of Angels store in Costa Mesa, California.
Today Christine Newell showed our craft group how to make Art Felt scarves.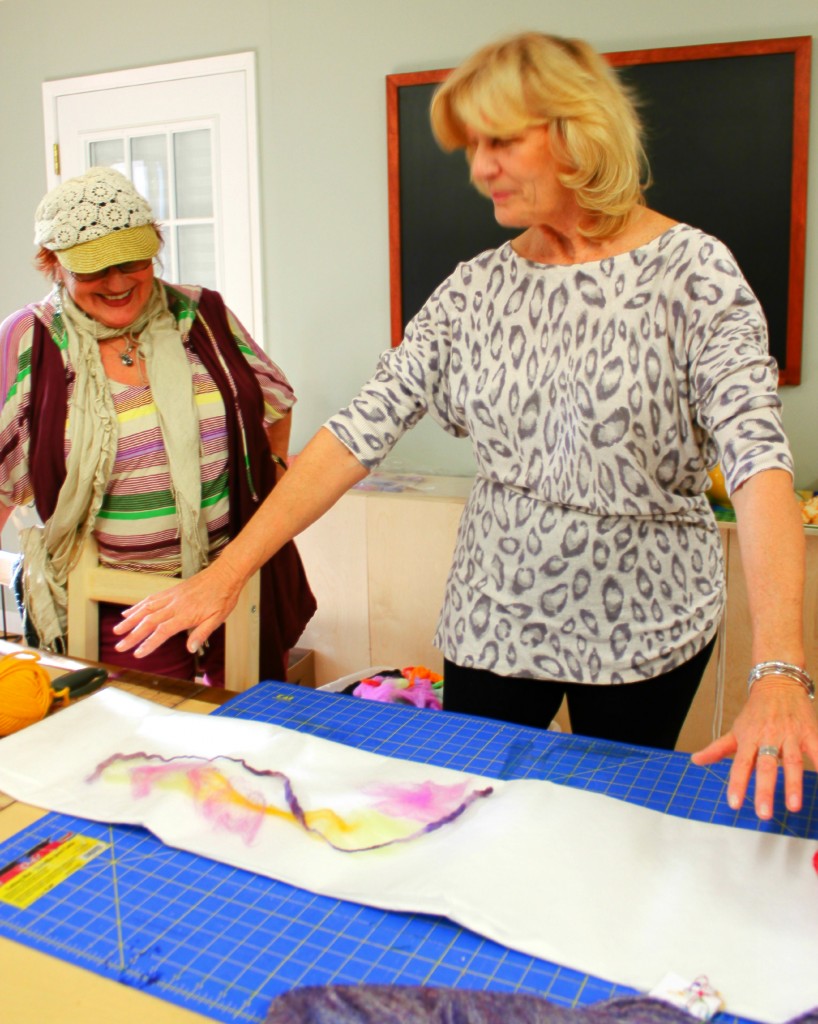
For a $15 supplies fees, we had access to all the supplies to make our project today. The newly purchase variegated colored yarns were fun to use!
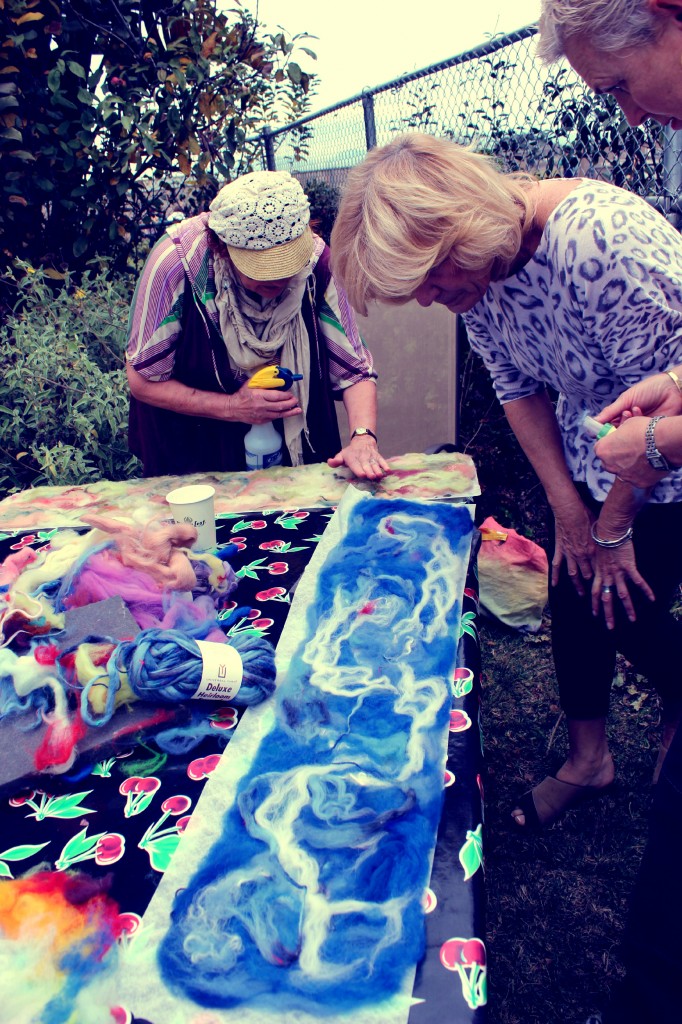
Christine gave us each a long piece of white Artfelt paper to design our scarves on.
Lay your wool roving or teased opened pencil rovings onto your white Artfelt paper in thin layers. Be sure to ultimately touch and criss cross them with other fibers so they are connected.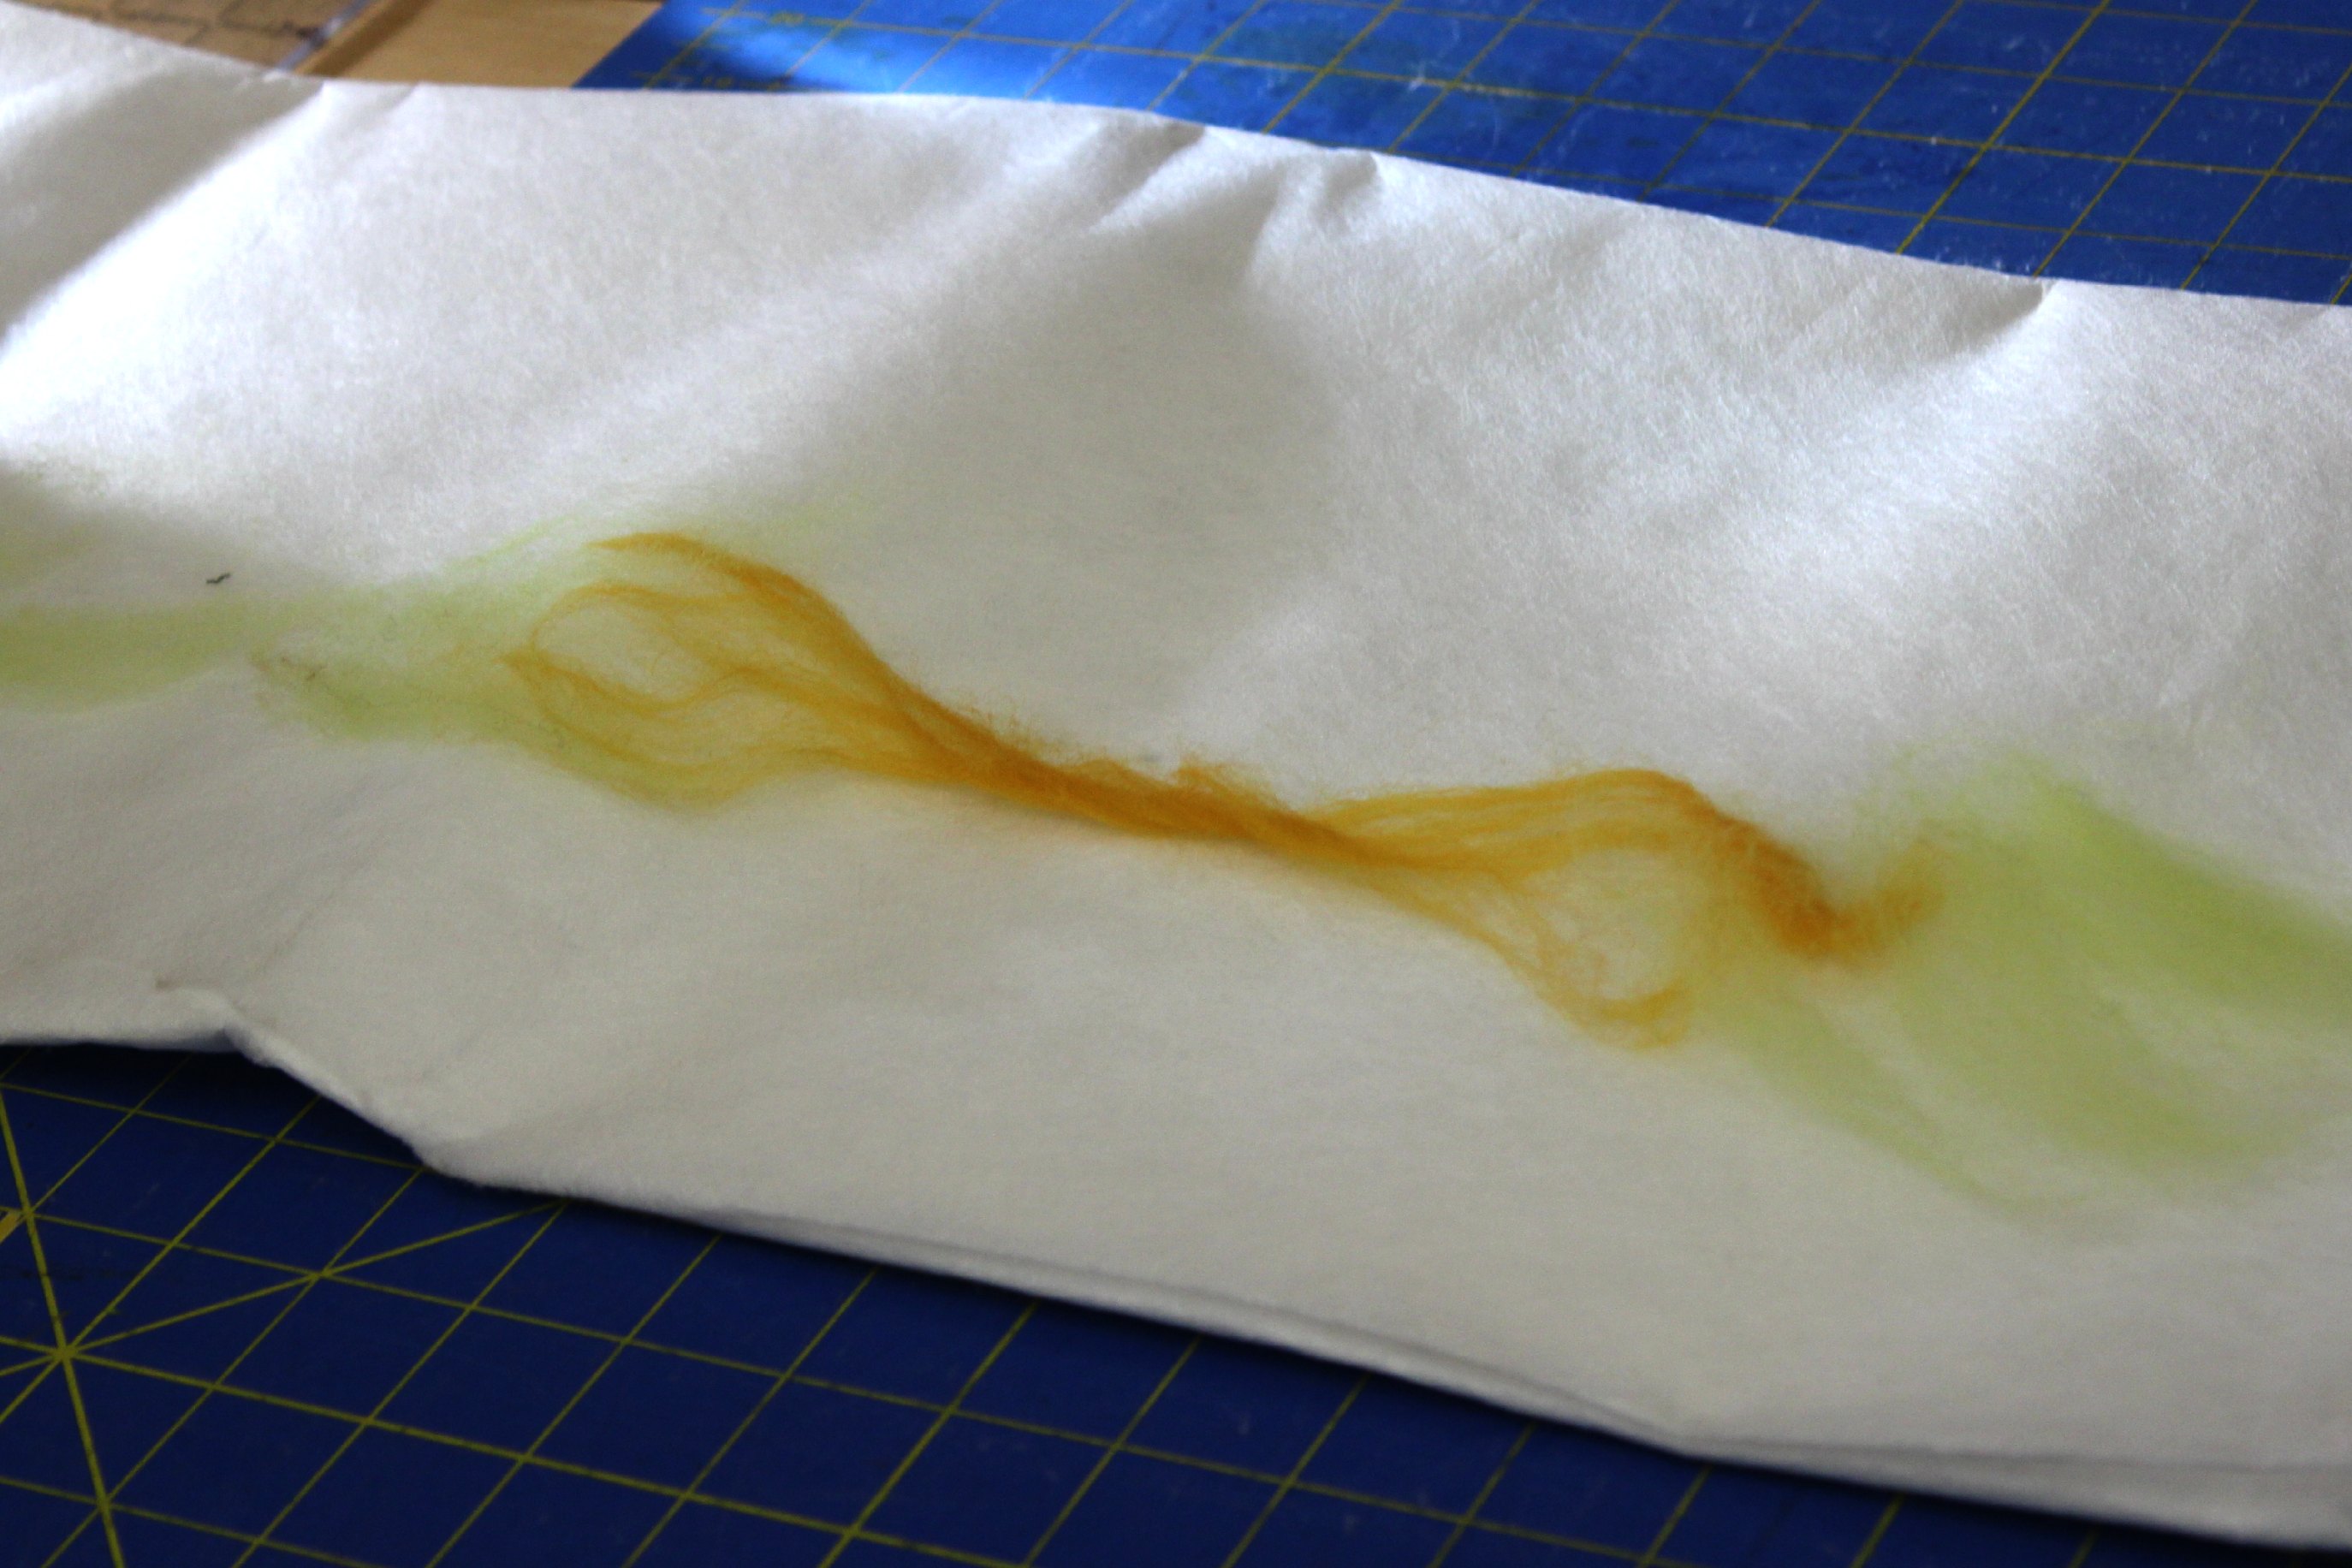
I found Artfelt on sale here: one yard at $10.95 instead of the usual $18.00. If you bargain hunt online, I bet you can fish out some good prices.
Artfelt paper on Amazon.com
Here is a video I found online showing the process.
Here is a 6 page PDF background including instructions, FAQs on Artfelting:
Artfelt instructions from itsartfelt.com
Design. Arranging Fibers on Artfelt Paper
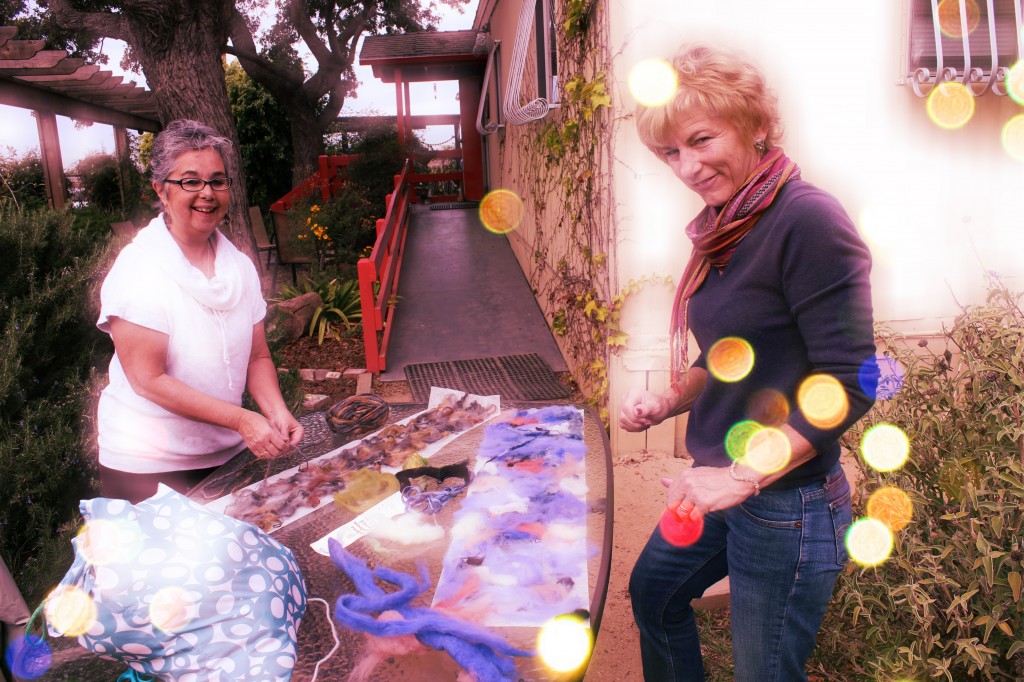
The atmosphere was filled with creative energy this morning!
Oma teasing open variegated colored yarn to decorate her long strip of Artfelt paper. This was her first layer.
Note: the layer facing downwards on the white Artfelt paper will eventually form one side of your scarf. The final layer that you leave on top will form the other side. I.e., your scarf will have two sides with two different pictures in the end.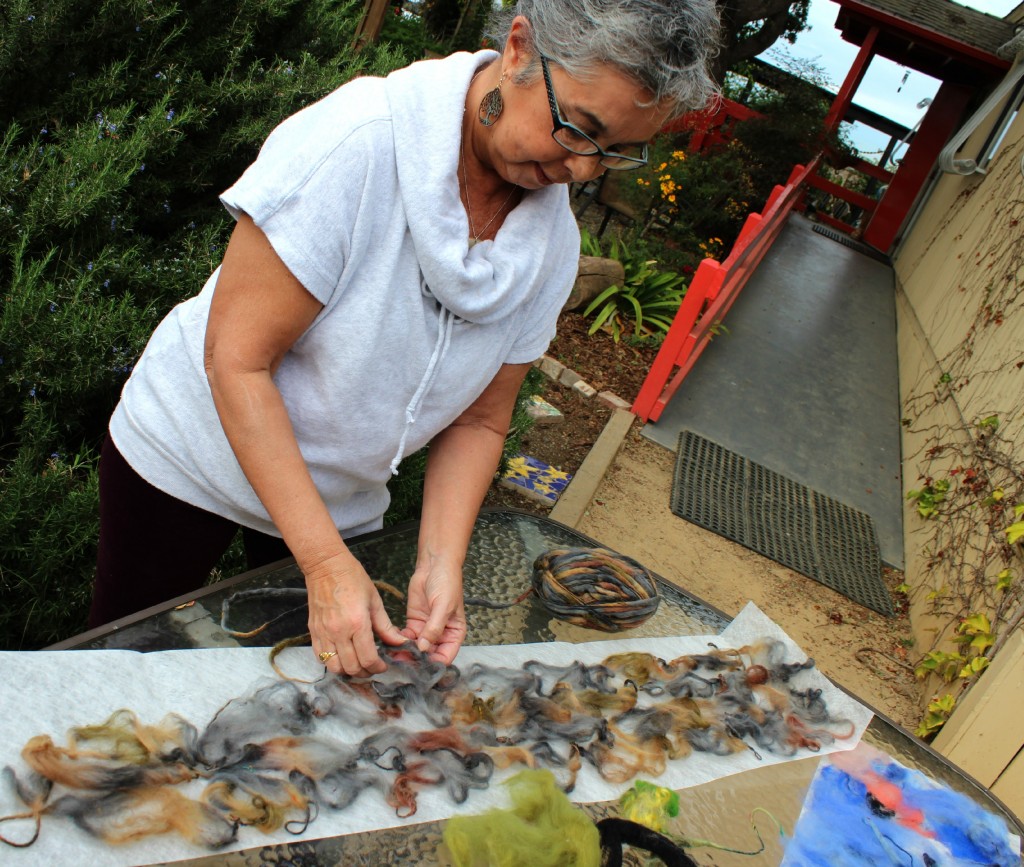
Gisela at work. What gorgeous colors! It is important that your layers criss cross and otherwise touch the bottom layers so they can felt to one another and hold the scarf together.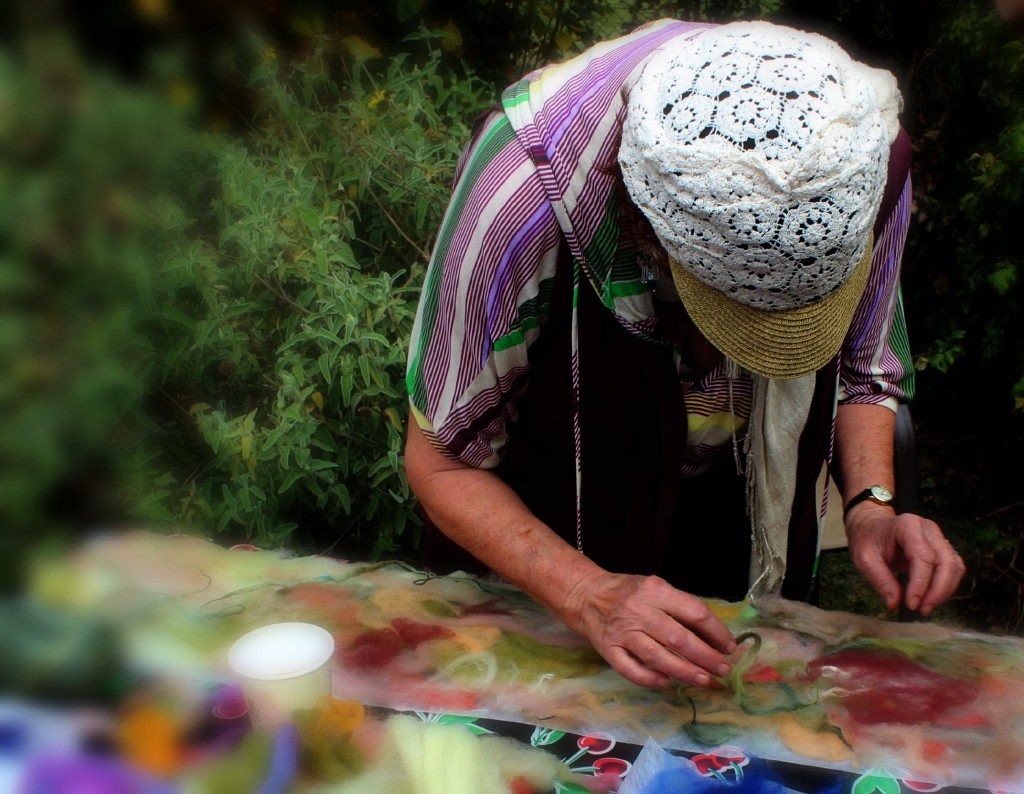
Arranging felt onto Artfelt paper.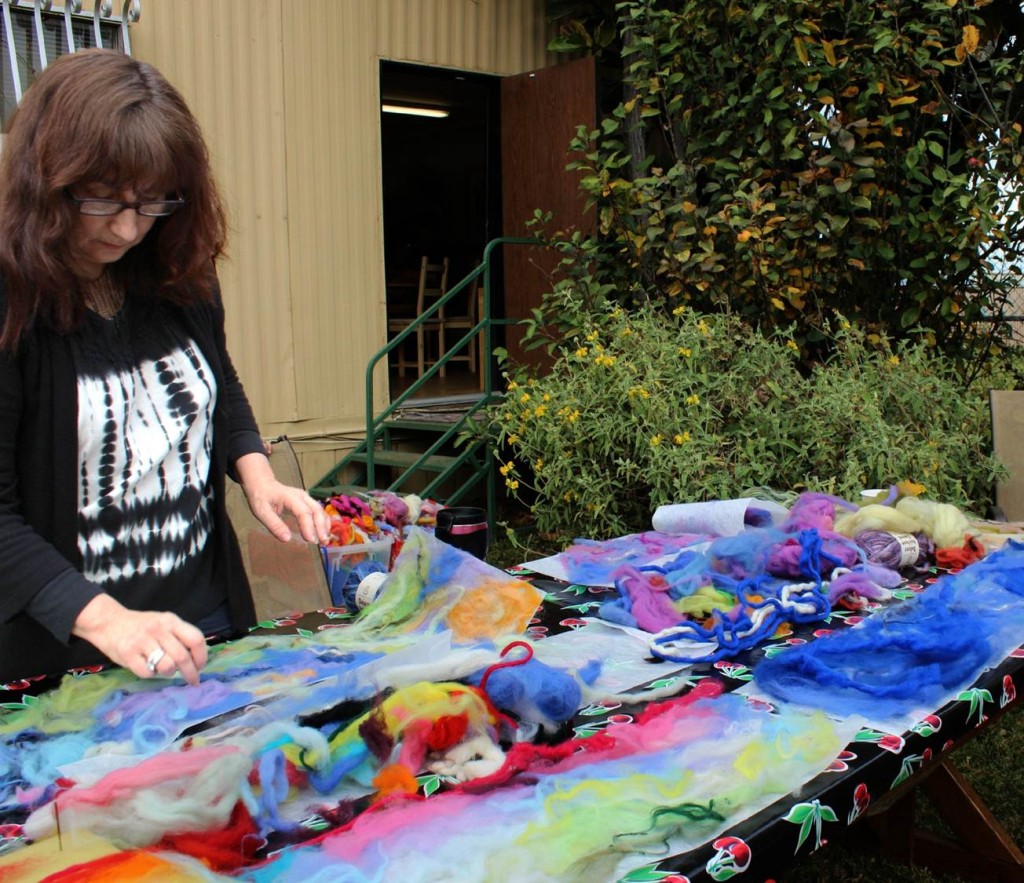
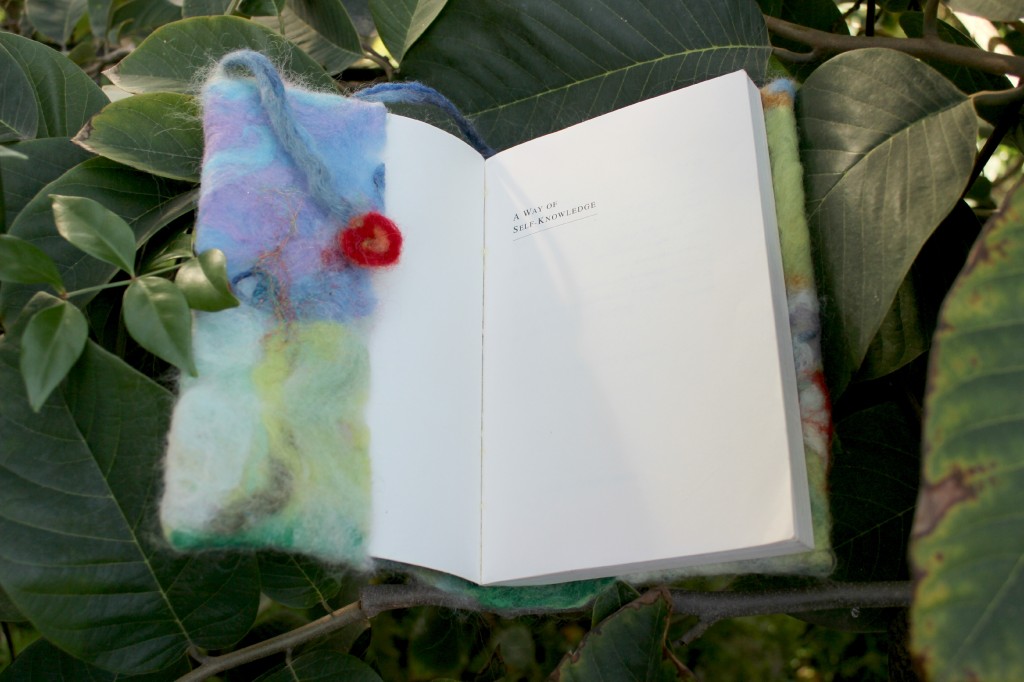
Julie’s design, upside down view from my vantage point across the table! Julie considered crafting her “scarf” into a book cover with an attached book mark.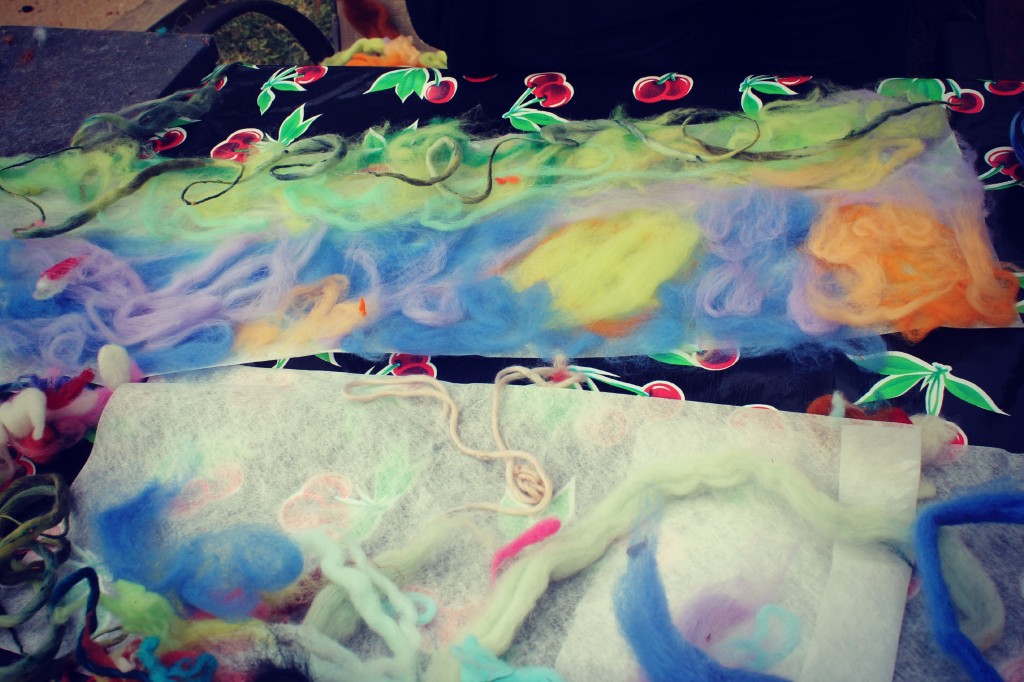
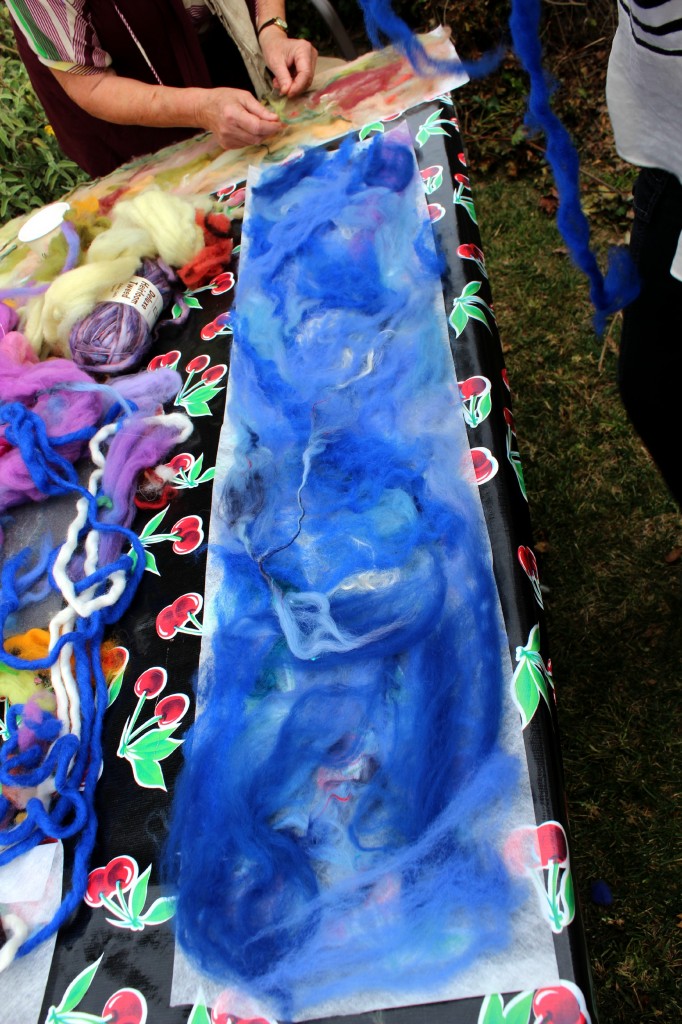
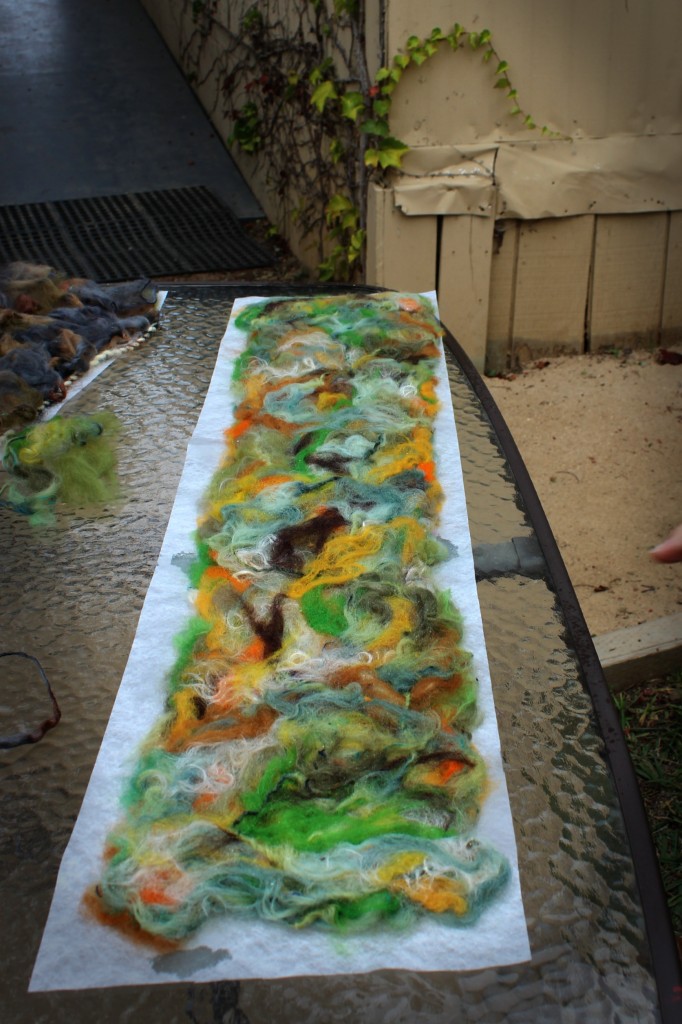
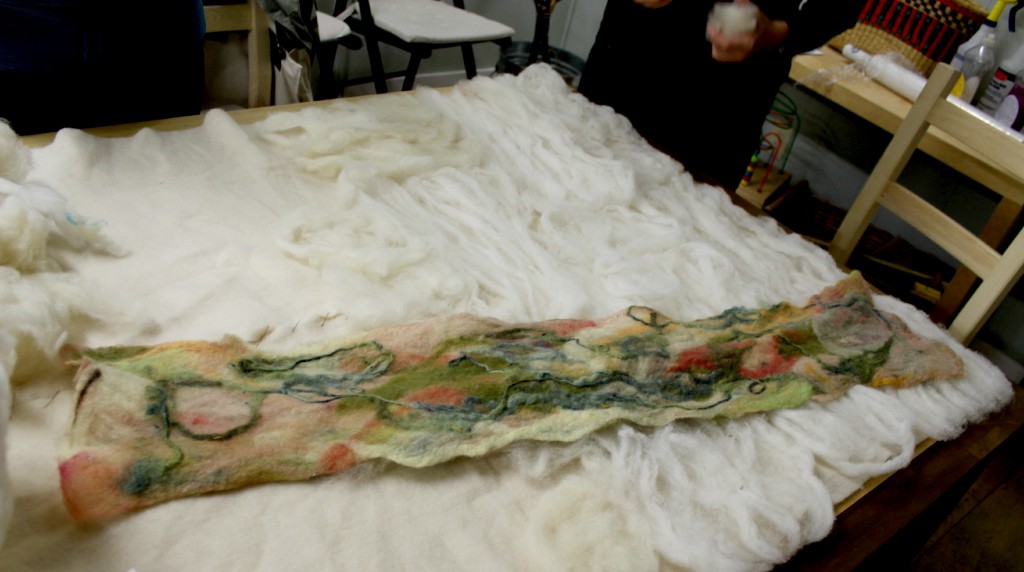
Here is my first Artfelt project. I considered making several felted painting from this long scarf piece. I imagine cutting my long scarf piece up into several felted pictures after felting. Then again, this scarf has 2 picture sides, how can I display that to advantage? Hmm…
So far, I have finished laying down the first layer of wool roving. These fibers will need to cross with another layer that will hold them together ultimately.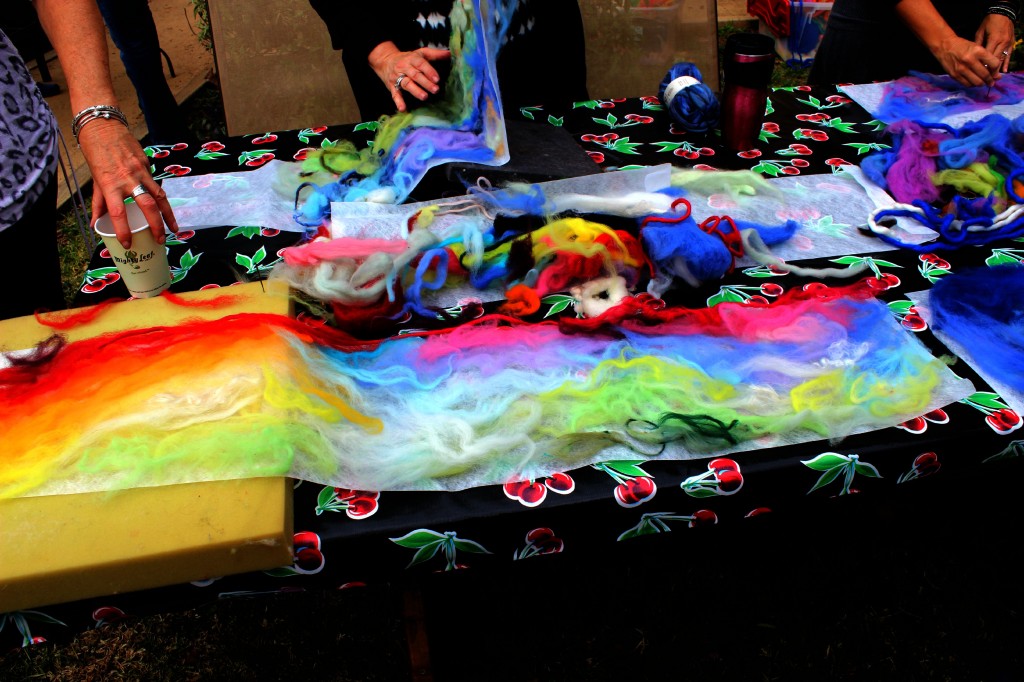
Renuka laying down thin strips of colored roving in different directions (so they layers touch and cross each other) on her Artfelt paper.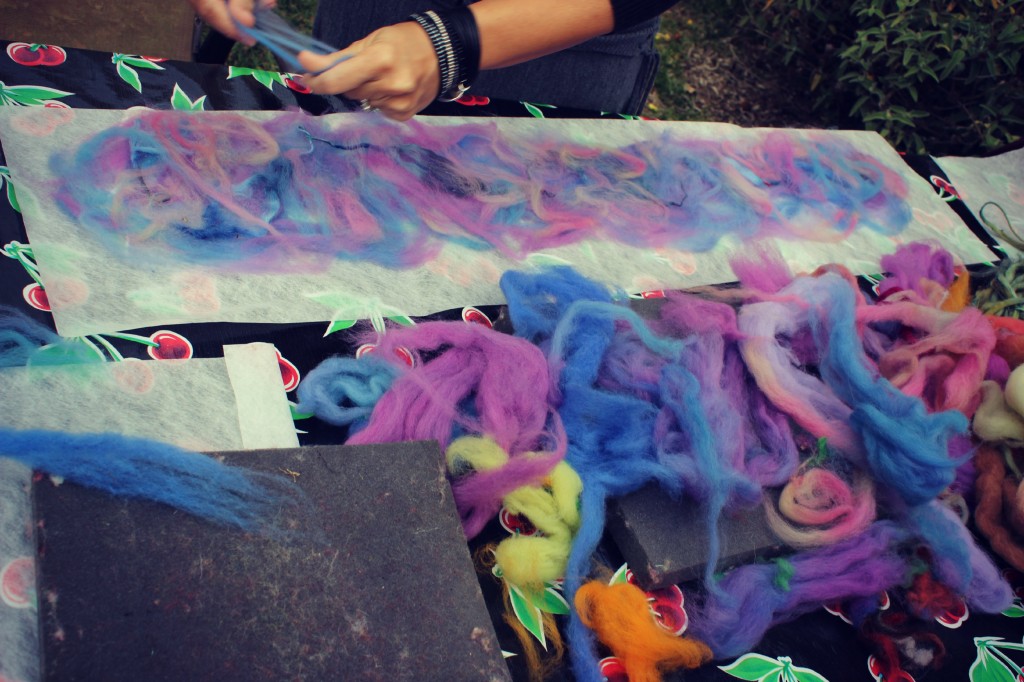
Rachel’s work in progress…
Antoinette’s design. Multiple layers were ready for tacking with needle and spraying with water.
Creating with friends. What a perfect way to spend a Wednesday morning.
Tacking Fibers to Artfelt Paper
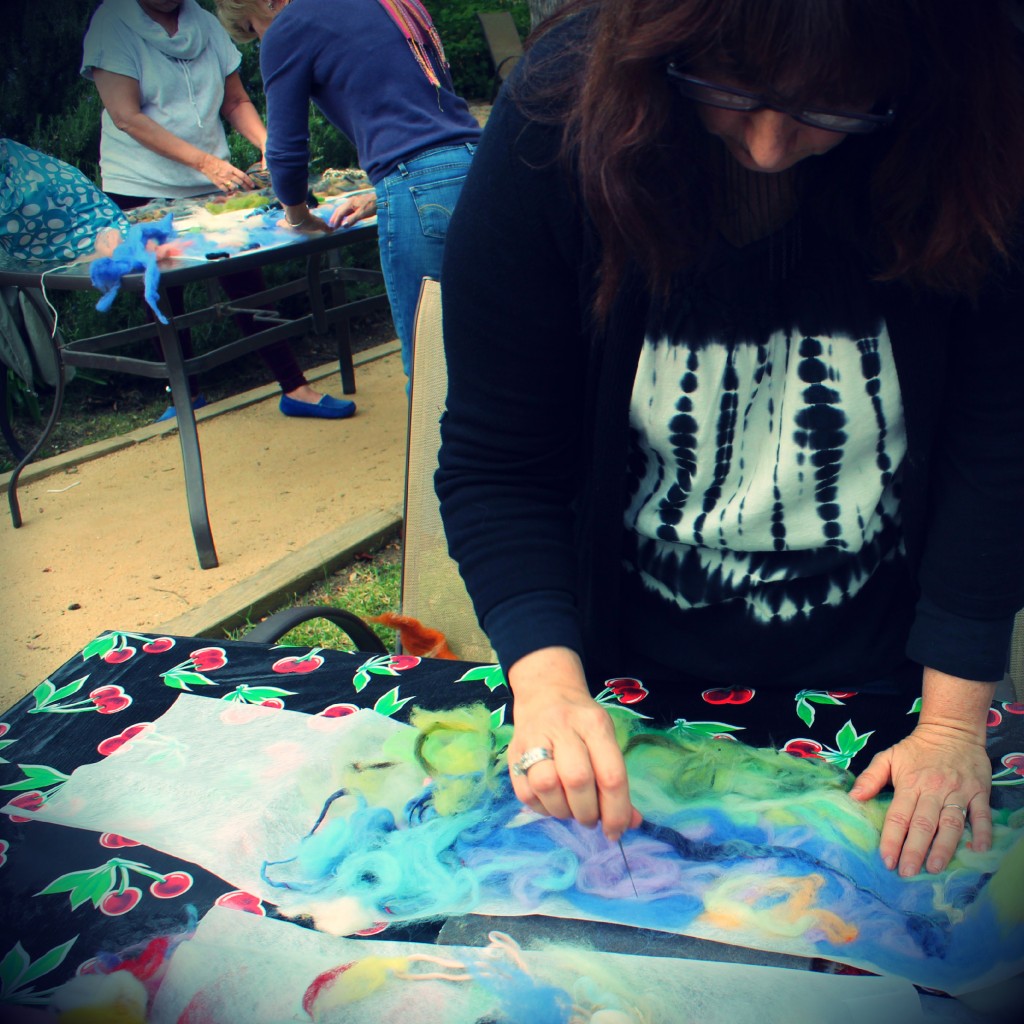
Julie sparsely tacks her design onto Artfelt paper using a barbed felting-needle. This is to prevent the design from being moved when sprayed with water in the next step.
Lucy and Gus playing on a blanket on the grass at craft group.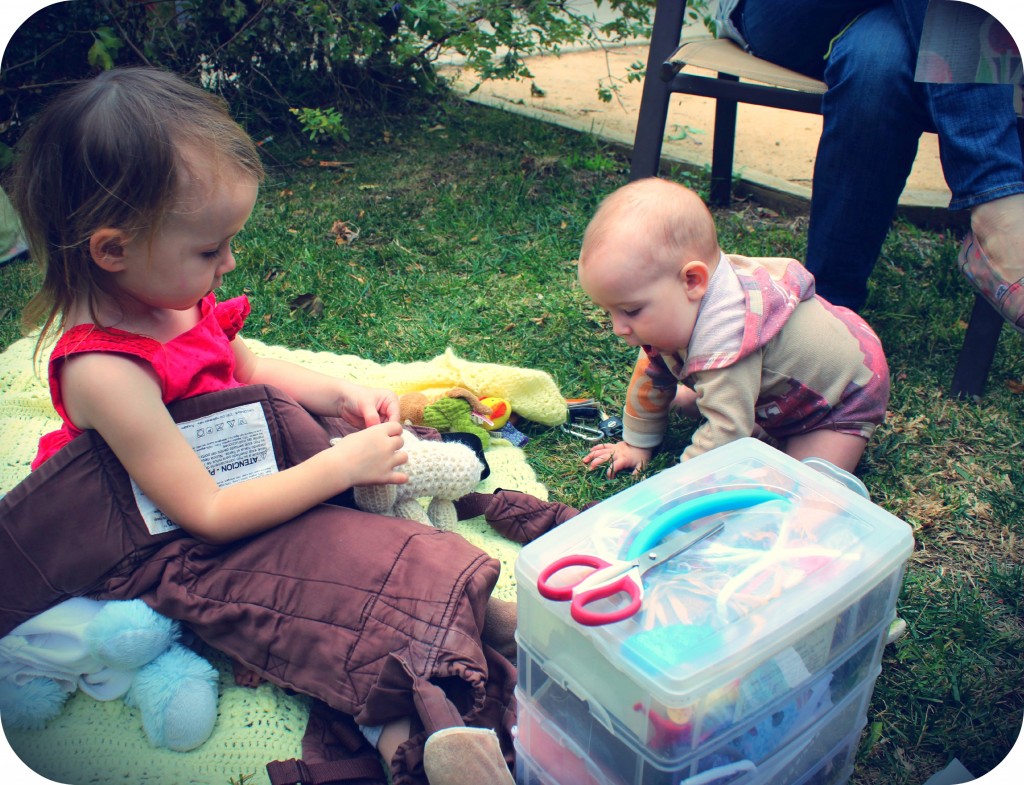
Christine giving Rachel’s piece a close examination. Is it ready to be sprayed with water?
The dry design is full of texture at this point. However, at the end of your project, the felting (in the dryer) will flatten everything somewhat. I am considering dry needle-felting my piece after this process is done, to add texture.
Spray Water on Your Project
Spray your project with a water from a spray bottle.
Peek underneath: be sure the water has soaked through the felt to your Artfelt paper.
Wrapping Up Wet Project in Plastic Saran Wrap
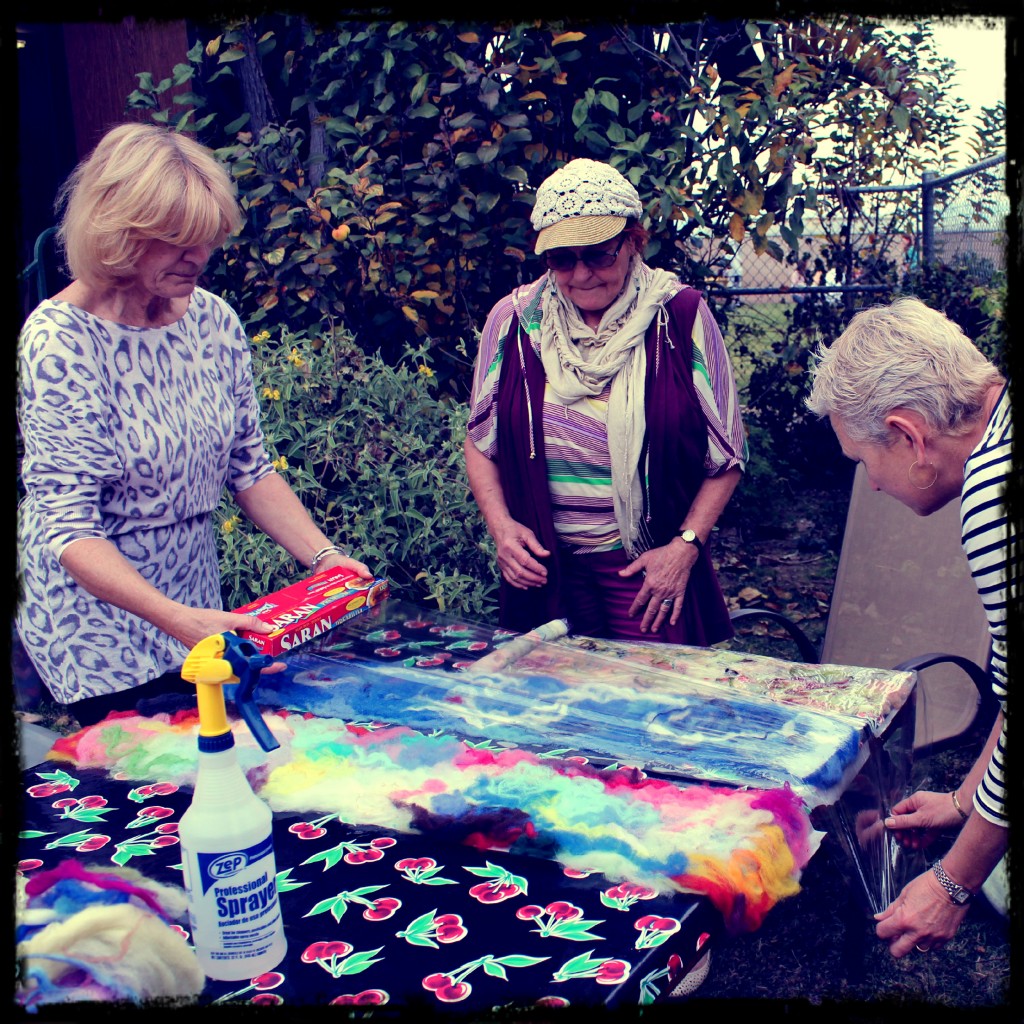
With the help of a friend, unroll plastic cling wrap /Saran wrap over your Artfelt scarf project. Be sure to unroll about 7 inches extra of saran wrap at one end before you cut off that plastic so you have enough wrapping to cover up your entire scarf later.
Rolling Up Moistened Artfelf Scarves
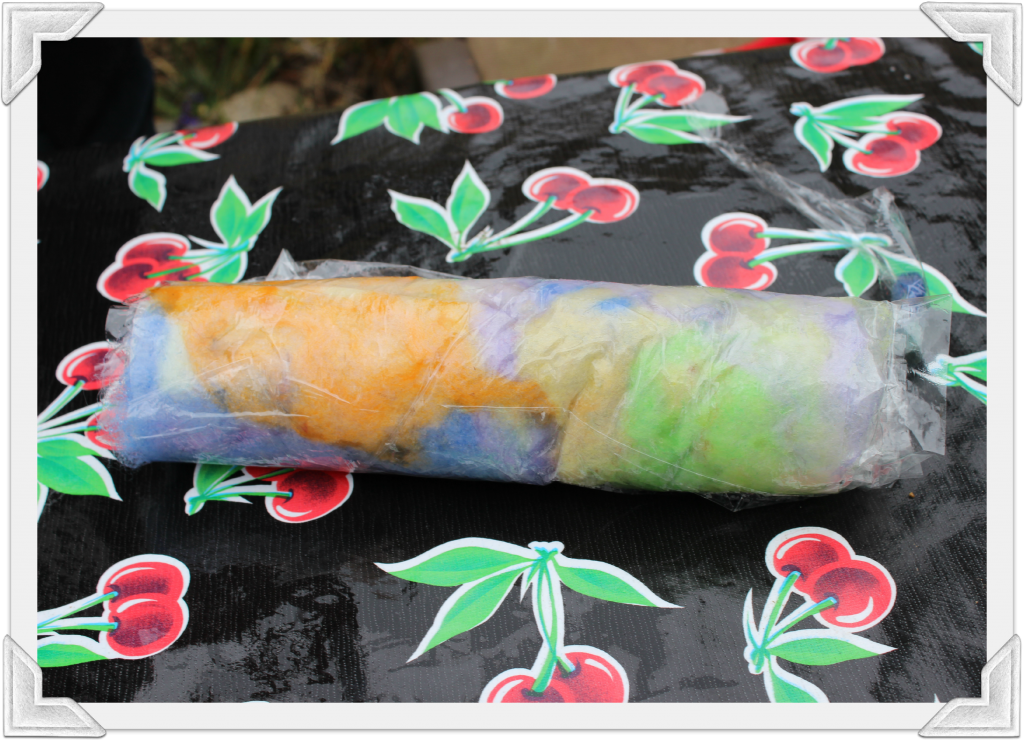
Julie carefully rolling up her moistened Artfelt scarf in saran wrap. Next, she would be inserting the rolled up “burrito” into a sock destined for some felting in the dryer.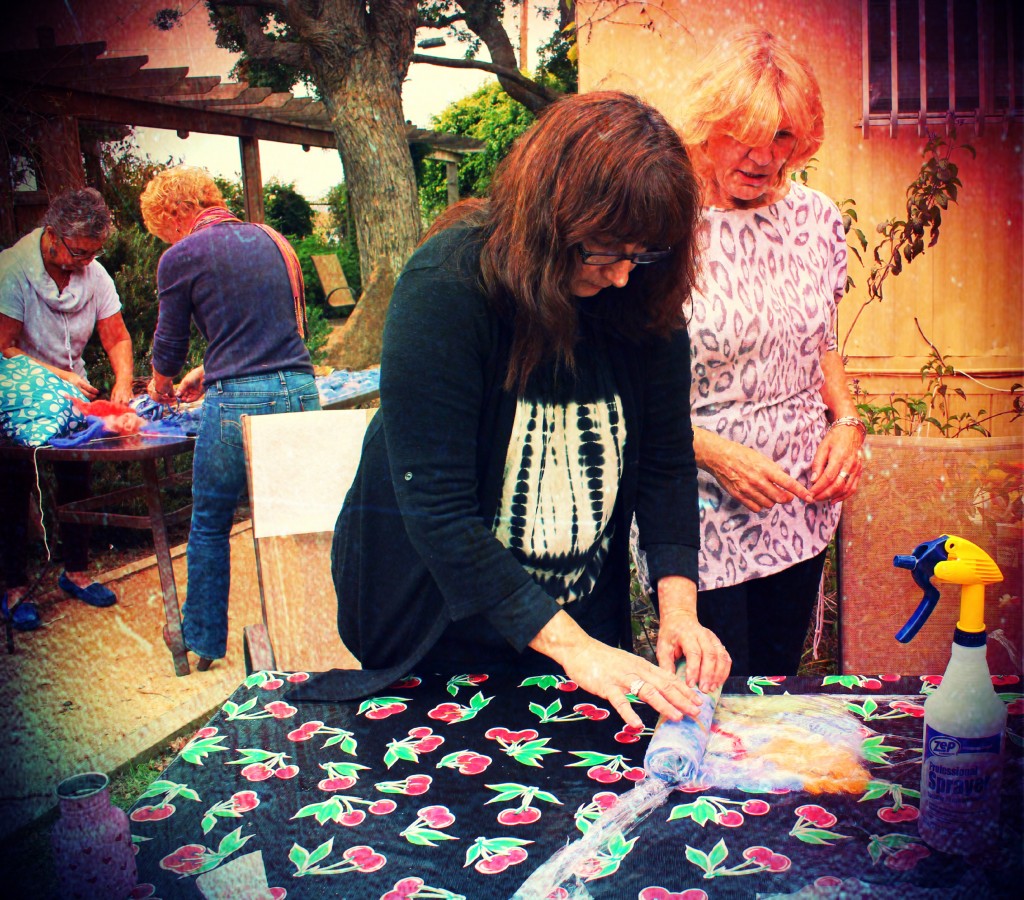
In the step pictured above, it is helpful to have a partner standing next to you with a spray bottle of water. As you roll up your Artfelt paper, your friend can help you spray some potentially dry spots on the bottom of your Artfelt paper.
At this point, check both ends of your “burrito” and tuck in any felt that protrudes beyond the edge of your plastic saran wrap. Any fiber pieces that touch will end up felting together in the dryer. You do not want that for your scarf project.
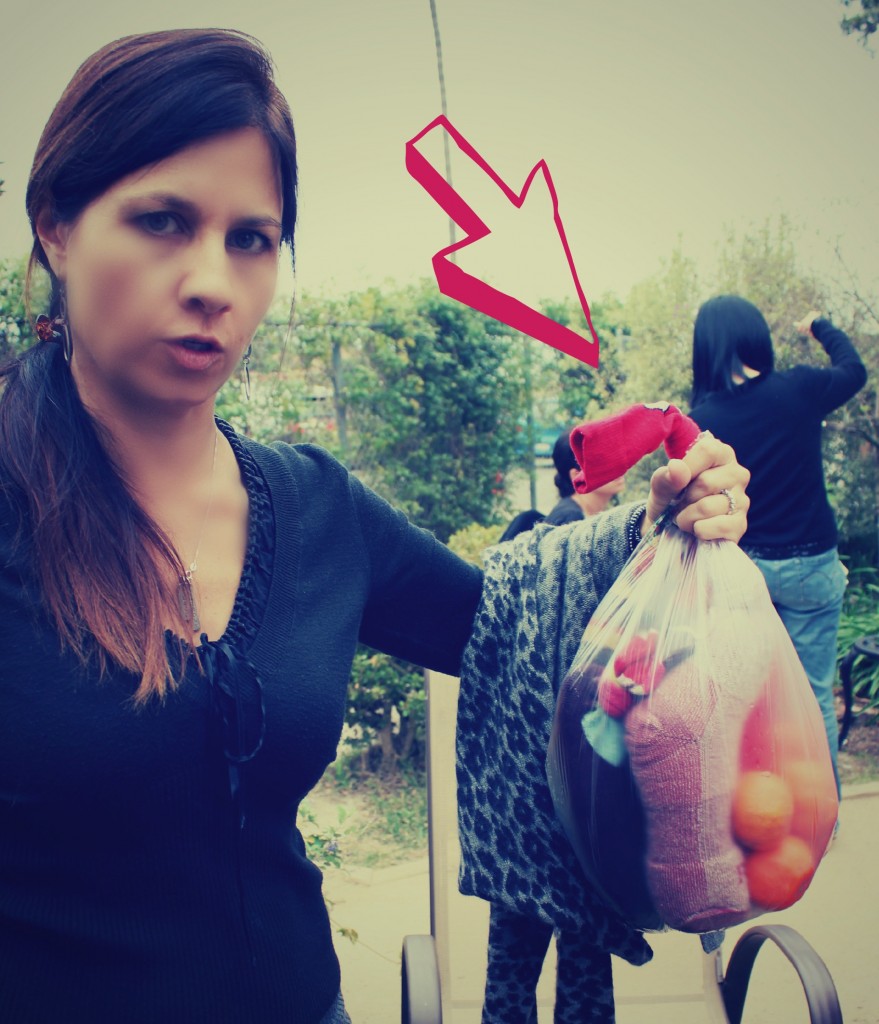
Next, insert that puppy into a sock and tie it up.
Renuka holding up her rolled up Artfelt scarf inside a Christmas stocking, ready to toss into the dryer to felt!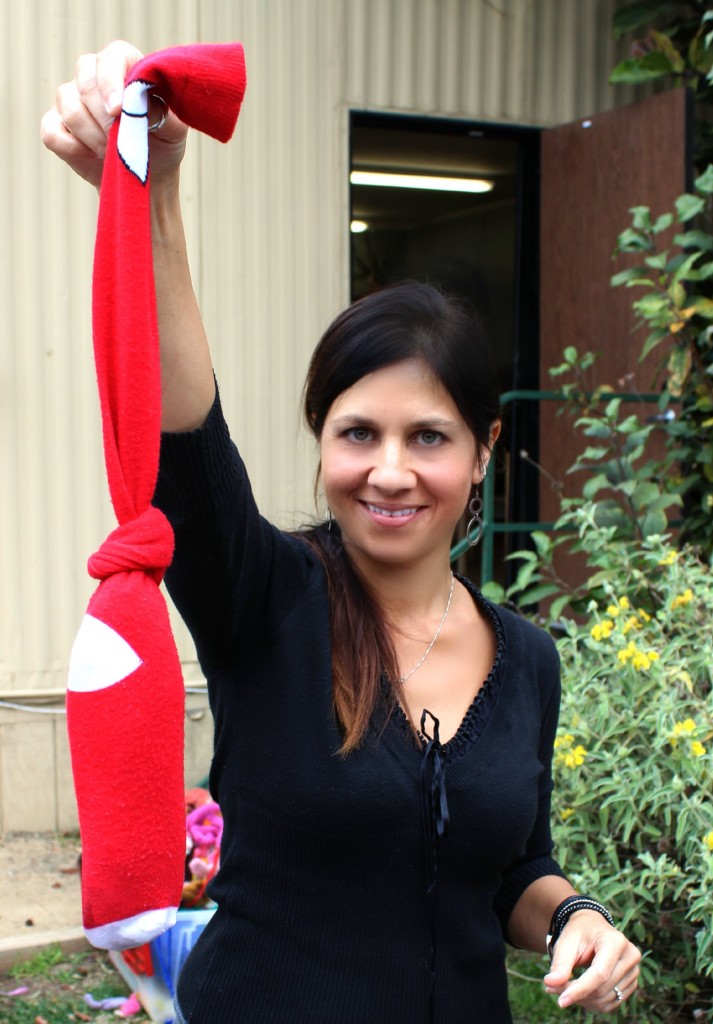
Toss those stockings into the dryer to Felt for um…15 minutes to felt without heat.
Um…is that right, Renuka? Ask her to confirm, I think that was right…15 minutes, no heat in the dryer.
The dryer at school was not working. Thank you Renuka for driving our scarves home and felting them in your home dryer.
“It’s the agitation, not the heat that felts the piece” is what I hear in the video tutorial above.
IMPORTANT NOTE: Tangerines are not to be included in the drying cycle!!!
By the way, thank you Heather for sharing the bounty of fresh tangerines from your tree with the craft group. Enraptured in the throes of creativity, I forgot to pick some, so I did not get any, sniff, sniff! – hint – – hint-
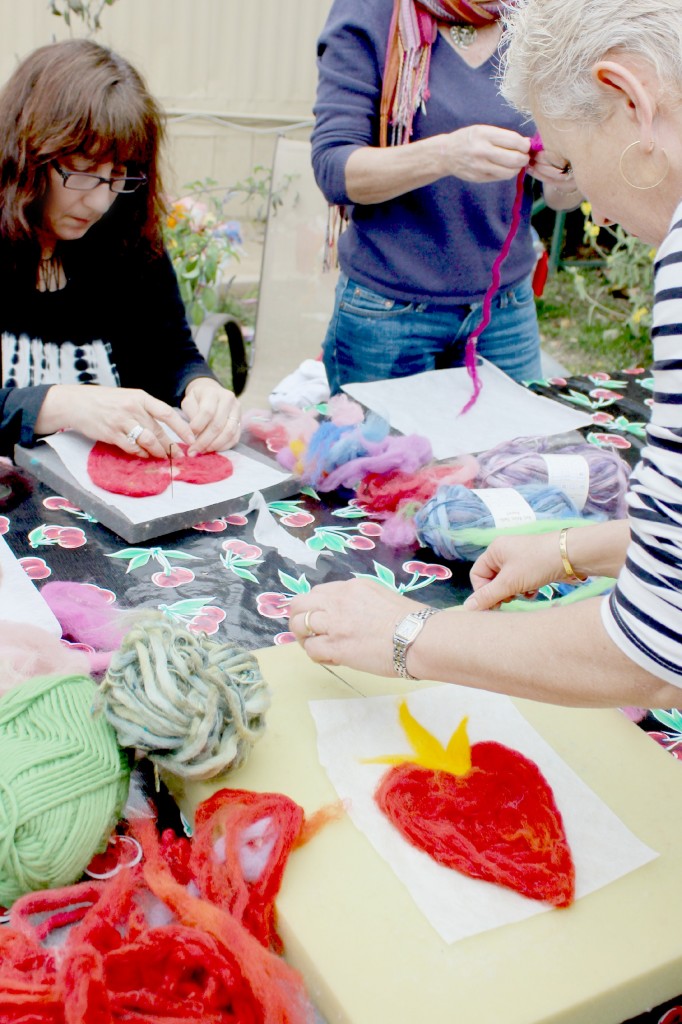
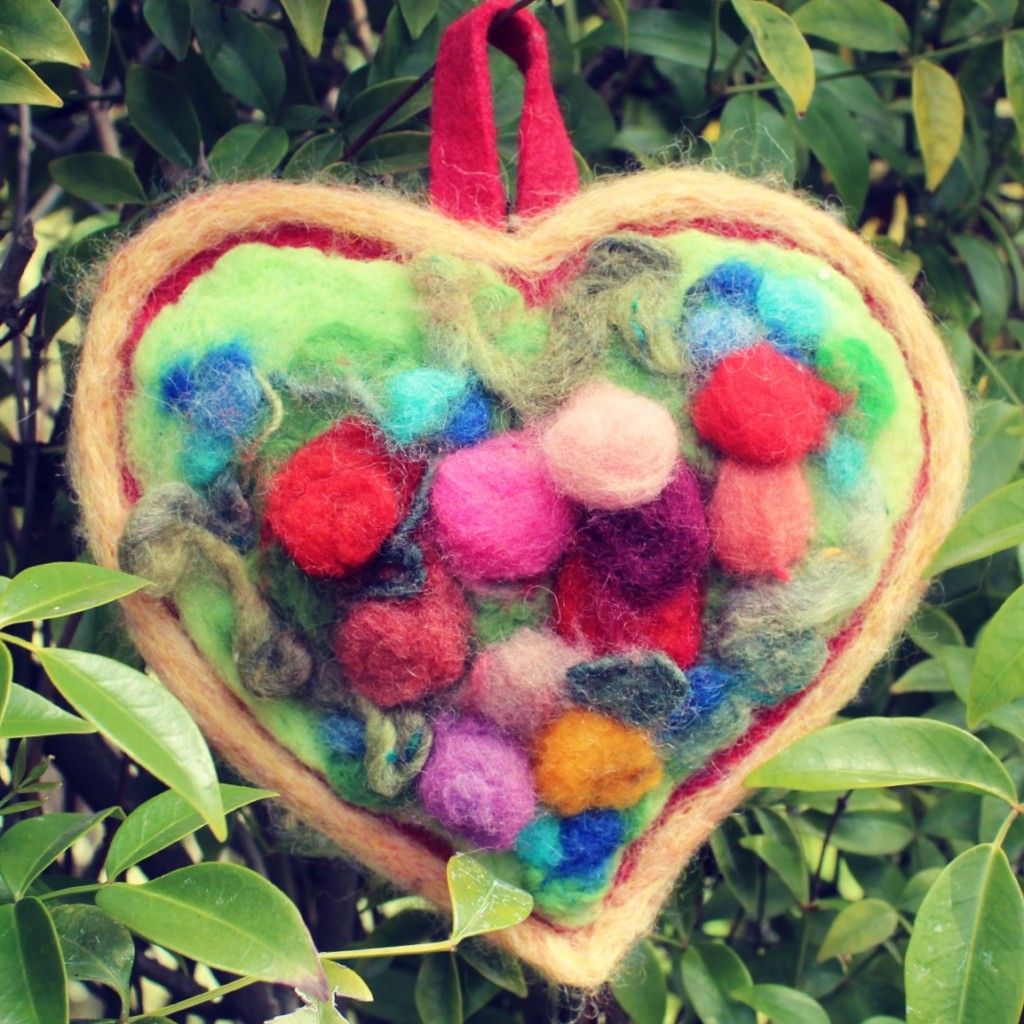
Now that our scarves were ready for felting in the dryer, our hands were free to create other things. Renuka made a valentine’s heart on a small square piece of Artfelt paper. No needle-felting, except for minimal work of tacking down the design with felting needle. Others thought it a good idea and made valentine hearts…
February 6, 2012. Gisela’s valentine heart, completed.
Next Comes The Boiling Water to Dissolve the Artfelt Paper!
Thank you Renuka for felting my scarf in your dryer!
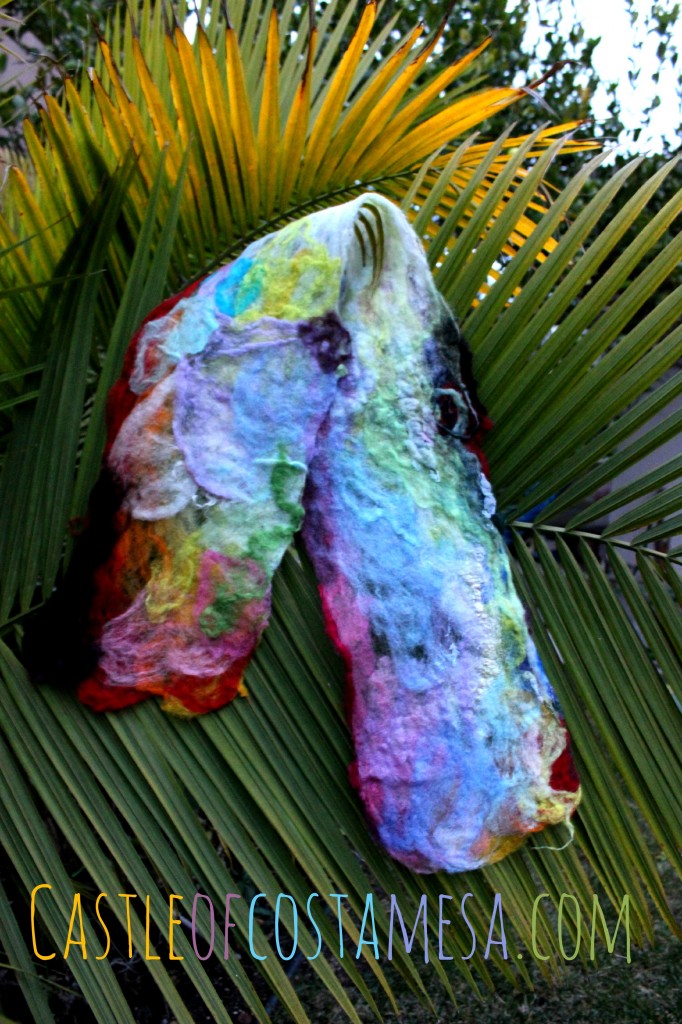
Christine poured boiling water on the felted scarf to dissolve the starch based Artfelt paper. My first Artfelt scarf is completed. My daughter helped me pick out some remnant Artfelt paper stuck to the fibers (could use more hot water). Here is the result of my first foray into this medium…
[Disclaimer: Do not let my first shoddy result discourage you from attempting this relatively easy felting method! Check back this page next week, I will post the scarves made by others more capable in the group!]
Jzin’s first Artfelt scarf, drying on Californian palm tree leaves…
The fun part is I get 2 pictures per scarf, i.e., the scarf has 2 sides. The dilemma now is how to make that into a felted painting, would I have to chose a side and hide the other? Hmm…
Check back this page next week. I will see if I can get the others to let me photograph their finished scarves.
January 29, 2013. Rachel’s Artfelt scarf, completed.
January 28, 2013. Julie’s Artfelt scarf is now a book cover (with book mark) ! Lovely!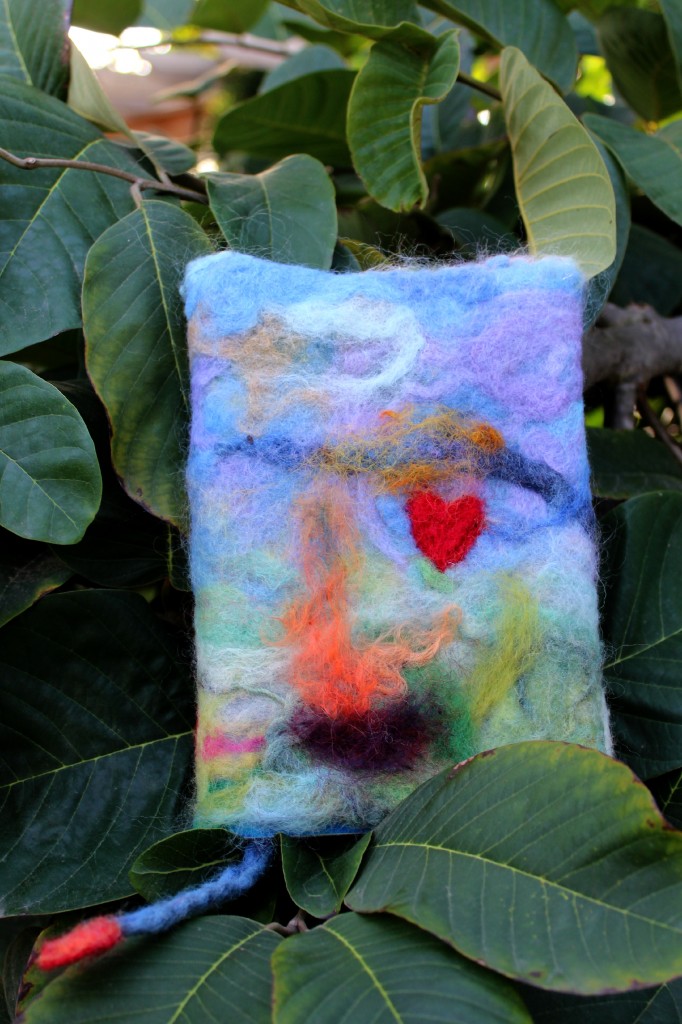
She needle-felted designs on top of her Artsfelt piece. Back view below.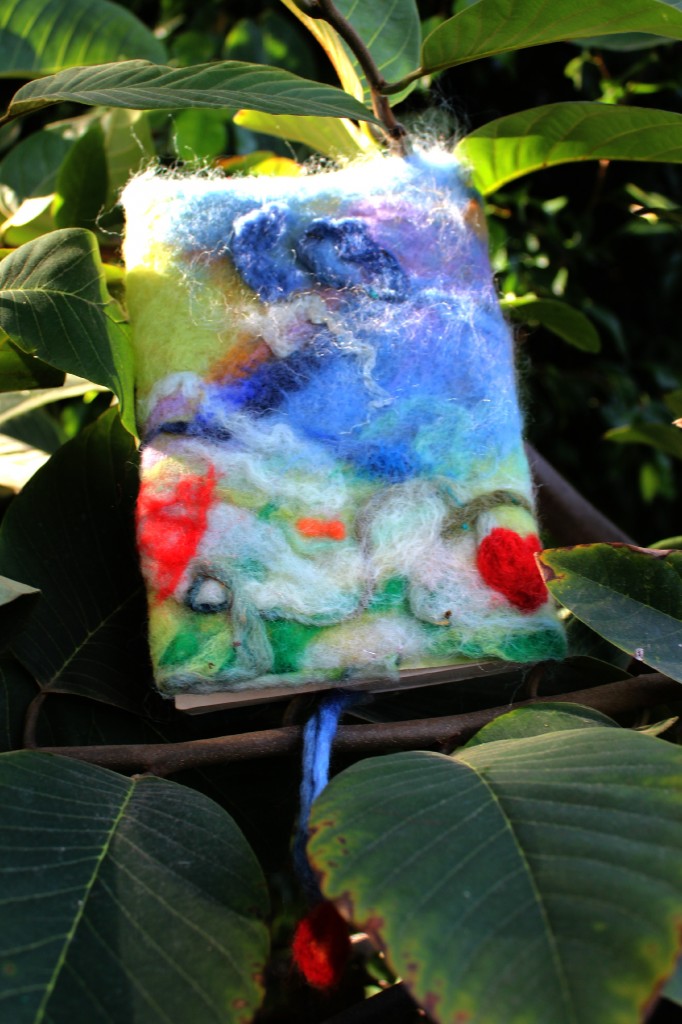
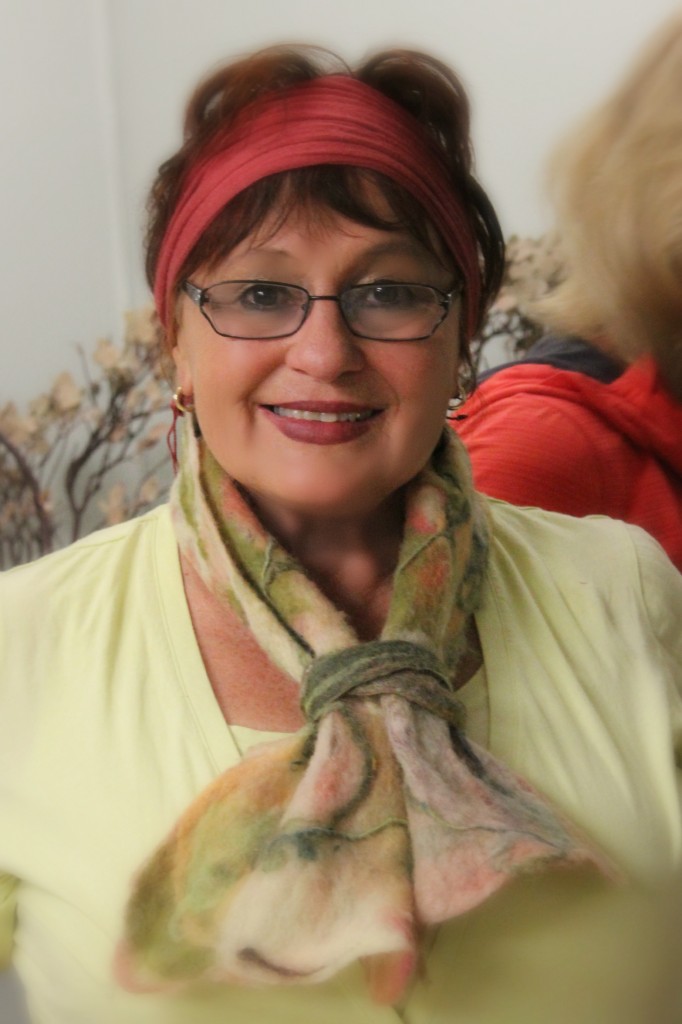
January 30, 2013. Gisela’s Artfelt scarf, finished.
We started with a longer piece of Artfelt paper, but during the felting process, it shrunk somewhat into a shorter scarf.
HANDMADE GIVEAWAY!!! Please Help Me Tell All Your Friends About It! Thanks!
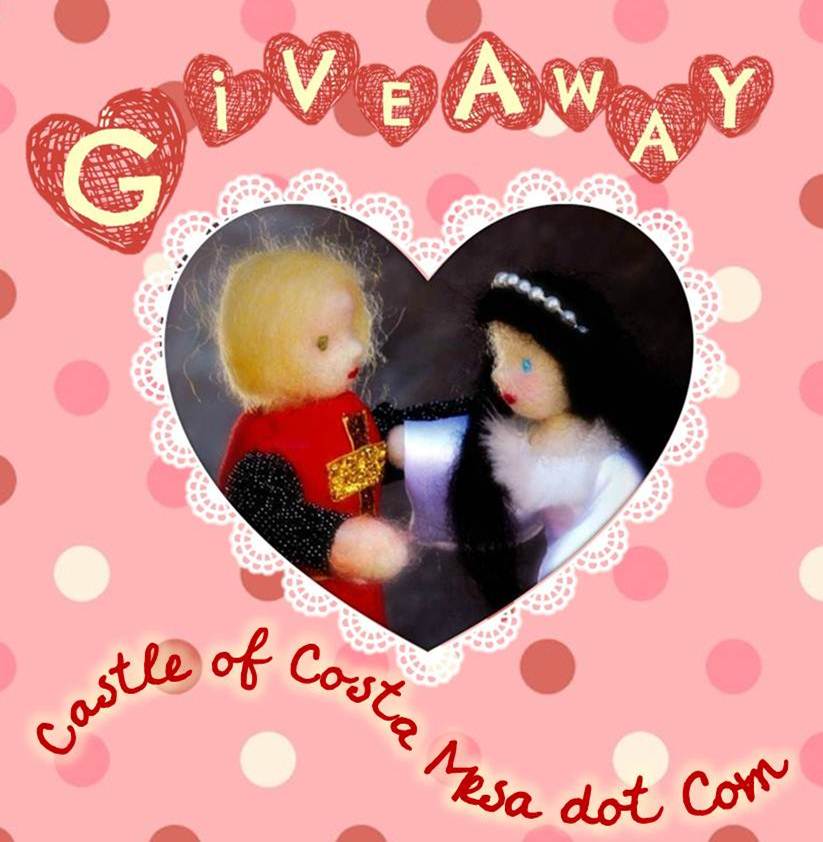
“The Knight and His Lady” Medieval Fairy Tale Dolls (handmade by me) Giveaway!!!
They will be excellent for your table top Fairy Tale puppet theater …
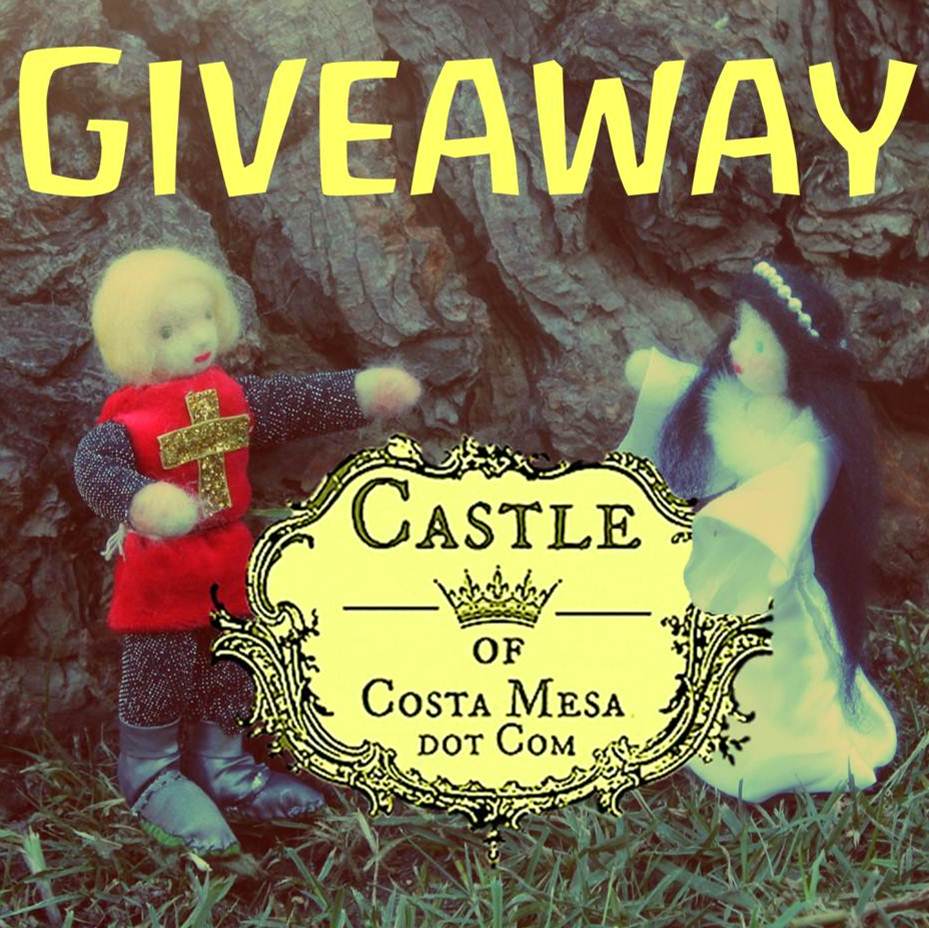
… or they will make sweet gifts for your beloved Valentine! Enter here: Giveaway ends January 30, 2013.
Waldorf School of Orange County Spring 2013 Bliss Fundraiser
Craft donations are being accepted in the front office. Fill in Auction Donation form (Click here to download) if you have craft (or other) items to donate to our Waldorf School Spring 2013 Gala Auction.
Here are some auction items to get your bidding mojo running! Waldorf School of Orange County Bidpal site is still currently in the process of being updated, please check back periodically.
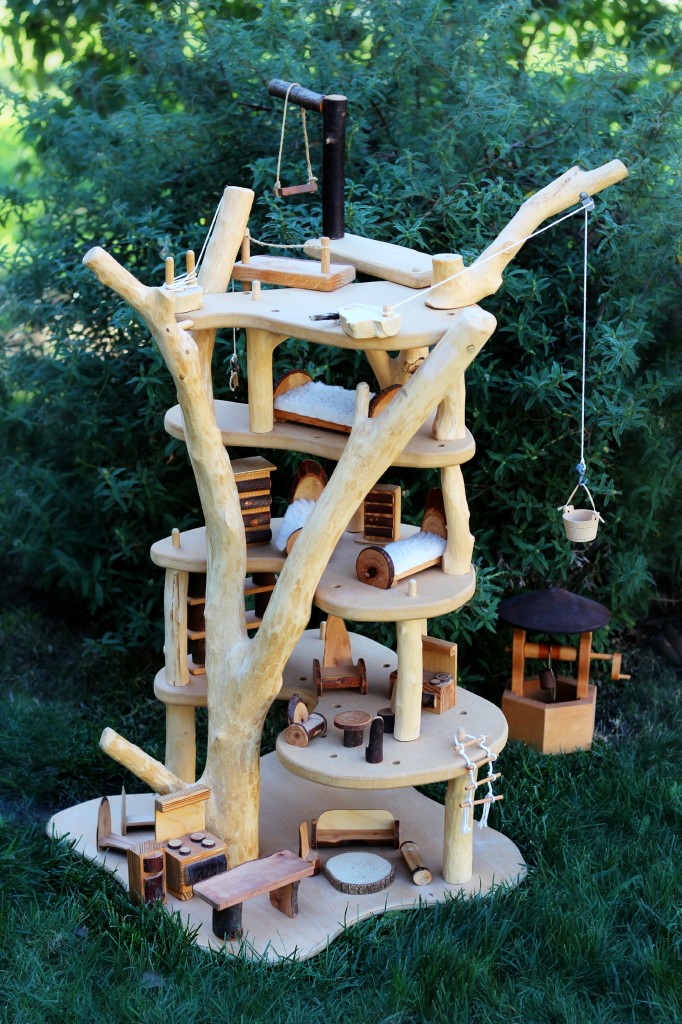
Waldorf School Auction items on Bidpal. Check back frequently. Items are currently being loaded onto the website daily. Share the magic fairy tree house on Facebook.
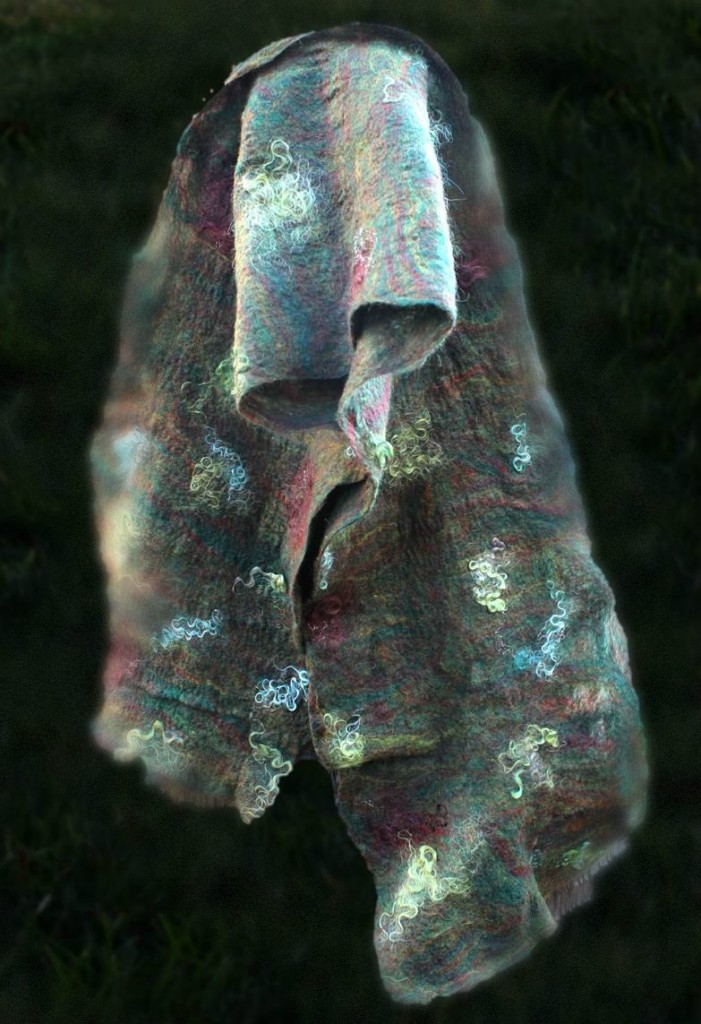
Andrea Hubert’s handmade scarf is available to bid on.
Here’s a partial list of Waldorf School of Orange County auction items (mainly crafts are listed here) on Pinterest…(check back periodically for updates)…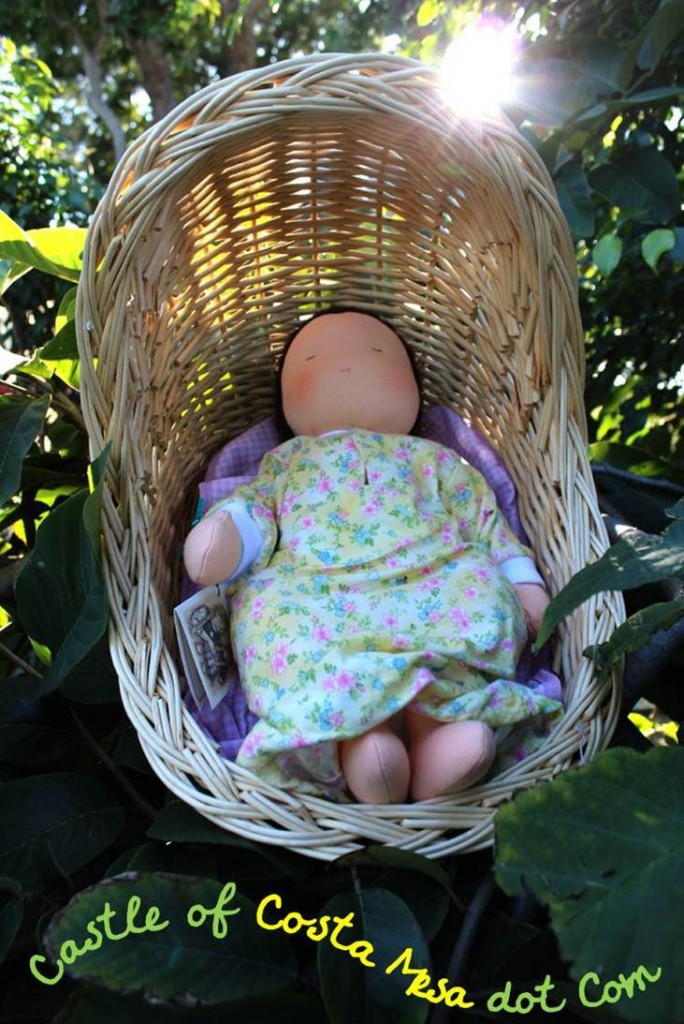
Support Our Local Waldorf Community/ Place a Free Ad
If you are interested in placing an ad on “Support Our Southern California Waldorf Community” (free if you are a member of this community) please e-mail me a good picture and a link.
Meanwhile, please support our local peeps! Thanks! – Jzin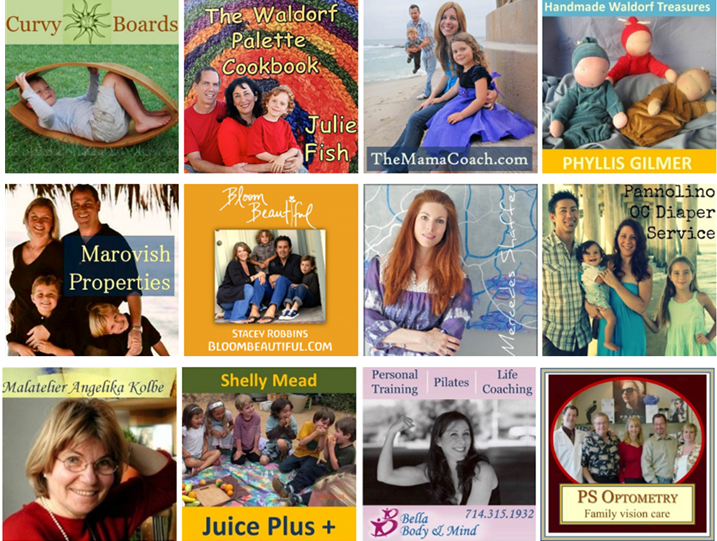
Click here to jump back to the menu on the top of the page. Whee!
Please “Like” us on Facebook
Please “Like” us on Facebook (top left sidebar of this page). You will be connected to what we do here, plus you will be notified on our up coming handmade giveaways. Thank you! – Jzin



Yvonne Venturelli
Lo mandáis a Mallorca?