May 29, 2013 Wednesday Morning. This morning, our graft group gathered in the Company of Angels garden at the Waldorf School of Orange County, Costa Mesa, California, USA. Christine Newell taught us how to make wet-felted flowers. It was quick and fun! Scroll down to see what we did today. – Jzin.
Click below enter the gallery of our past craft group projects:

Menu
- Our creative journey today:
- Today we made Wet-Felted Flowers. Thank you Rachel Skelly and Christine Newell for organizing this!
- More Crafting Opportunities…
- Christine Newell’s Children Summer Crafting Camp.
- Peacemakers Country Store in Costa Mesa: Click here to view their list of classes for adults and children.
- Jzin’s Handmade Flower Fairy Giveaway!!! Open worldwide. Ends June 10, 2013. Enter here
- Do you own a blog, Etsy store, family business, soap box, etc? Place a free ad on “Support Our Local Southern Californian Waldorf Community Page.
- Gallery of past crafts from our craft group.
Today
Today we made wet-felted flowers. Thank you Rachel Skelly and Christine Newell for organizing our fun crafting mornings!
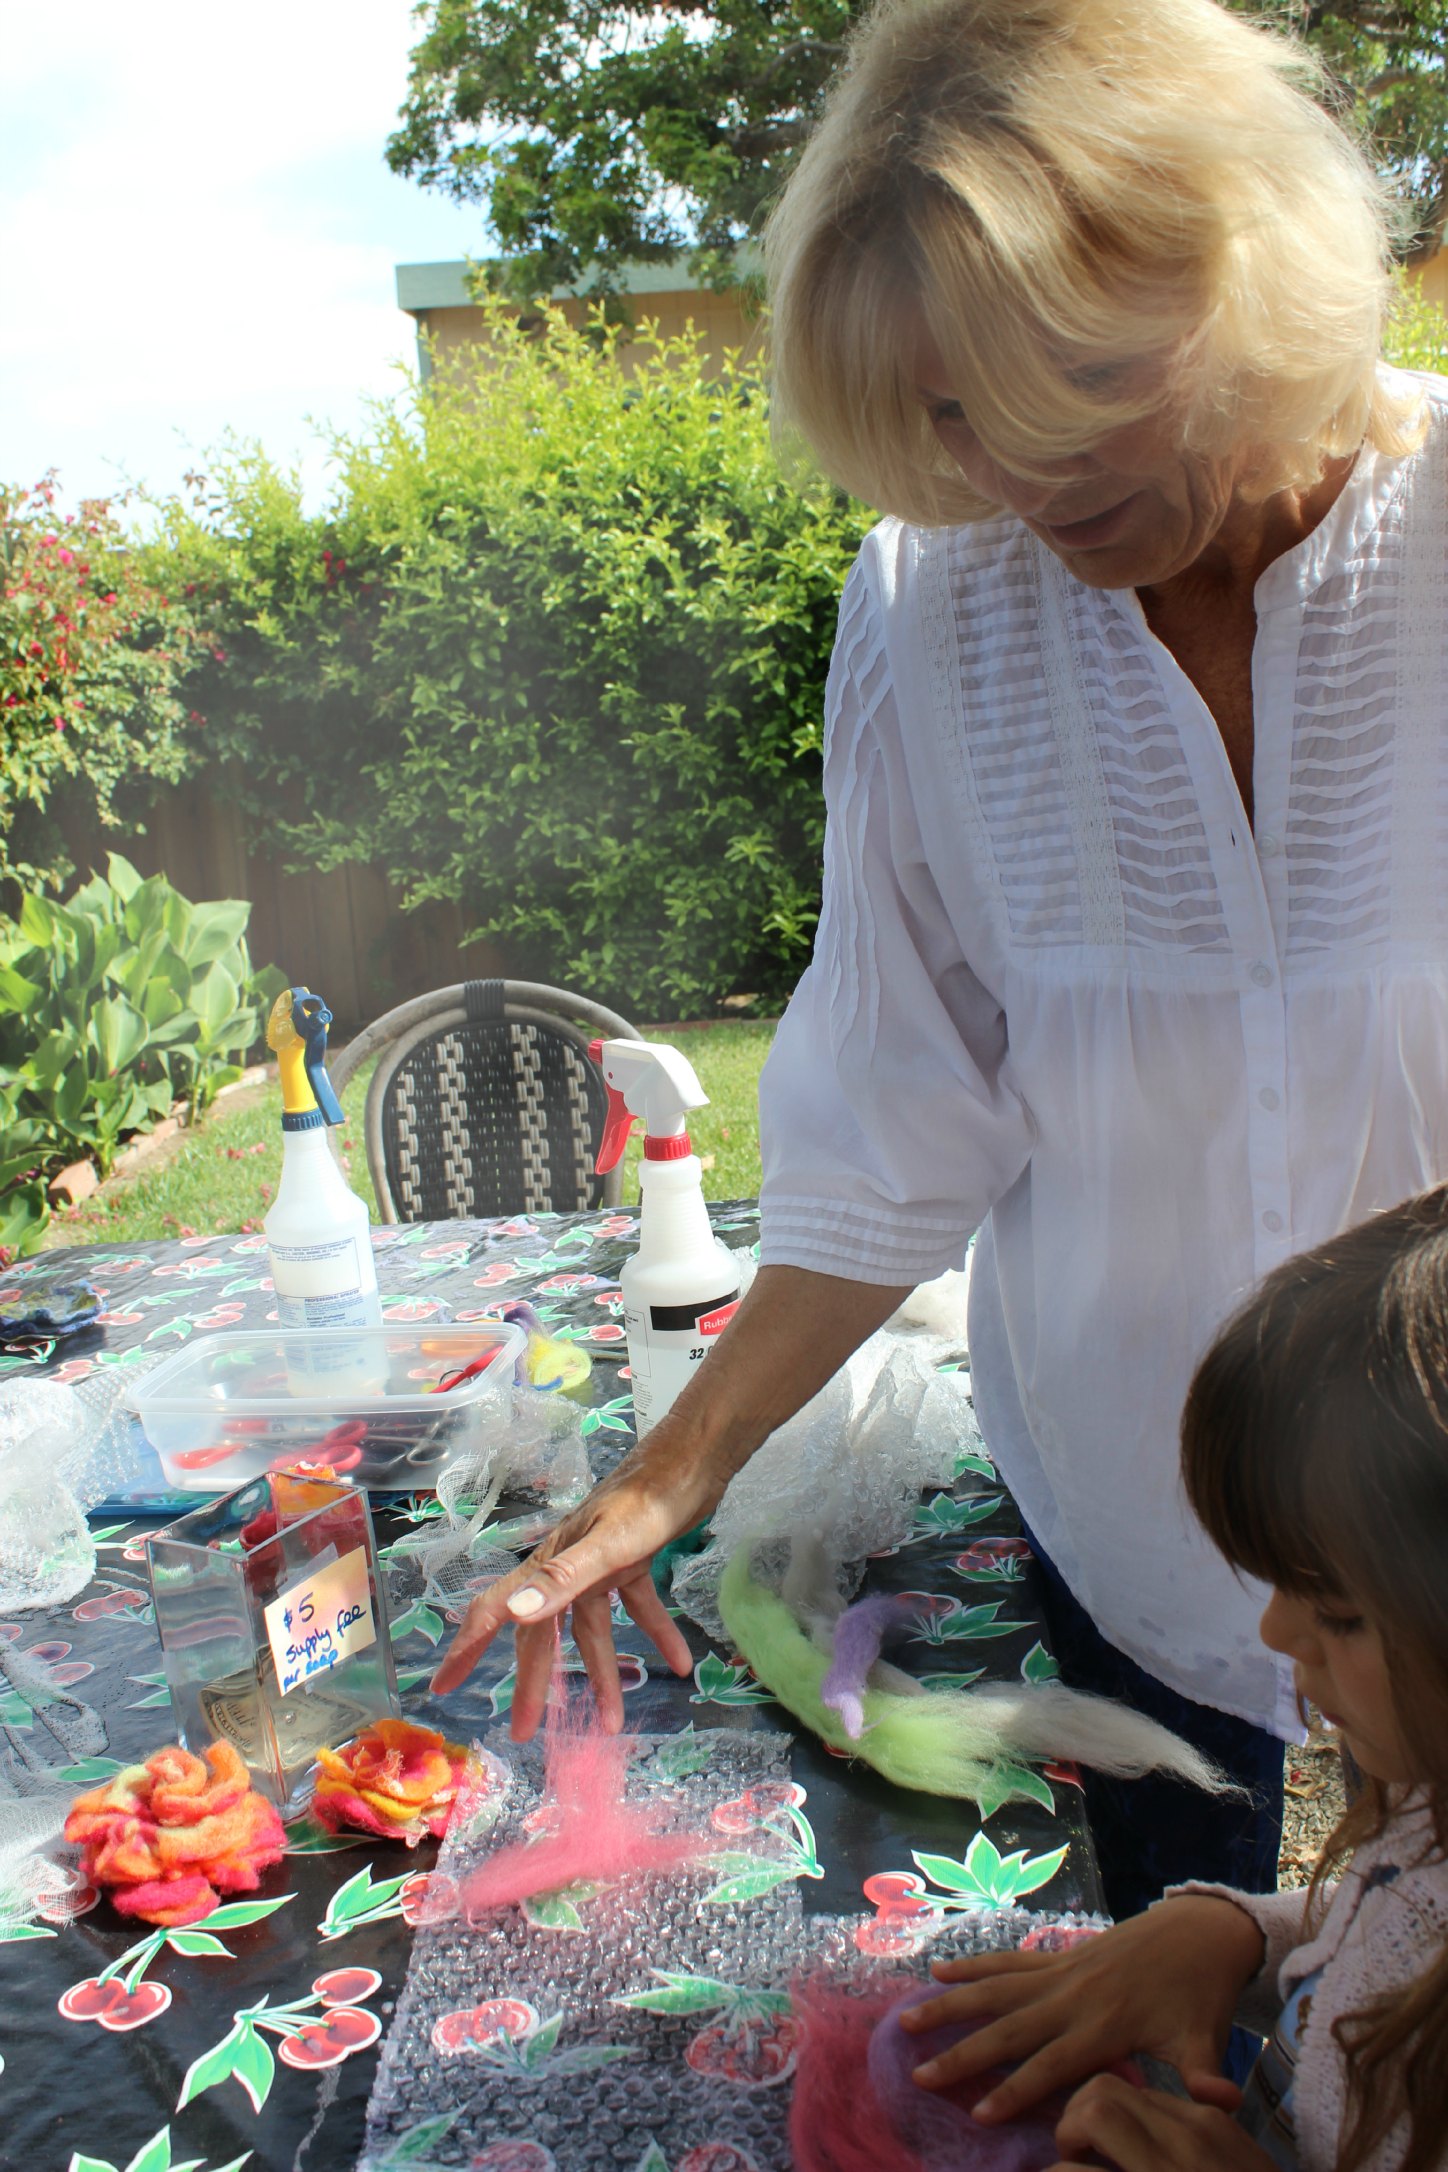
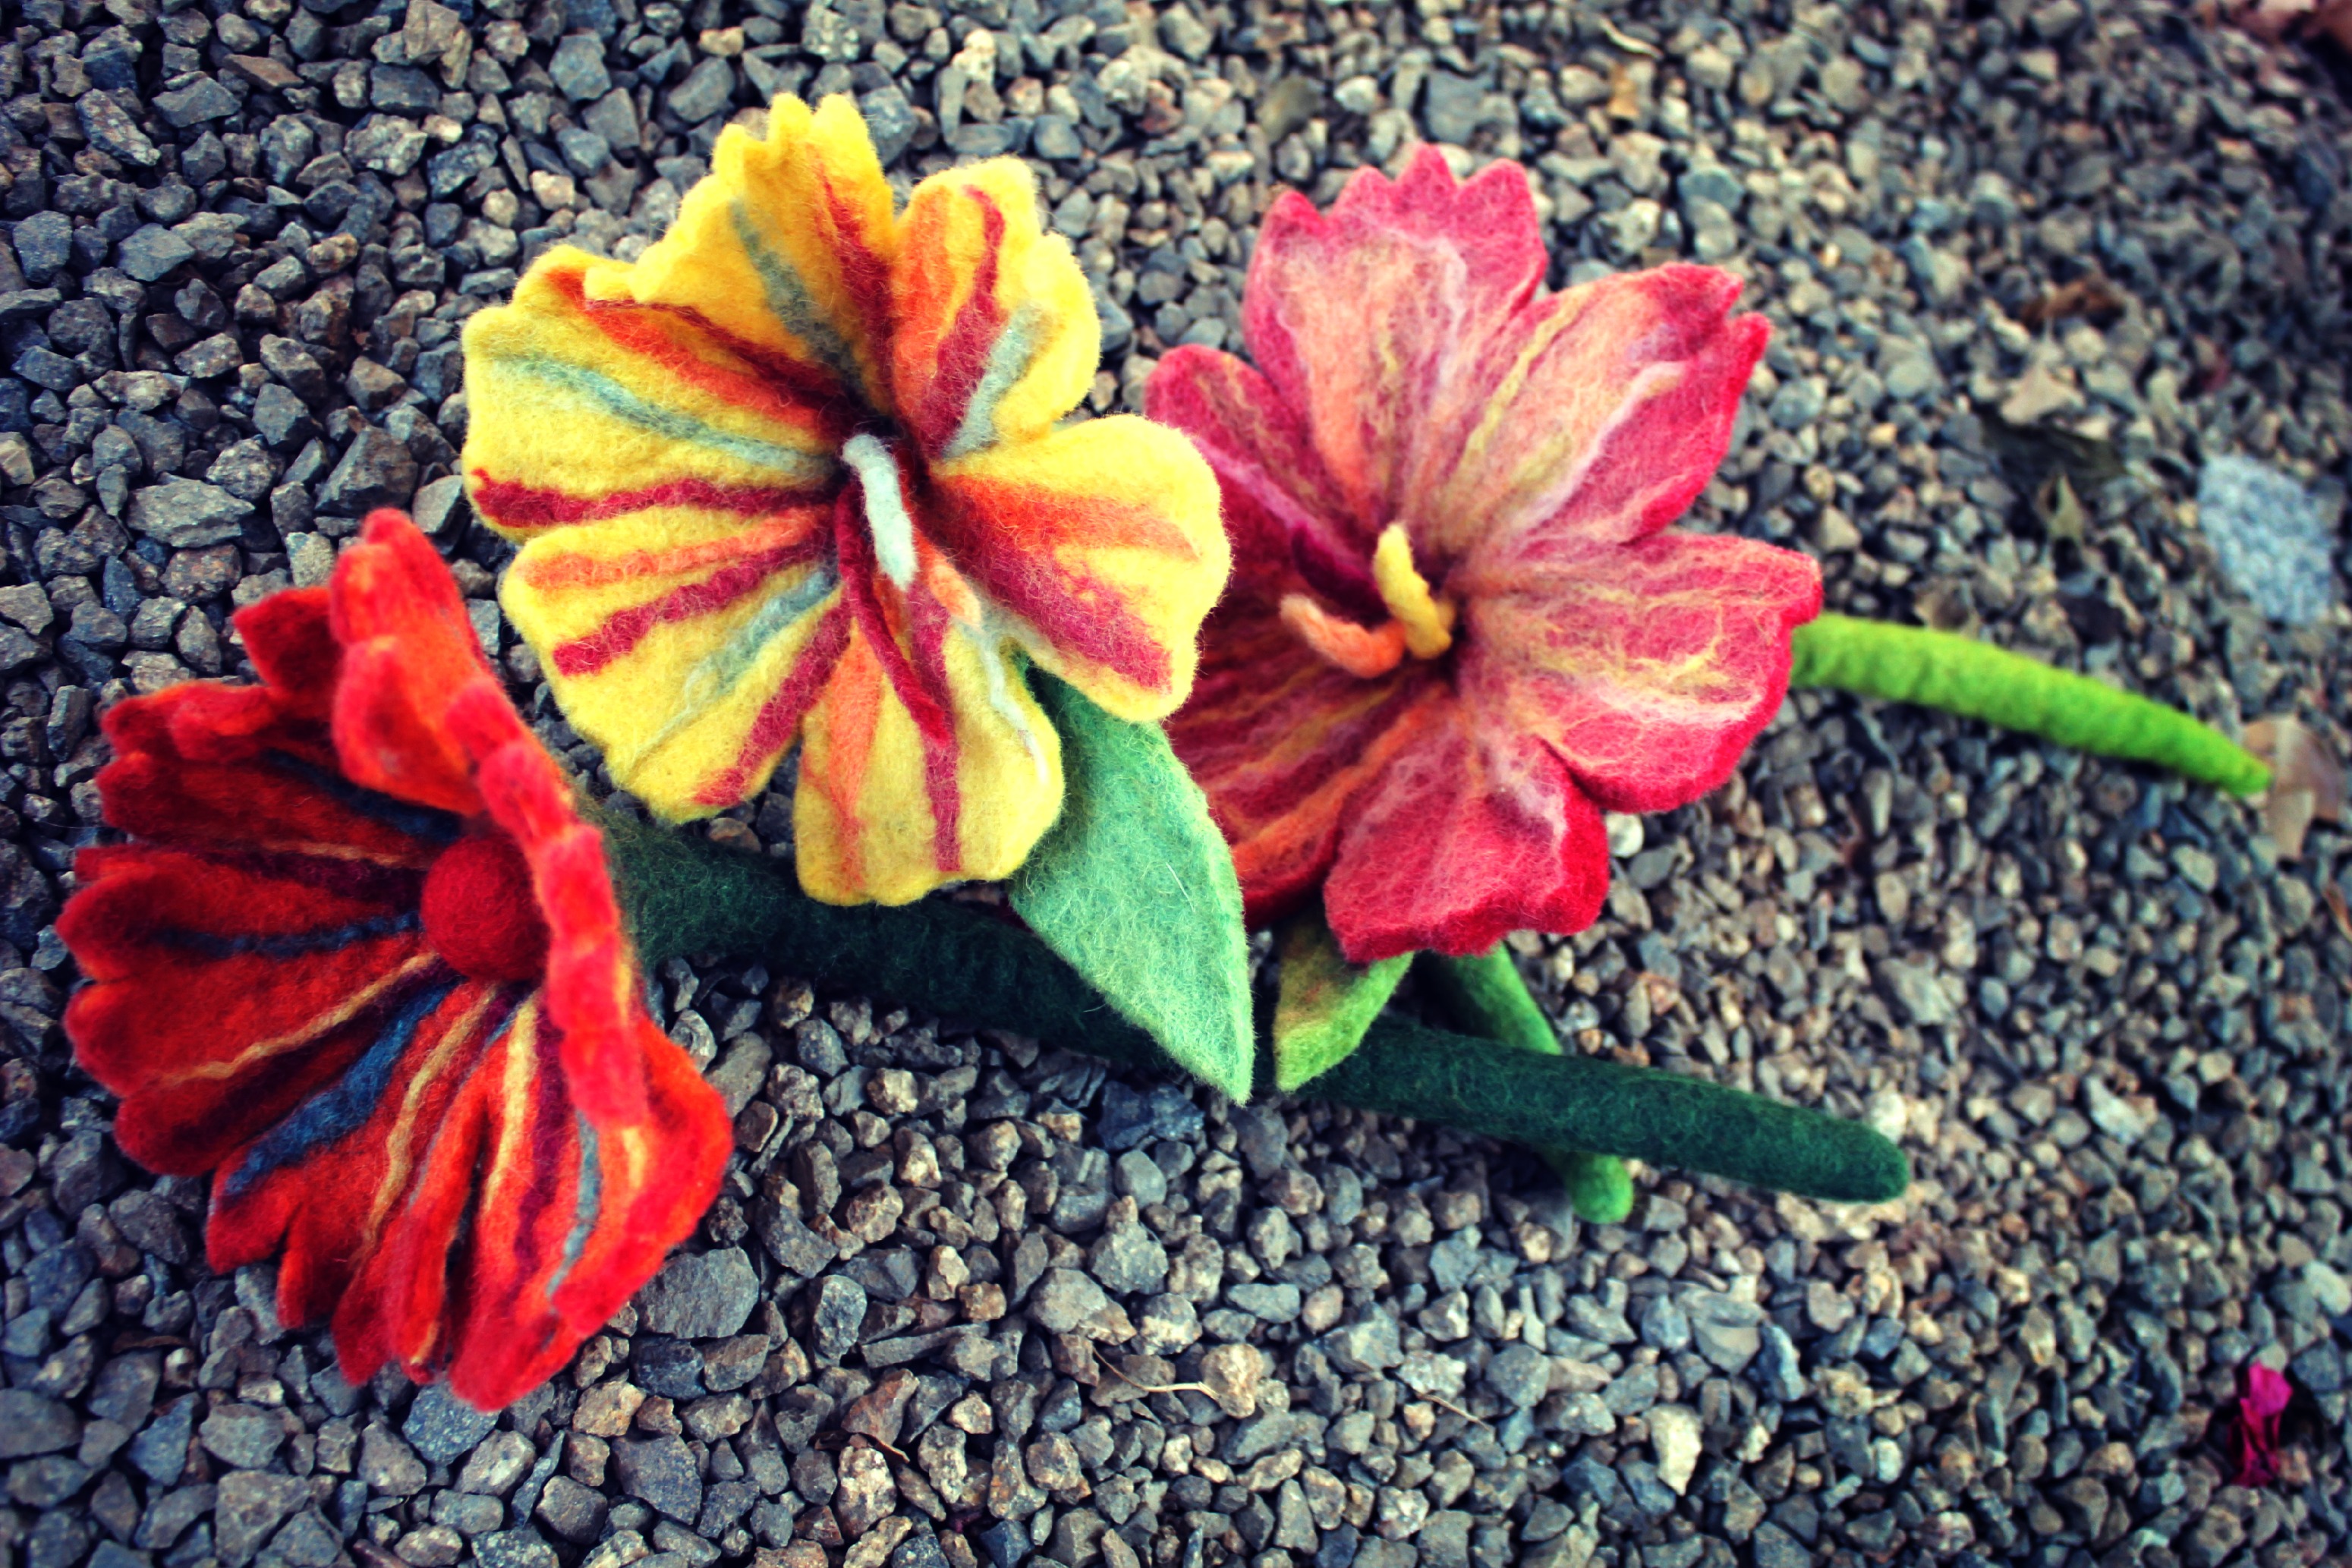
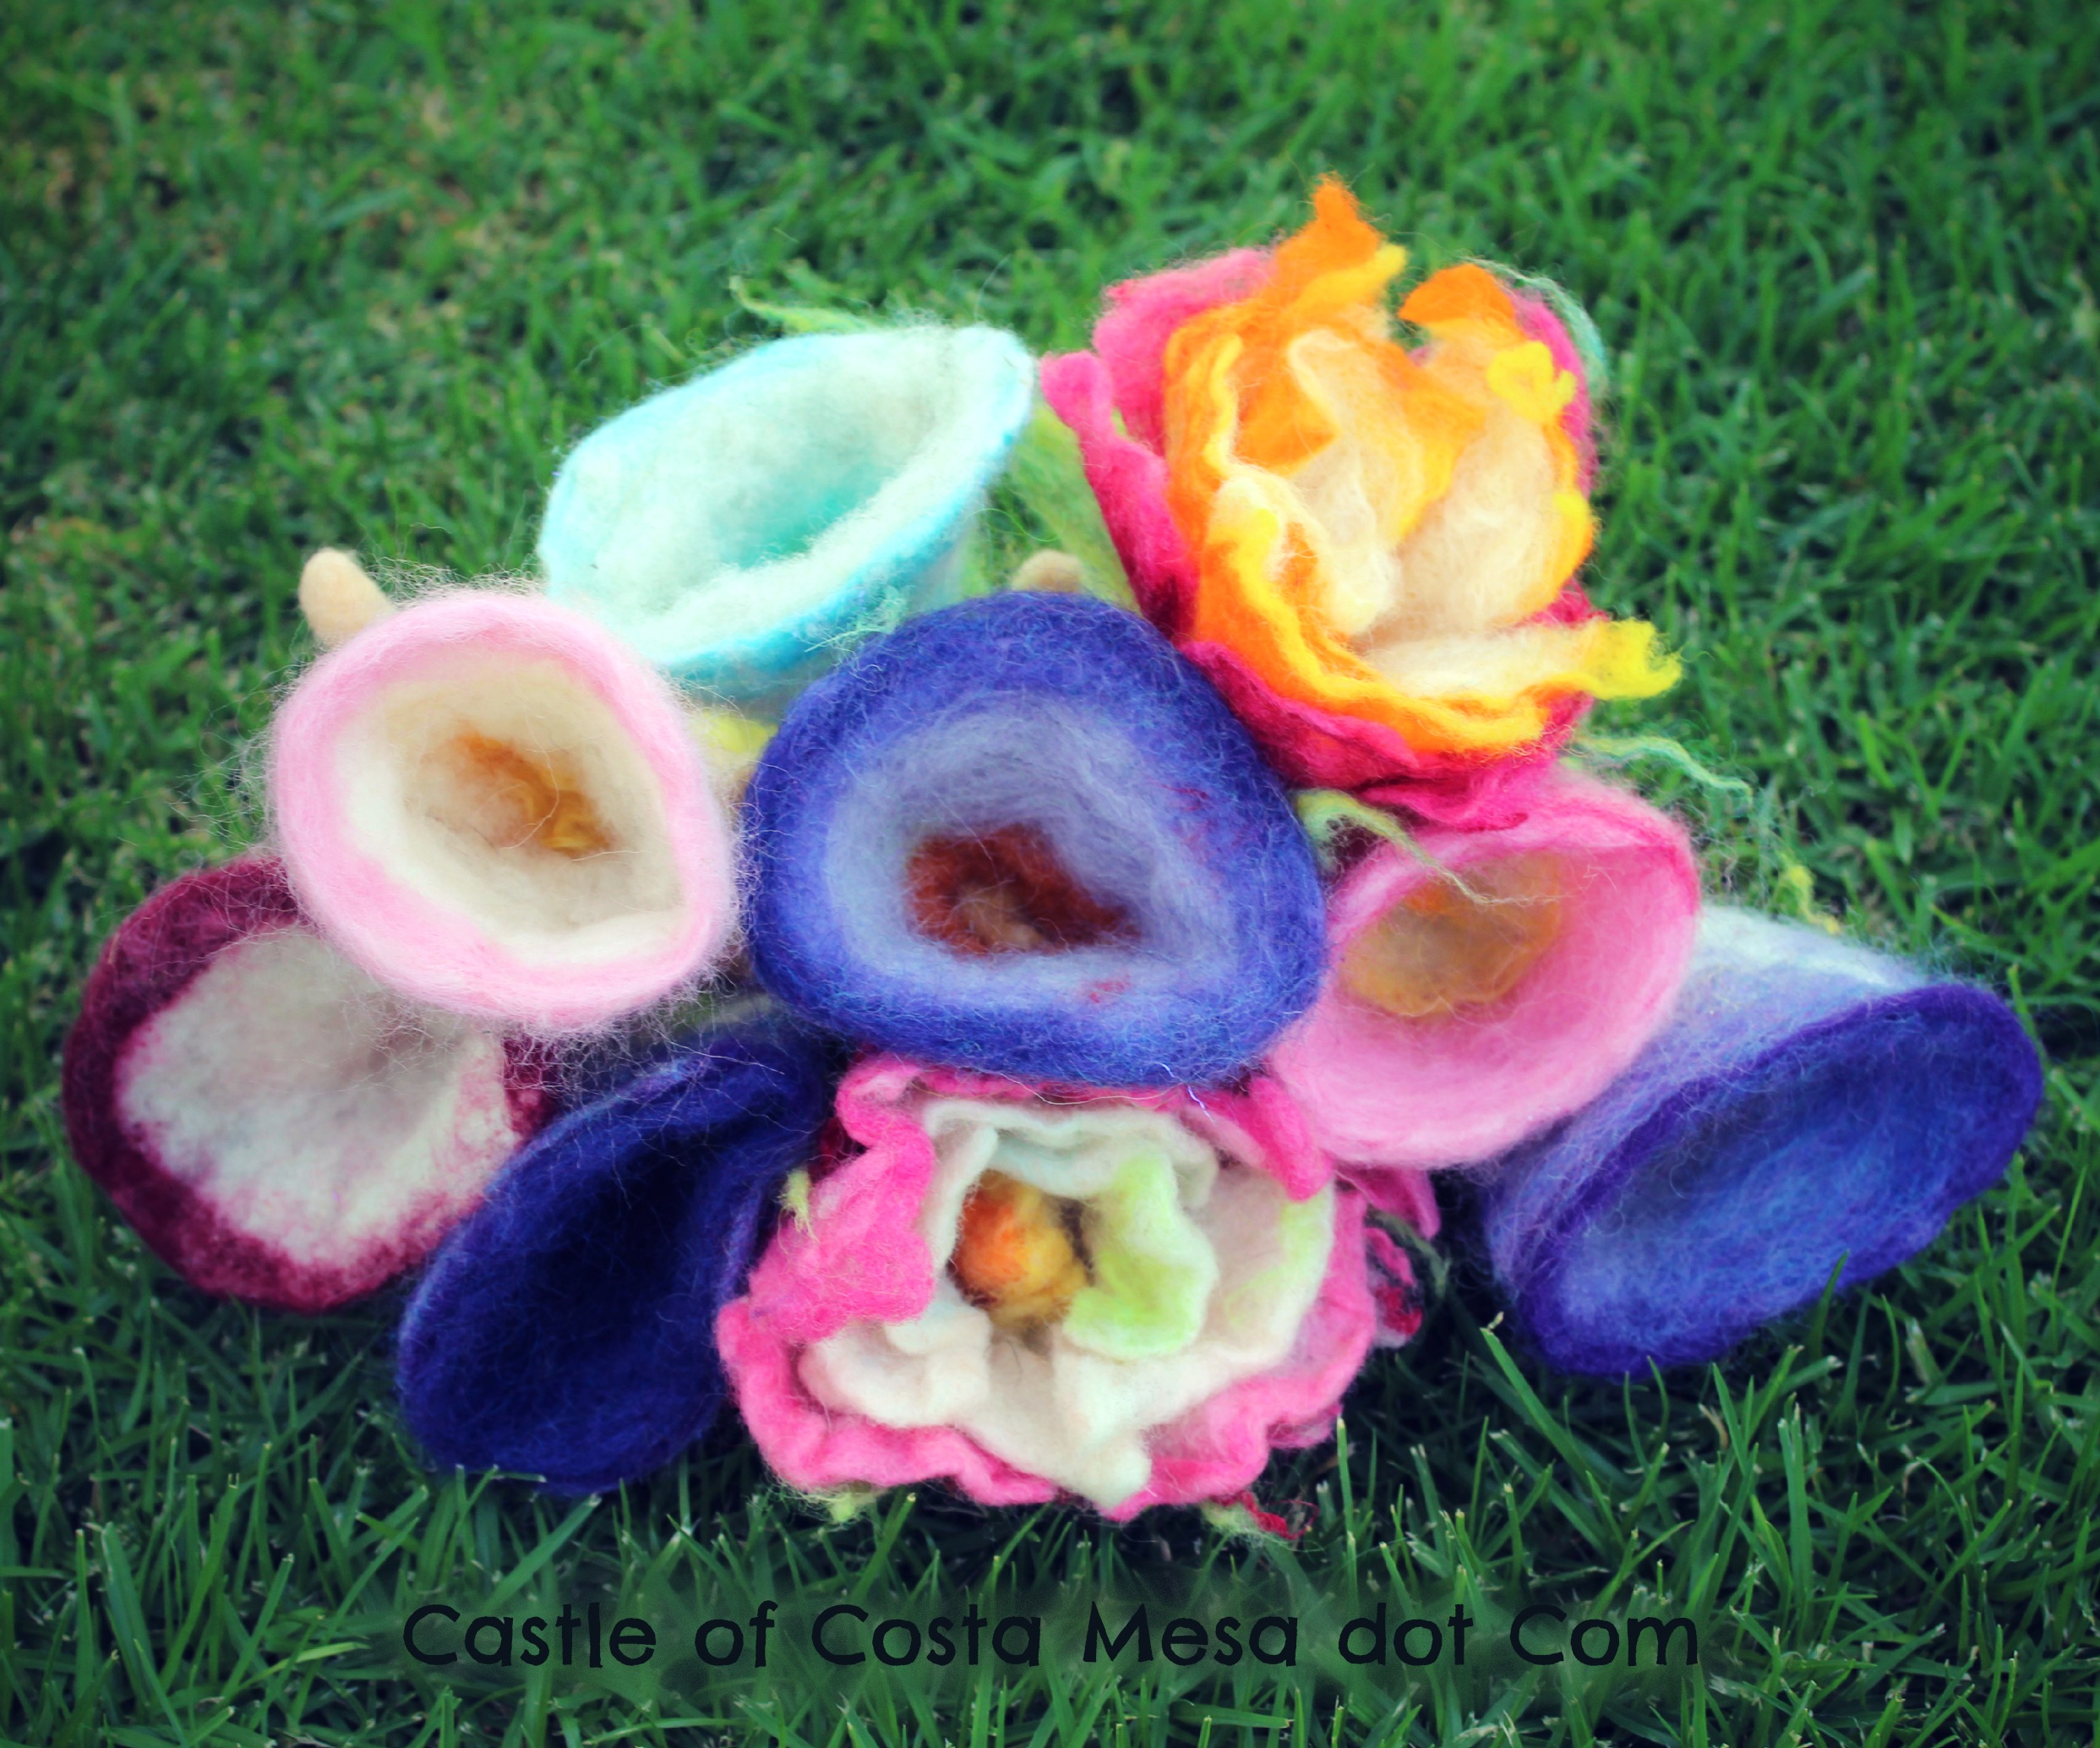
Here are some wet-felted flower examples, made by Christine for our reference. We had the options of making felted flowers with cheese cloth, with silk or without either embellishments. Two to the orange-red flowers in the photo below had cheese cloth incorporated into the designs.

Christine showed us how to pull our wool fibers into short pieces. We would be making three circles for each flower. “Three layers of wool fibers is about right” she said, for each of the “circles”.
Anicka getting pointers from Christine.
Crafters enraptured in handwork.
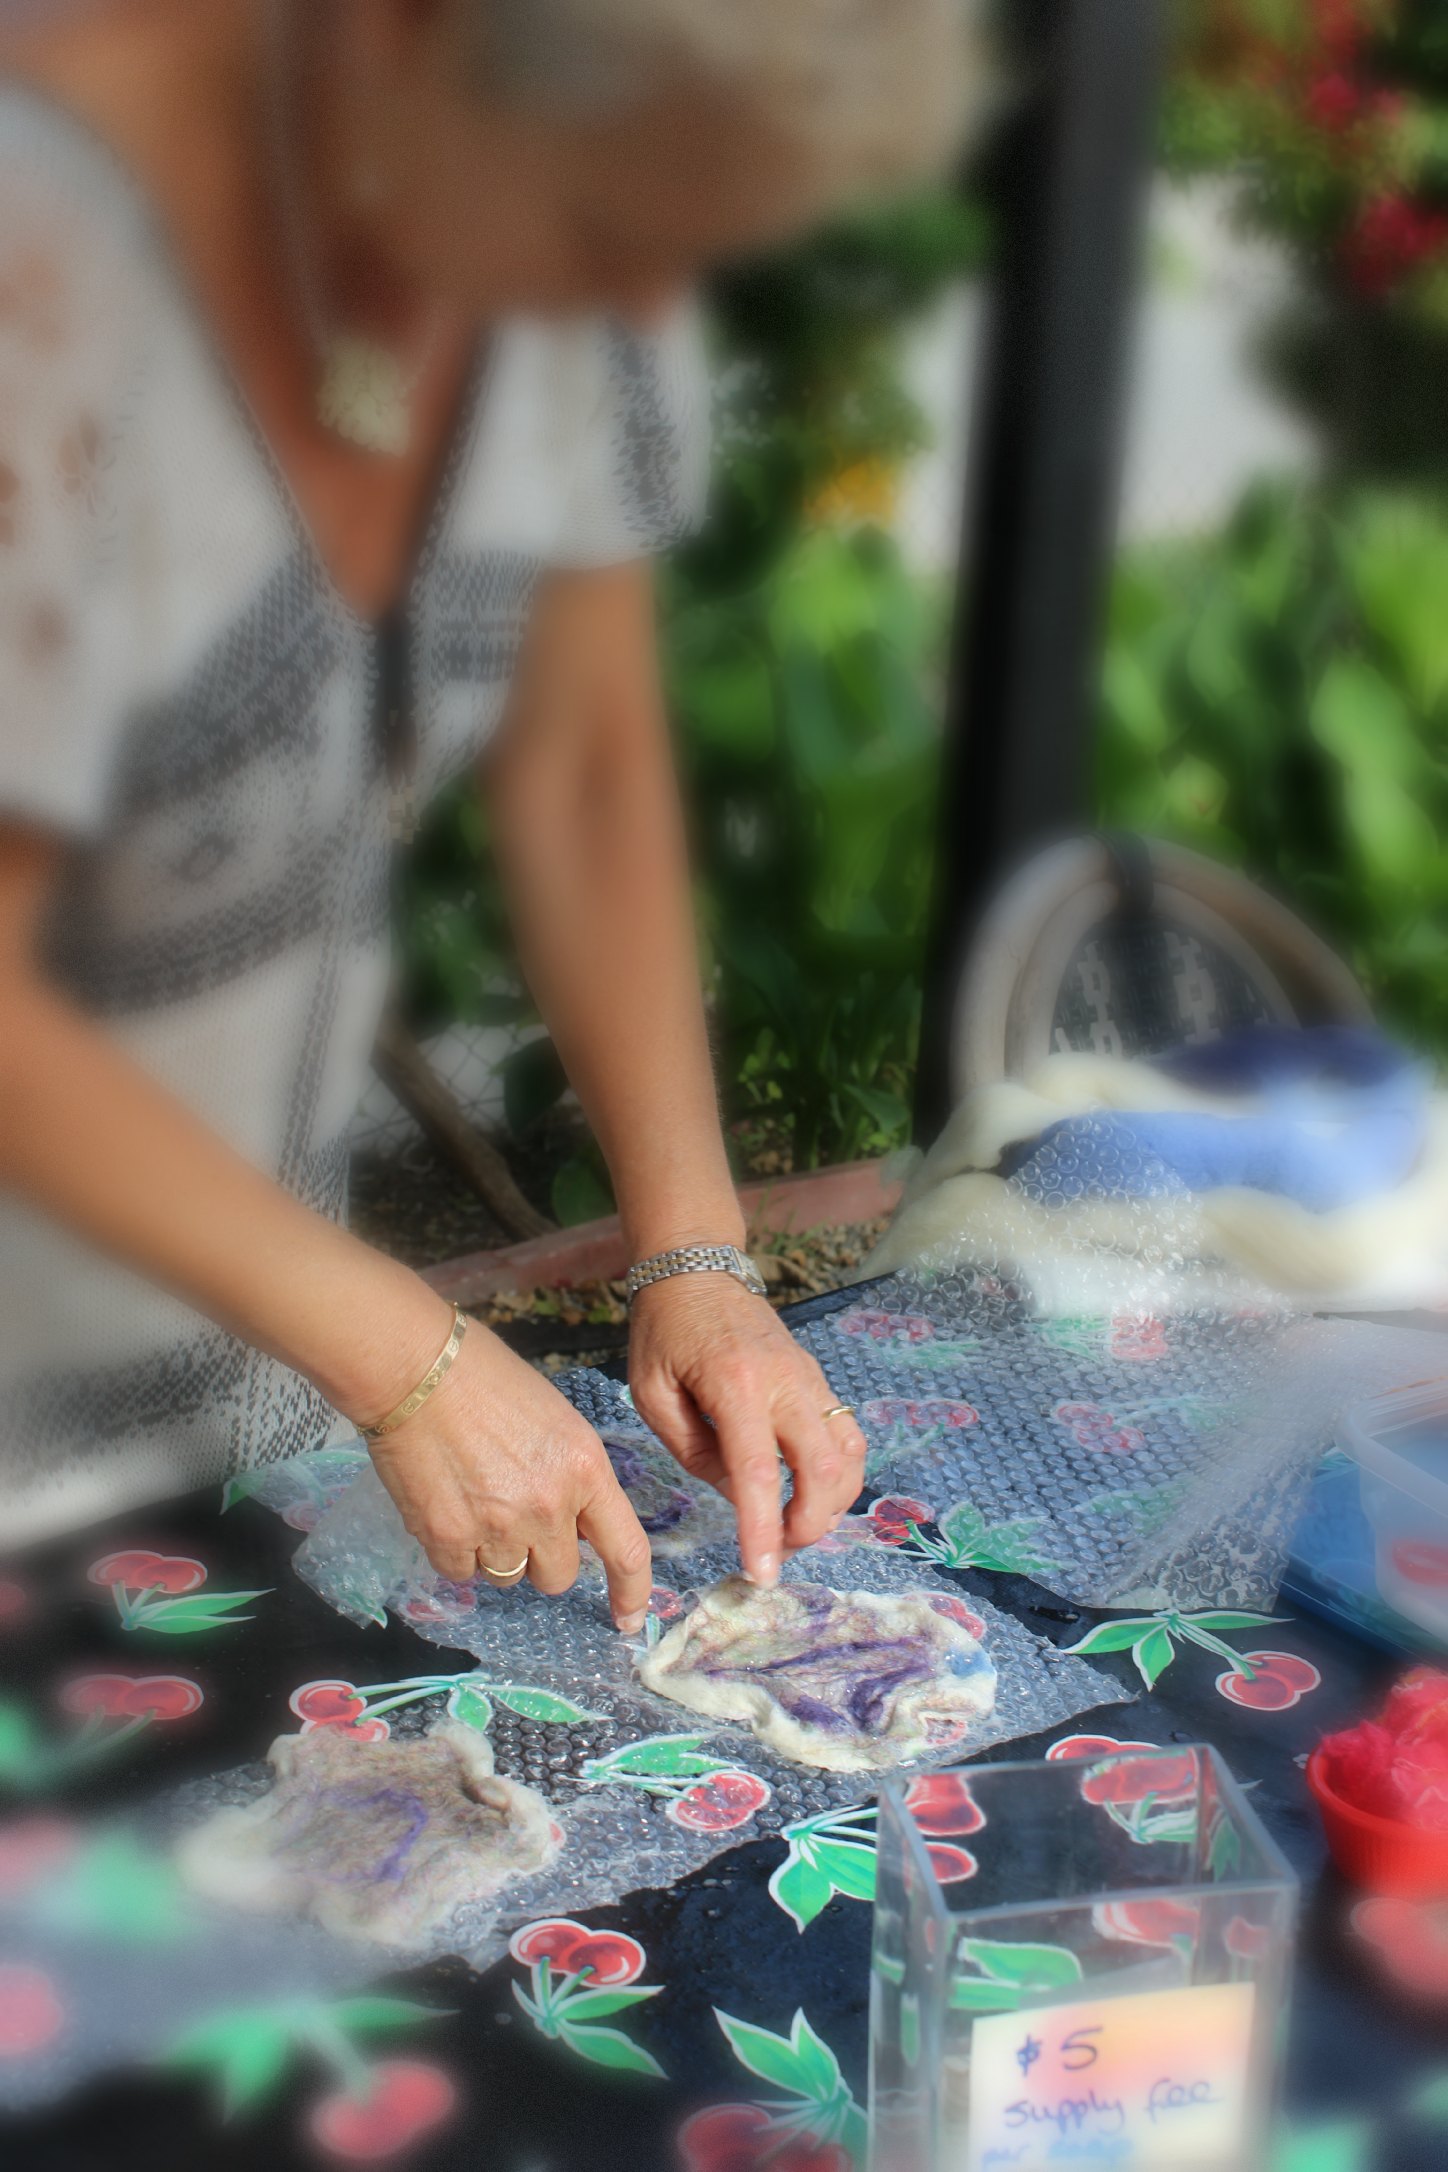
Christine spraying hot soapy water onto her 3 circles of wool.

Rachel’s brown and purple flowers.
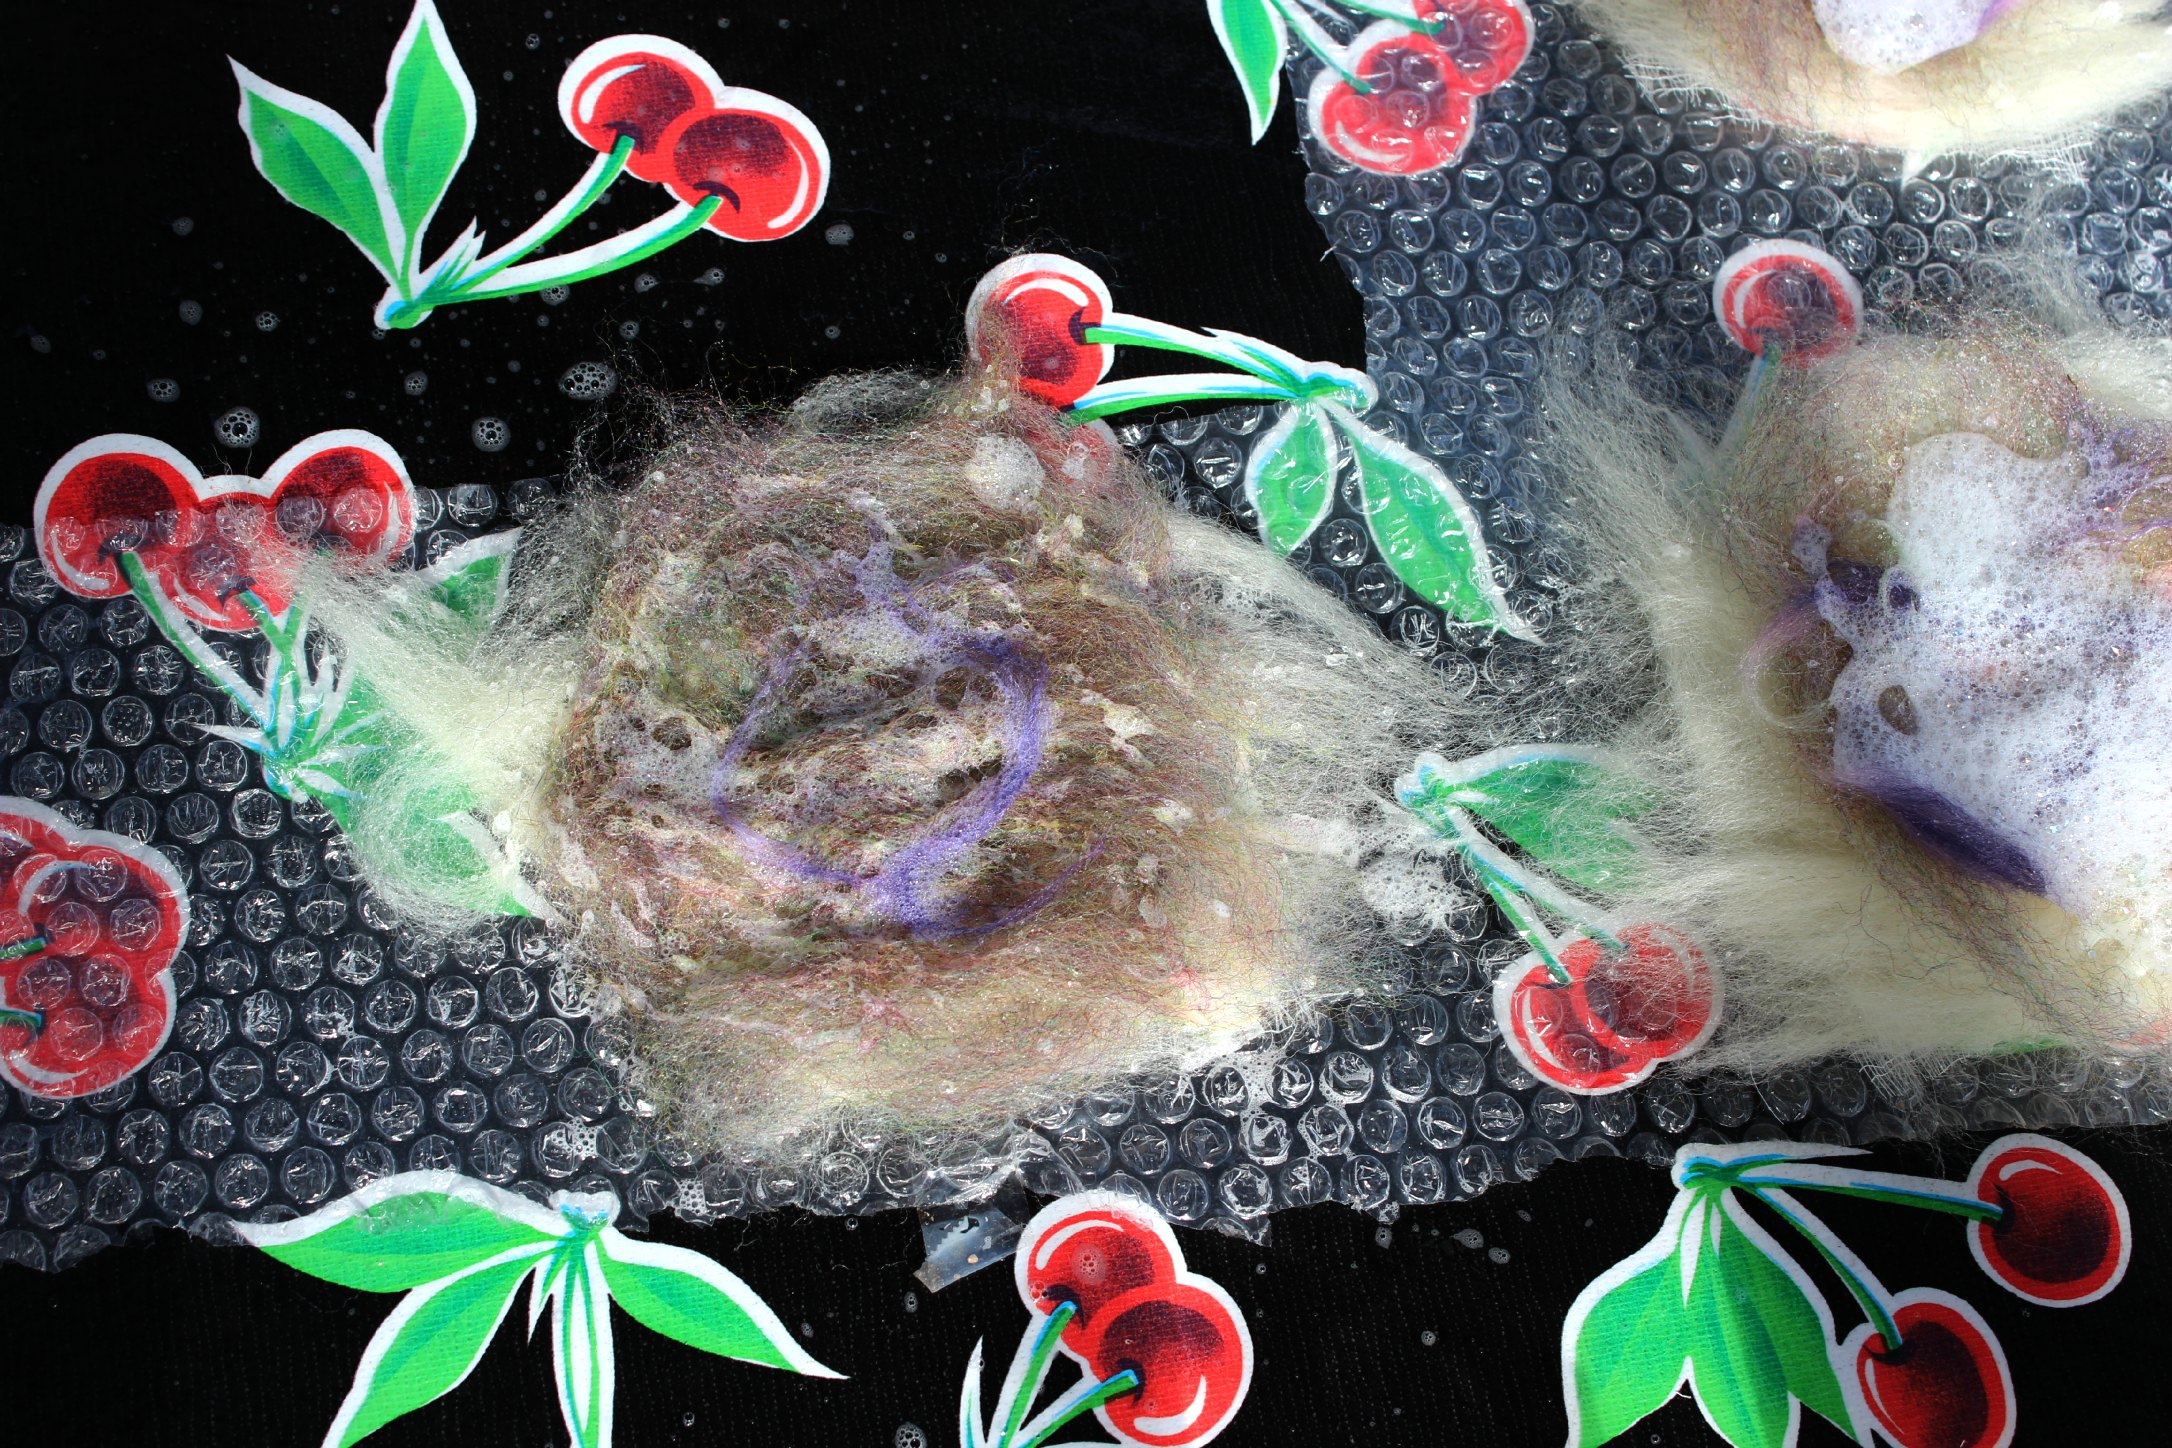
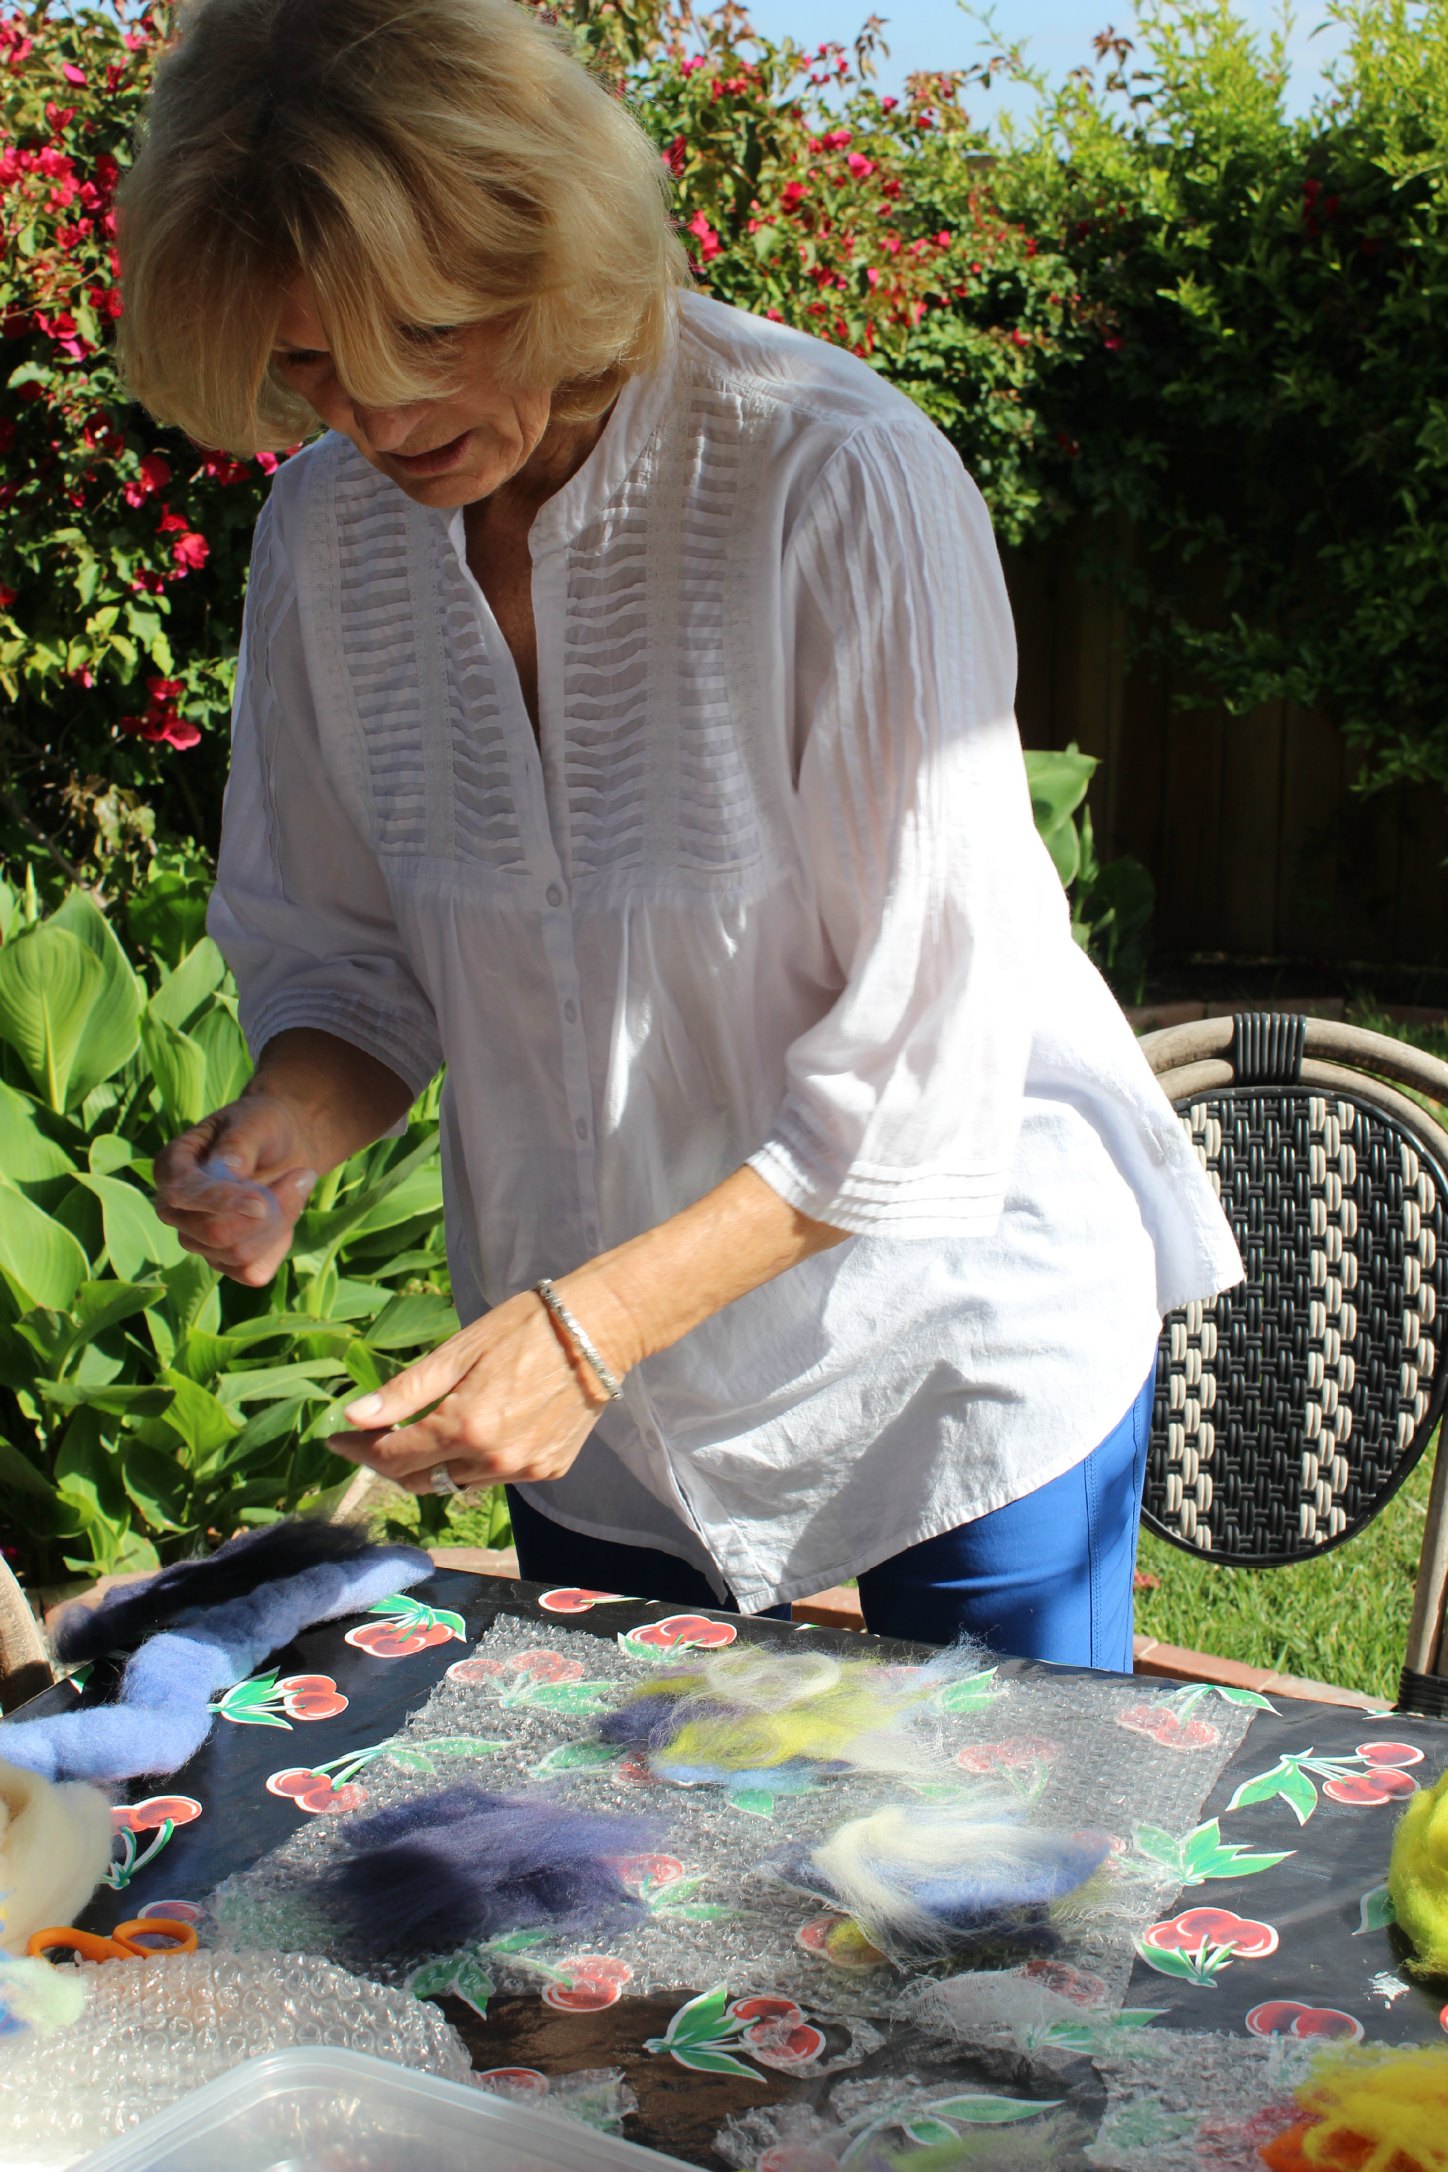
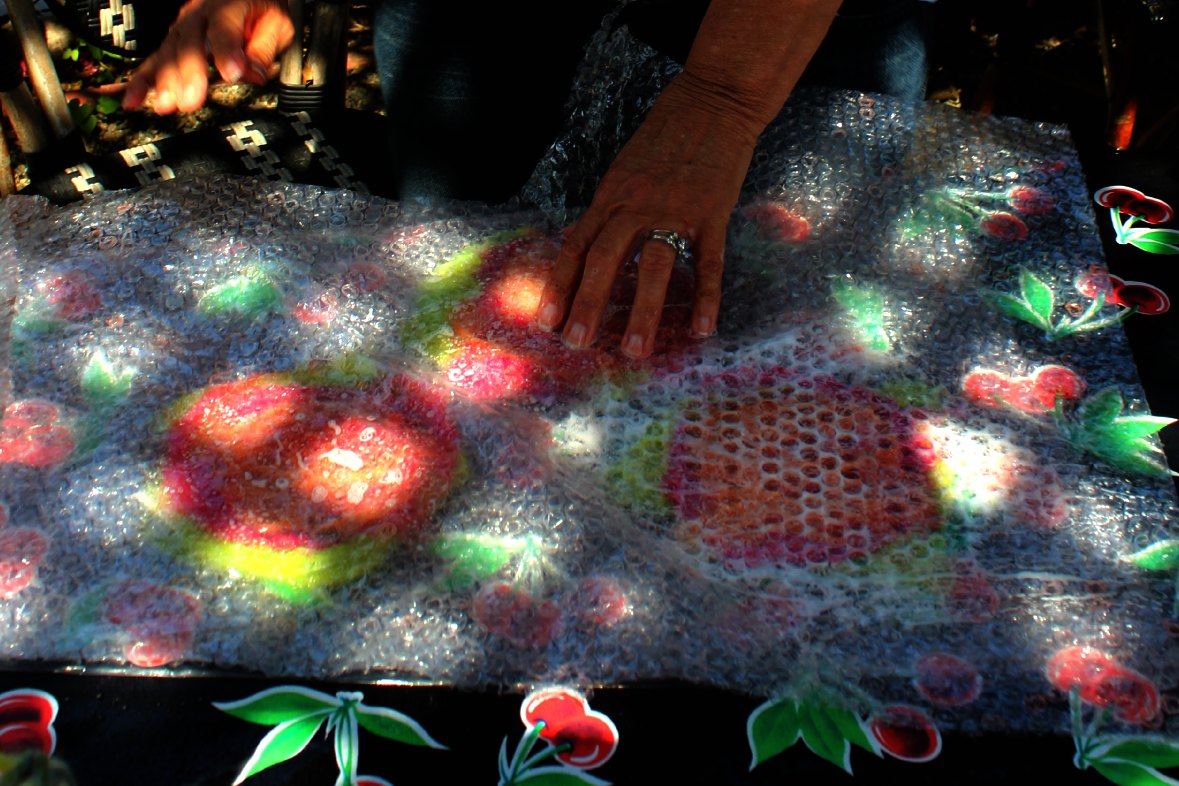
Patting down with bubble wrap to ensure water saturates every layer of the wool fibers.
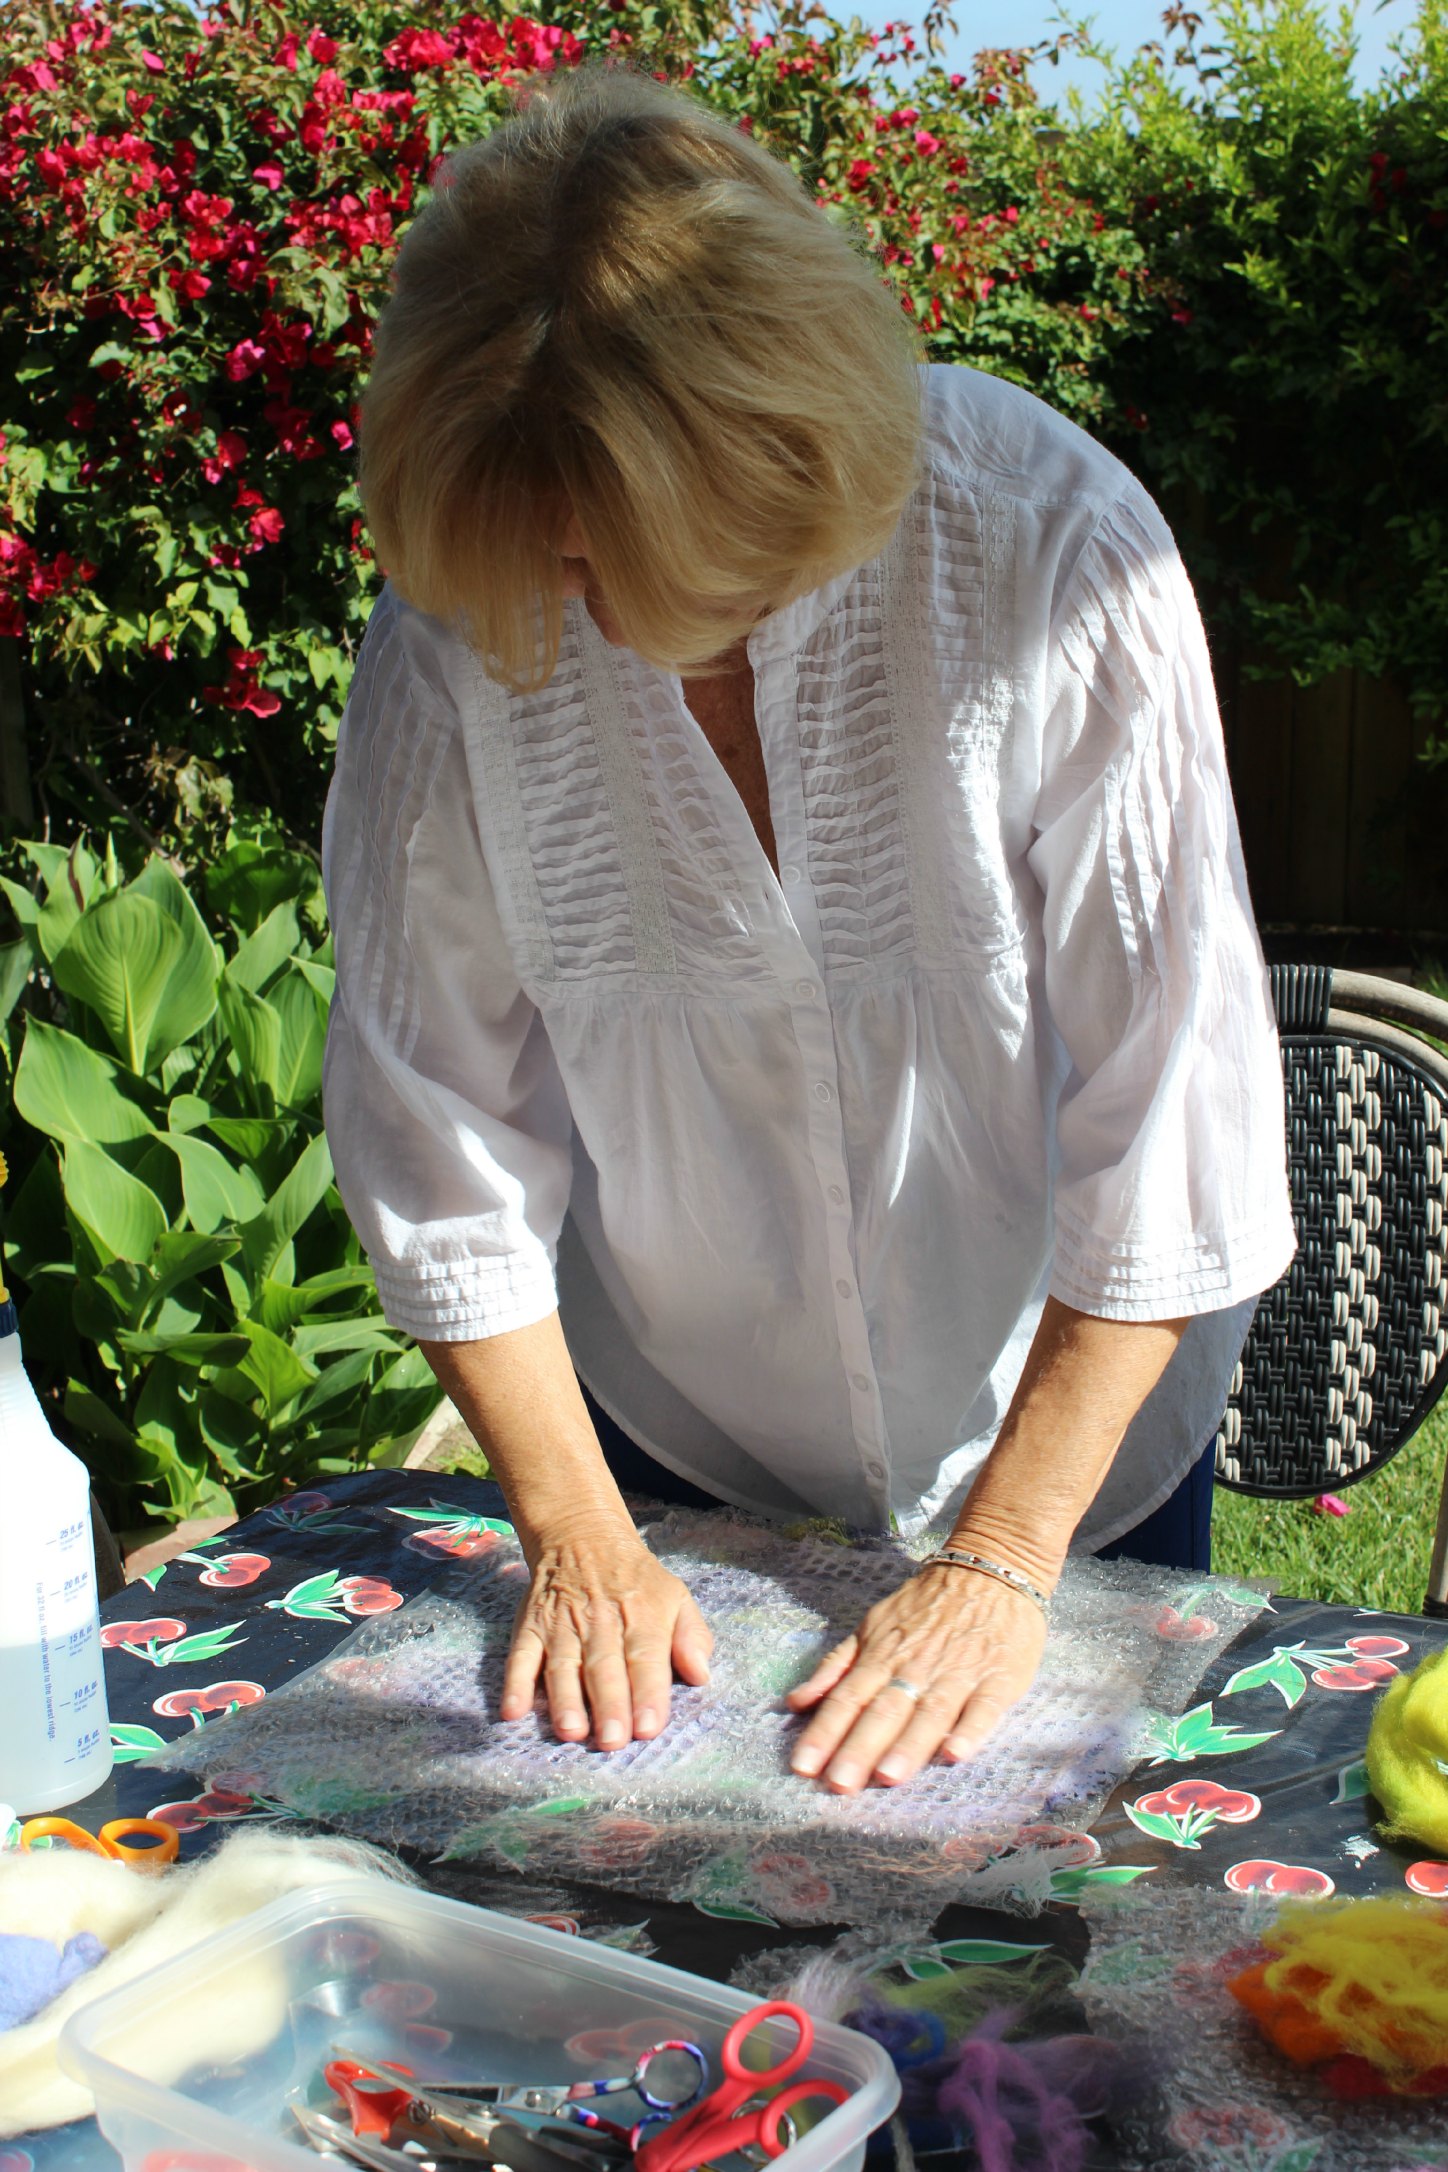
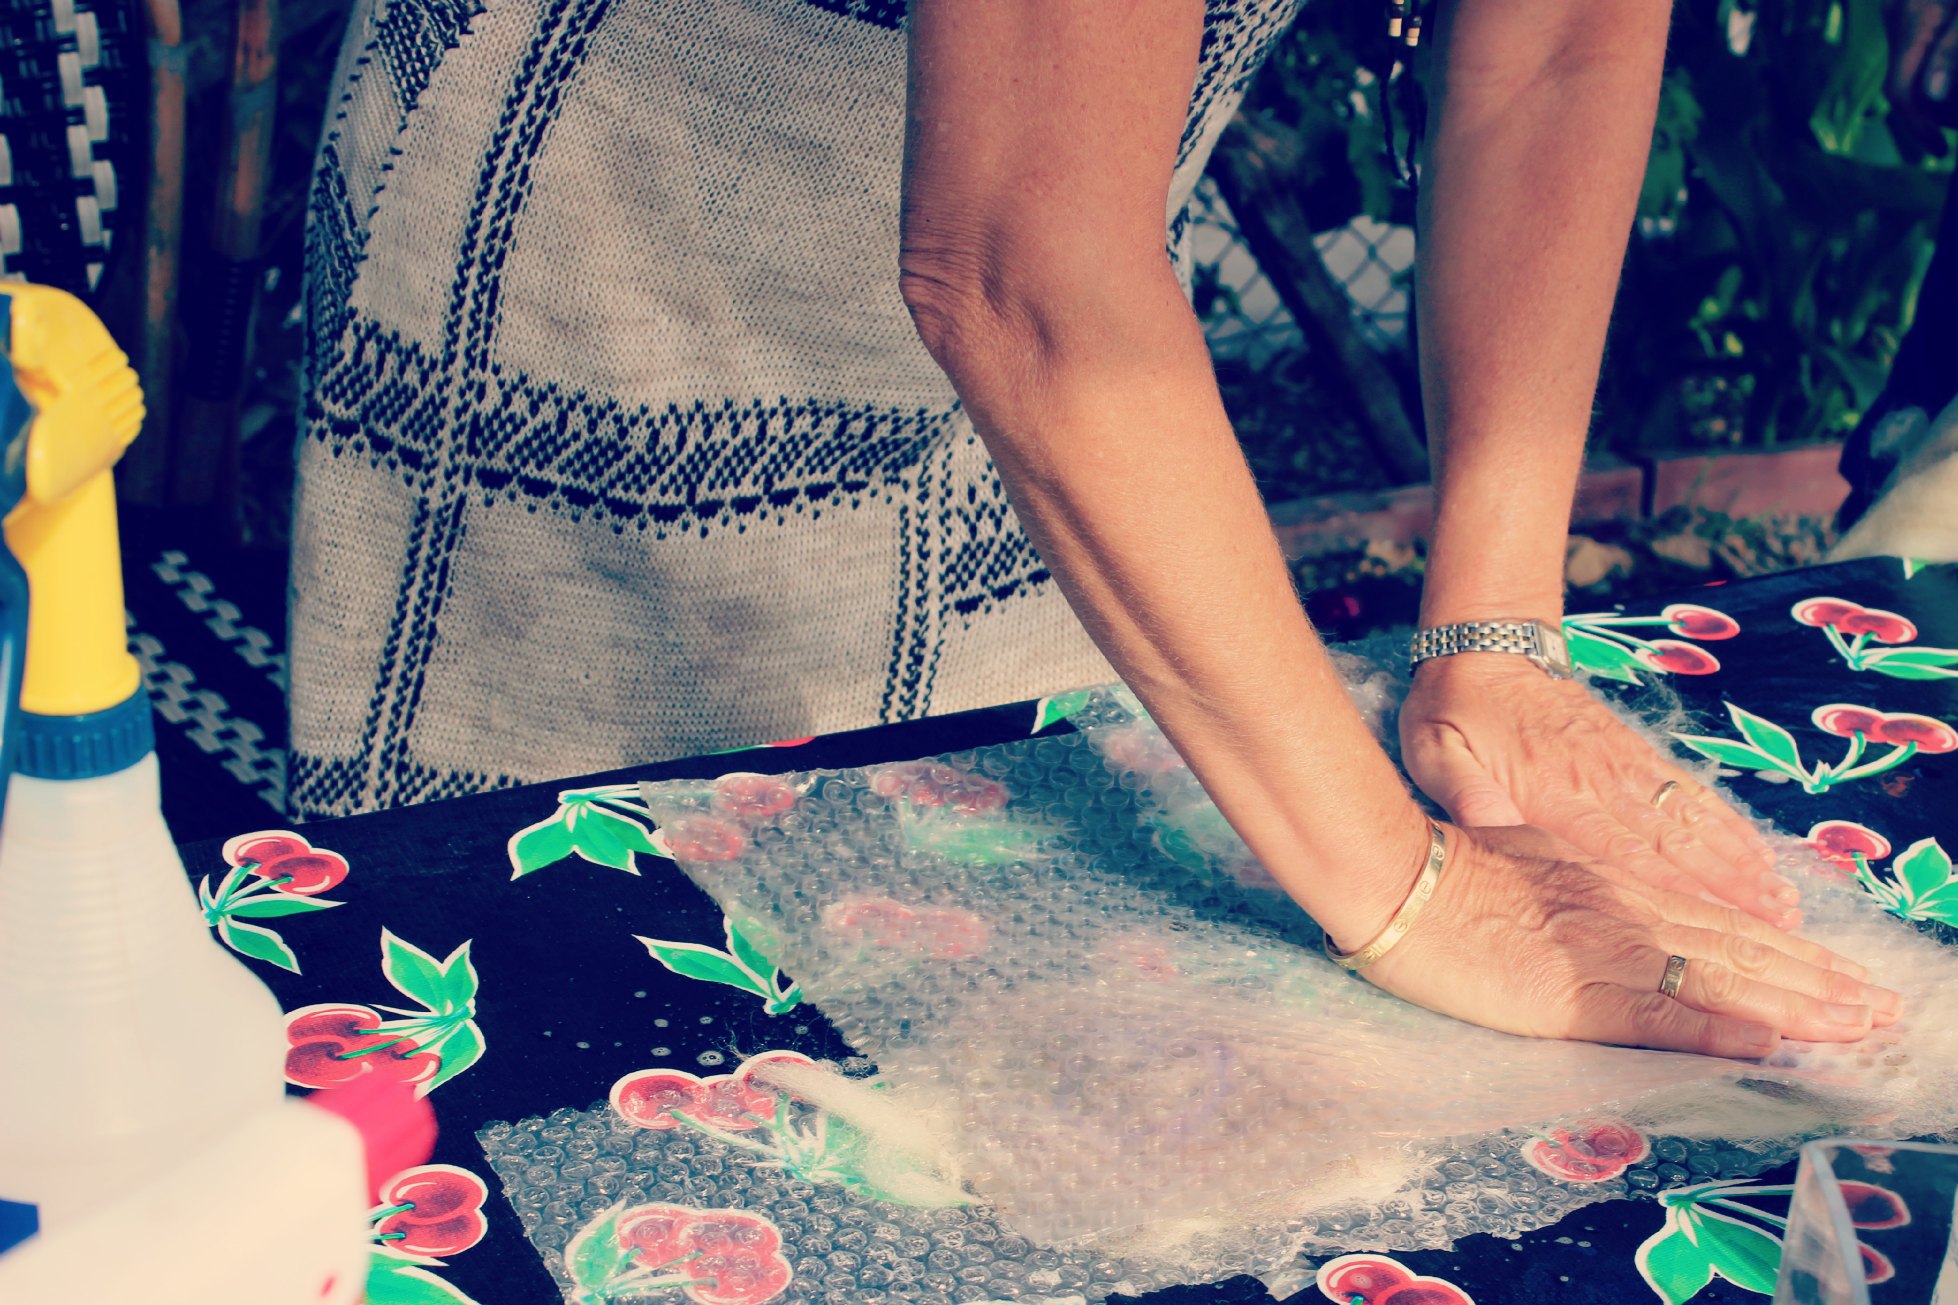
Here’s Rachel rubbing on the bubble wrap to wet the layers through with hot soapy water.
Christine folding ends in to form smooth round edges.
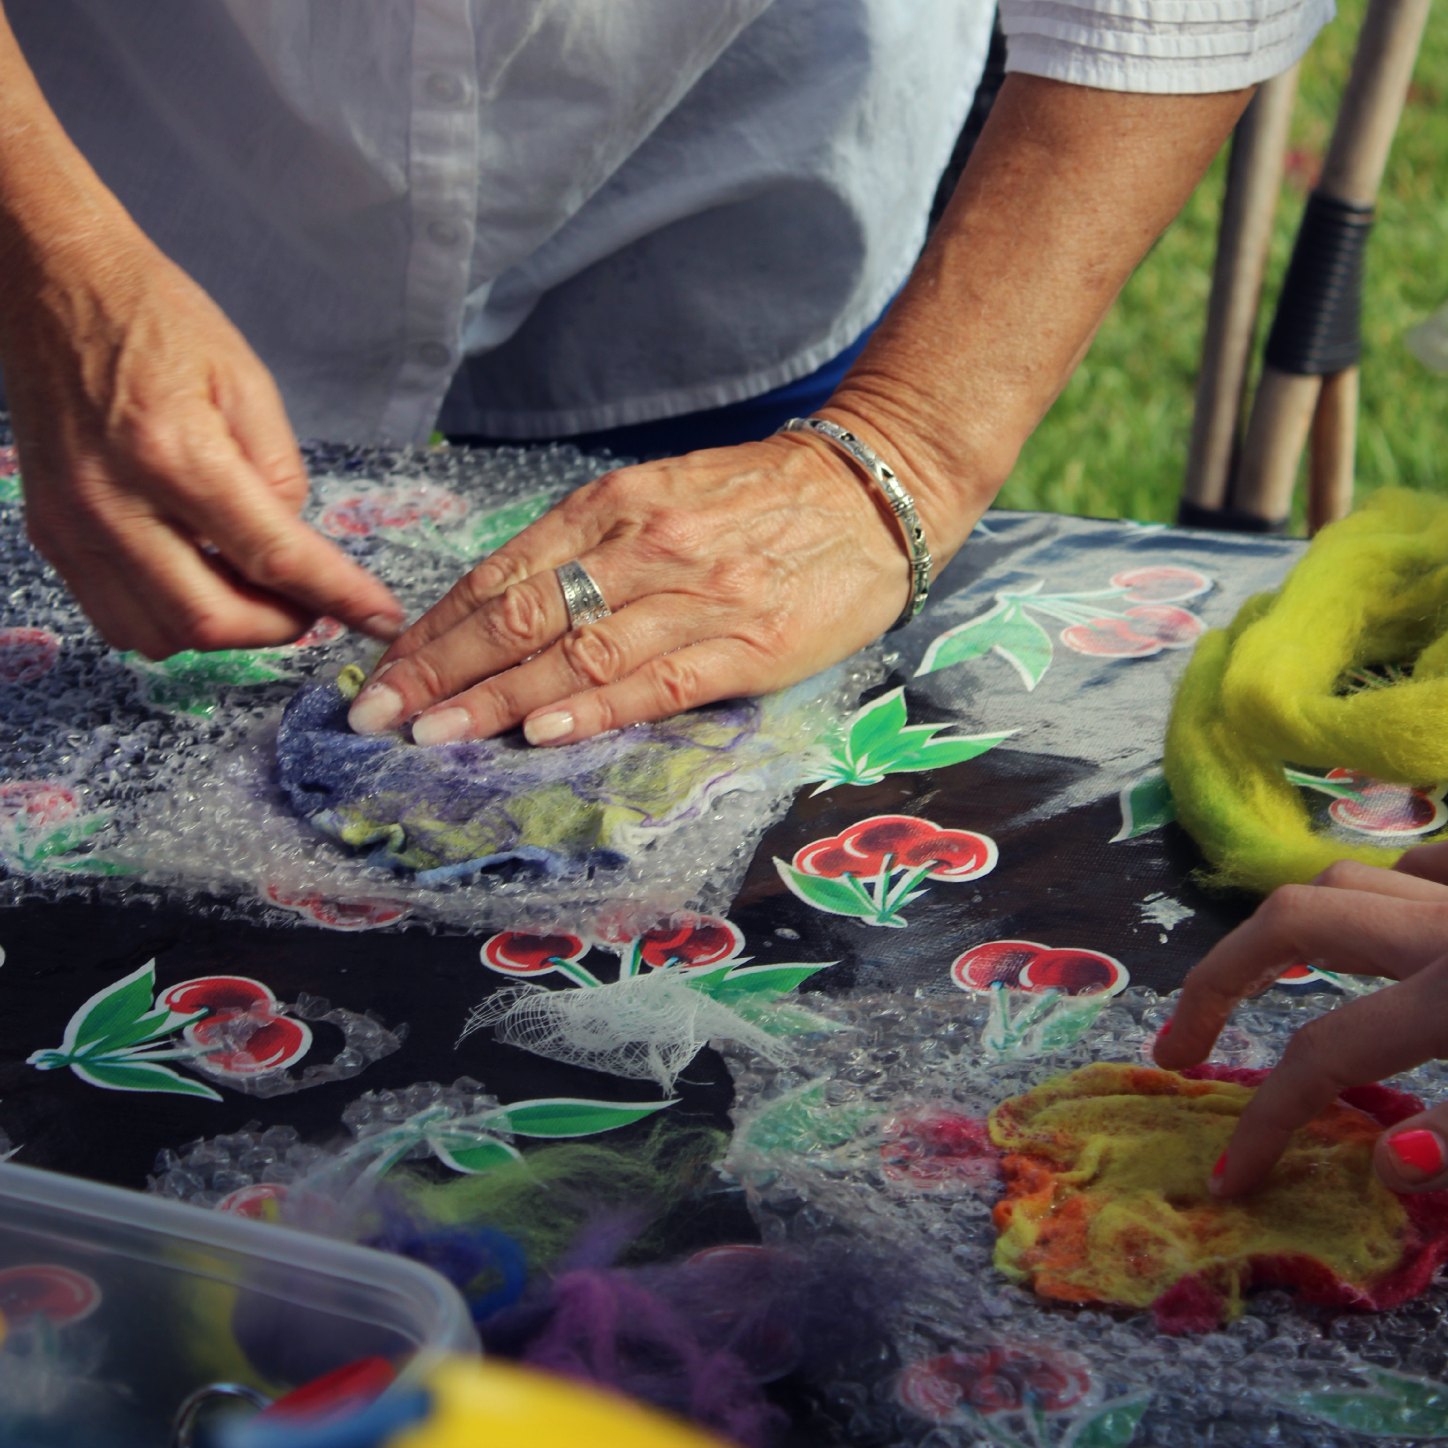
Rachel carefully folding in the ends to make smooth, round edges
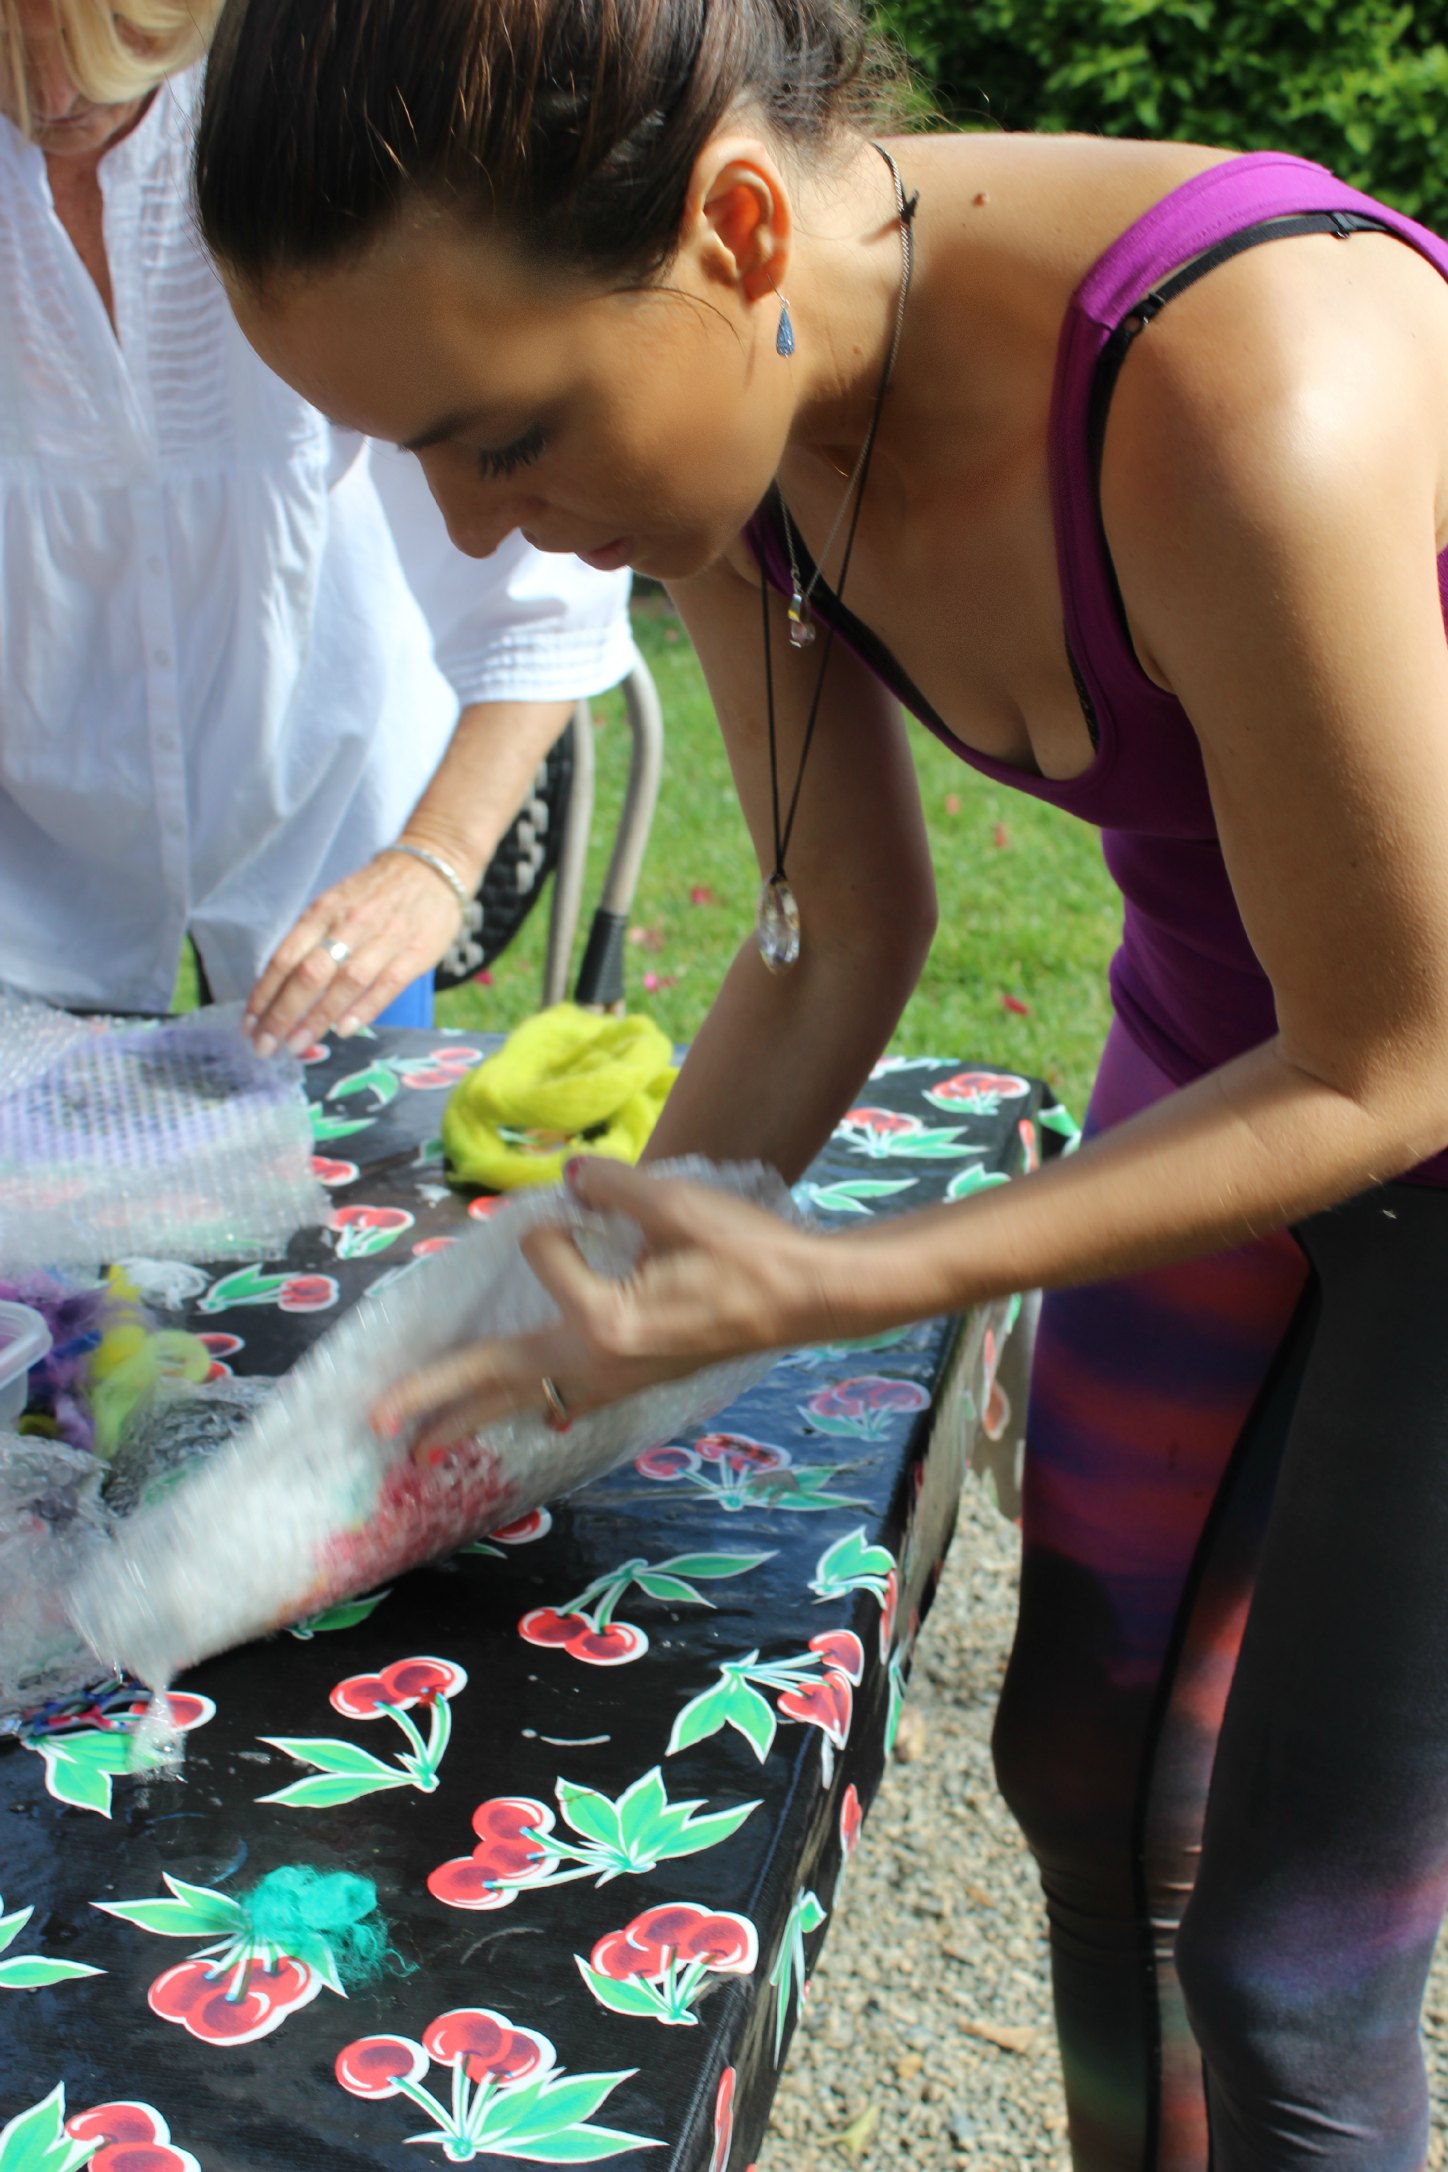
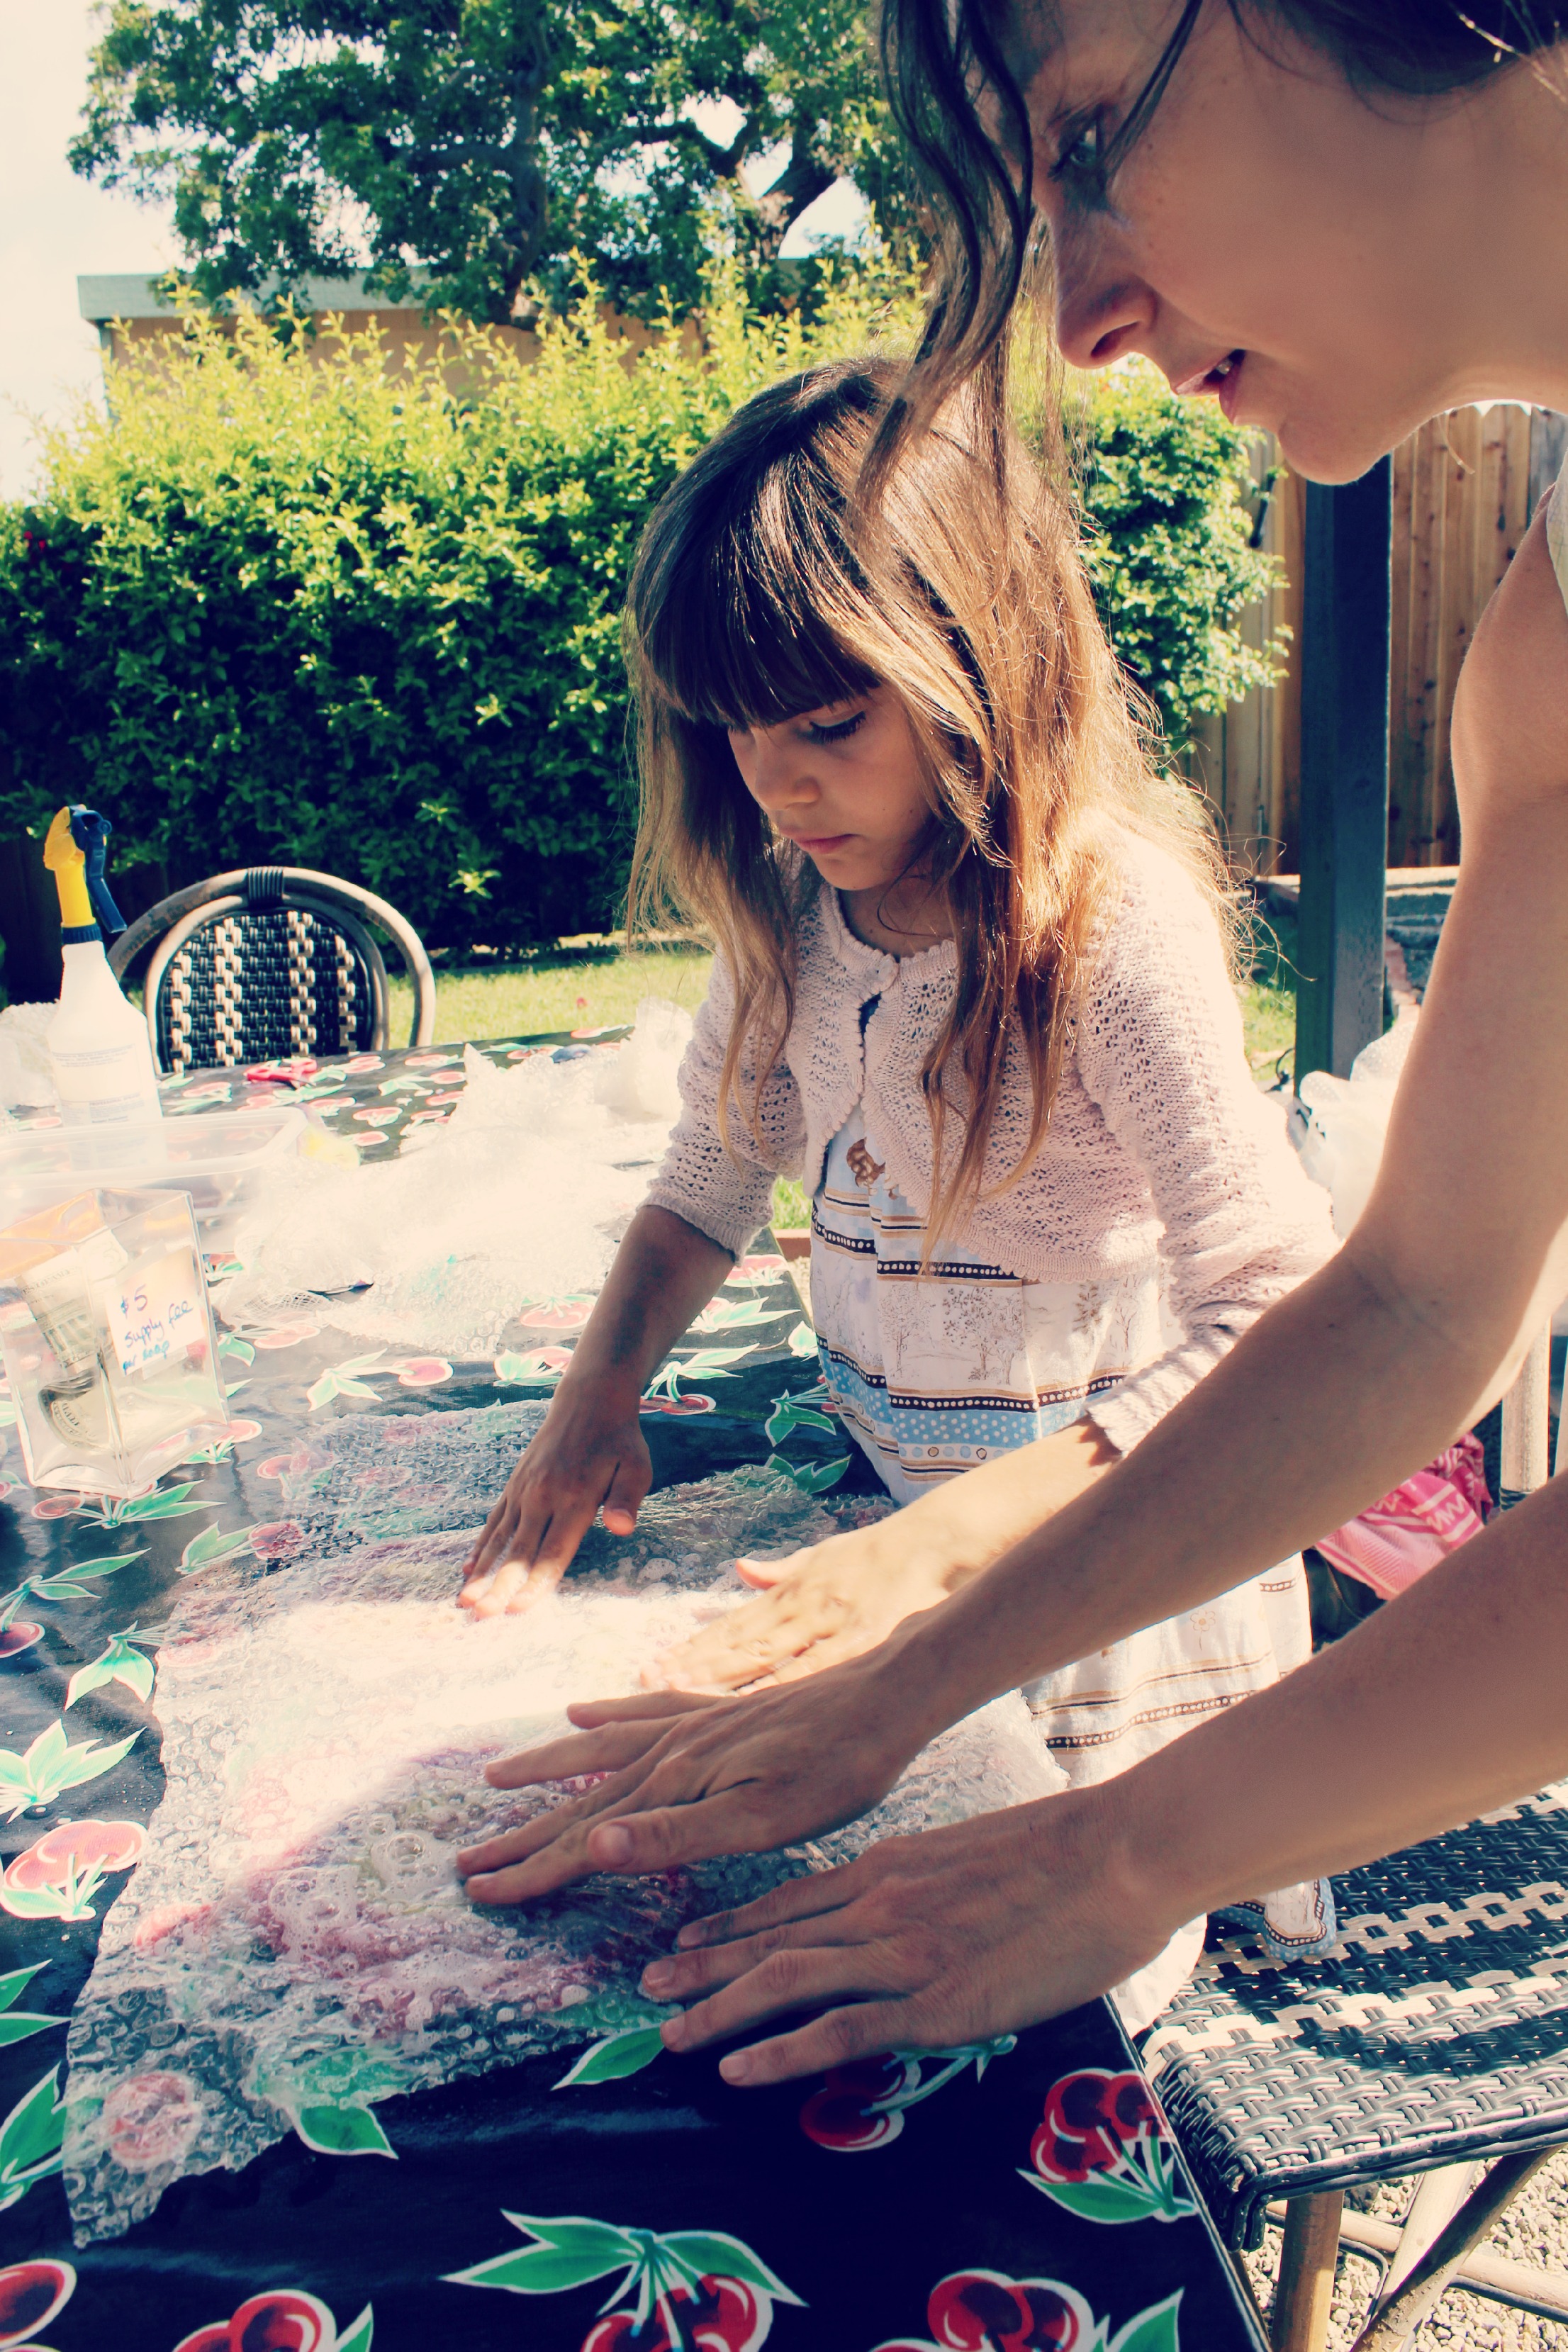
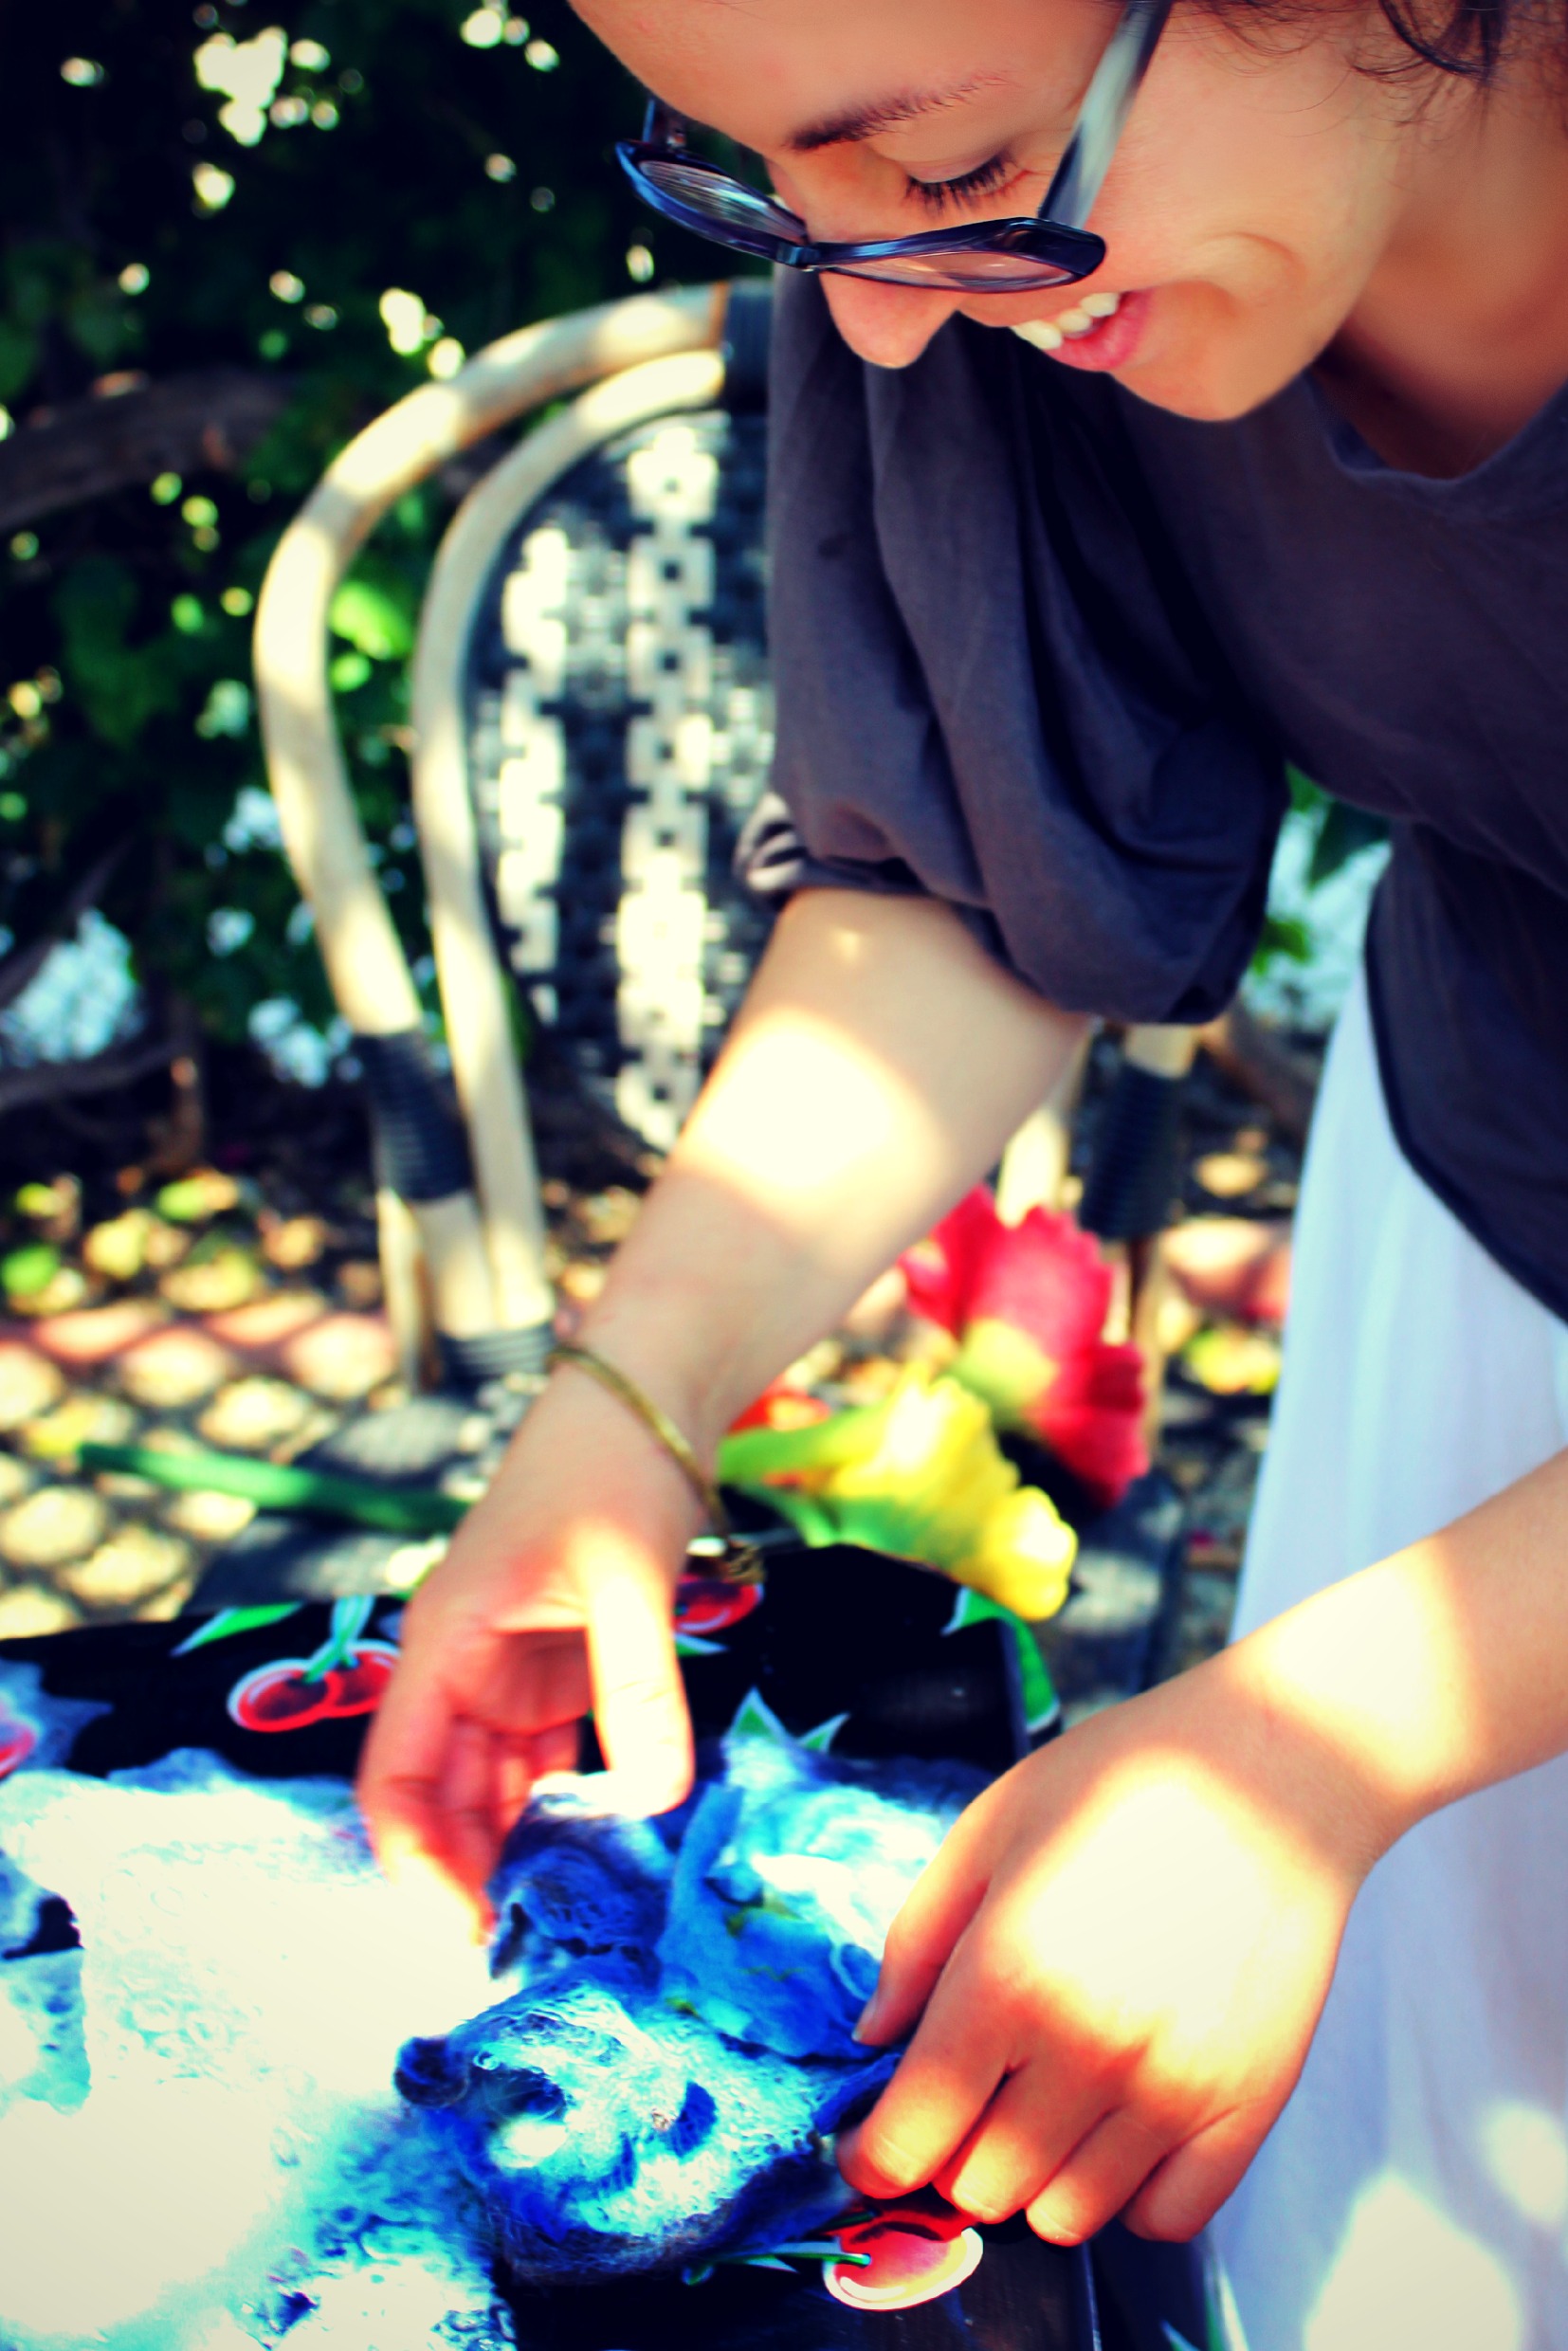
Wet-felting by rubbing the wet and soapy bubble wrap with palm of hands. Remember to pay extra attention to the center.
After finishing one side, Pia turned over her piece and felted from the other side.
Christine felting the center of the flower.
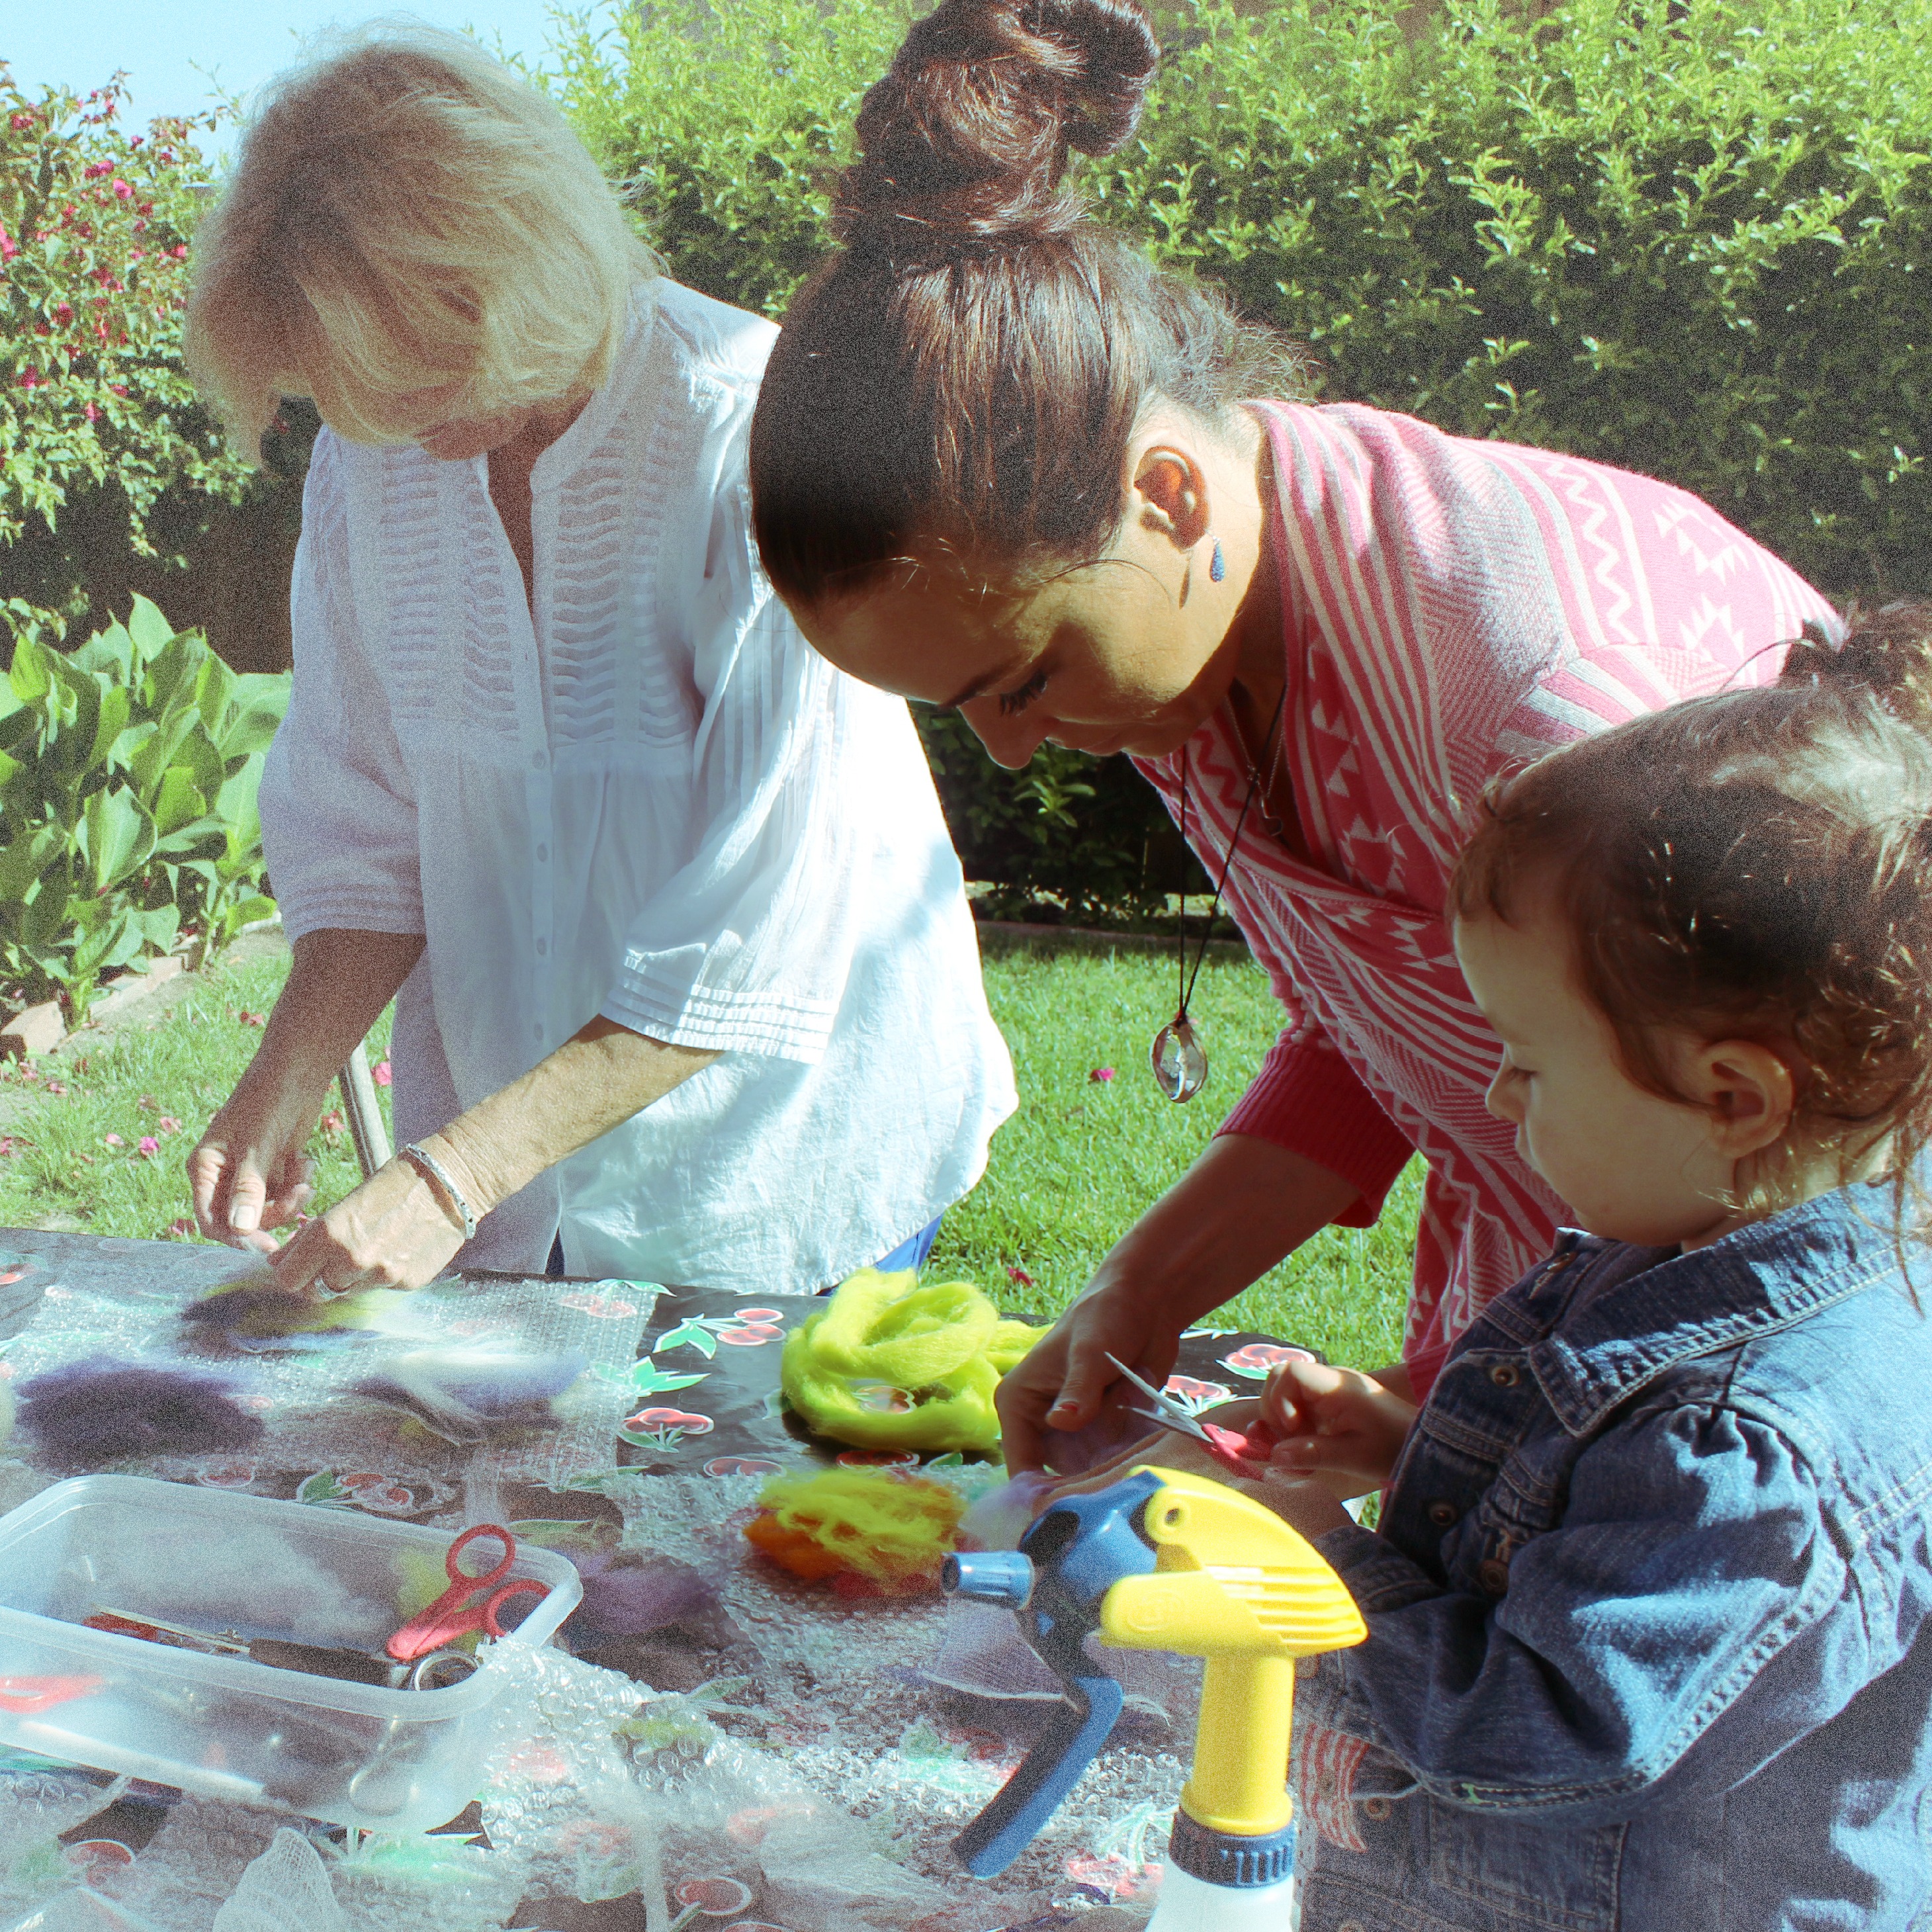
Alena and Anicka rubbing on soapy bubble wrap to felt the fibers together.
Alena fulling the center of her flower to felt the fibers together some more.
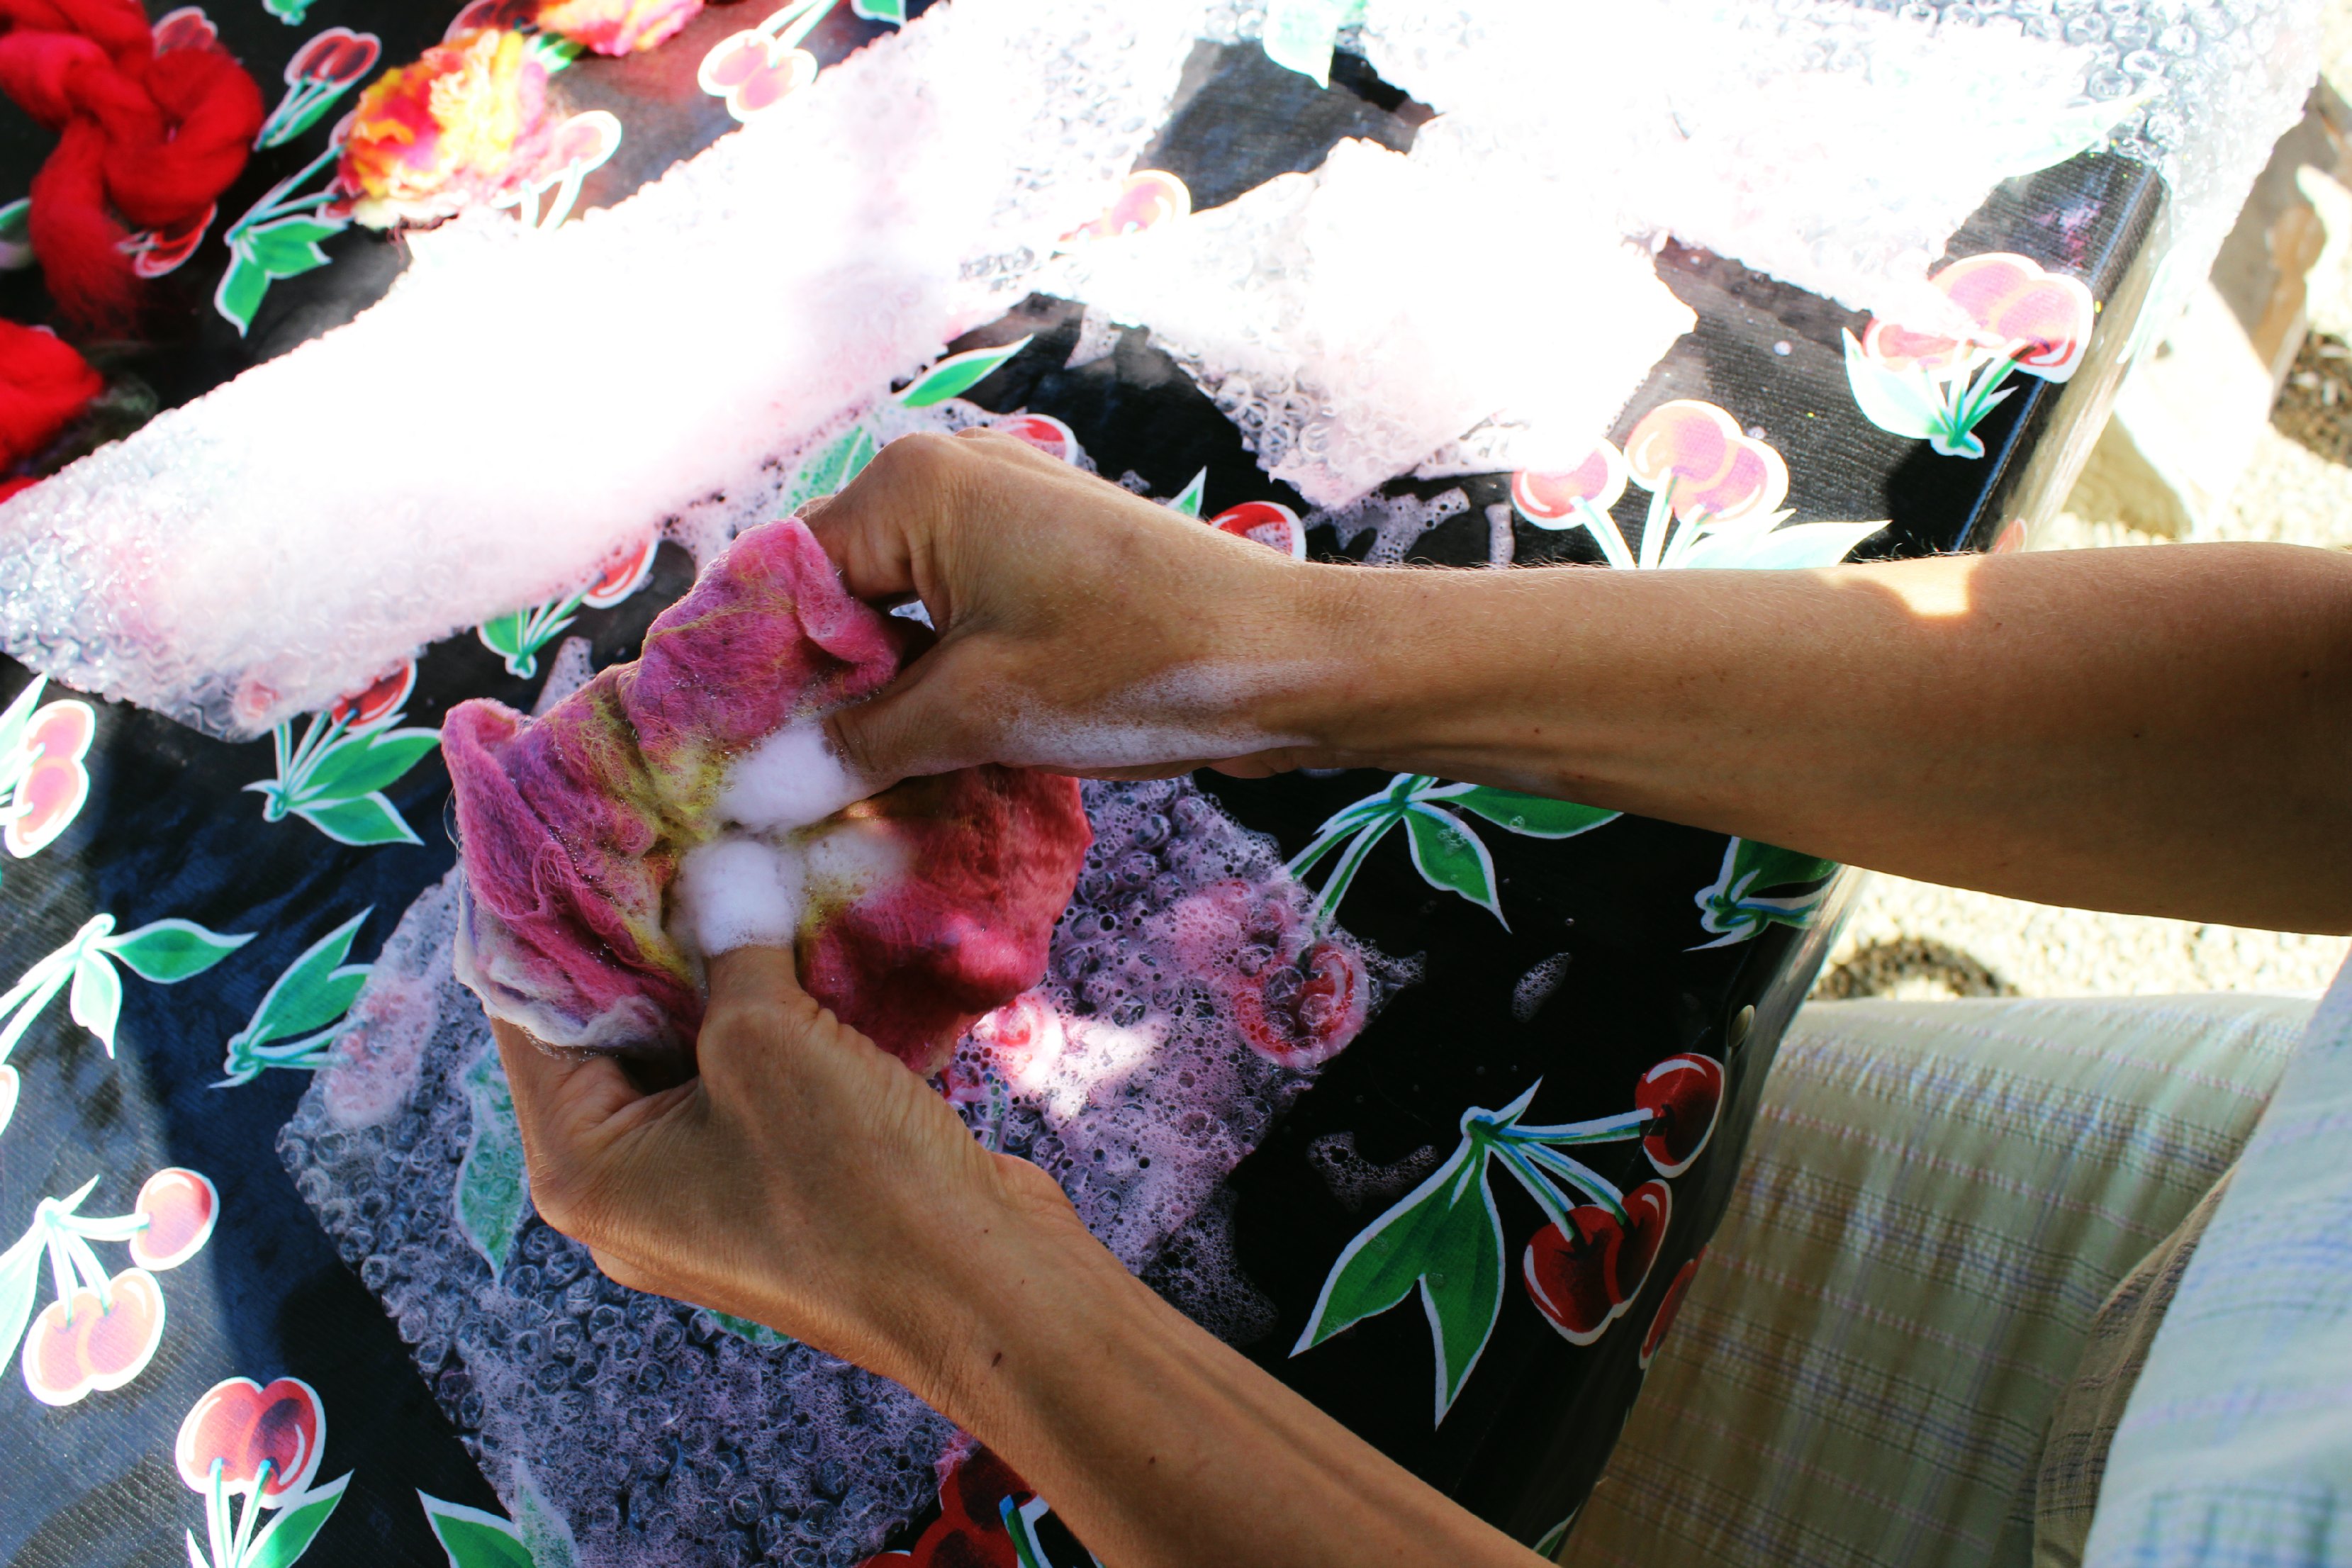
After removing the layers of bubble wrap, Christne and Pia fulled their flowers a little more, escpecially towards the center.

Pia and her wet-felted flower, right after removing the bubble wraps. Next: cutting petals and arranging them.
Janet arranging her wet-felted flower. Welcome Janet to our craft group!
My first attempt: the red-orangey flower.
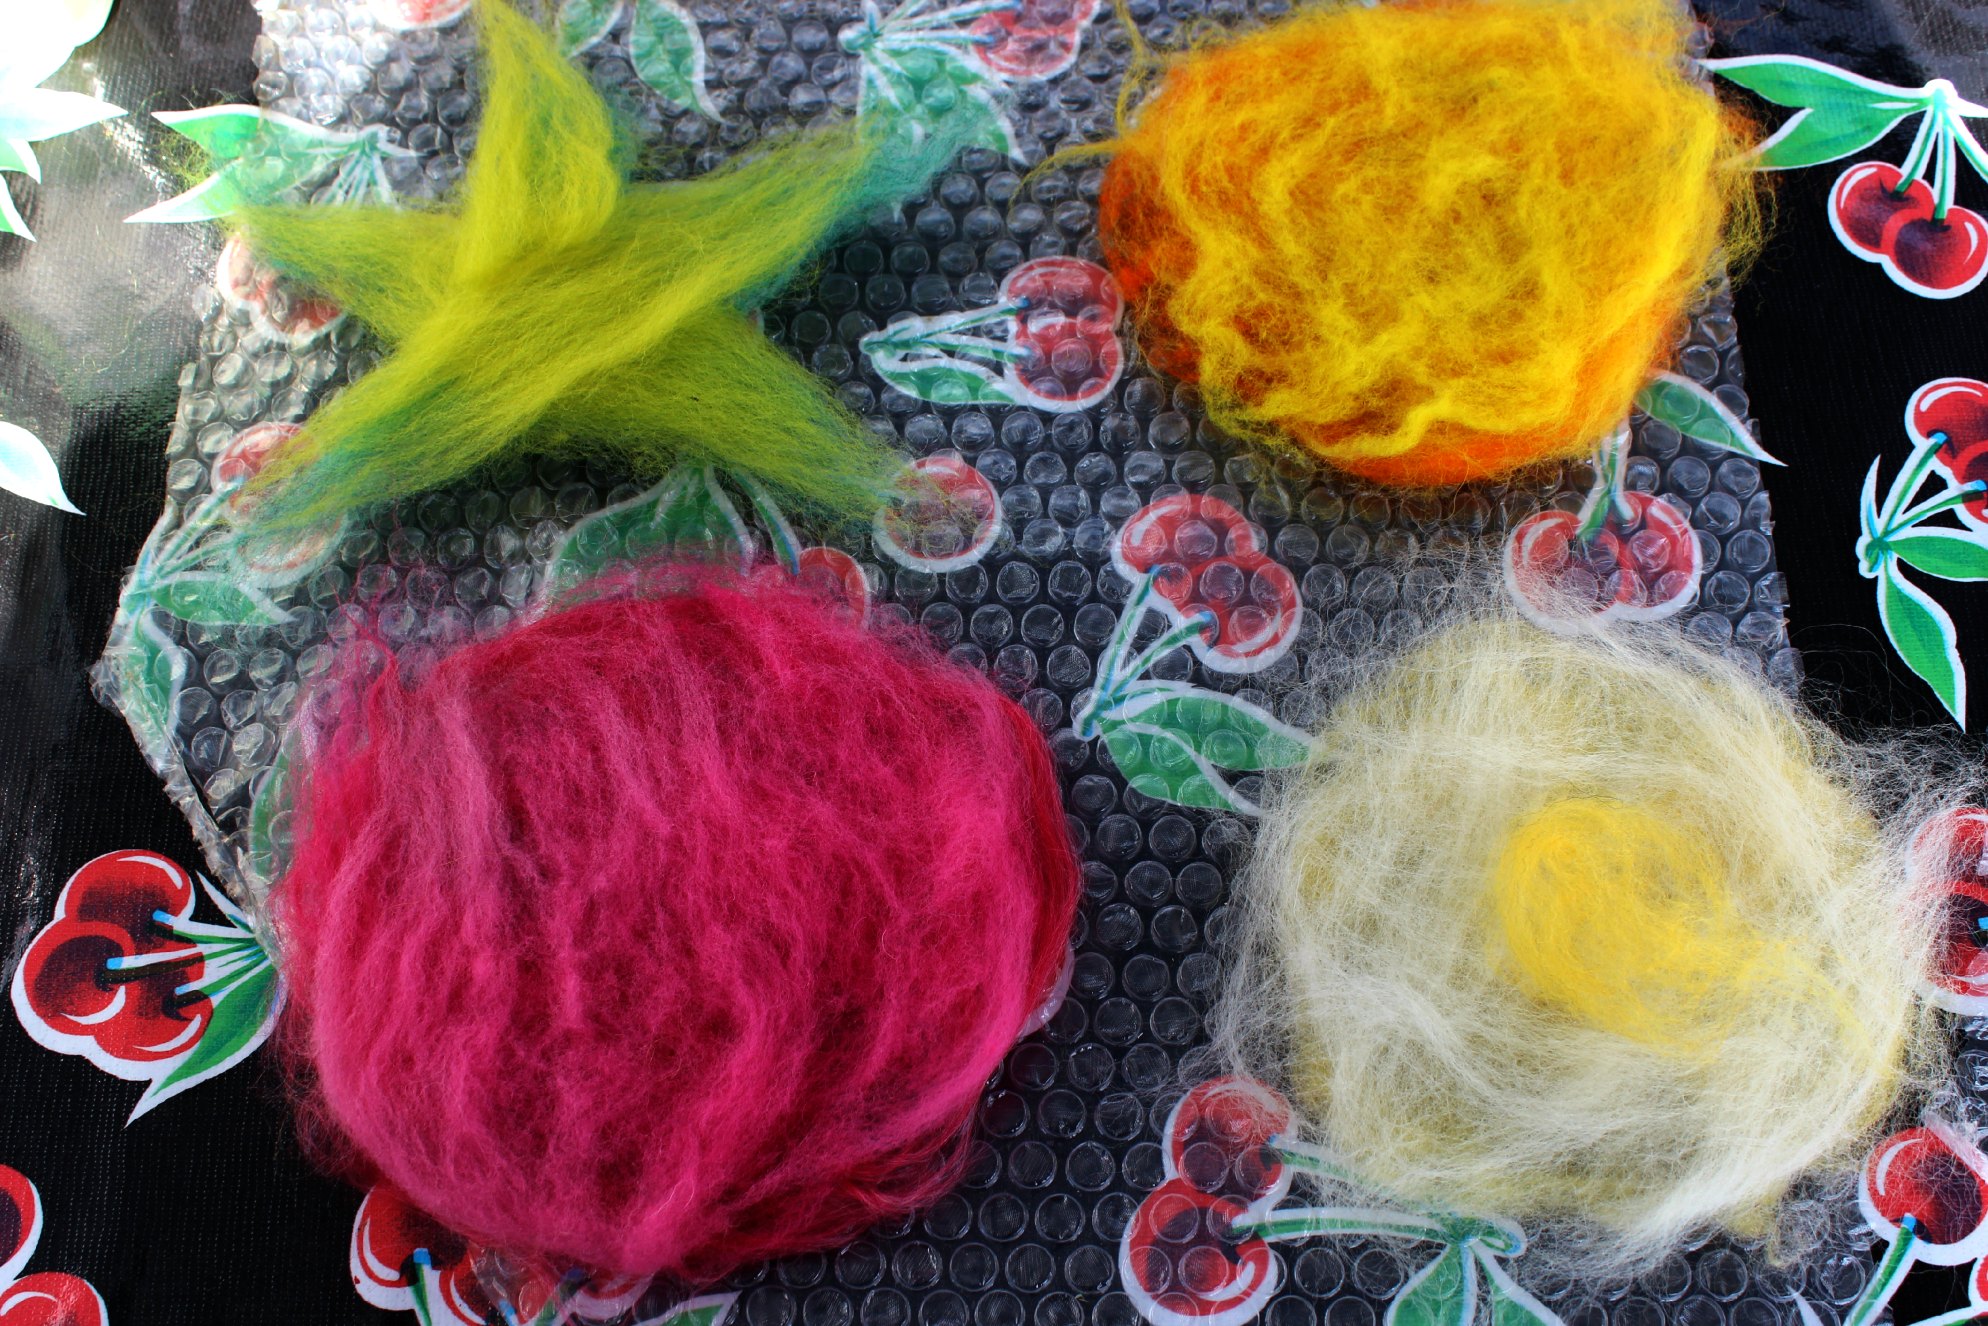
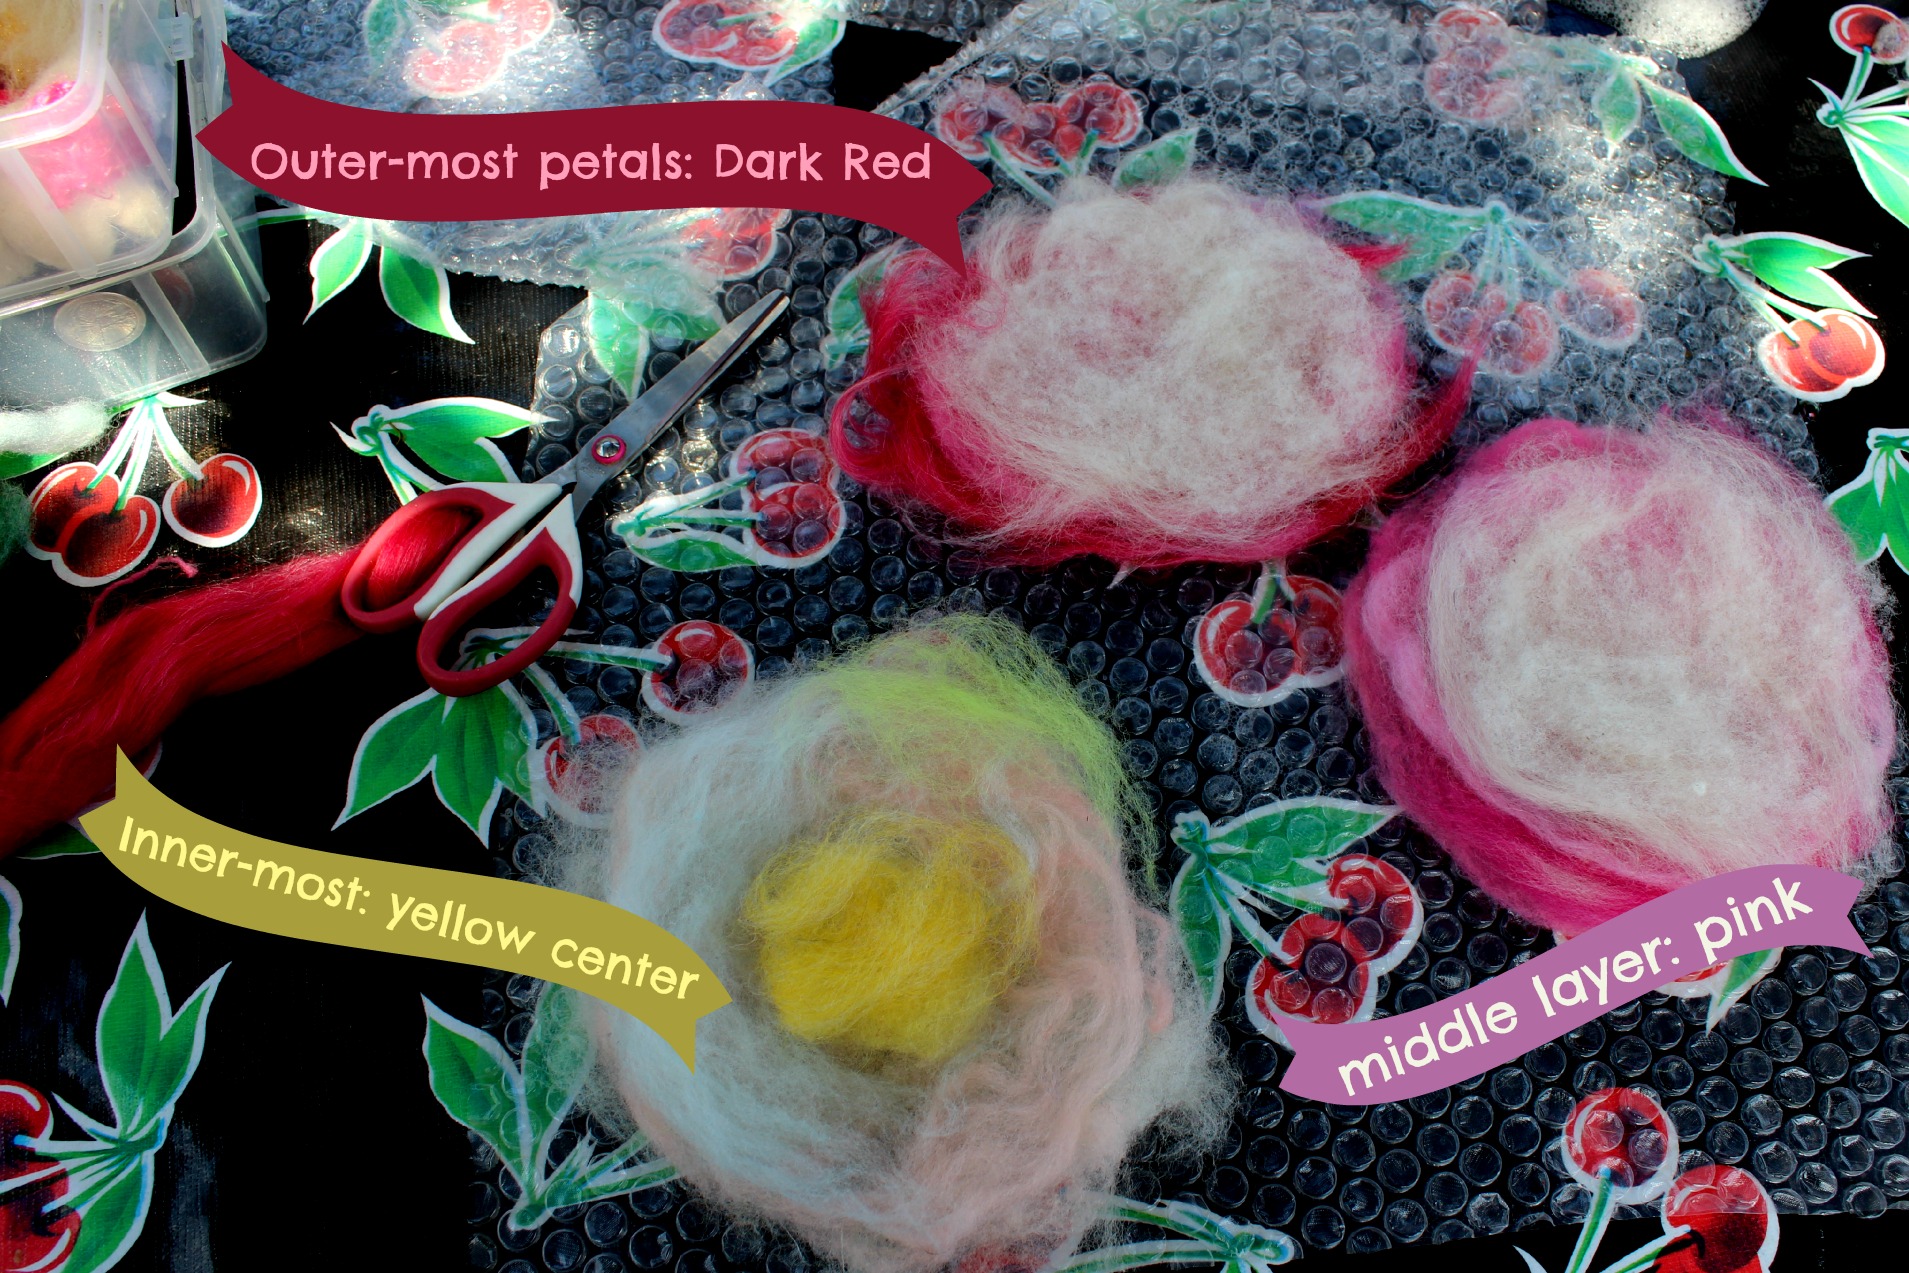
I decided to add an extra layer to the 3 layers instructed by Christine. The green star-shaped calyx will be a colorful contrast to the reds of the flower.
I cut out squares of bubble wrap big enough to cover each layer above. In the center of the bubble wraps are holes to enable adjacent flower layers to felt together.
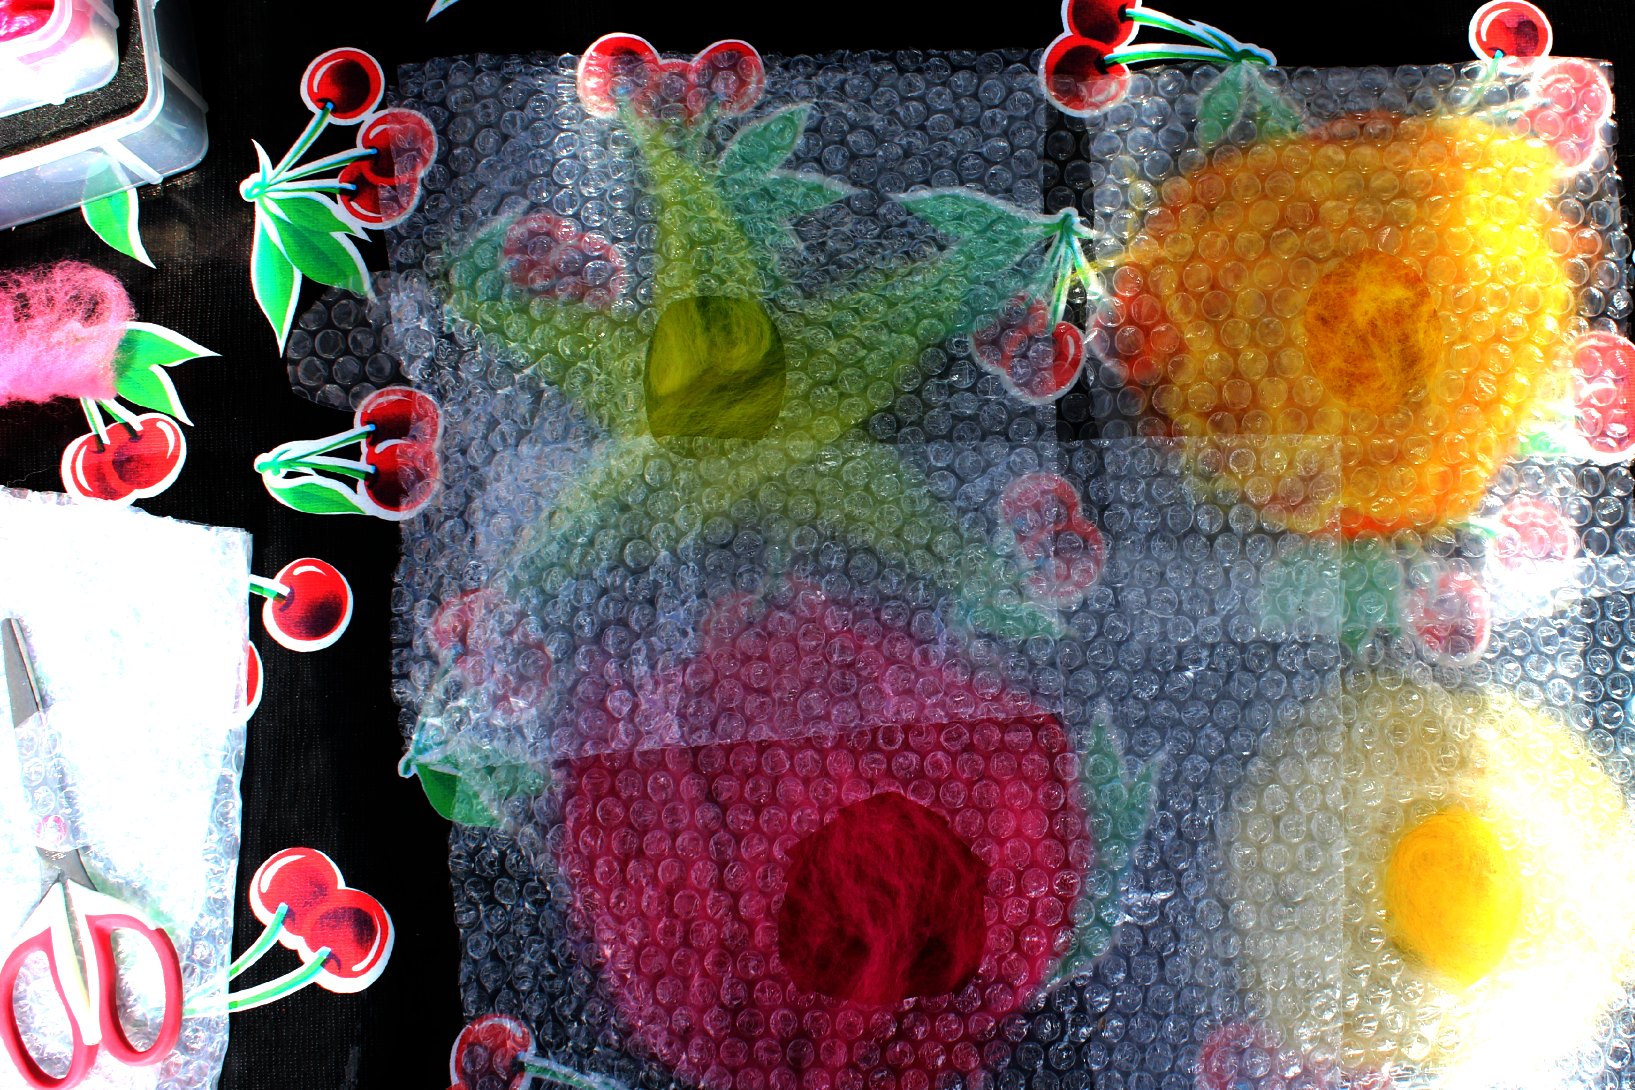
After gently removing the bubble wrap pieces with holes above from my designs, I sprayed each of the four layers with hot soapy water and pat each down to soak through all the wool fibers.
Linda soaking her flower layers under some bubble wrap…
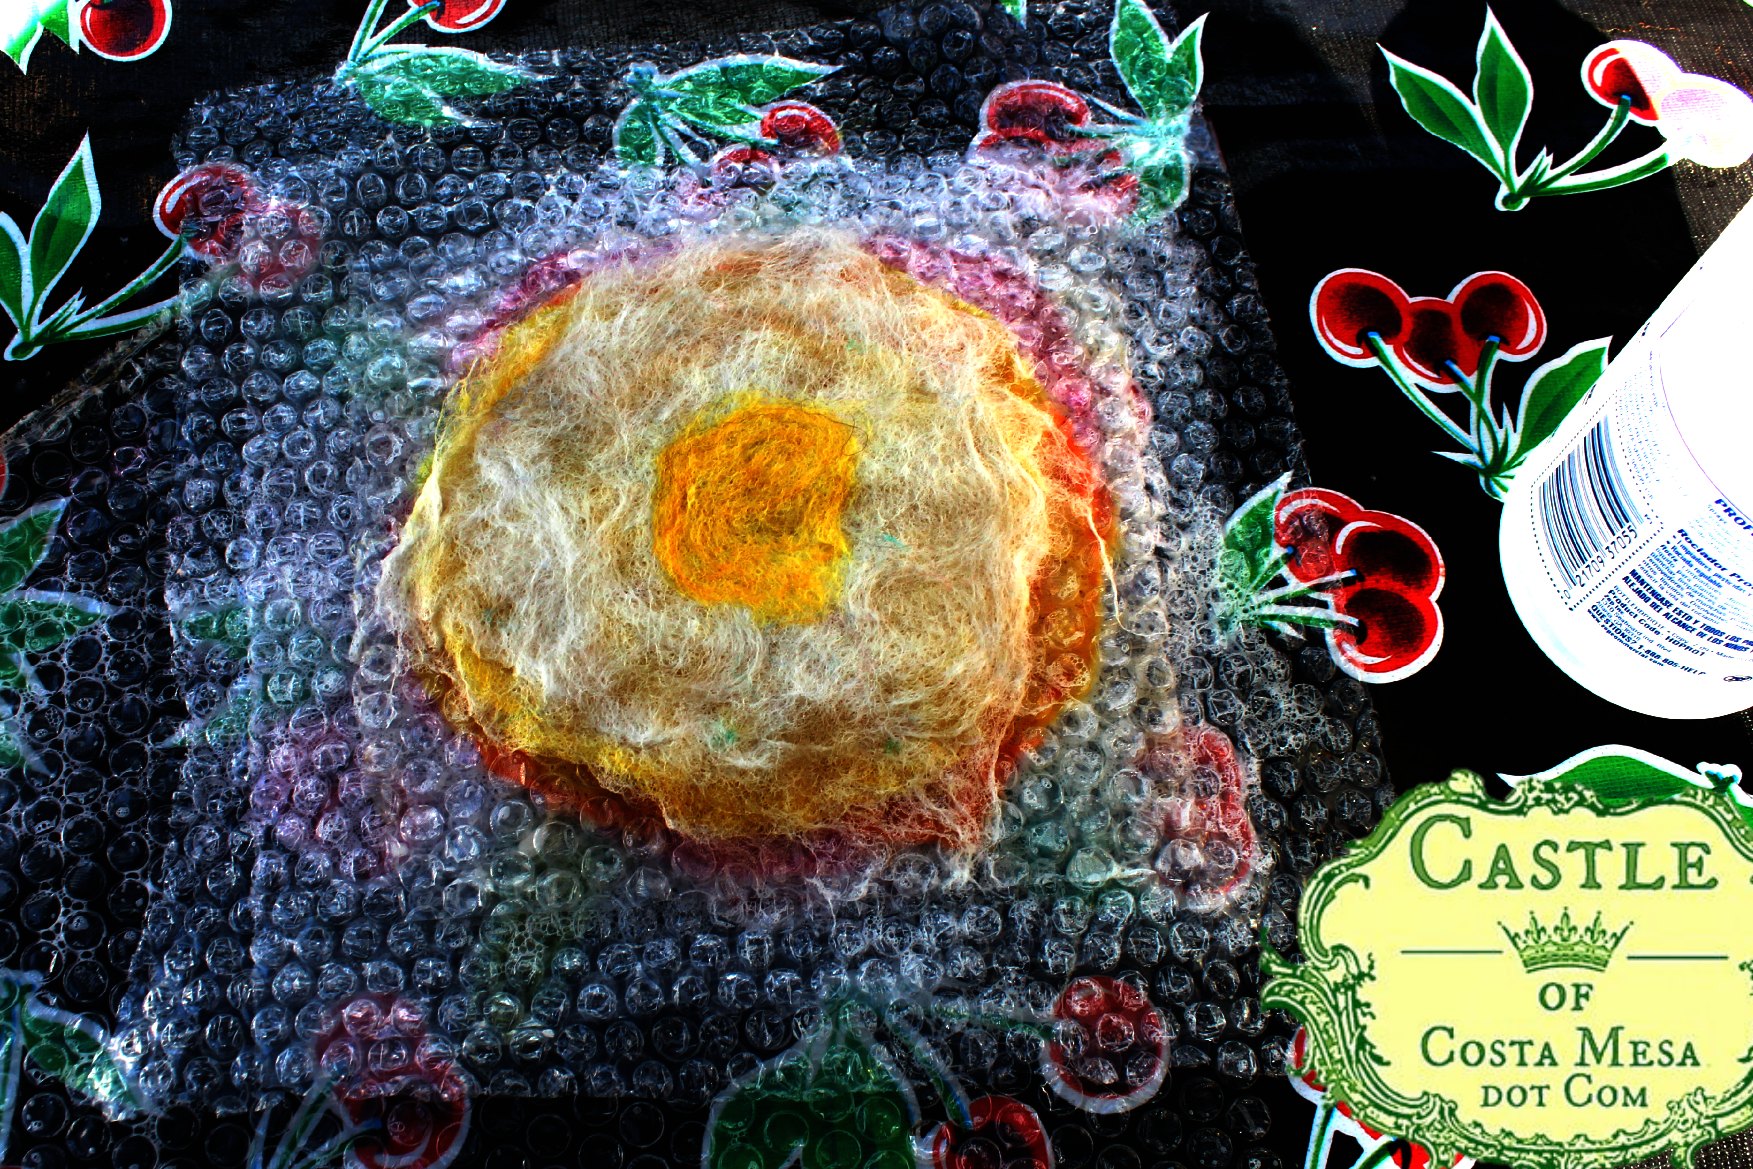
Then I placed the green calyx on the very bottom, arrange the layers up in this manner to make my “sunny side up egg” below…
-
bubble wrap, no hole
-
Green calyx on the bottom
-
bubble wrap with hole
- deep red layer
- bubble wrap with hole
- orange layer
- bubble wrap with hole
- layer with yellow center
- bubble wrap, no hole
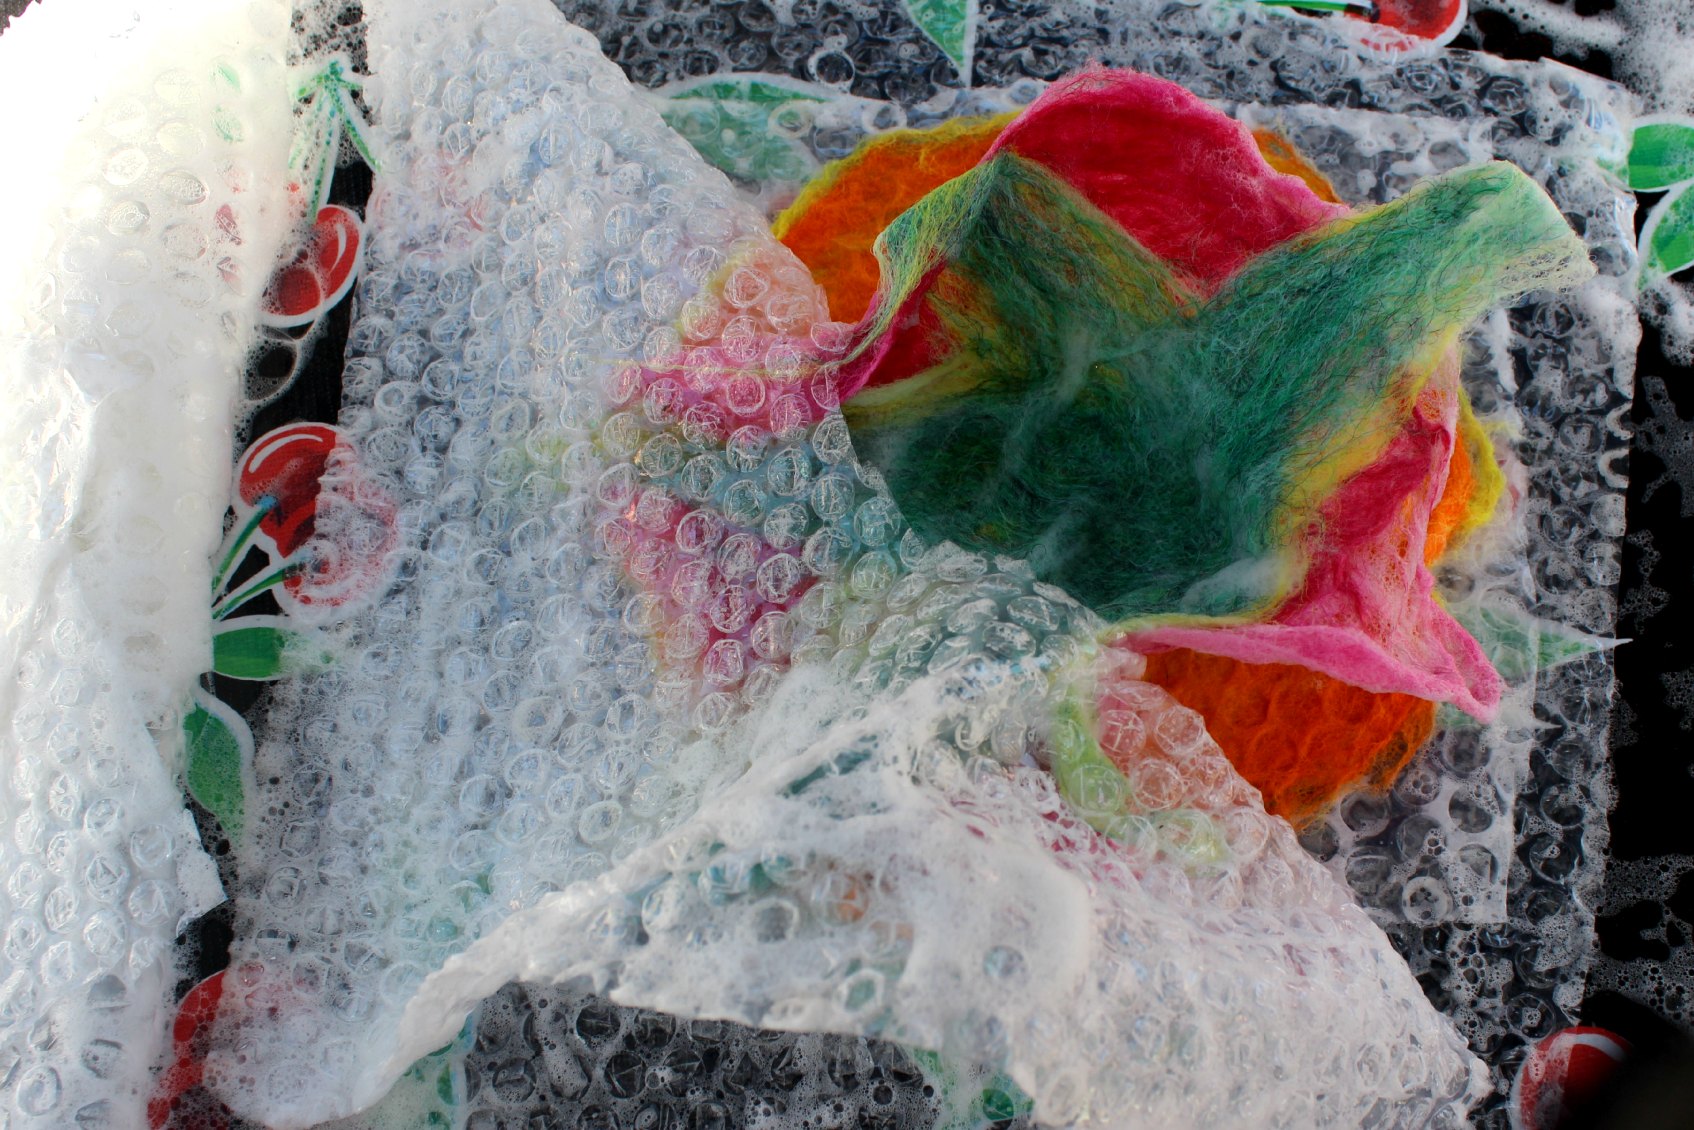
I made the top layer of bubble wrap slippery by squirting some hot soapy water on it, then I rubbed on the layers by hand. Gently at first for about 10 minutes, adding pressure as I go. I find it useful to rub the center “hole” region with the ball of my palm, to felt the center together more.
Pinch test was done to check if the flower was sufficiently felted: when pinching did not lift the wool fibers, it means the fibers were felted together adequately for the next step.
Next, the layers of bubble wraps were carefully removed from the flower, as not to accidentally separate the attached flower center. Bottom view of my flower: I was excited to see the vibrant contrast of the green calyx to the deep red outer-most petal.
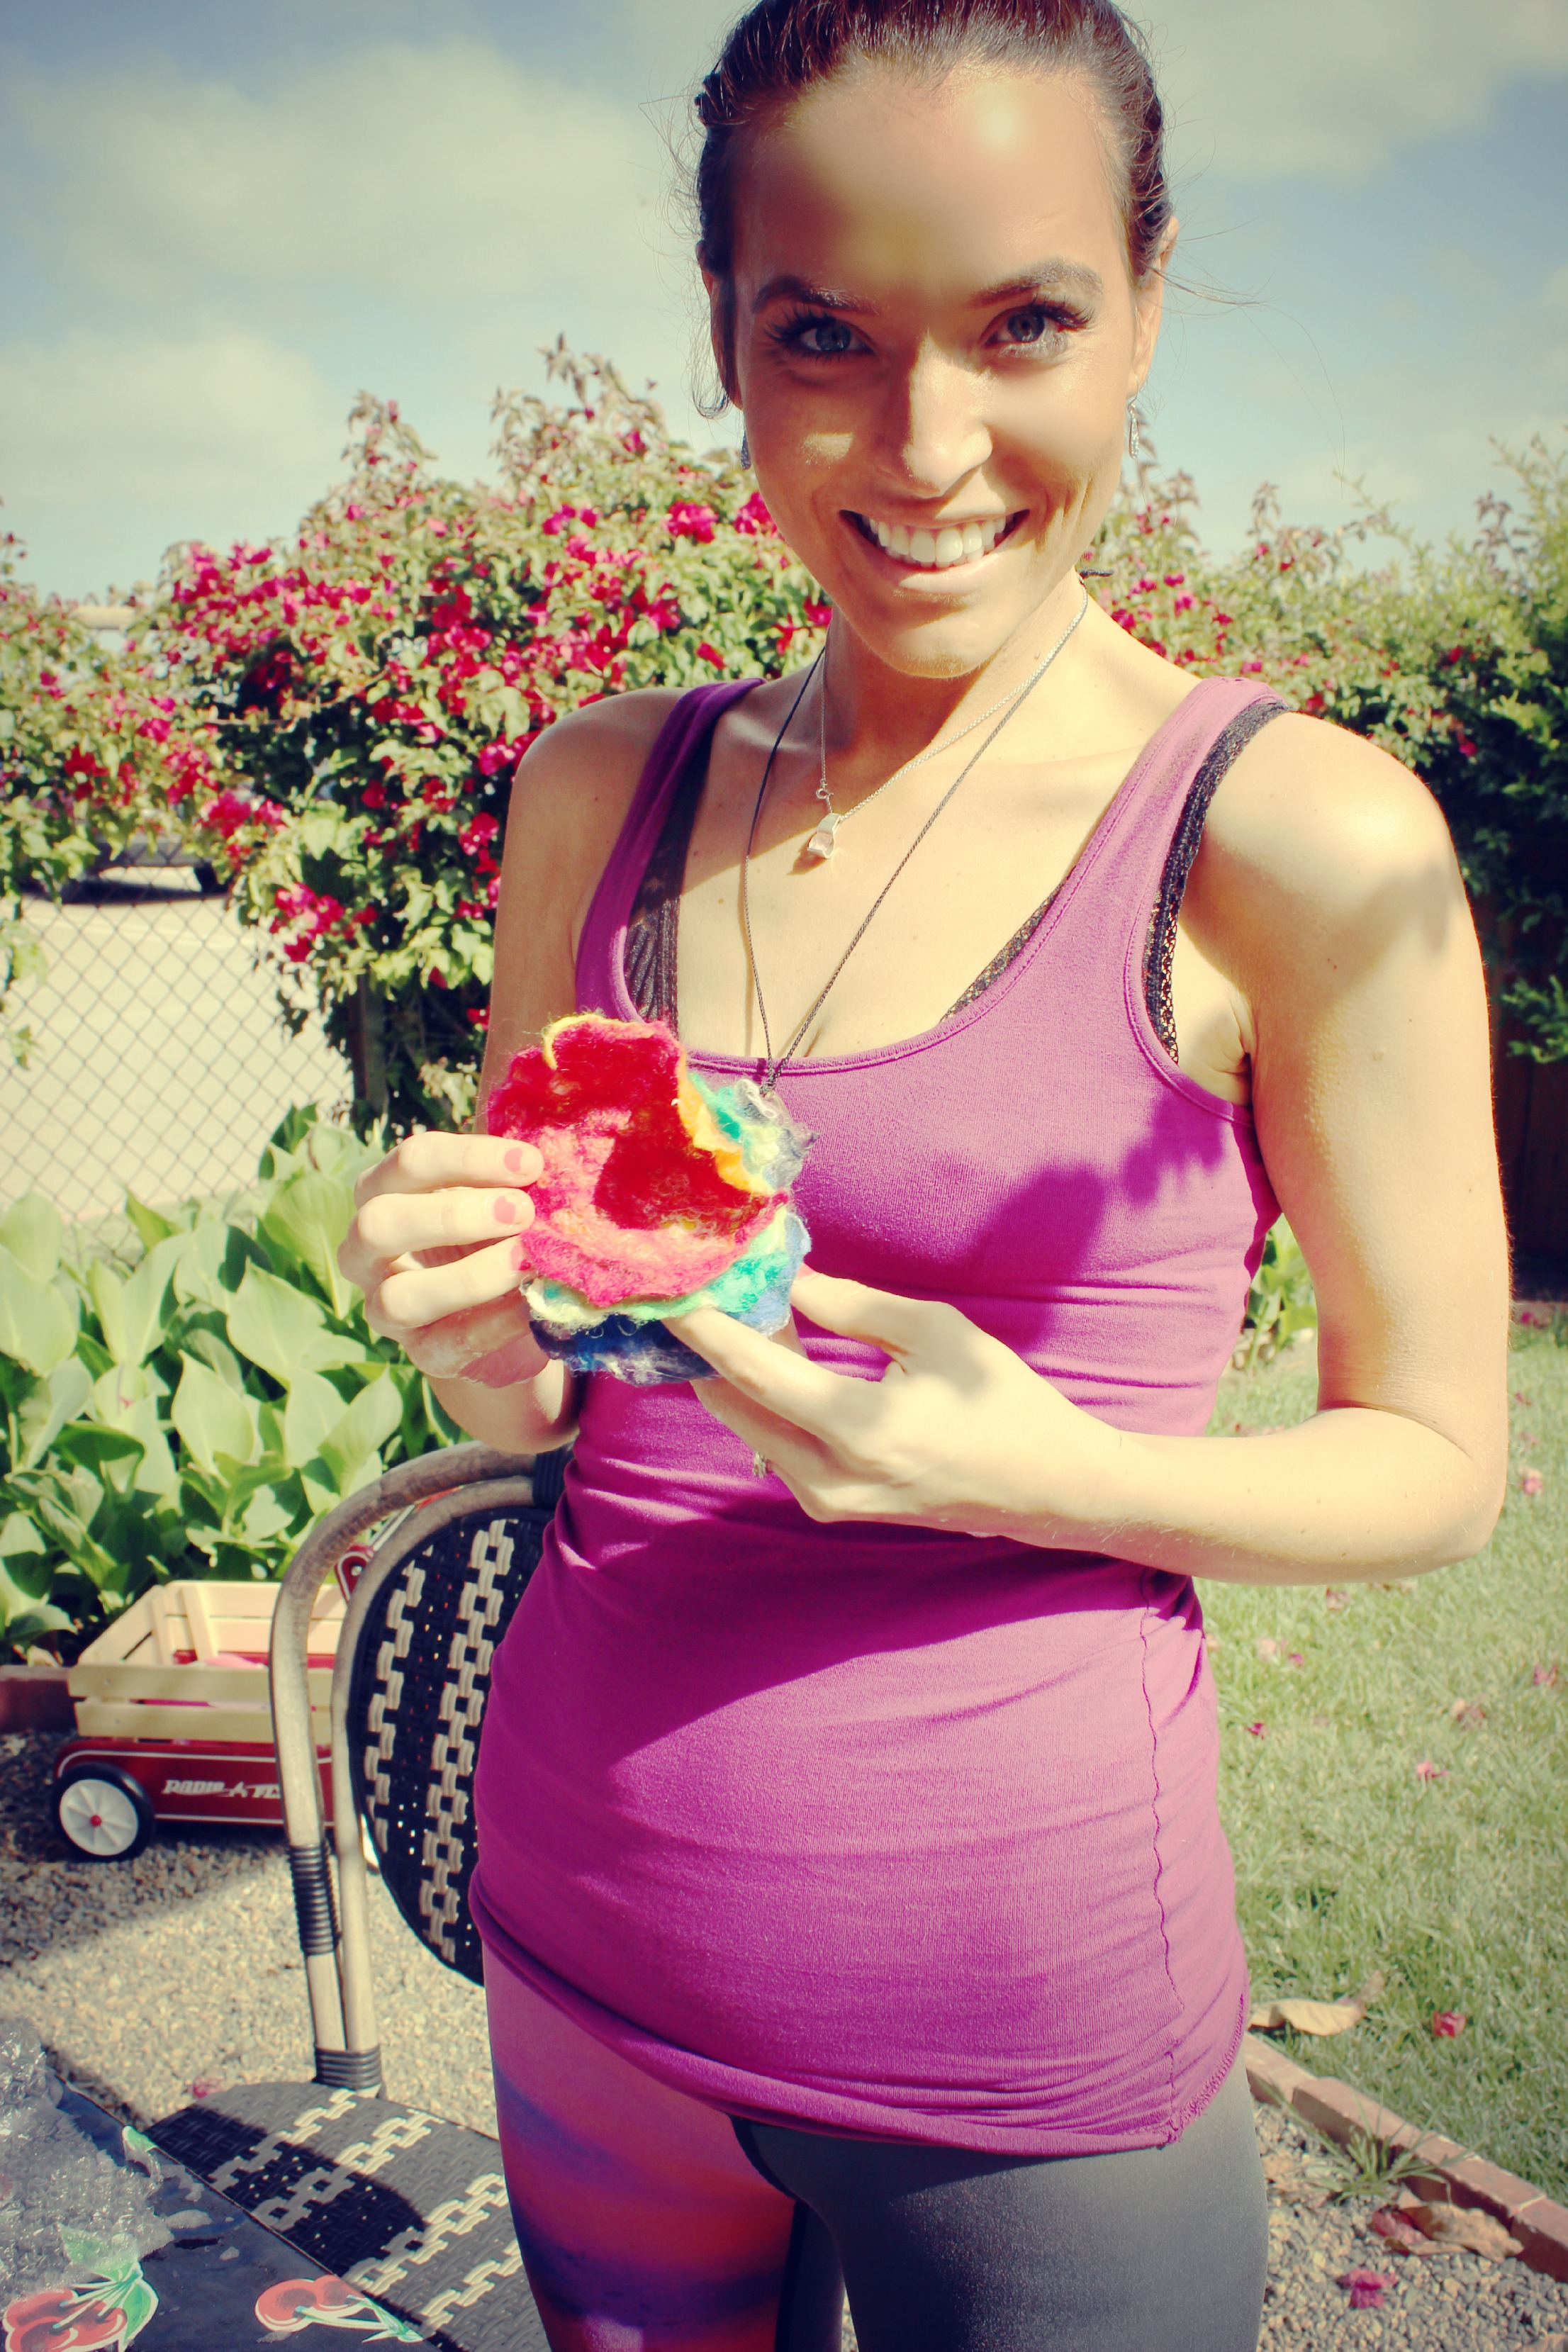
My first wet-felted flower. The petals are now ready for cutting and shaping. Scroll to the bottom to see the end result.

Motivated by the lovely and quick results, many of us went ahead and made more felted flowers.
![]()
Arranging roving for my second flower.
I learned that by layer down larger sized flower will create a more trumpet-like 3 dimensional shape in the end. To make a larger rose, I need more layers of petals, not larger flower size.
When my flower was completely fulled. Christine helped me cut petals and arrange them into rosette swirls.
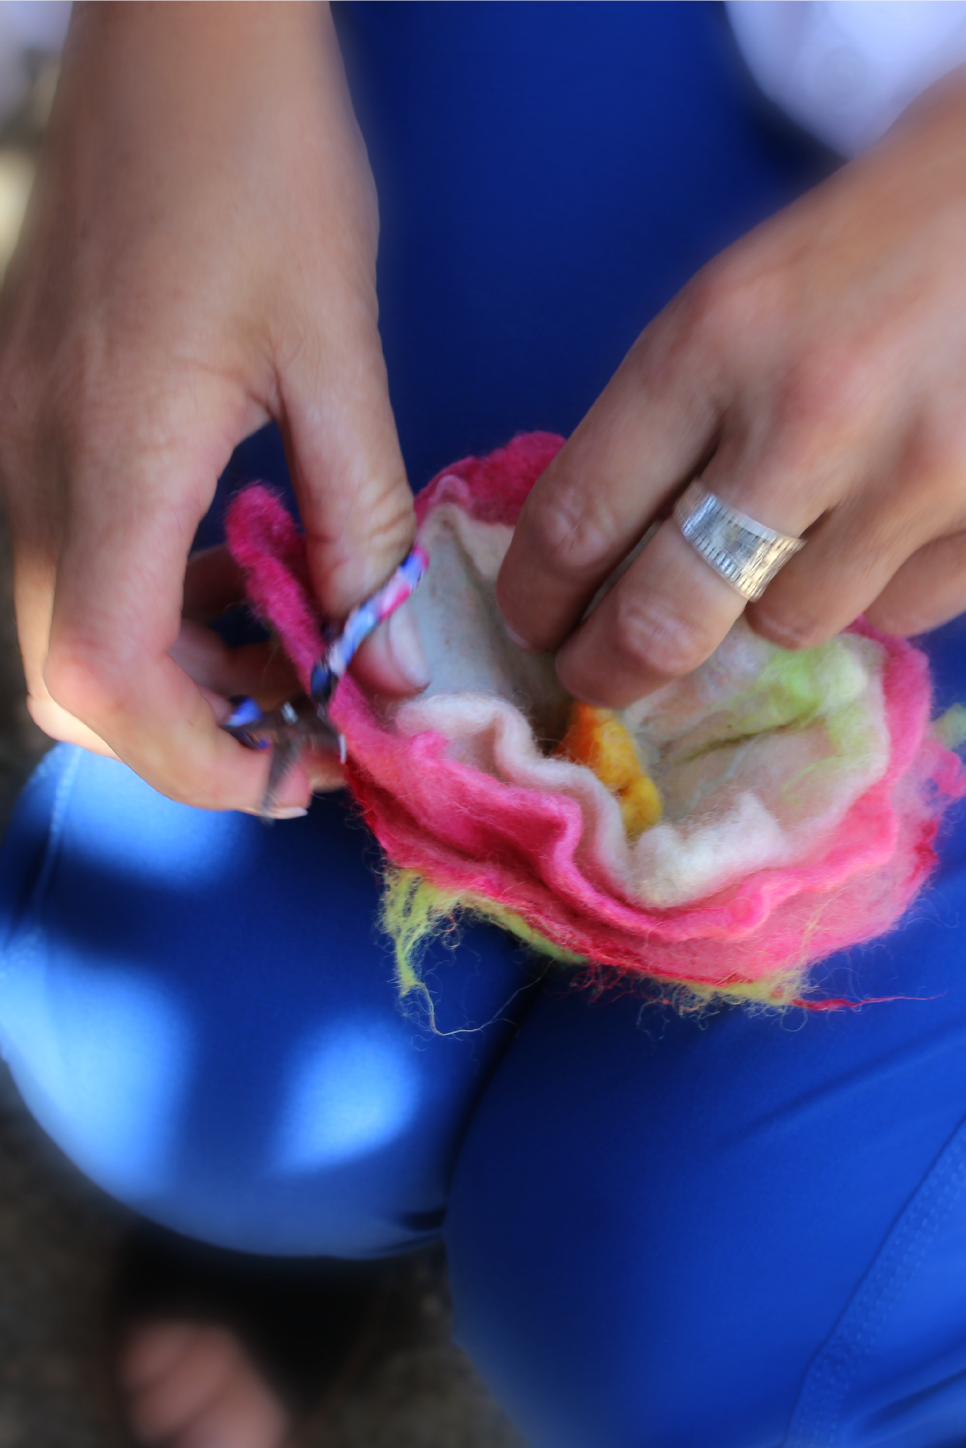
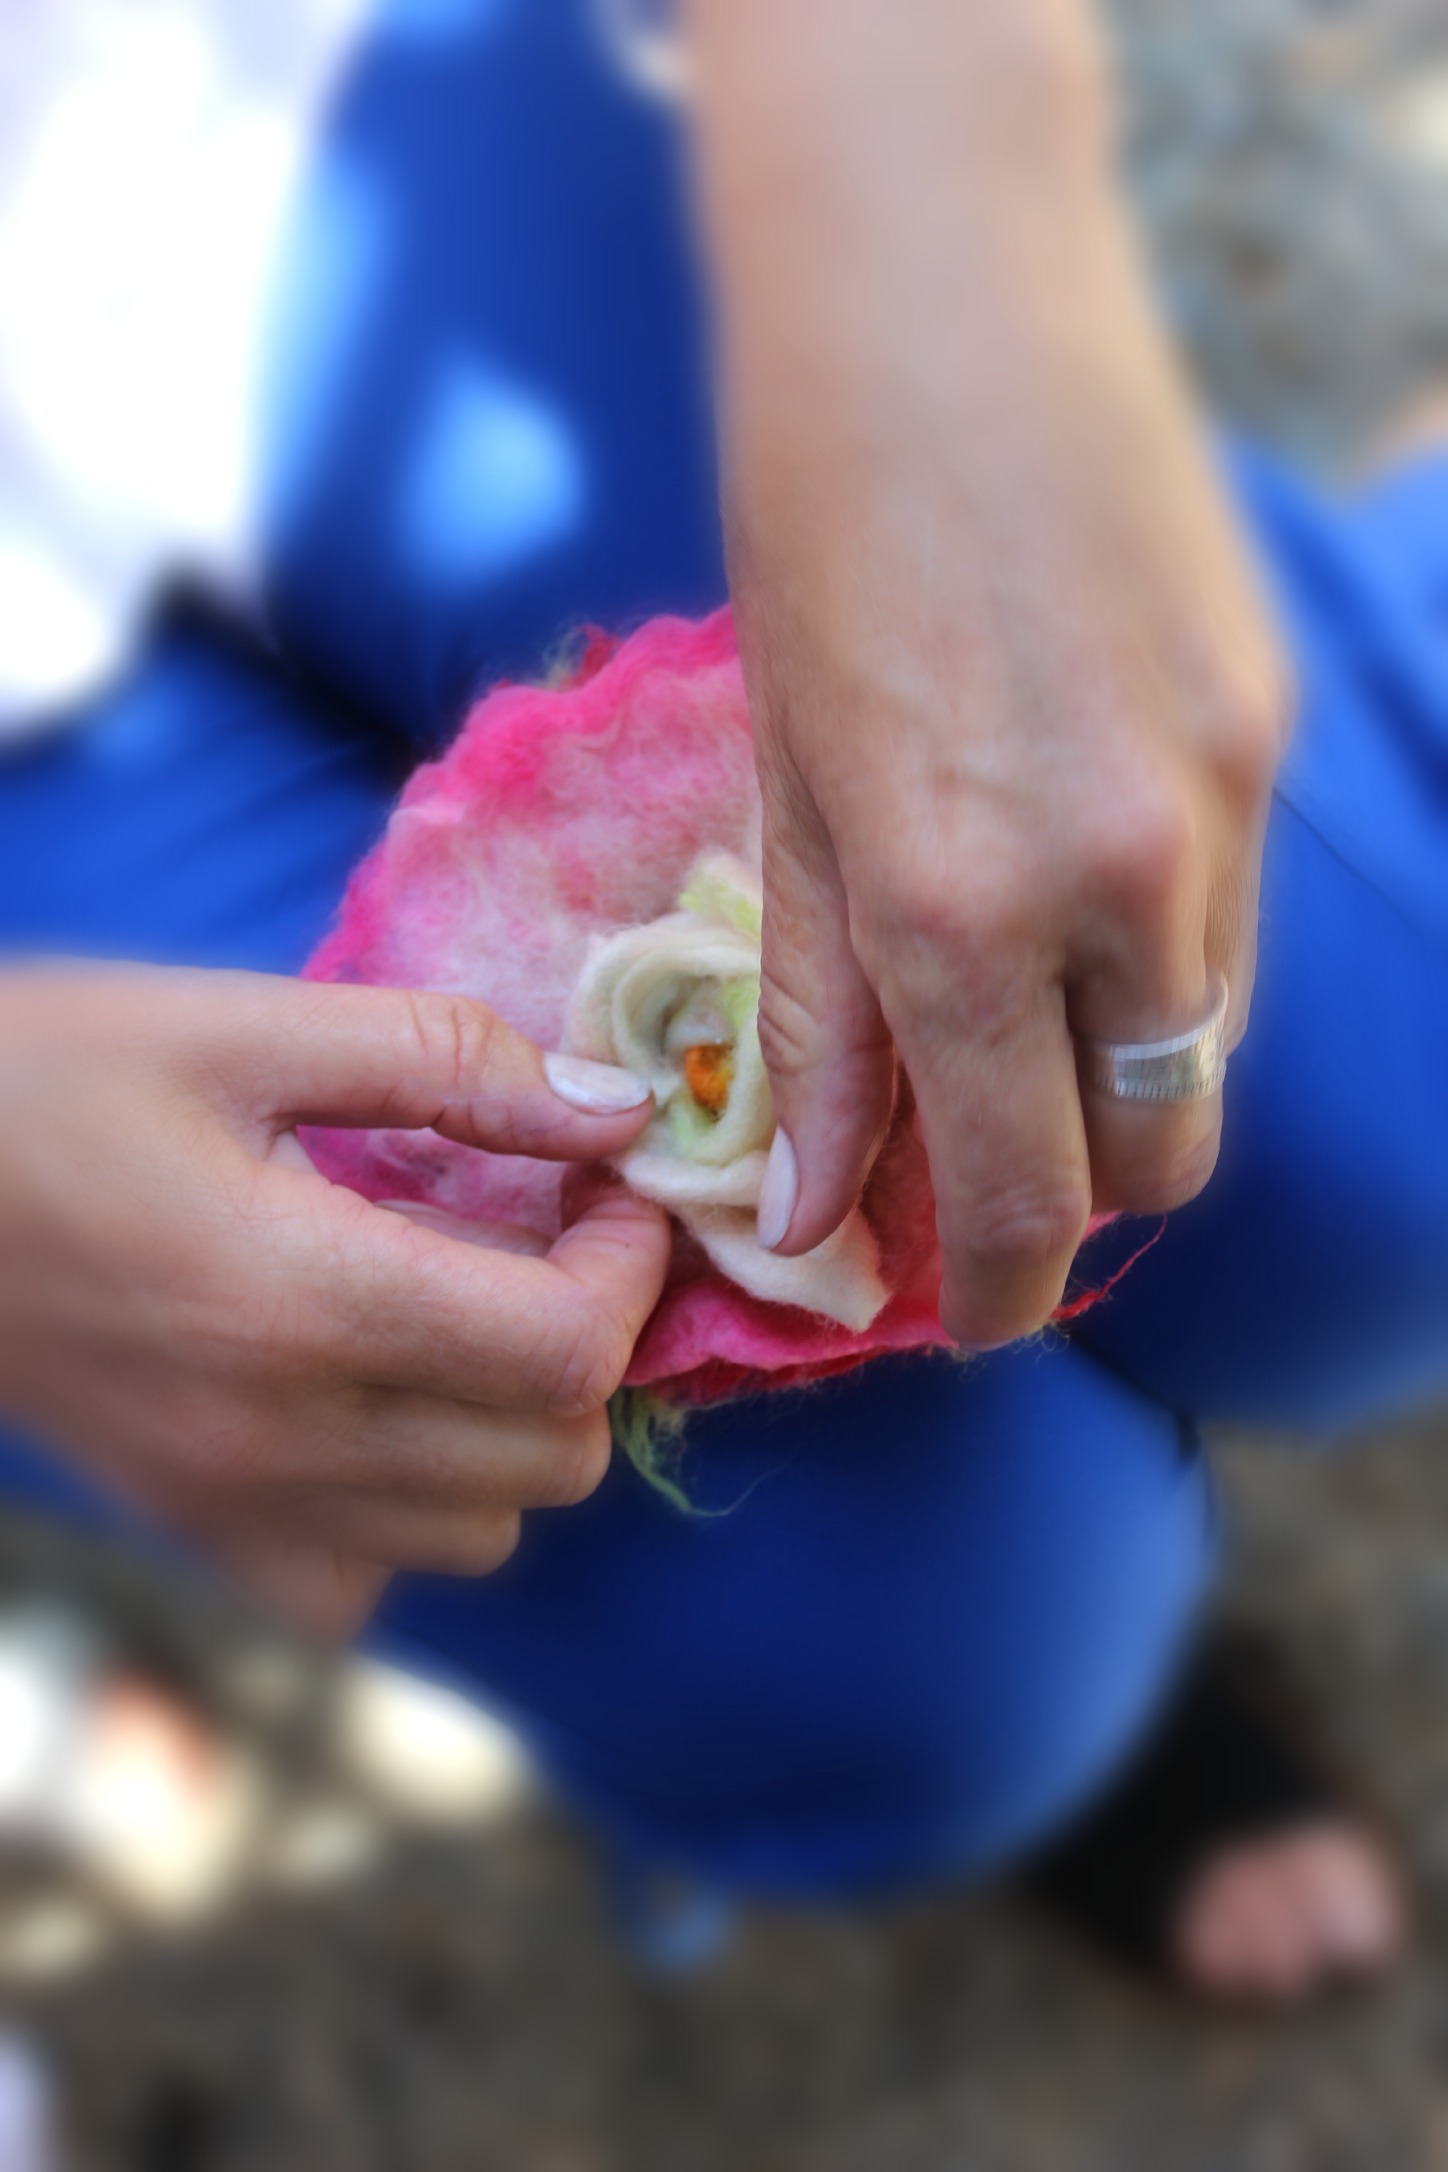
Christine folding the petals into rosette swirls.
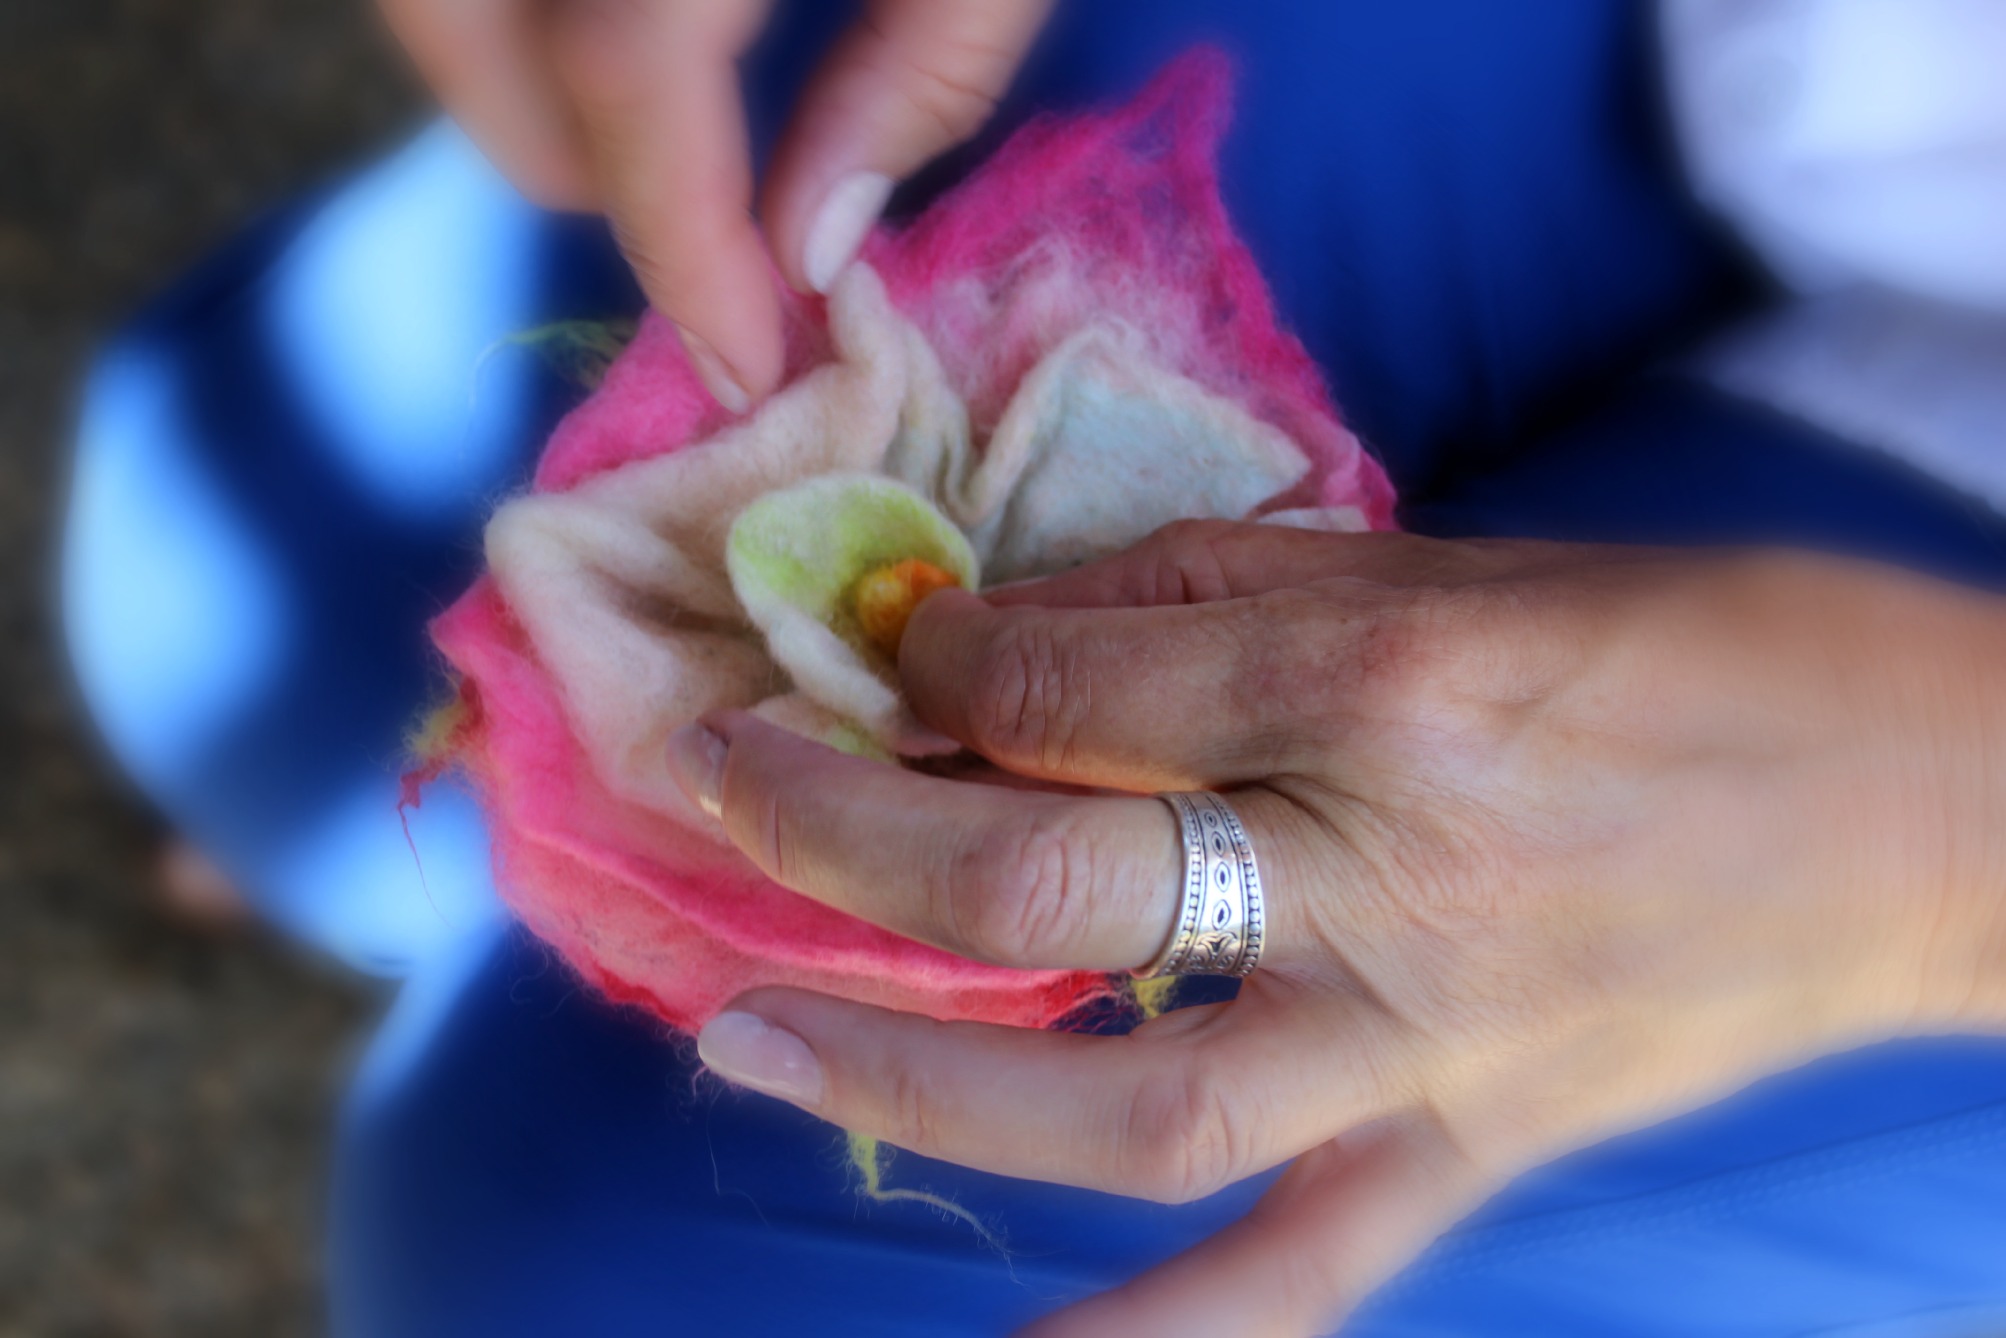
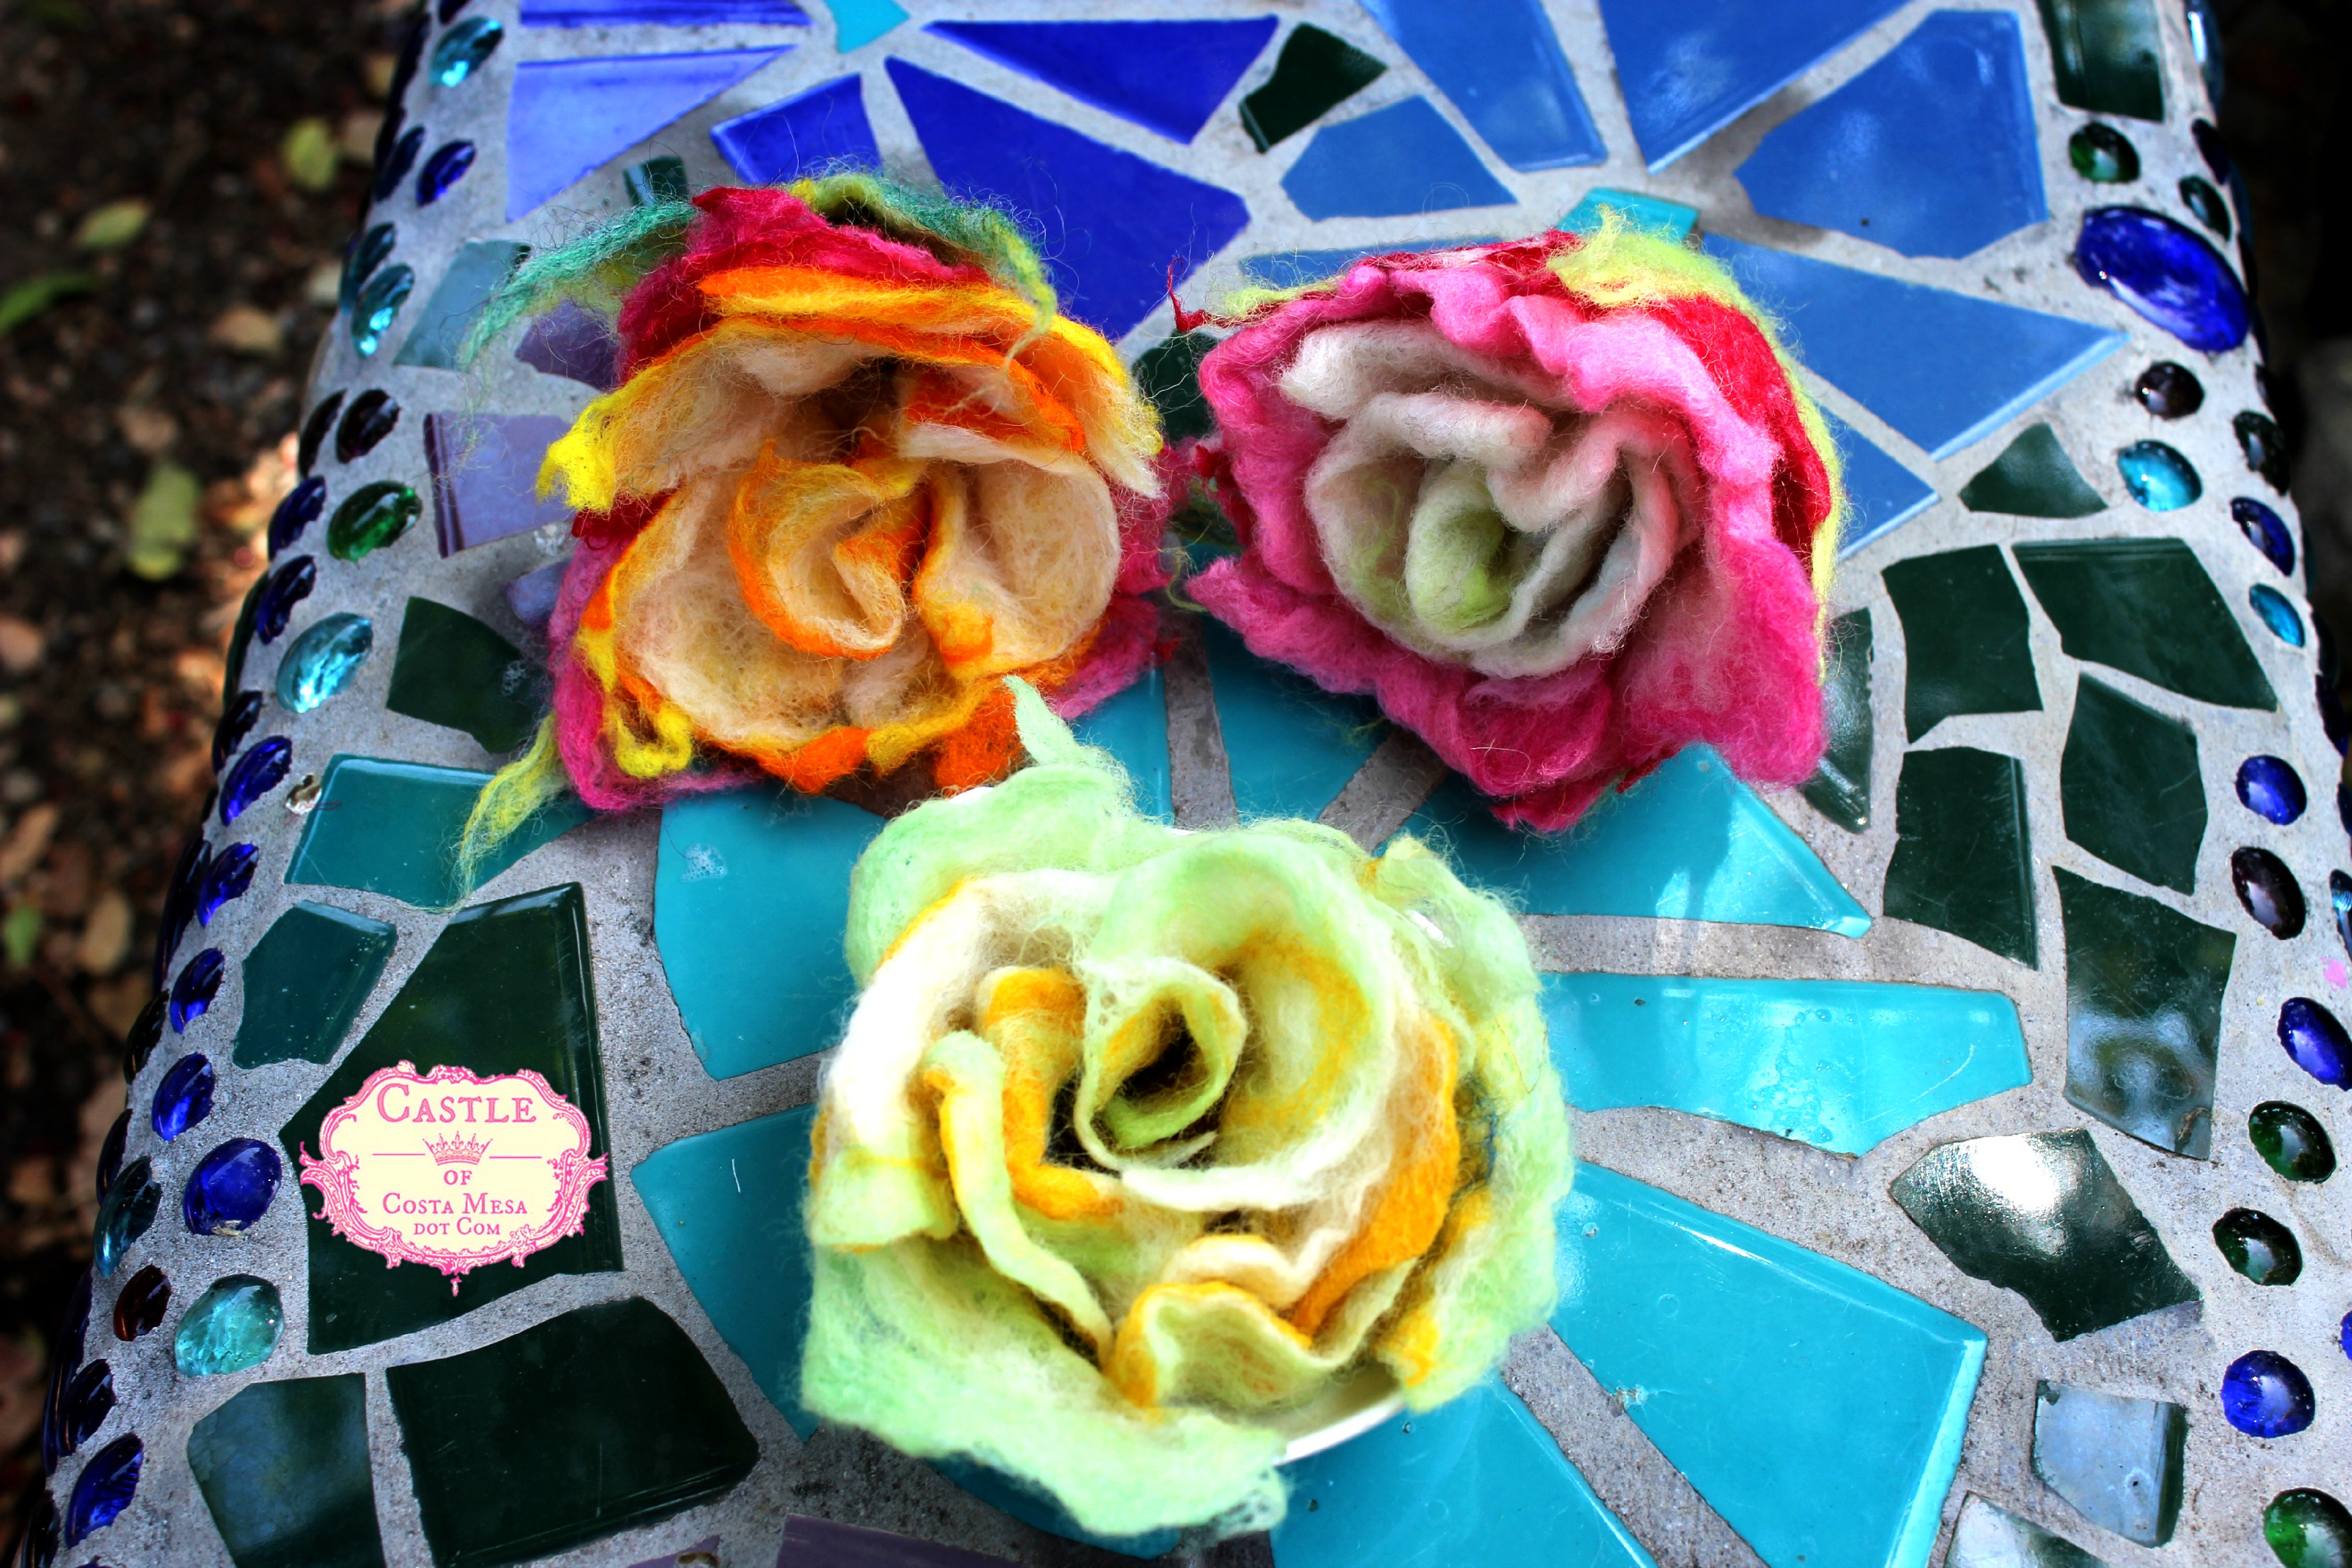
Beautiful rose pattern forming…
Christine’s blue flower from this morning.
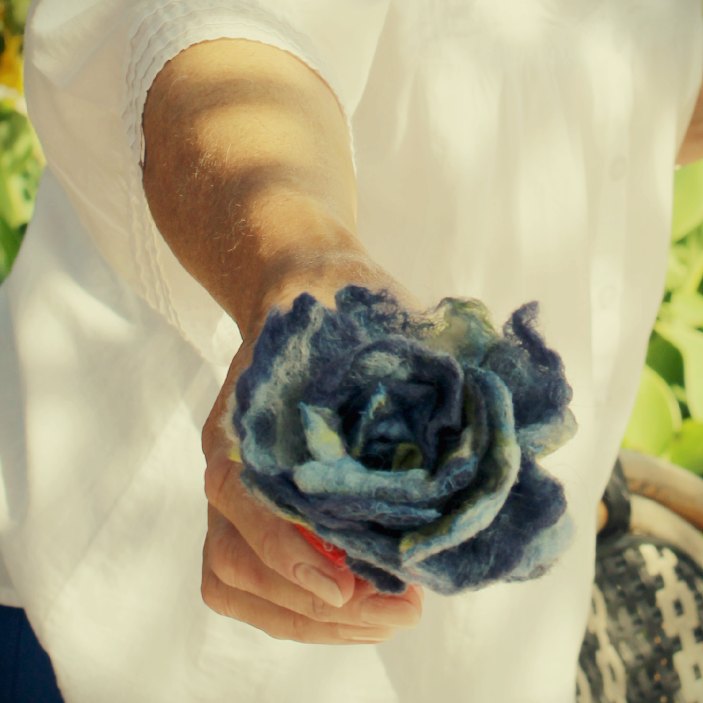
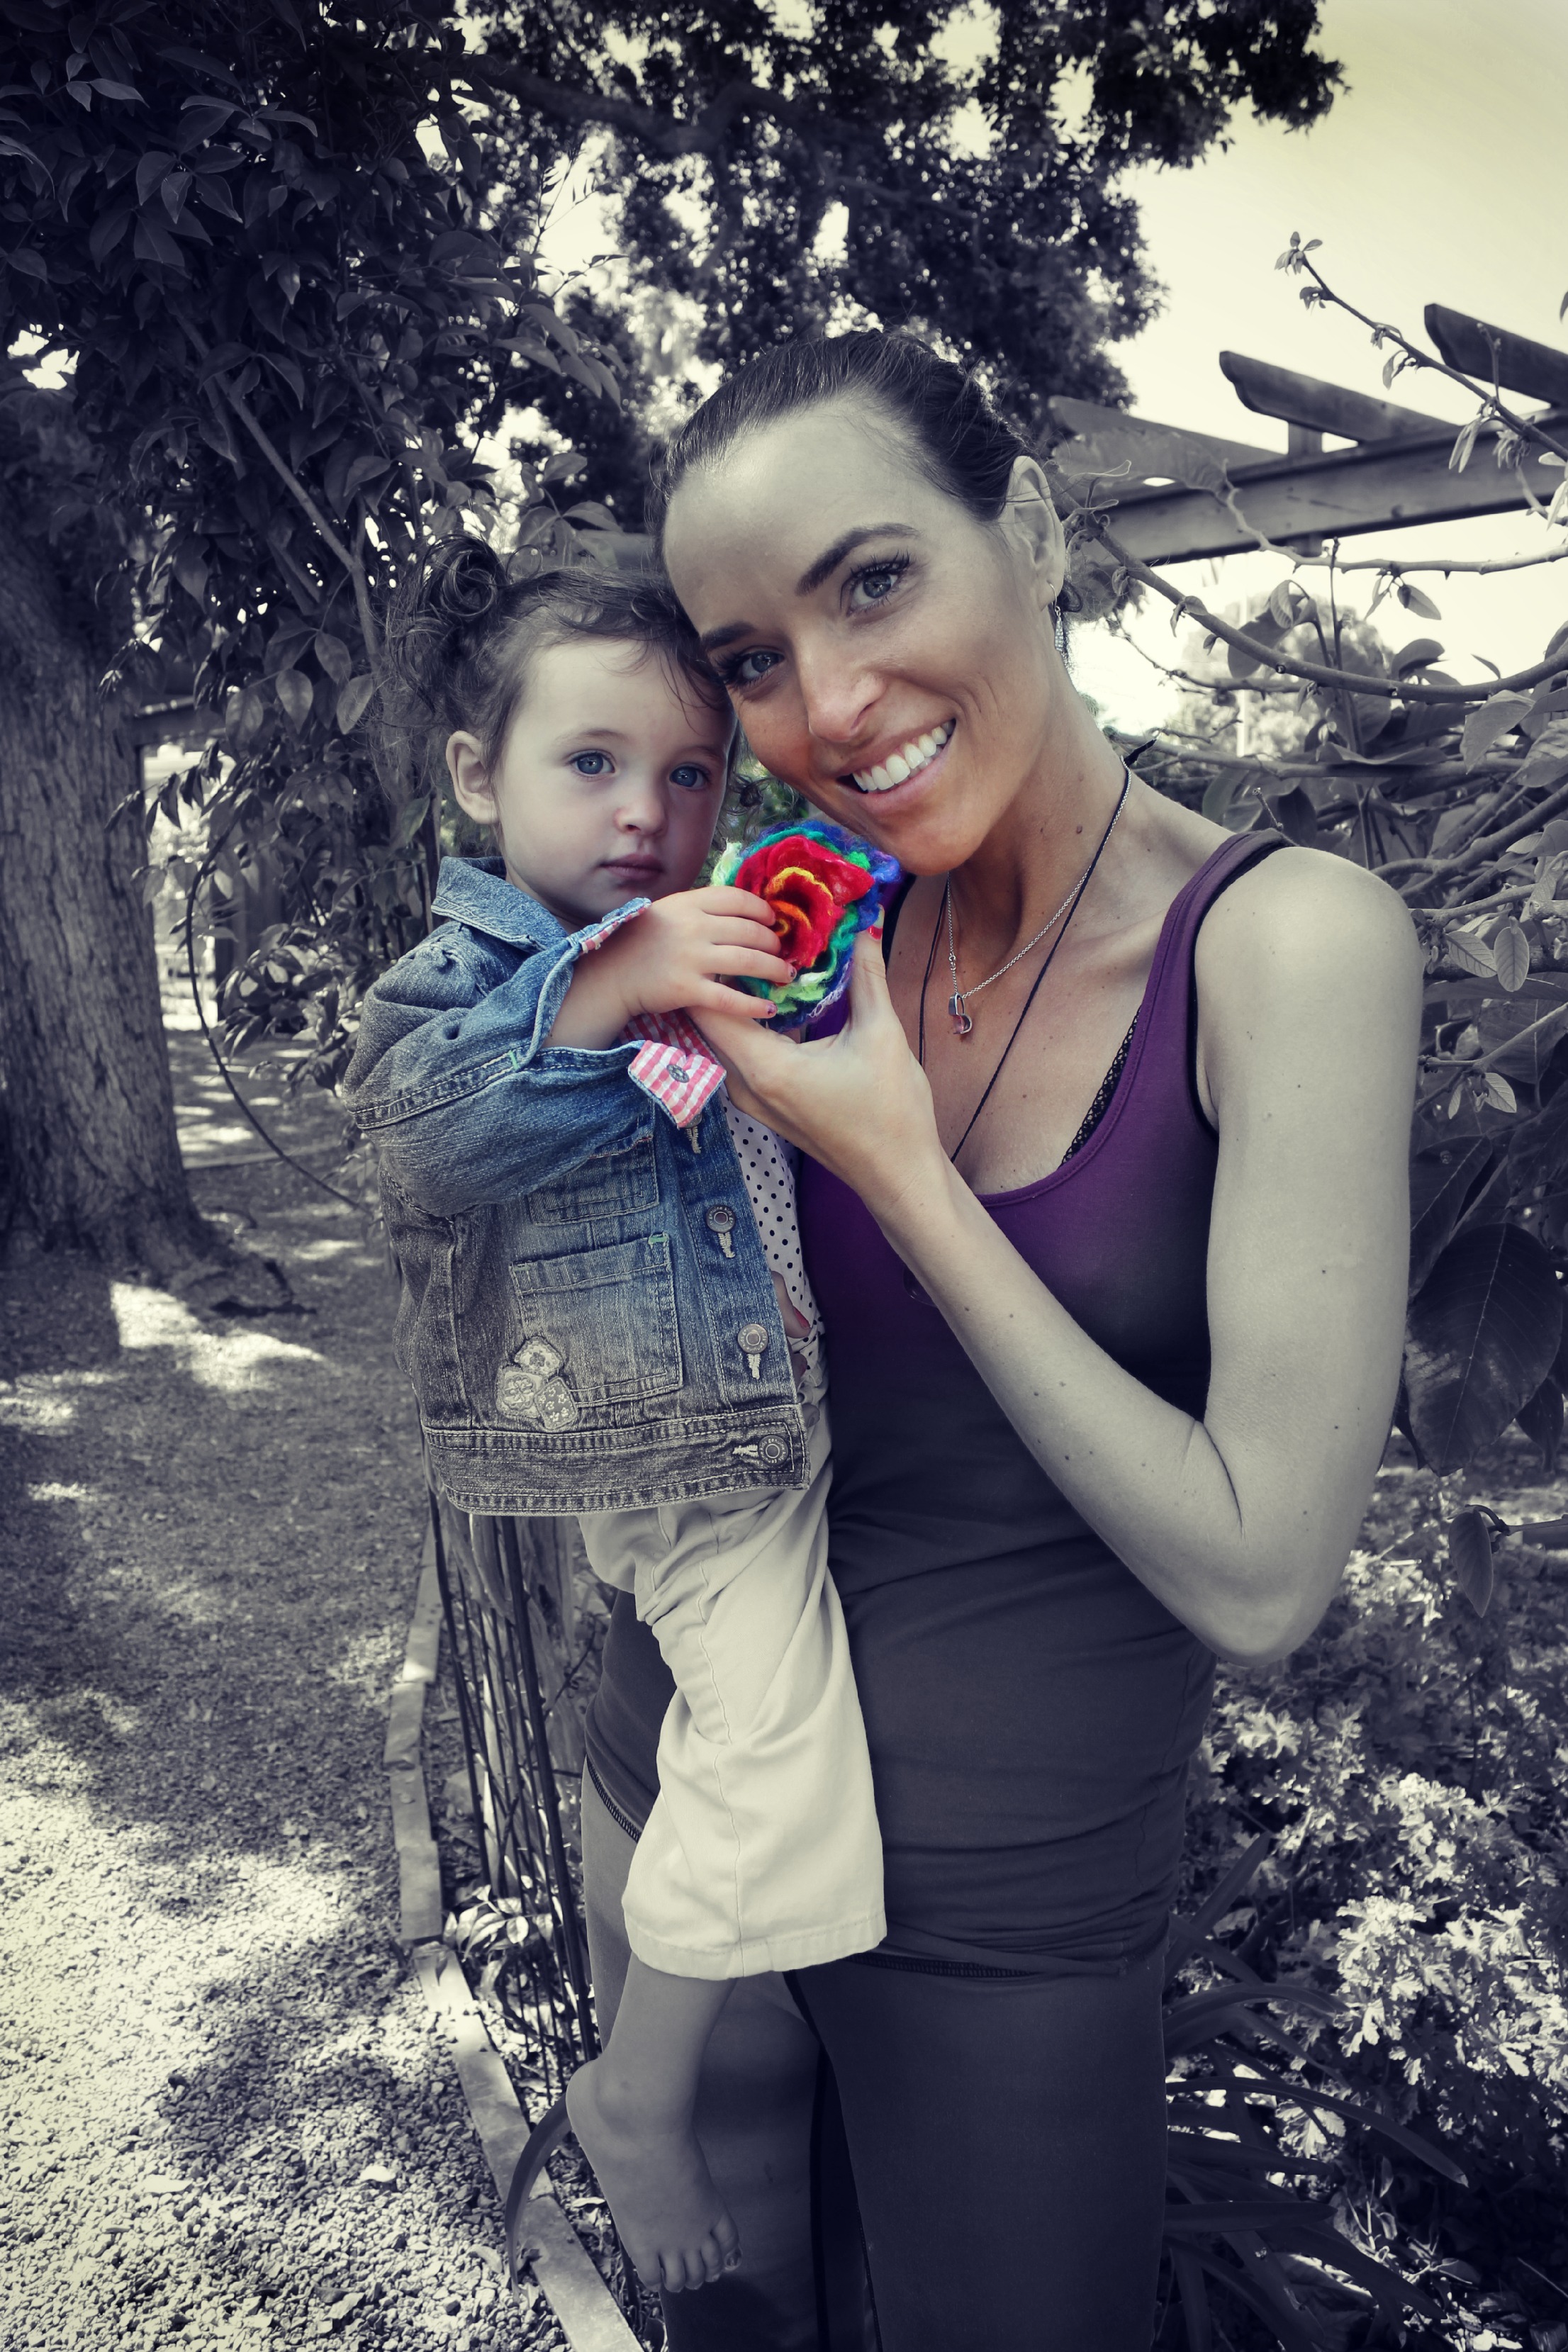
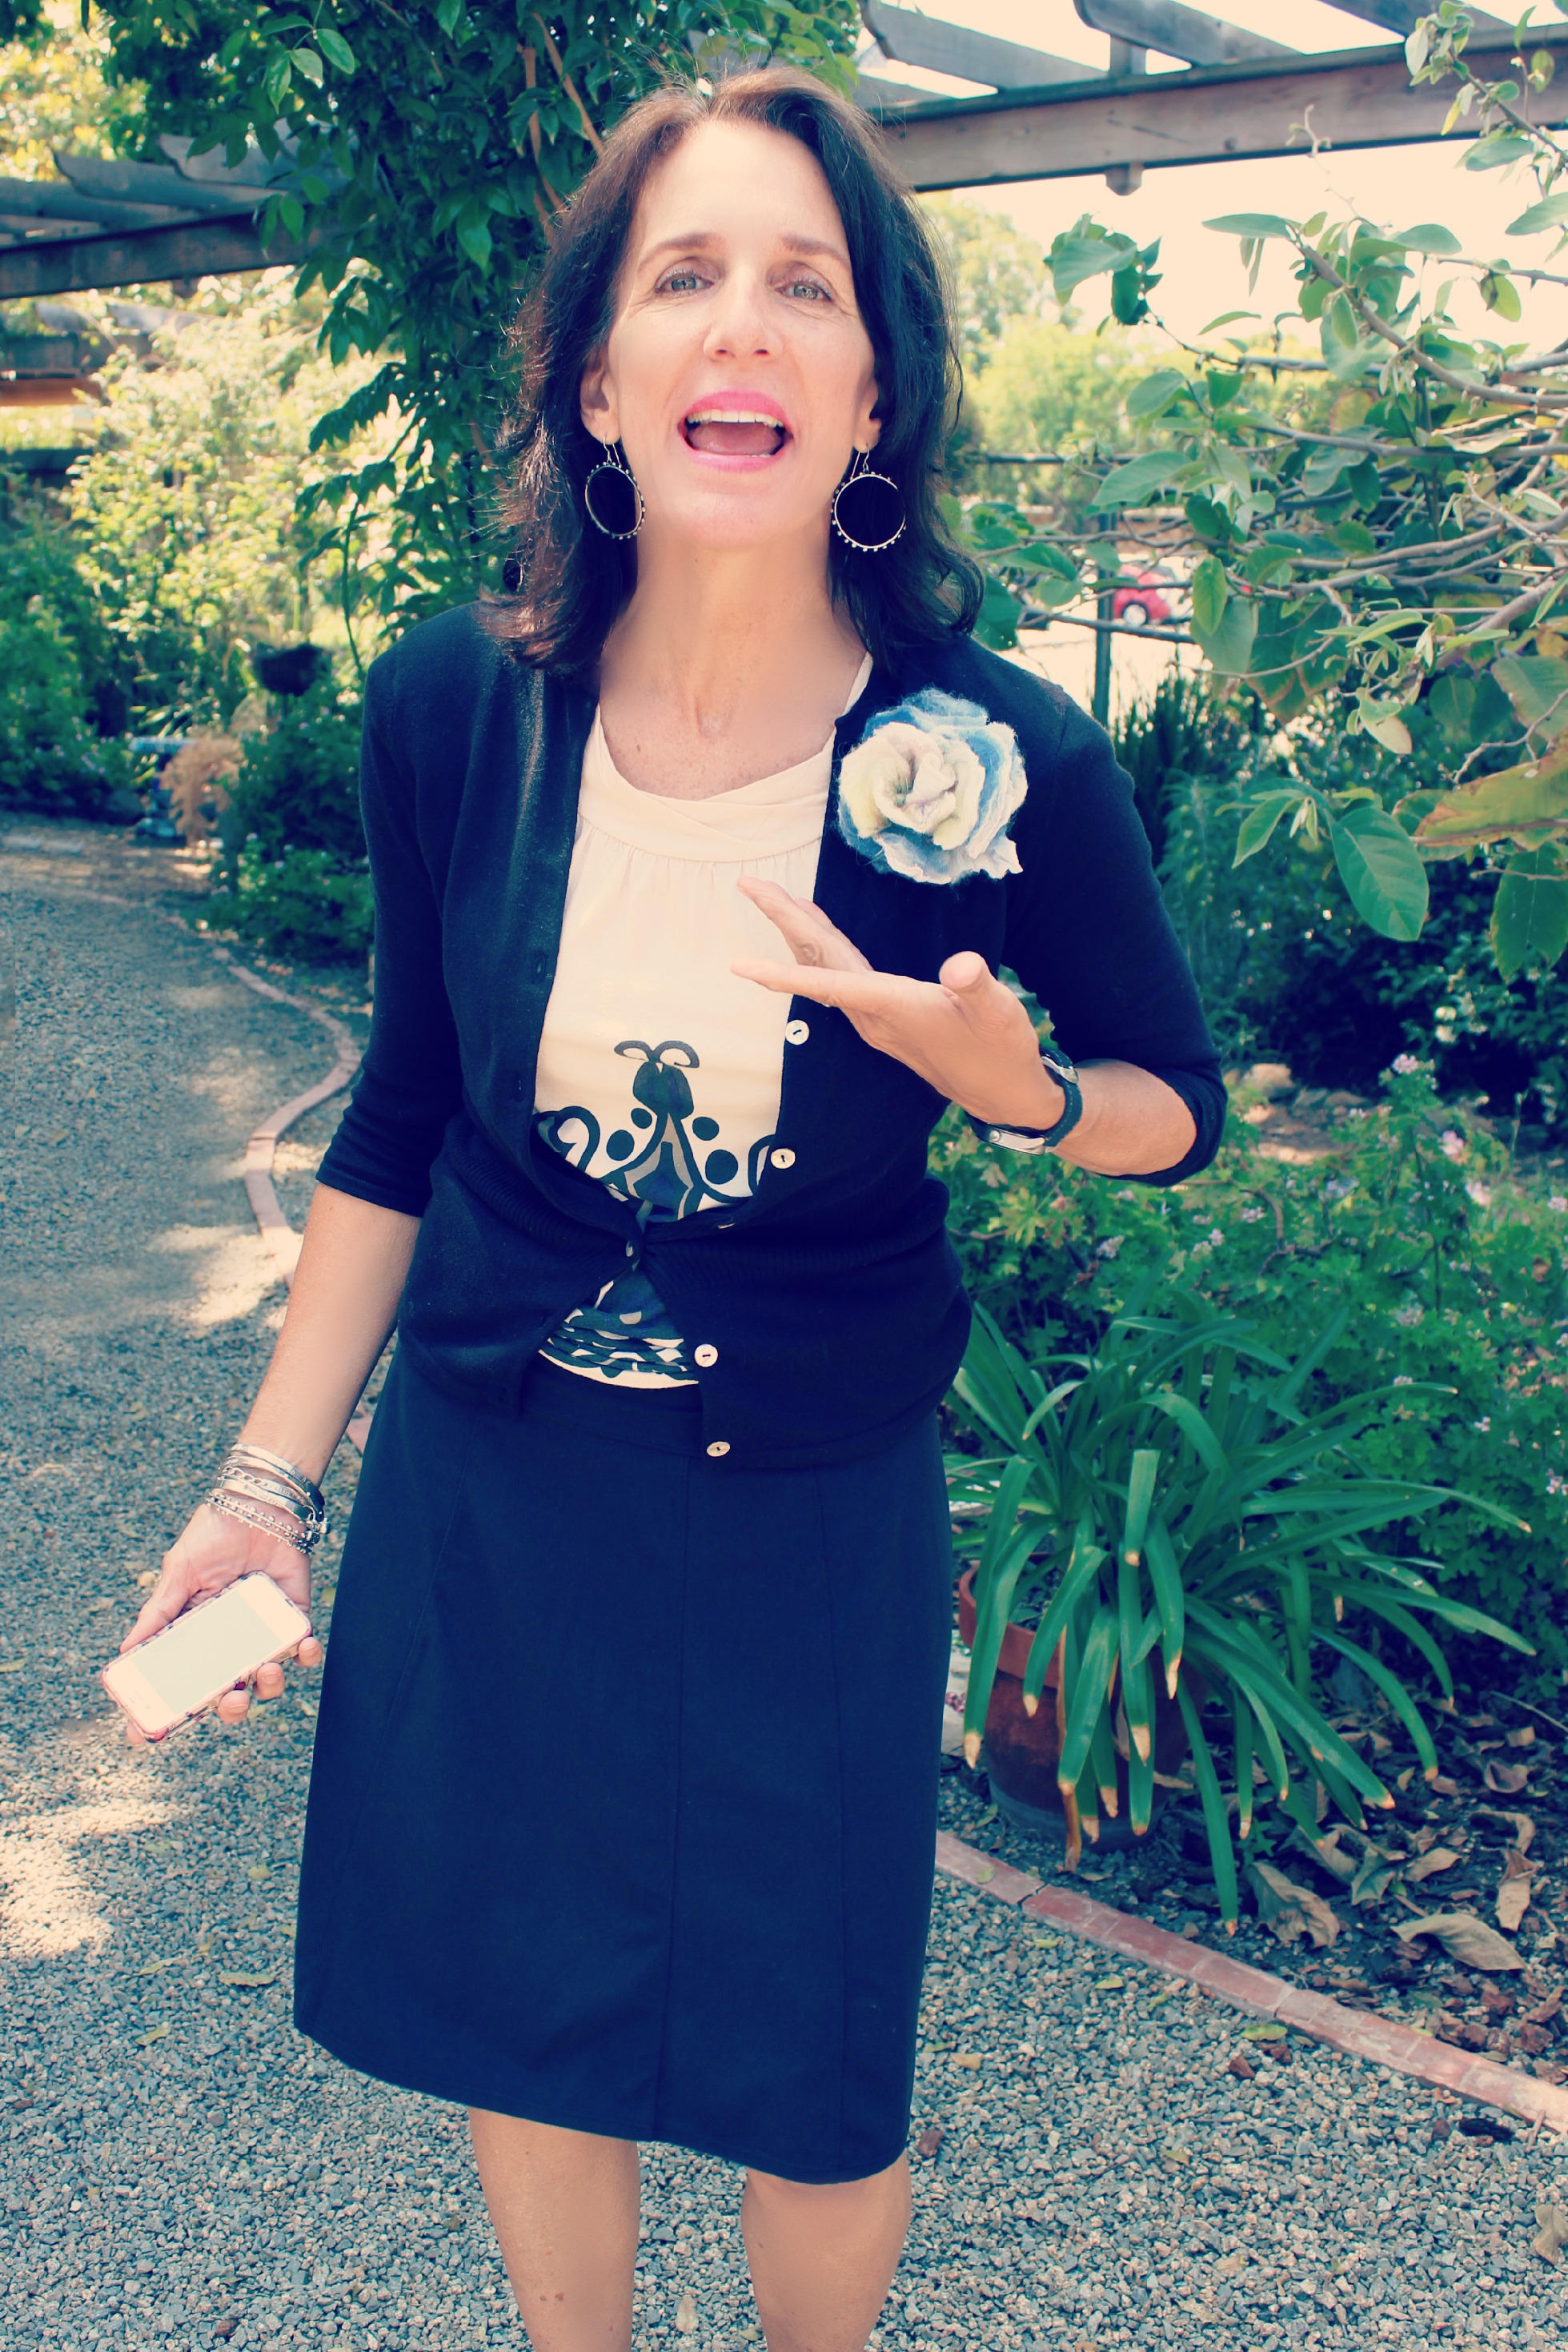
June 5, 2013. (Below) Nona modeling the flower (above) that was made this morning.
Here are my flowers made today. My first one (orangey-red) on the left. My second one on the right. Green calyx add color contrasts to the flowers.
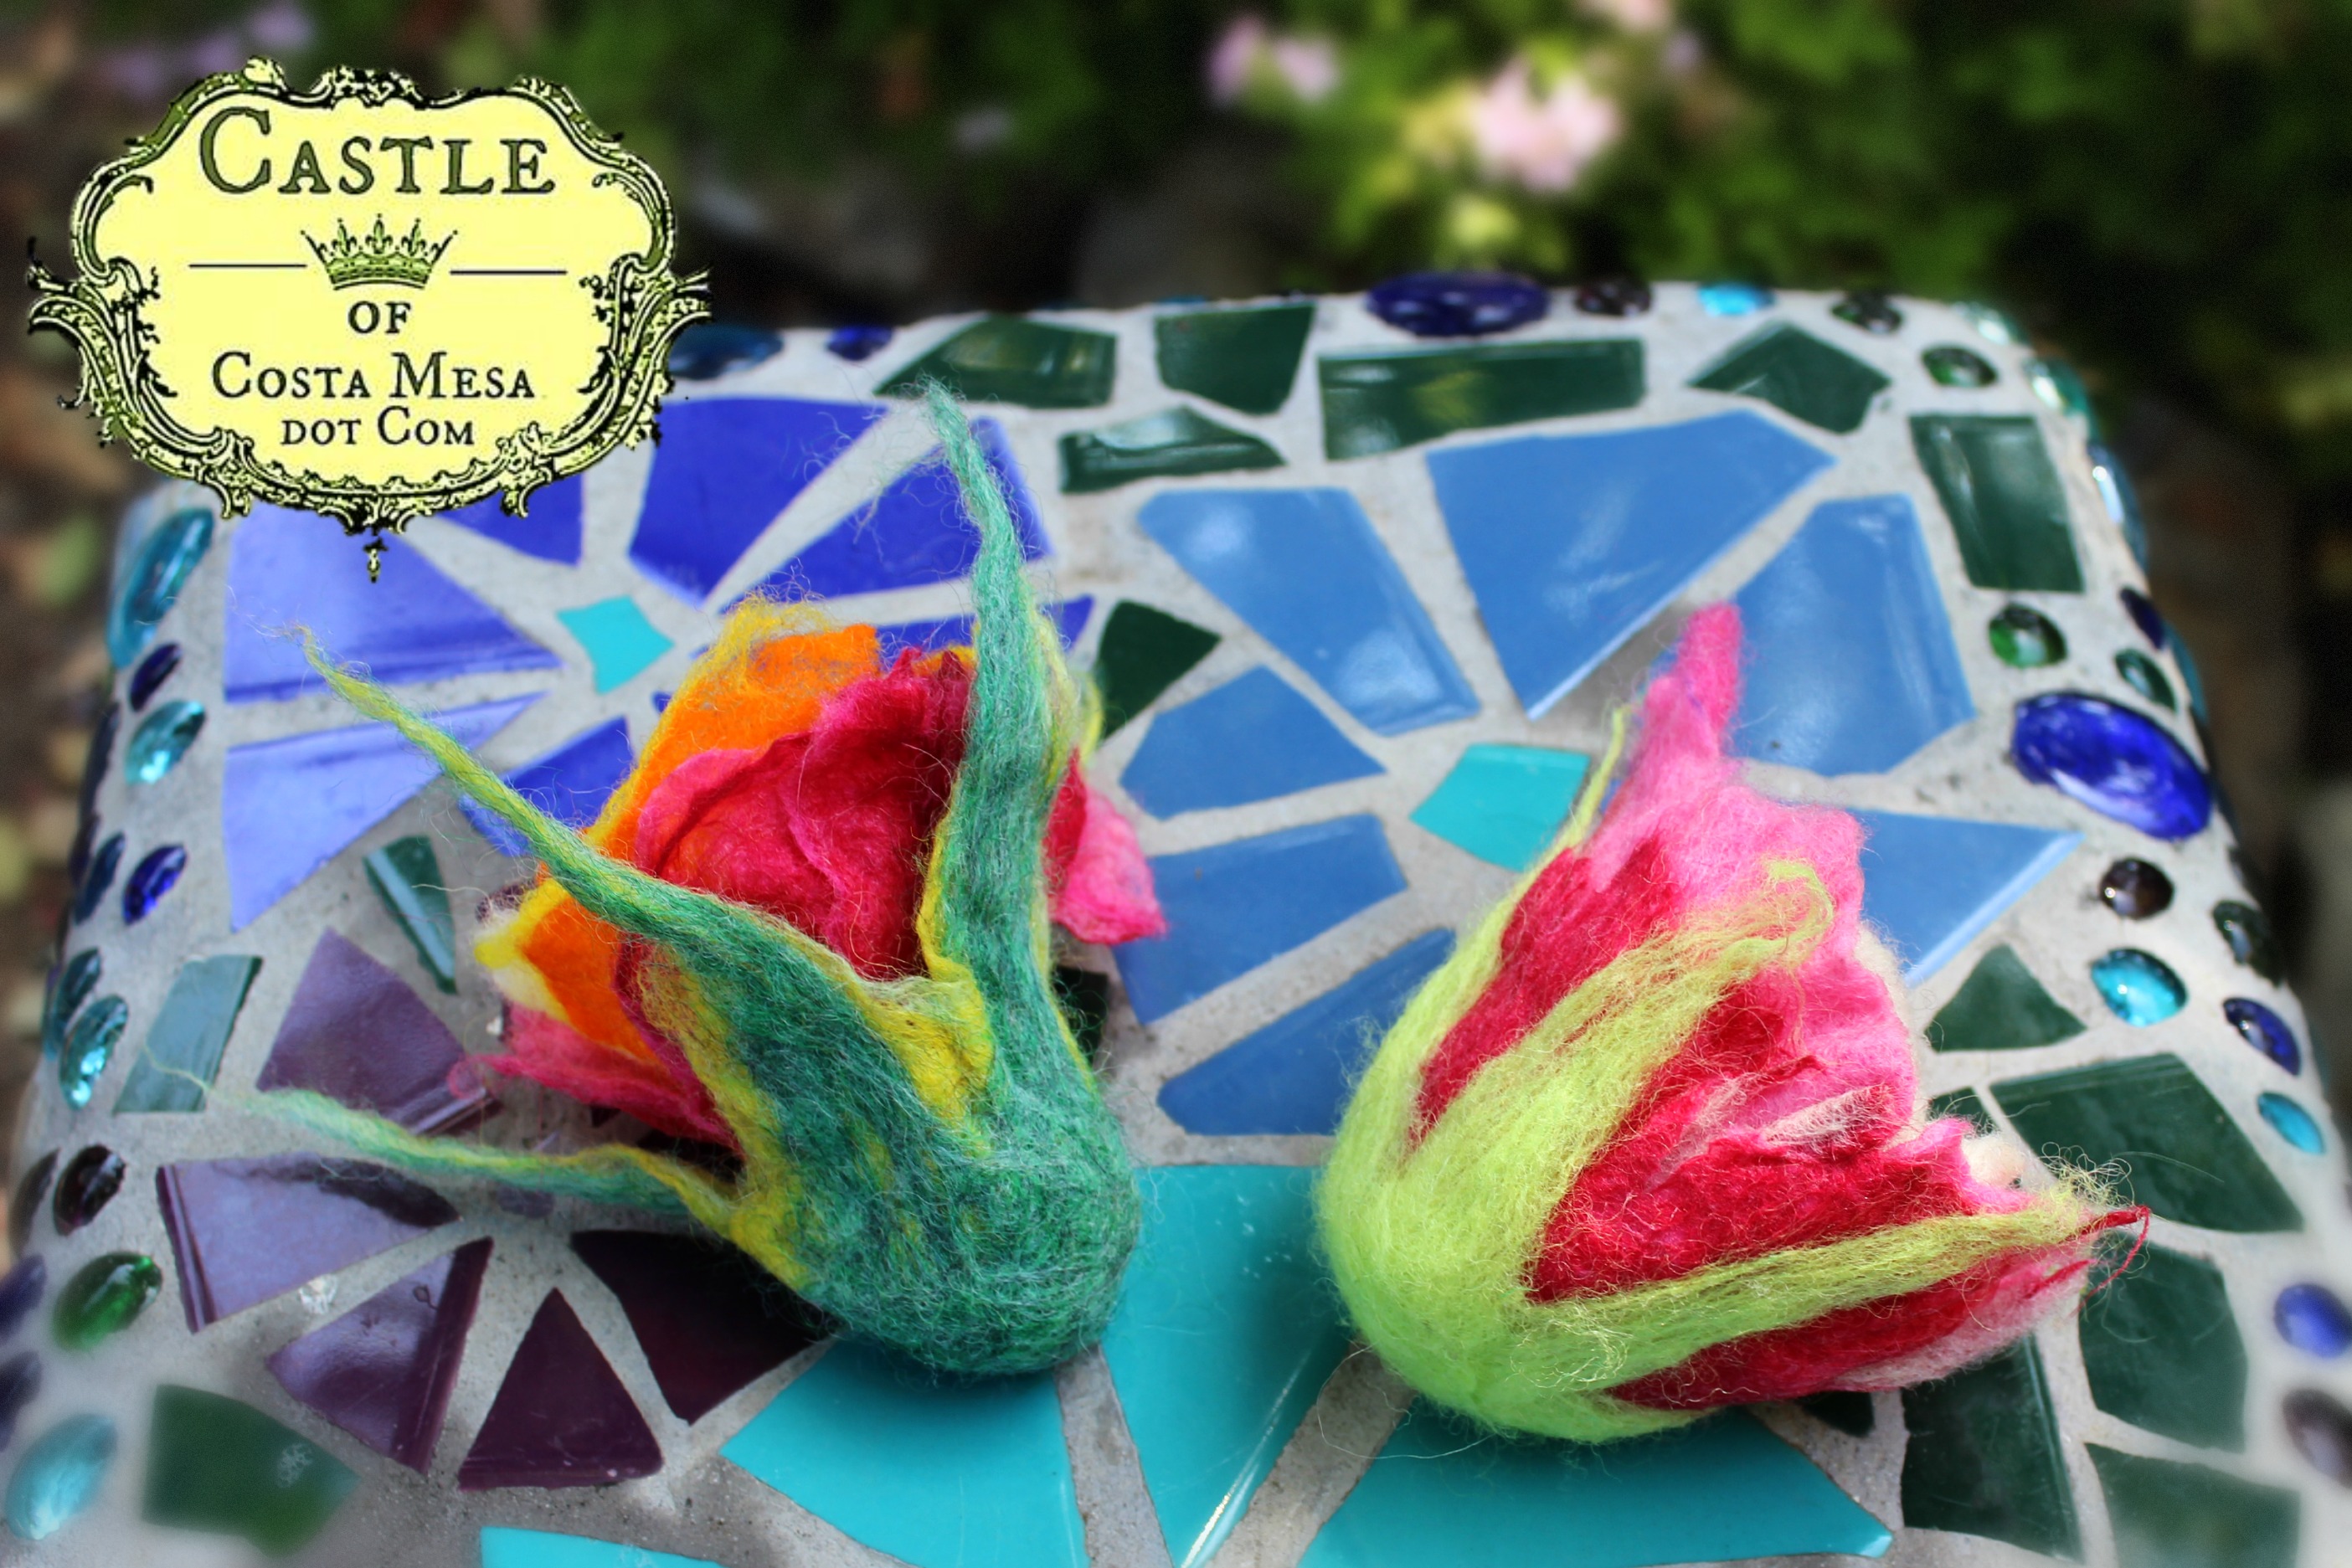
My two flowers in the back.
Freshly handmade wet-felted flowers from this morning, displayed on Rachel Skelly’s mosaic bench in the garden at the Company of Angels store.
![]()
Rachel brought in some more examples of what we can do with wet-felting. Wet-felted flower project was so popular that we came back again on June 5, 2013 to make wet-felted flowers with long stems. Click here to see out process and results.
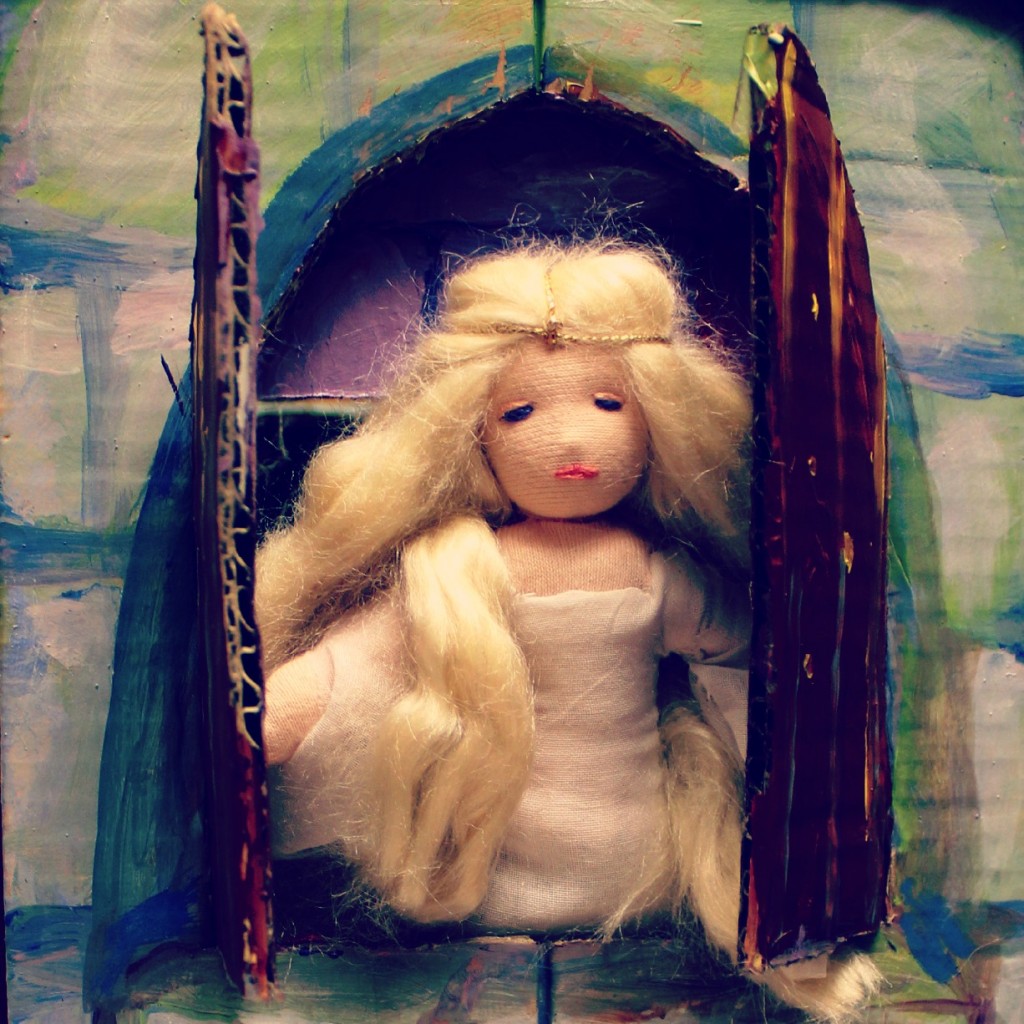
Here is another view of my freshly made wet felted flower (on the bottom left of the picture). Click on the picture below to enter my wet-felted flower fairy Giveaway ending June 10, 2013.

When turned upside down, these fairies are flowers! The Bluebell fairy (made by my daughter) has a little sleigh bell hidden inside her skirt.
Click here to jump back to the menu on the top of the page. Whee!
Christine Newell’s Children Summer Craft Camp
Christine will be teaching craft camp for children this summer!
- Location: Company of Angels store. Waldorf School of Orange County, 2350 Canyon Street, Costa Mesa, California.
- Dates: July 8/9/10/11/12 and Aug 12/13/14/15/16
- Time: 9:30am to 1:30pm
- Designed for Grades 1, 2, 3 and 4. Maximum 10 students
- Cost: $125 plus $50 supply fee
Crafts:
Wet felting
Dry felting
Sun printing
Tie dyeing
Hand sewing
Batiking
Marblelizing paper
Basket making
The list goes on …
If you are interested in registering for either of the 2 camps or just need more info, please e-mail Christine at newellchristine8@gmail.com or cell (949) 244- 4663
Click here to jump back to the menu on the top of the page. Whee!
Piecemakers Summer Crafting Camps in Costa Mesa
Peacemakers Country Store in Costa Mesa: Click here to view their list of classes for adults and children.
Click here to jump back to the menu on the top of the page. Whee!
Jzin’s Handmade Flower Fairy Giveaway!
Please share some handmade love! Enter the Flower Fairy Giveaway by clicking on this link here.
Click here to jump back to the menu on the top of the page. Whee!
Handmade Dolls by Castle of Costa Mesa
Click here to view my other handmade dolls. I take custom orders. You can contact me on Etsy. My store name is CastleofCostaMesa. Thank you!
Click here to jump back to the menu on the top of the page. Whee!
Please “Like” Us on Facebook
I giveaway my Handmade Dolls periodically. Please “Like” my facebook page so you will be informed when I announce the next handmade doll giveaway. Thanks!

Click here to jump back to the menu on the top of the page. Whee!
Southern California Waldorf Community Page
Let’s support our friends in our local Southern California Waldorf Community…
