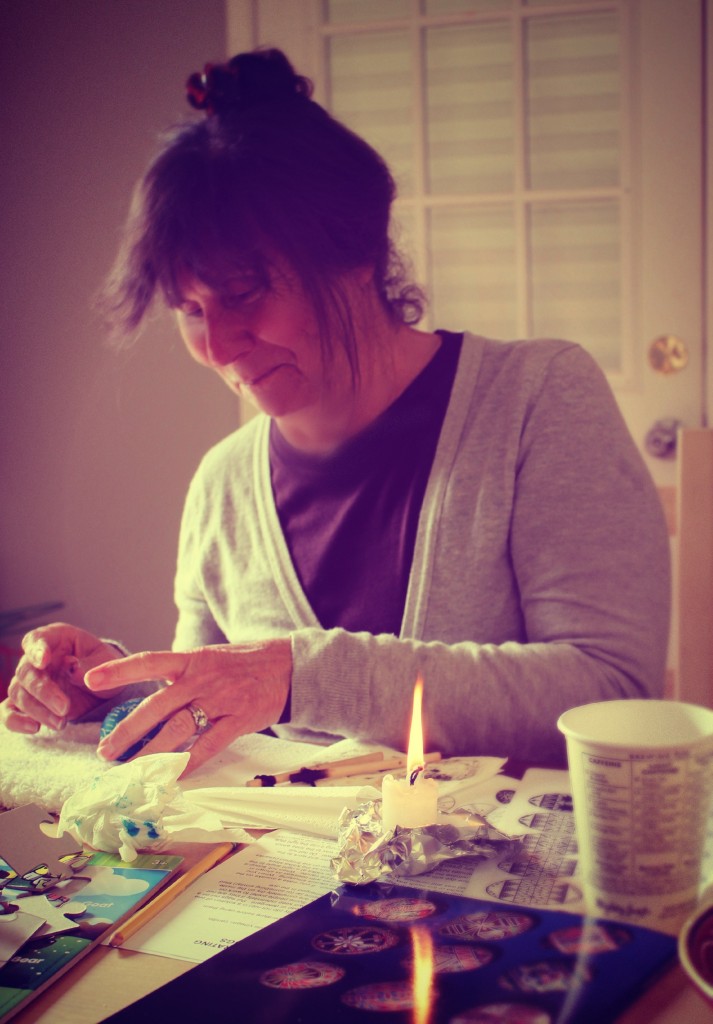
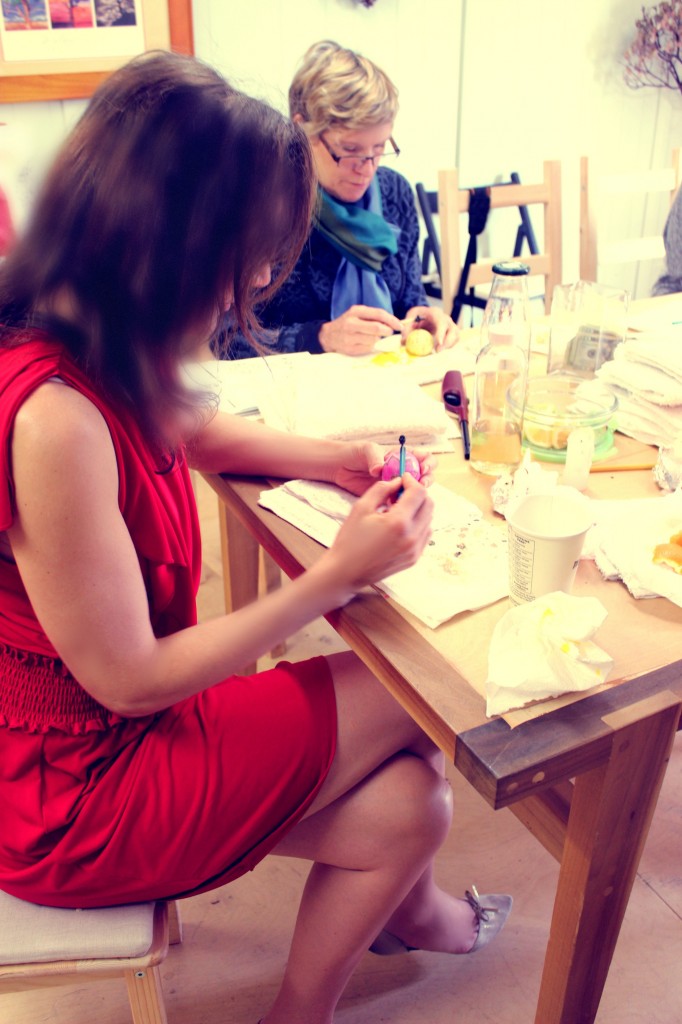
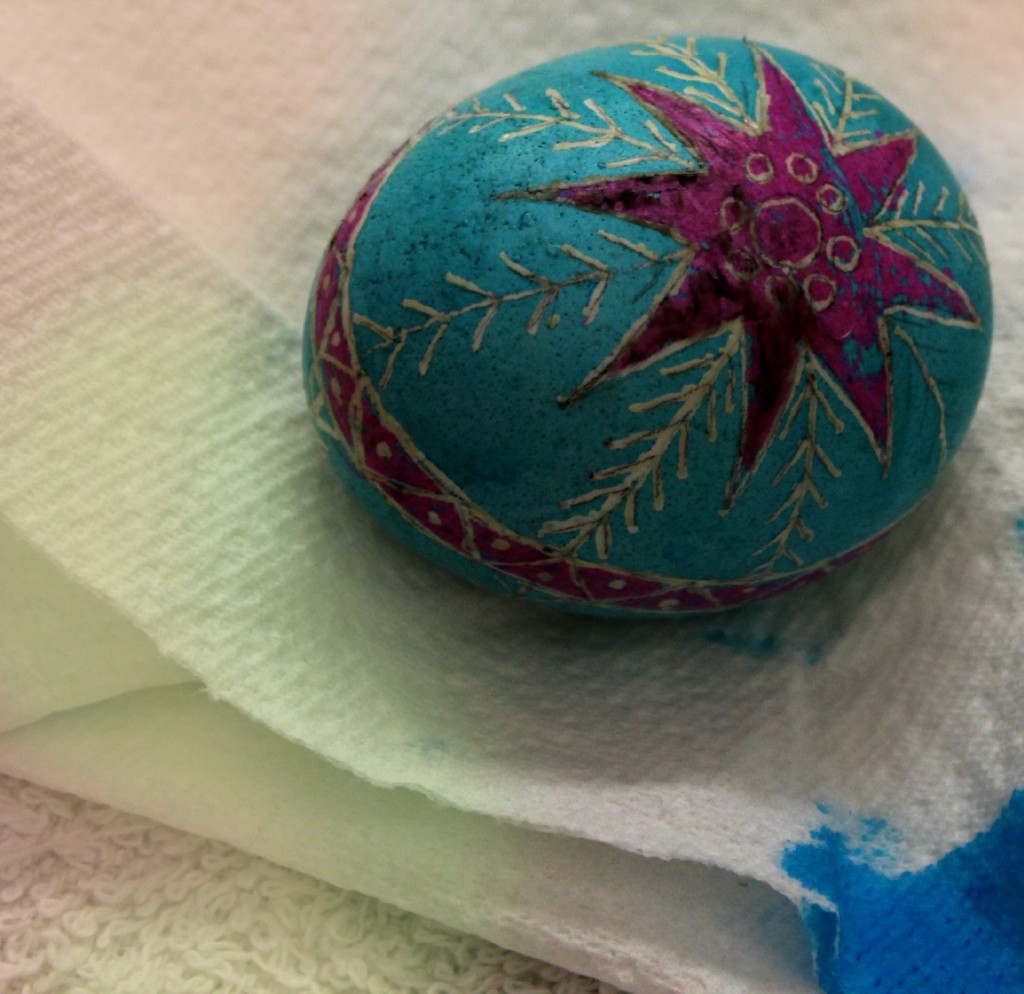
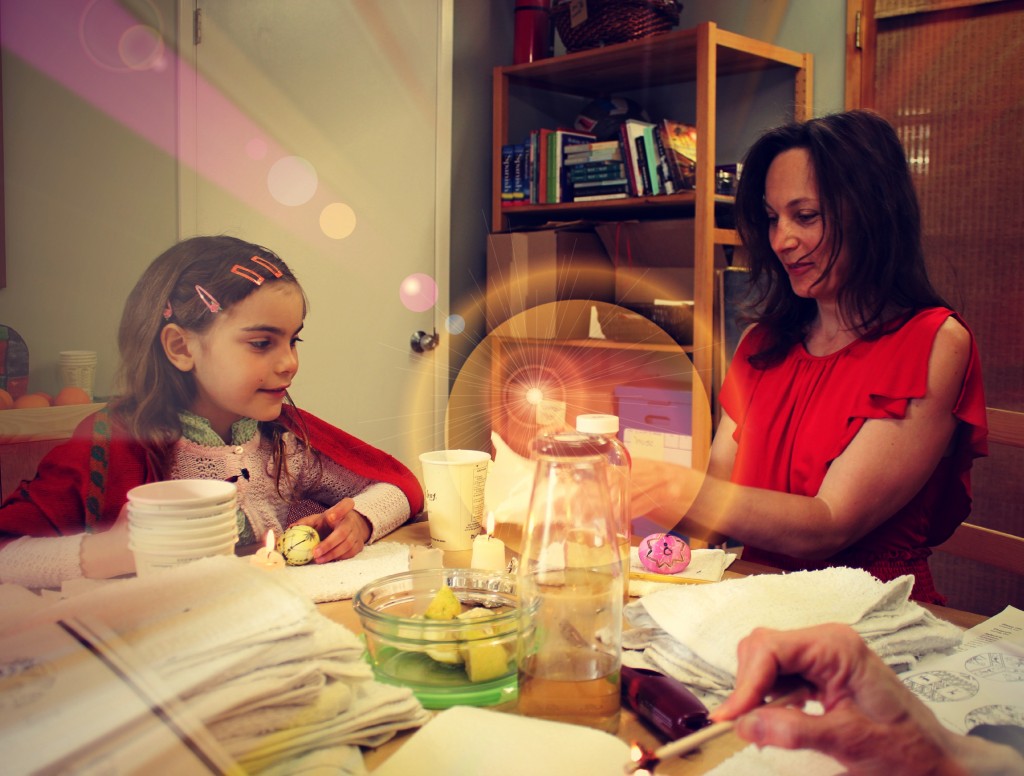
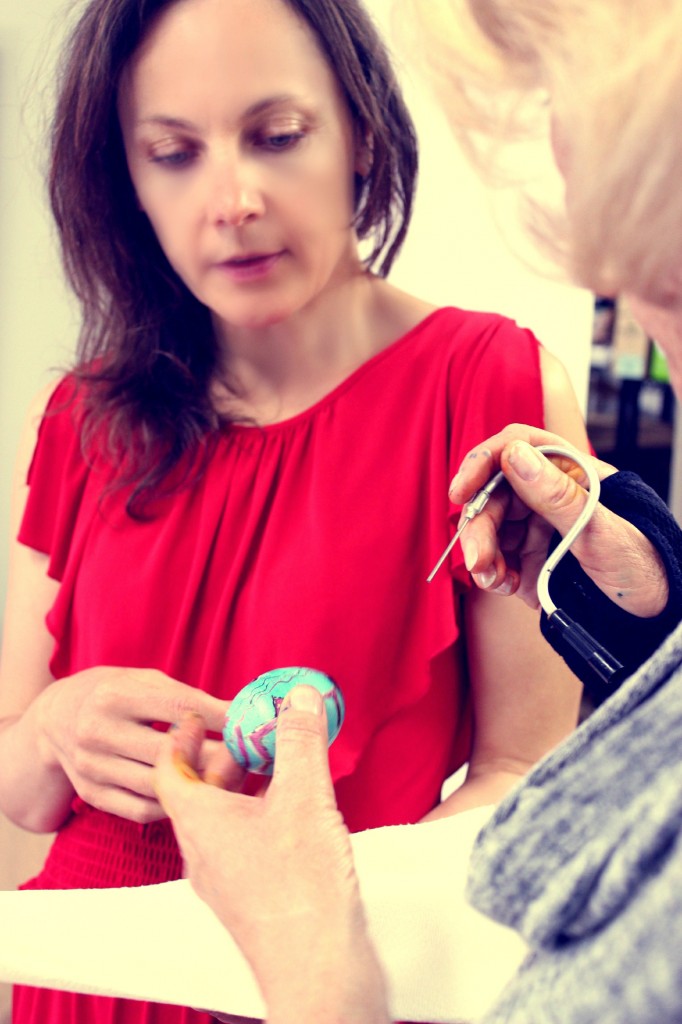
March 20, 2013. Today is the first day of spring! Our Wednesday morning craft group met this morning in the back room of The Company of Angels to make Ukrainian eggs in time for Easter. A $10 fee covered supplies and as many eggs as we wanted to make.
Rachel Skelly and Christine Newell organized our craft group. Thank you Christine for preparing materials and showing us how to make Ukrainian eggs. Thank you Rachel for the organization and refreshments!
Click here to jump back to the menu on the top of the page. Whee!
Menu
Click on the following links below to jump to the parts that tickle your fancy…
- Our Morning Together. Wednesday, March 20, 2013
- Jzin’s paintings
- Gallery page of past craft group projects.
- Our crafting journal for The “Enchanted Fairy Tale Woodland” playscape blanket:
- Part I. Making Wet Felted Playscape and Wet Felted Rocks. January 30, 2013
- Part II of “Enchanted Woodland Fairy Tale” Playscape Craft Group Project. February 6, 2013
- Part III of “Enchanted Woodland Fairy Tale” Playscape Craft Group Project. February 13, 2013
- Part IV of “Enchanted Woodland Fairy Tale” Playscape Craft Group Project; Making Art Felt Scarves Again. February 27, 2013
- Raffle Page: You can win this gorgeous labor of love for $20 !!!
- Click here to view our craft group making Artfelt Scarves on February 27, 2013. We also made Art Felt Scarves on January 23, 2013.
- Parent Education Event at School April 2013: Painting Workshops with Angelika Kolbe.
- Southern California Waldorf Community Page
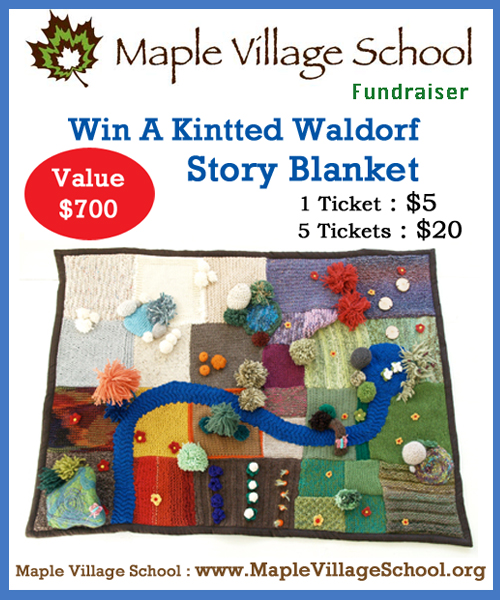
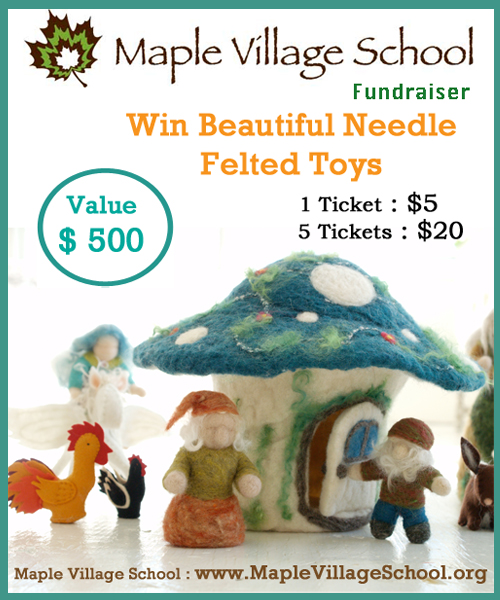
- Maple Village Waldorf School in Long Beach Annual Fundraiser: 2 awesome raffles!
- Our friends at Piecemakers in Costa Mesa are teaching craft classes for children. Check them out on this link.
Weekly craft group shenanigans. Posted here. Please “Like” me on facebook. Thank you!
Click here to jump back to the menu on the top of the page. Whee!
Our Morning Together. Wednesday, March 20, 2013
Making Ukrainian eggs in time for Easter.
Christine prepared our raw eggs by bringing them to room temperature (from the refrigerator) and cleaning them with vinegar.
The eggs will remain raw from beginning to the end of this process. Christine said over time, the contents of the egg will dry up. The egg will only smell bad over time if there is a crack in it.
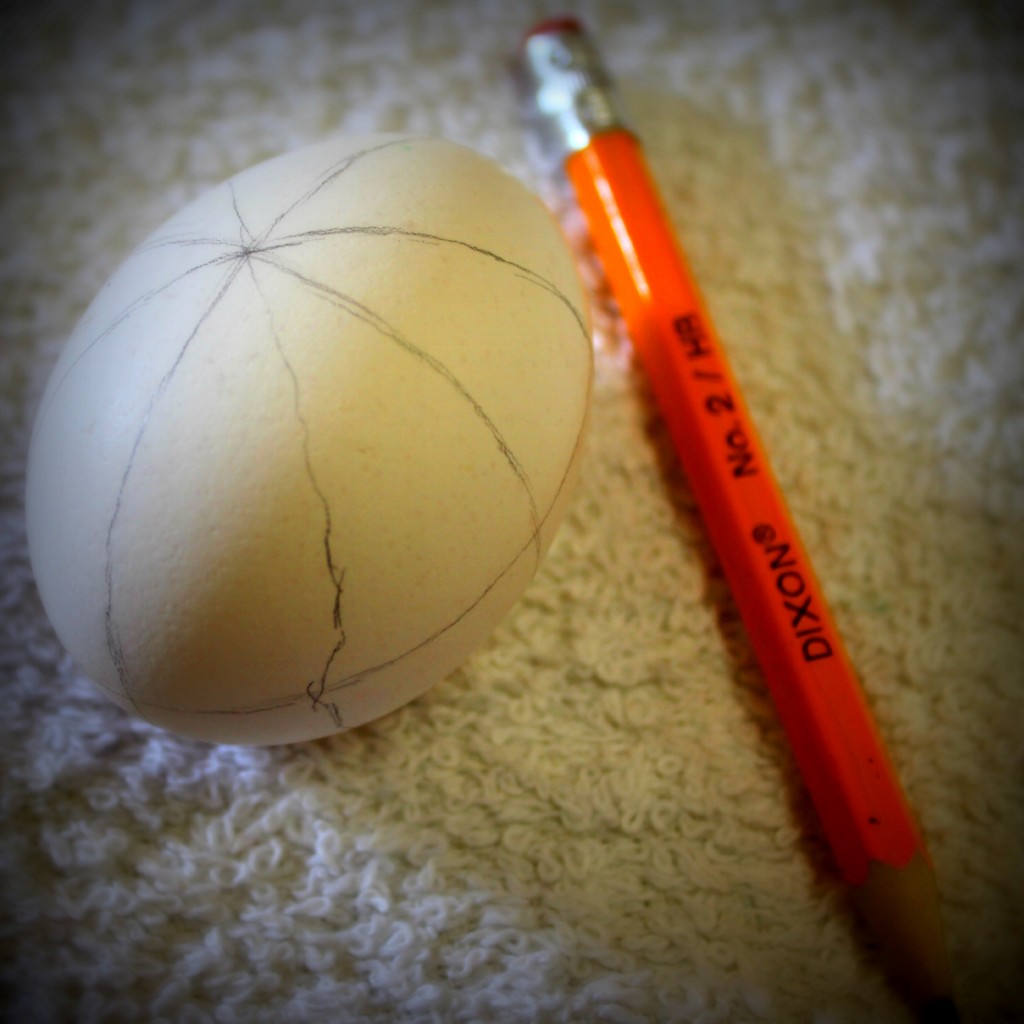
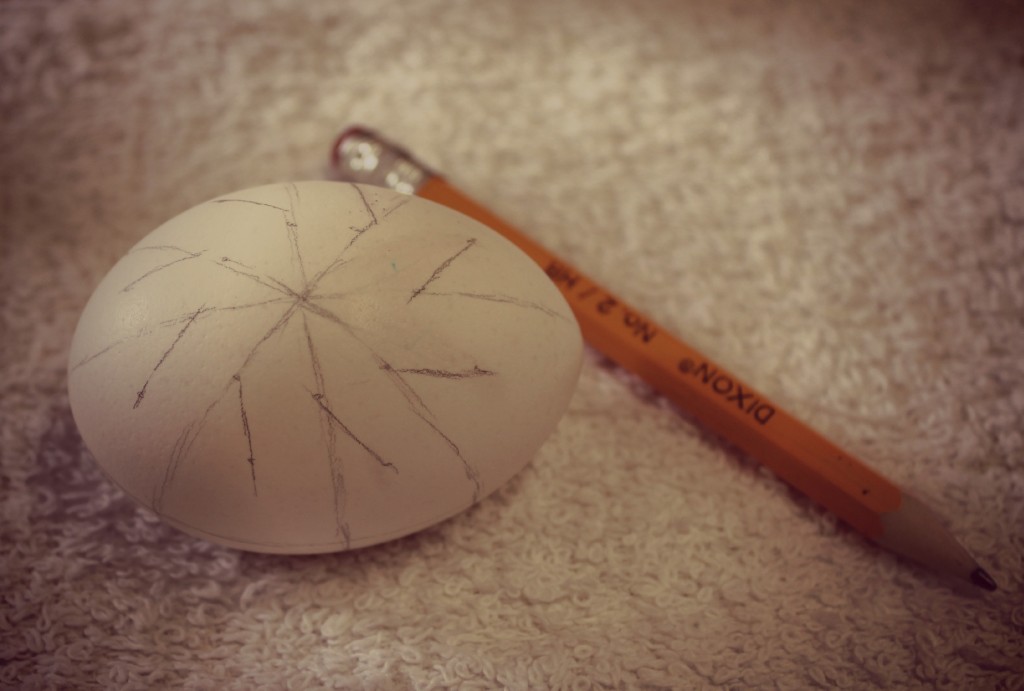
Ideally, the pencil markings should be light and carefully made because erasing should be avoided (erasing can leave marks).
Most of us started our craft using white eggs. Christine told us that the white eggs some how do not take up dyes very well and have to be dipped a little longer in dye. Brown eggs would give us the look of wooden eggs, she said.
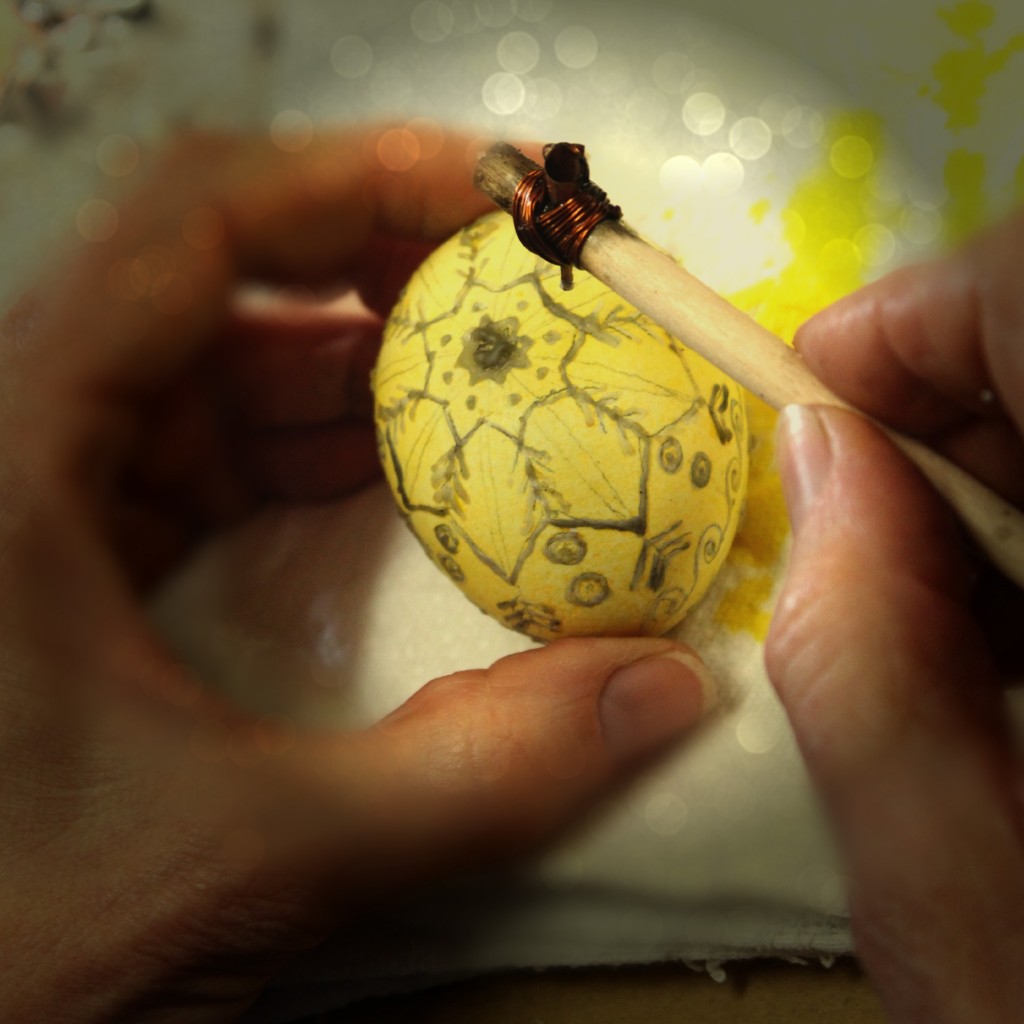
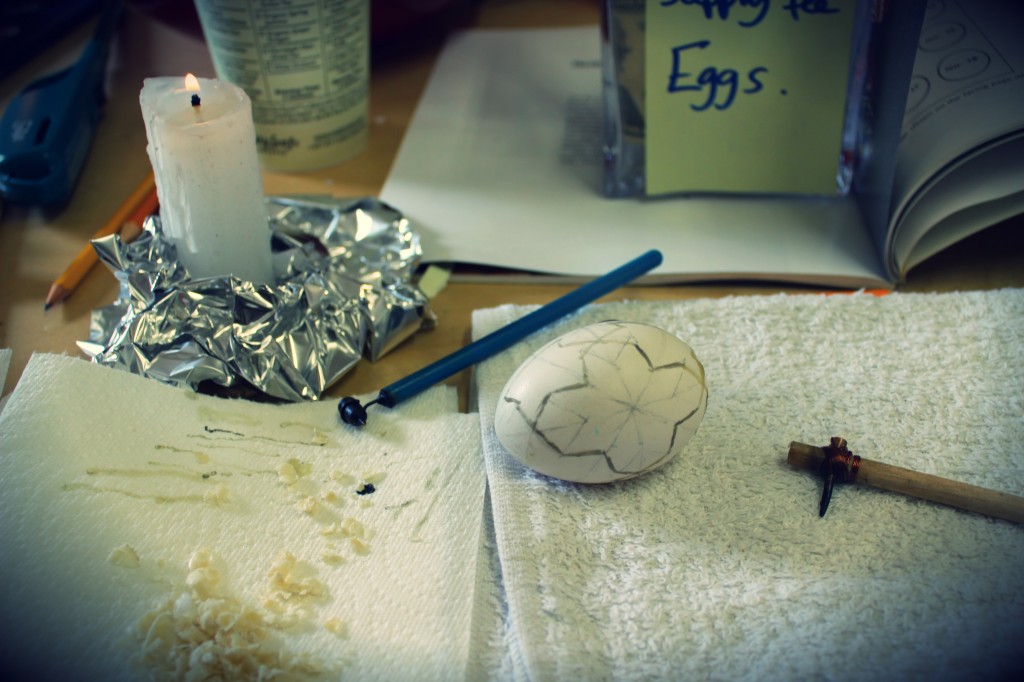
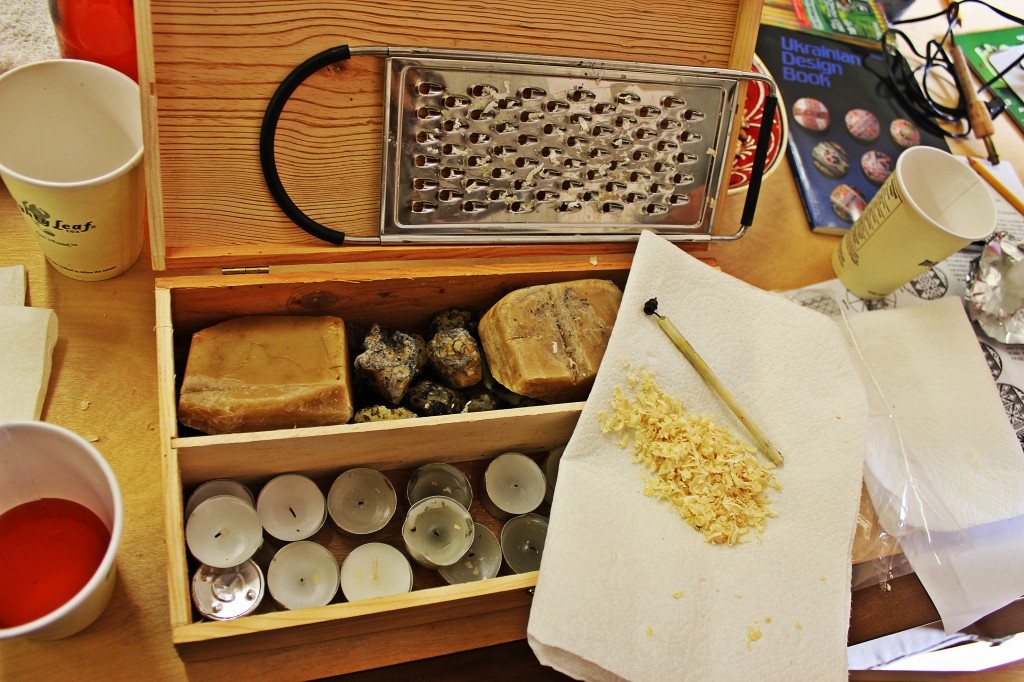
Tools of the trade. Grated beeswax (bottom, left) is ready to be scooped into a kistka (a metal cup with a very small hole in the bottom) for melting over the candle flame.
Photo above shows a traditional kistka with a brass cup (on the right) and a machine made (blue) kistka.
Christine reminded us to draw lines on paper towel (see above, left) to allow the first melted wax to come out evenly through the kistka. This way, our subsequent drawing lines will be even. Whenever we forget to do this, we get big fat blobs of molten wax at the begining of the line drawn on the egg.
I like how Christine organized her tools inside a wooden wine box.
Large chunks of sweet-smelling beeswax and a cheese grater. Christine had grated some beeswax onto a piece of paper towel. As we worked with these wax, the sweet scent attracted honey bees into our room!
I found some store bought and home-made tools for making pysansky “All Things Ukrainian” website.
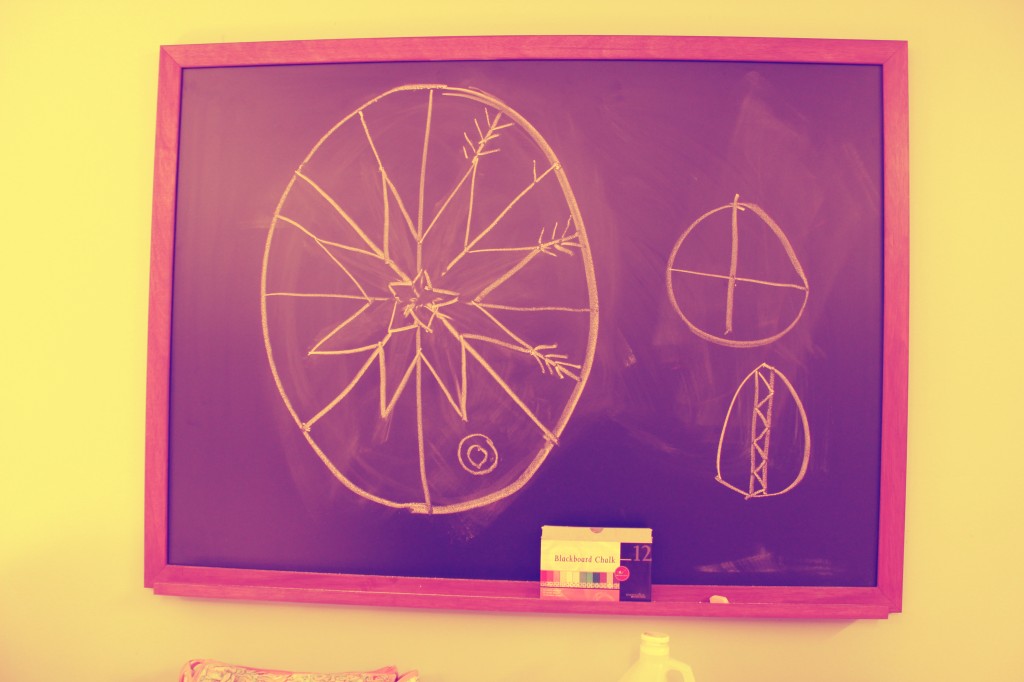
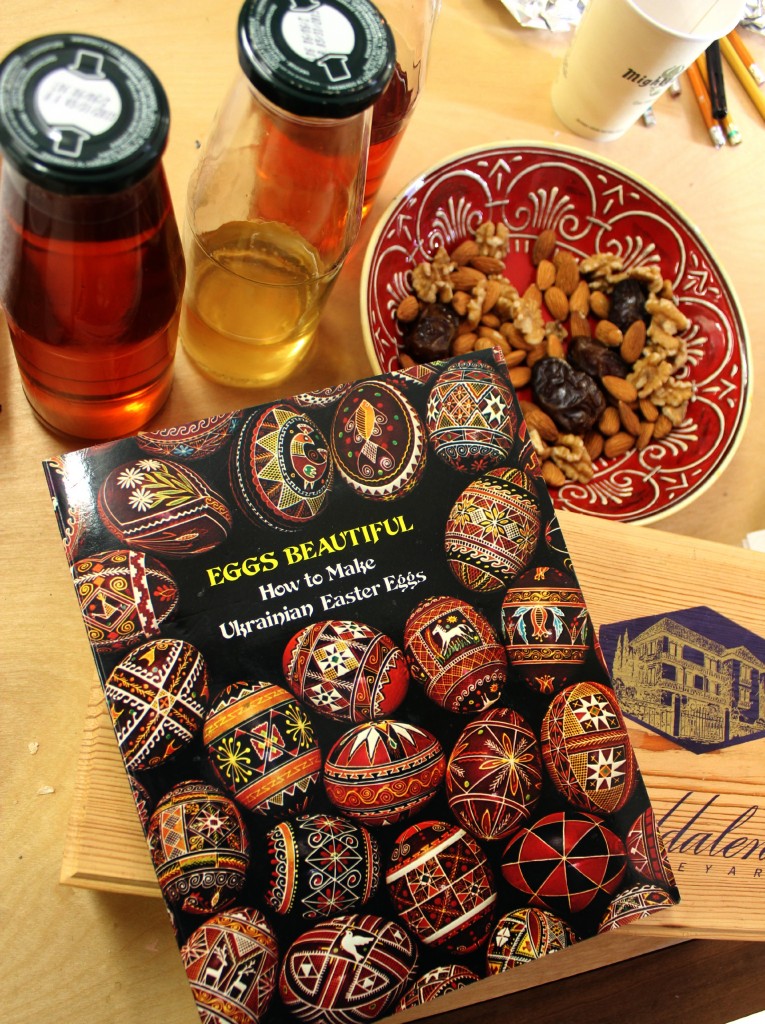
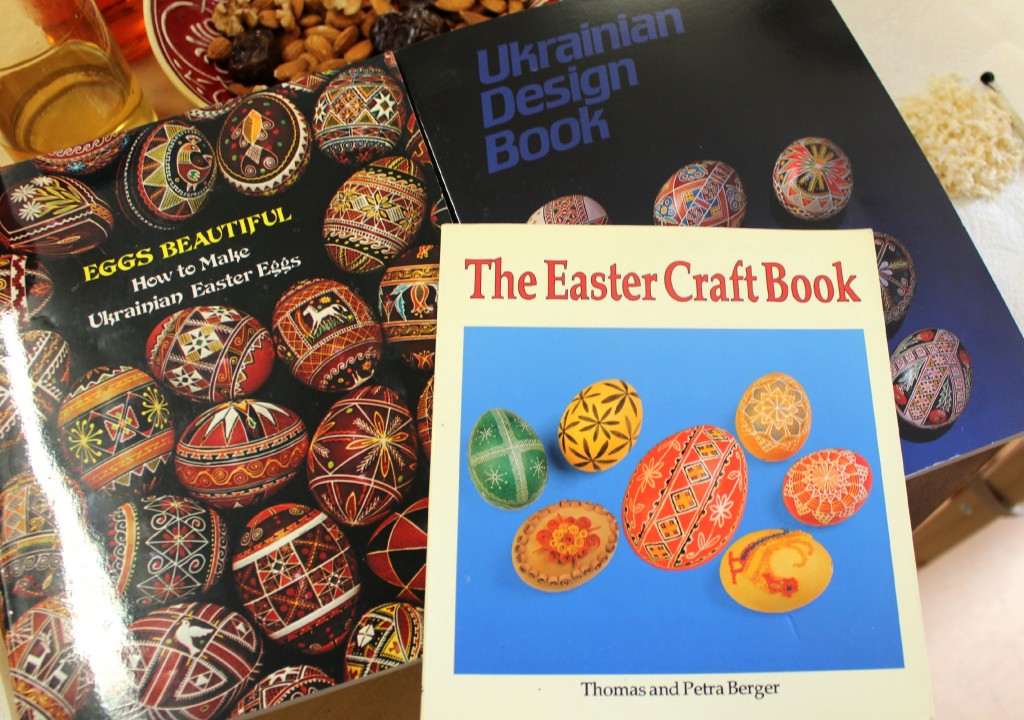
Christine brought some books for us to choose designs and symbols to decorate our eggs.
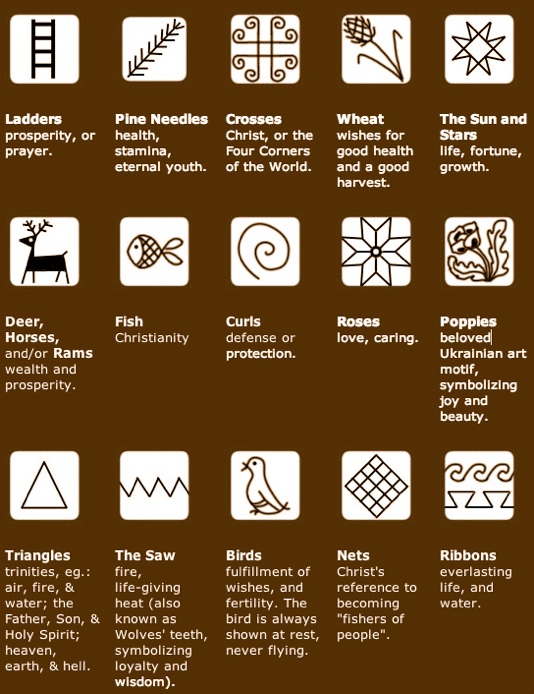
Traditional Pysanky Symbols.
I especially love the animal symbols. Here are some I found online.
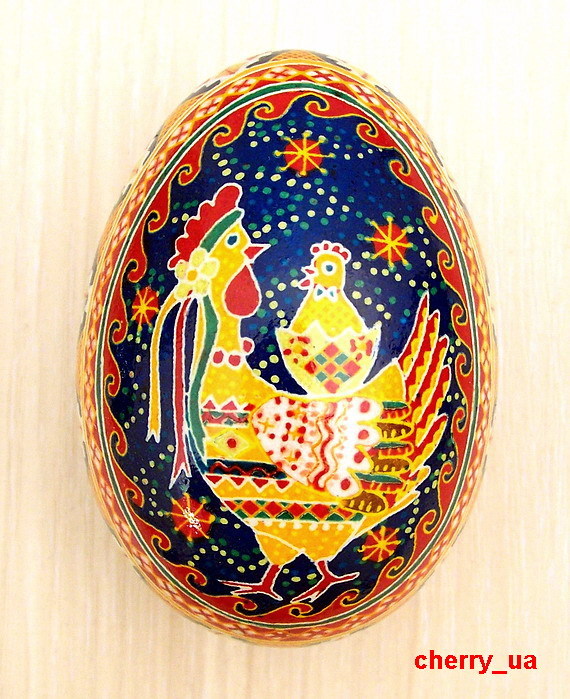
Pysanky Hen and chick on Pinterest.
Hens represent fertility and Hens’ feet represent protection of young. The baby chick here represents rebirth. The many dots in the background represent stars or cuckoo birds’ eggs (a symbol of spring). The waves in the border symbolize wealth because it was the rains or water that dictated the yield of the crops.
Here is a design I like from “All Things Ukrainian” website.
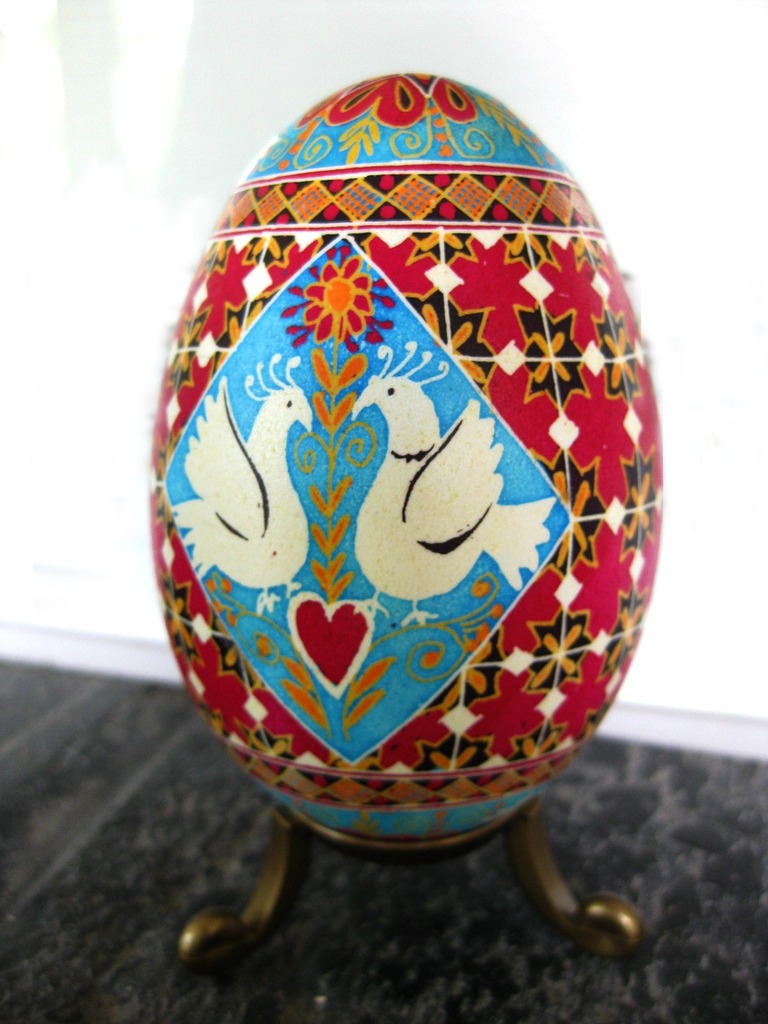
Birds symbolize Spring, Rebirth , Hope and Joy.
Love birds goose egg pysanka by Katya Trischuk on Flicker:
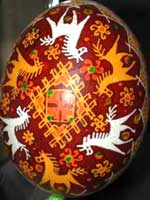
horses
Click here to jump back to the menu on the top of the page. Whee!
Dyeing Ukrainian Eggs
Anicka ready to dip her wax decorated egg into the first dye.
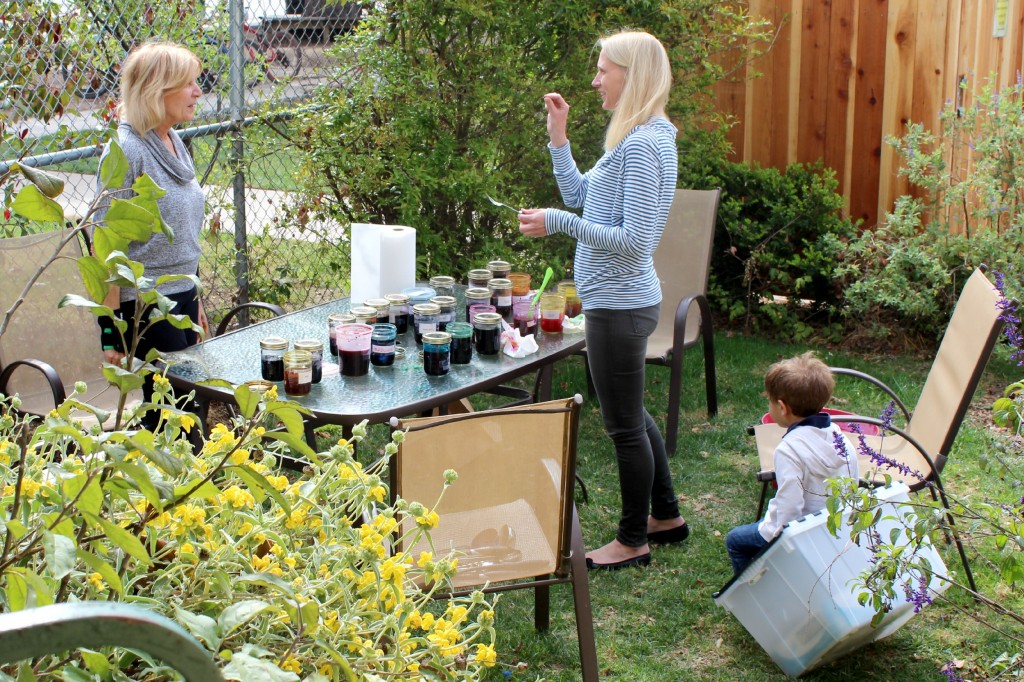
Christine set up our egg decorating work indoors, so our candles would not get snuffed out by the wind. For the egg dyeing, we did that outdoors in the warm Californian sunshine. By the way, today, March 20, 2013 is the first day of Spring! Happy Spring to you!
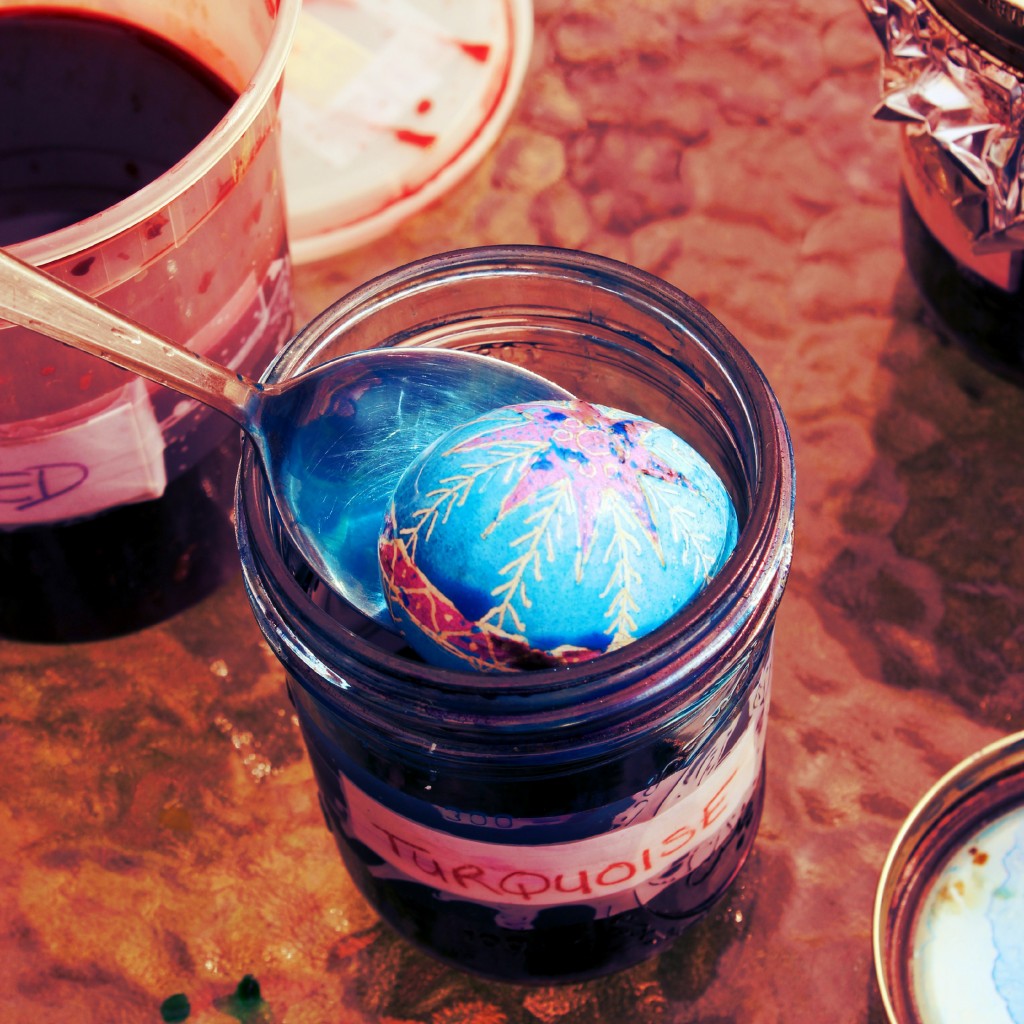
Julia first dipped her decorated egg into the pink dye. After blocking off some areas (shown pink below) with melted beeswax, here she dipped it again into turquoise dye.
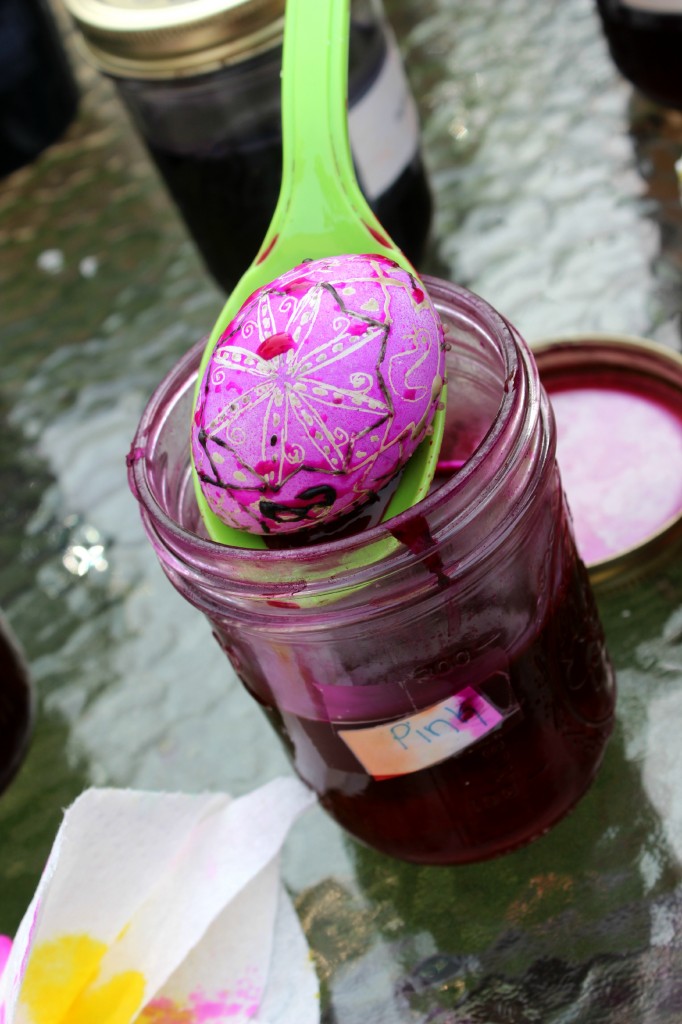
Here is my decorated egg, dipped into the pink dye jar. I had to dip and retrieve the raw egg carefully to avoid cracking it.
Due to the lack of time in the morning, I only dipped my egg in one round of dye. I would have looked better if I had more time to add more dye colors.
Anicka dripping hot beeswax on her dyed Ukrainian egg to block up the first color. Areas blocked by wax will remain in the original color when the egg is dipped into the next color.
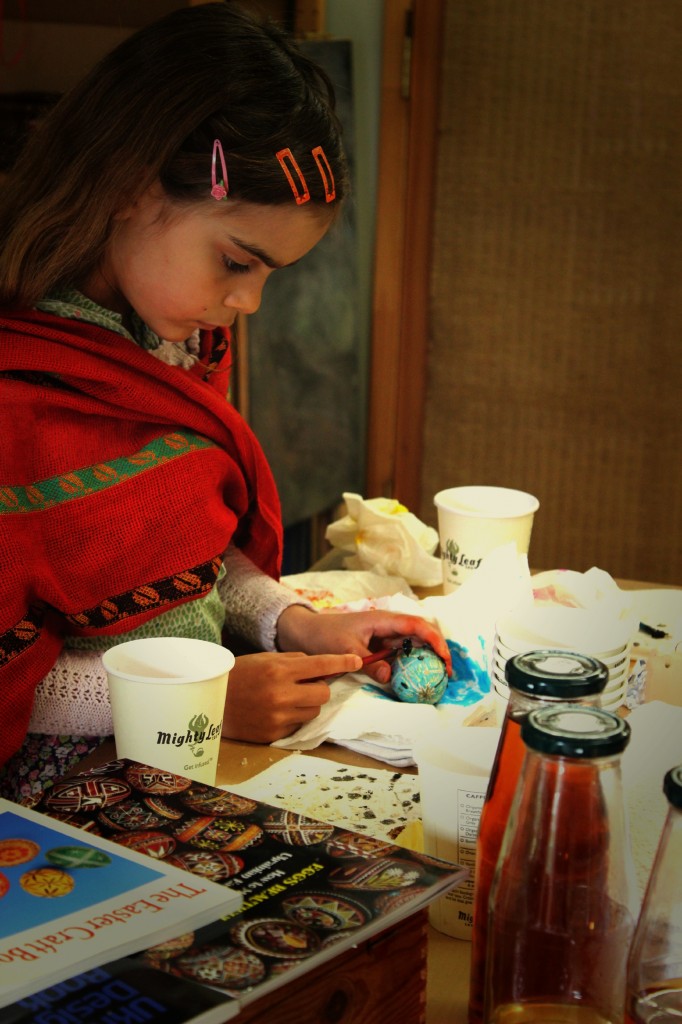
Linda working.
Bees flew inside the room from the sweet smell of the beeswax!
Christine and Alena intently dripping melted beeswax to block off areas of colors on their eggs in preparation for the next dye-dipping.
A close-up view of Christine (in blue, above photo) dripping hot beeswax onto her beautiful Ukrainian egg that had been dipped in yellow.
For some, making Ukrainian eggs is a soothing and enjoyable pastime. For beginners like me, it can be a humbling challenge. It also reminded me the pace of patience in these digital times. However, I enjoy any creative endeavors when they are done among friends.
We were joking that if our handwork were used as criteria for marriage proposals, some of us would have trouble getting suitors.
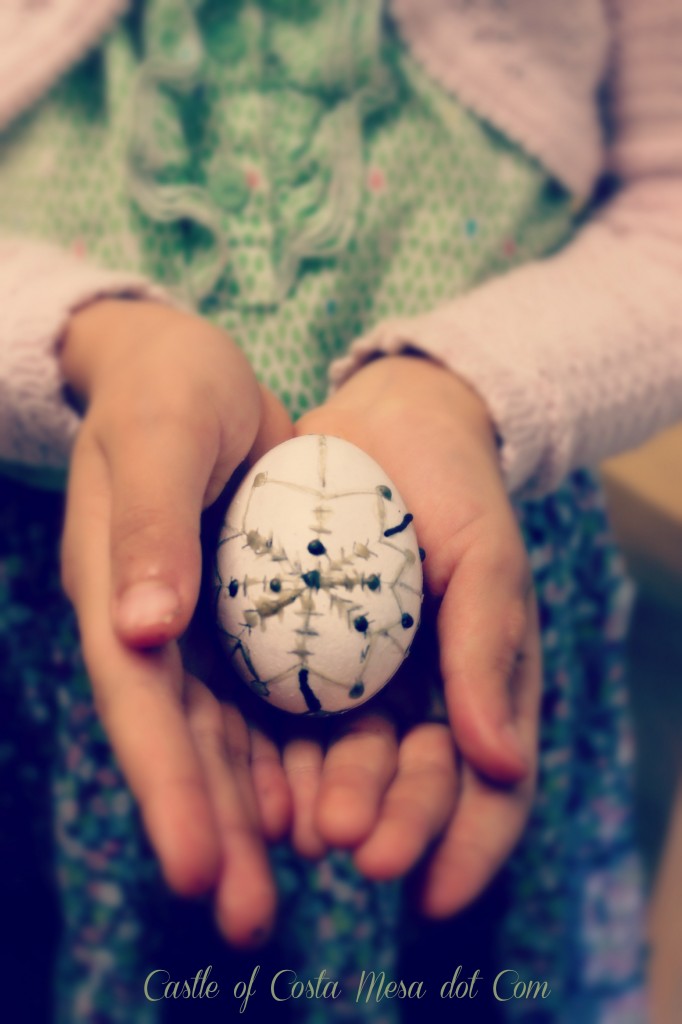
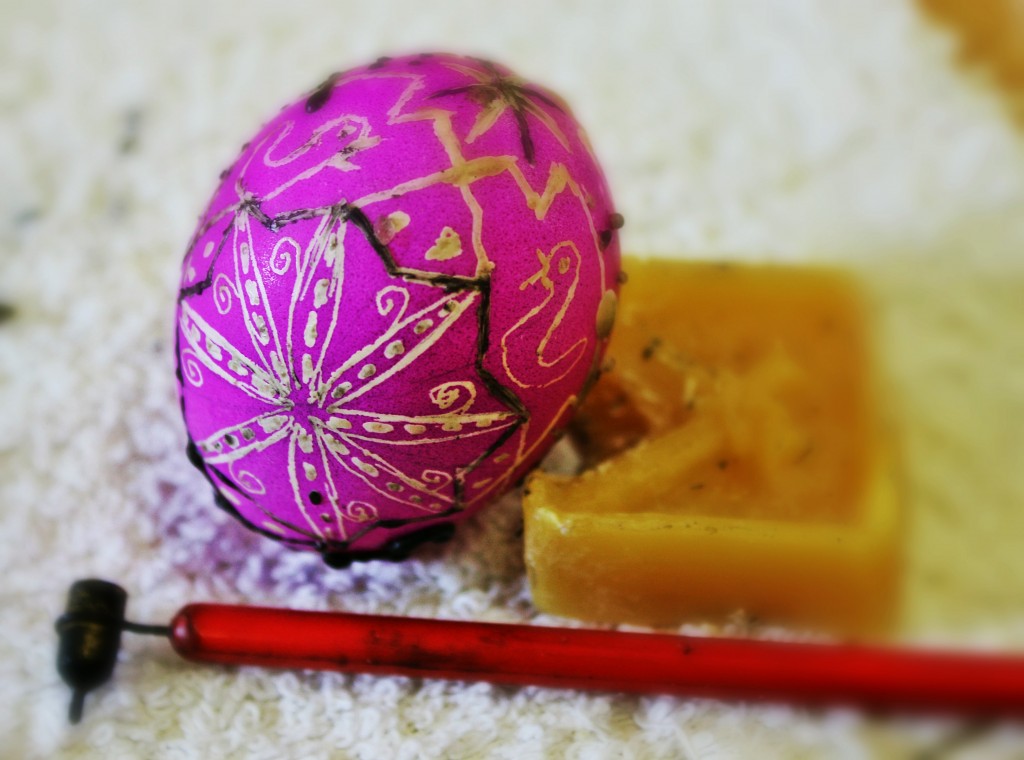
My first attempt at making Ukrainian egg (photo above). Big wax blobs were results from forgetting to draw out first melted beeswax from the flame onto a paper towel. I am fortunate I have already been spoken for.
Alena told us a story of (some latino culture, I forgot which) a culture where marriageable girls would toss their hand woven baskets into a pit. Young men would peruse these hand works and pick a bride based on the quality of their basket weaving.
We were joking that Julia will be the only one with a line of suitors at her door…
Cold fusion.
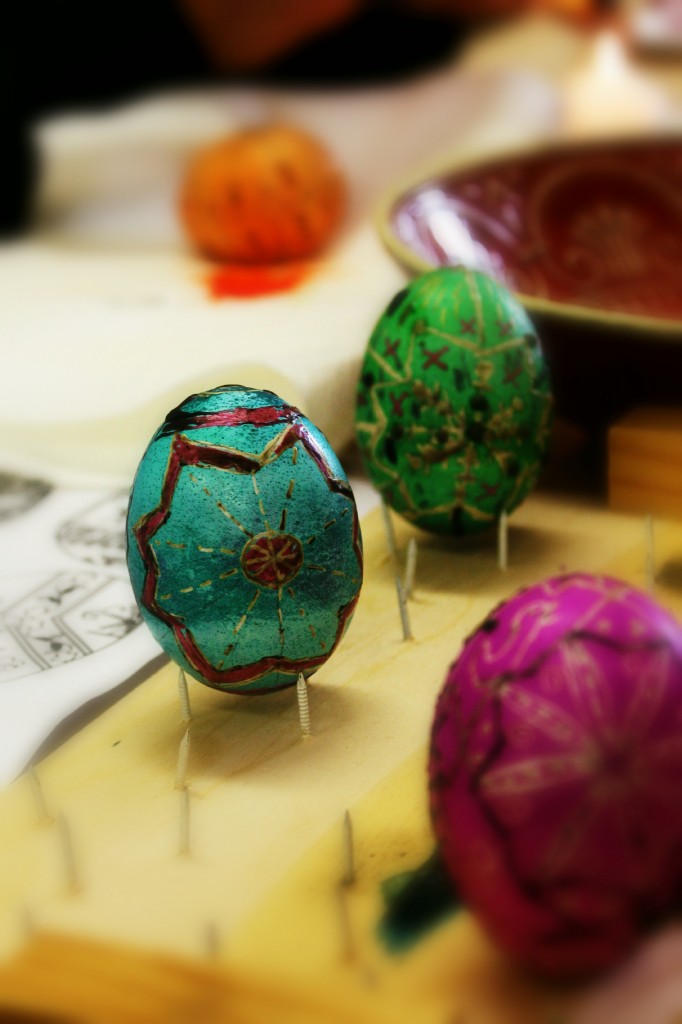
Alena’s egg, flanked by Anicka and Jzin’s eggs. These eggs are ready to go into the oven to melt off the wax.
Before we left for the day, Christine showed us her egg blower tool, in case we choose to empty the contents of the egg after the decoration is done.
Click here to jump back to the menu on the top of the page. Whee!
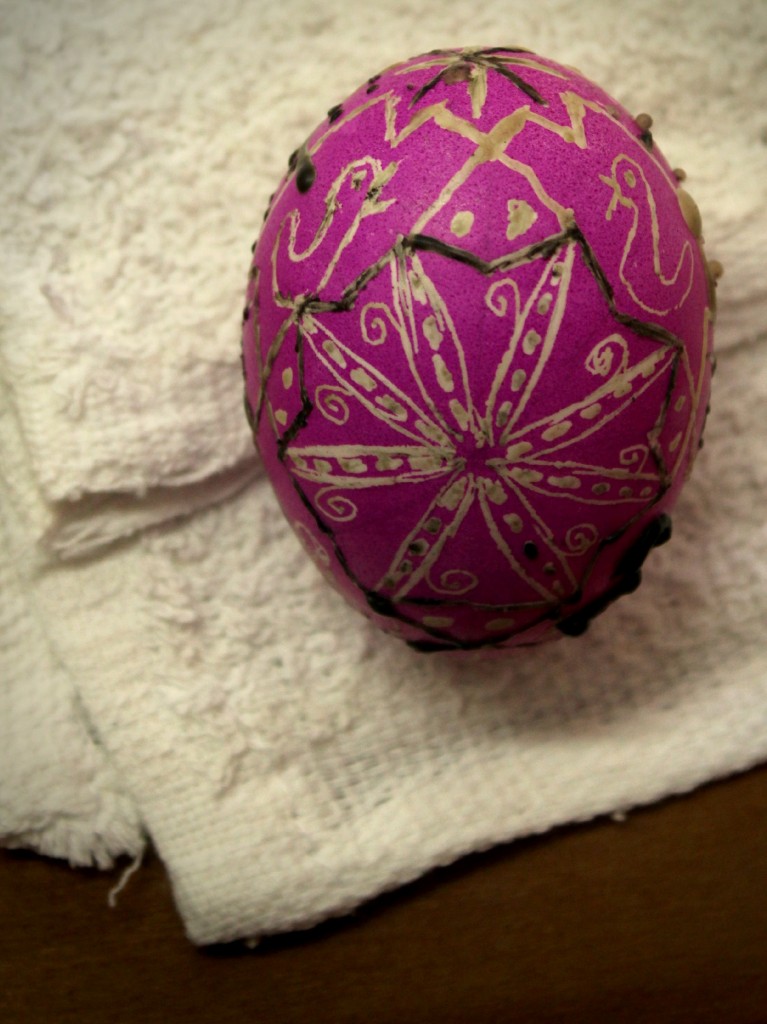
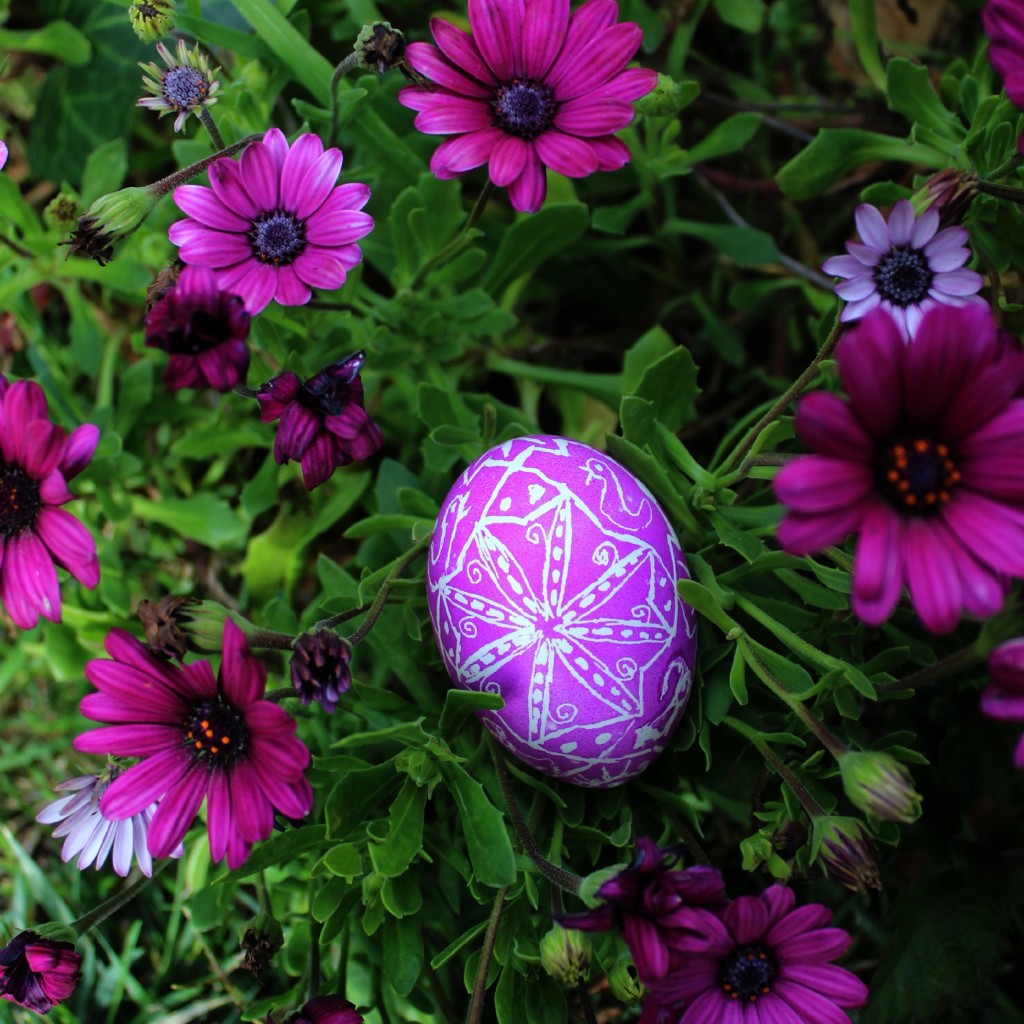
My Ukrainian Egg, After The Wax was Removed
Christine instructed us to take our eggs home (these *raw* decorated eggs were carefully wrapped in foil and paper towel, put inside a disposable paper cups for the trip home) and put them inside an oven at very low heat to melt off the wax.
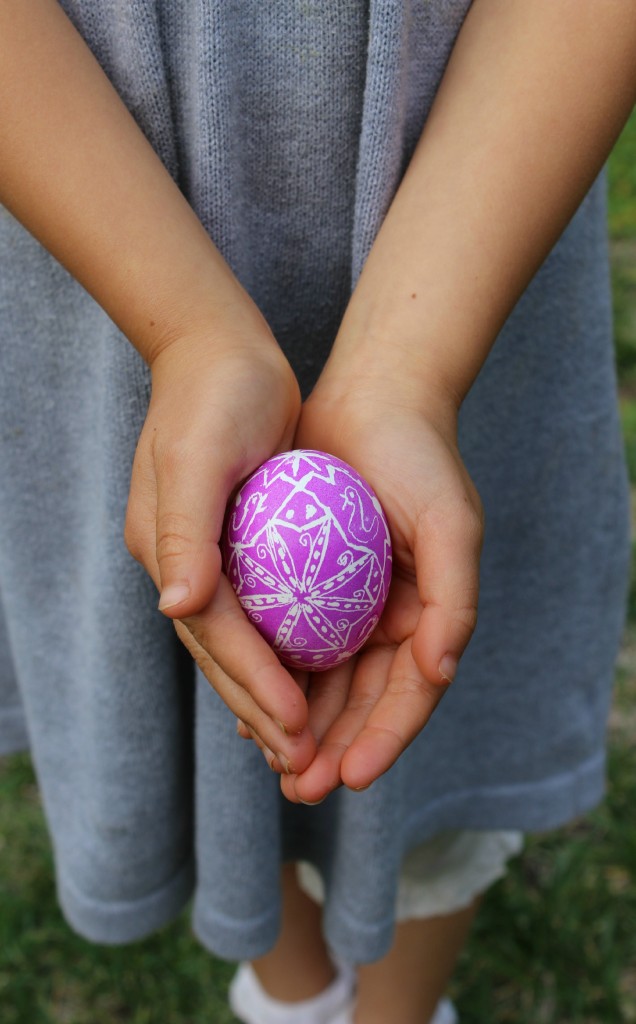
Christine instructed to use about 175 degrees fahrenheit for 20 minutes. Mine needed 190 degrees for the wax to melt. After that, I simply wiped the soft wax off and my egg looked shiney and clean.
Before wax removal.
After wax removal.
Nice and clean!
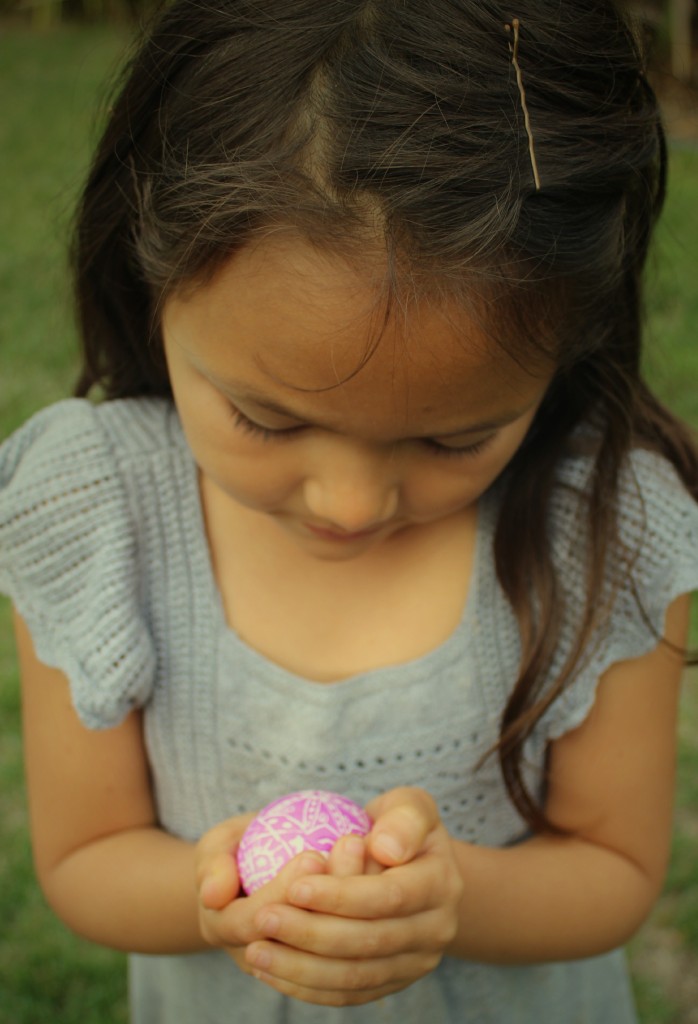
My little one enjoyed warming her hands with the egg right from the oven (it was 190 degrees for my oven).
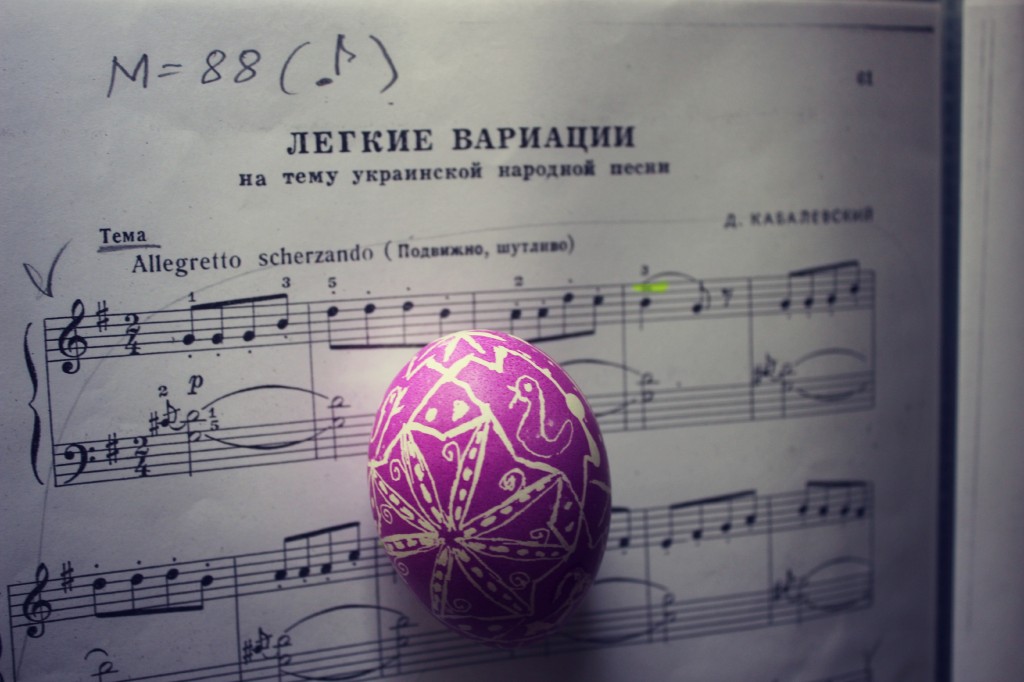
Coincidentally, Nunu is currently practicing Ukrainian variations by Kabalevsky. This week, we worked on Theme, variation 1 & 2.
Here, our quiet Ukrainian egg kept us company during our piano practice.
Click here to jump back to the menu on the top of the page. Whee!
Books and Supplies
Christine’s books.
Egg Beautiful. How to Make Ukrainian Easter Eggs
Christine’s reference books. Click here to review The Easter Craft Book on Amazon.com.
The Easter Craft Book on Amazon.com
I found some store bought and home-made tools for making pysansky “All Things Ukrainian” website.
Christine mentioned you can also get them online: Ukrainian Gift Shop on Amazon.com
Too-dle-loo! See you next Wednesday morning! Thanks! -Jzin
Click here to jump back to the menu on the top of the page. Whee!
Another Egg Decorating Idea
Nature has the best designs. An idea on weibo.com (in Chinese).
Instructions in chinese: Here. Jzin’s translation: Boiled white-shelled eggs dyed in soaked onion skins. The eggs were tightly tied up in panty hose. The onion skin gives a red tint to the Easter eggs.
Click here to jump back to the menu on the top of the page. Whee!
I Started Painting Again
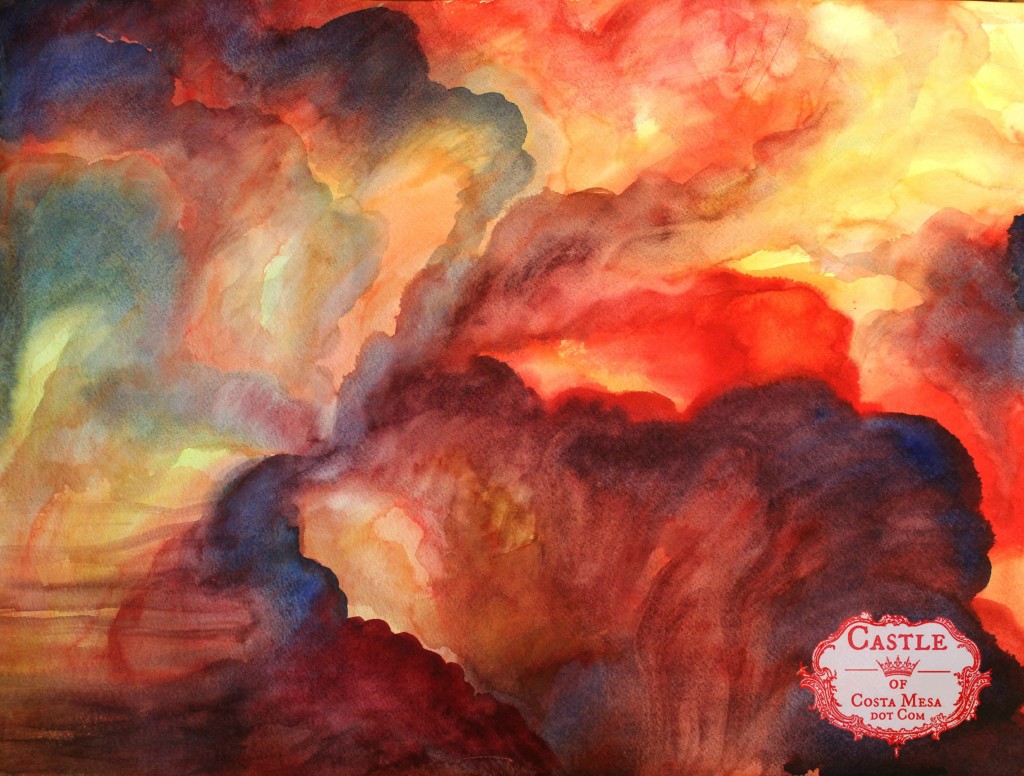
Here is my study using 3 colors, wet on dry.
March 15, 2014. This painting above was sold at a benefit for Waldorf School of Orange County.
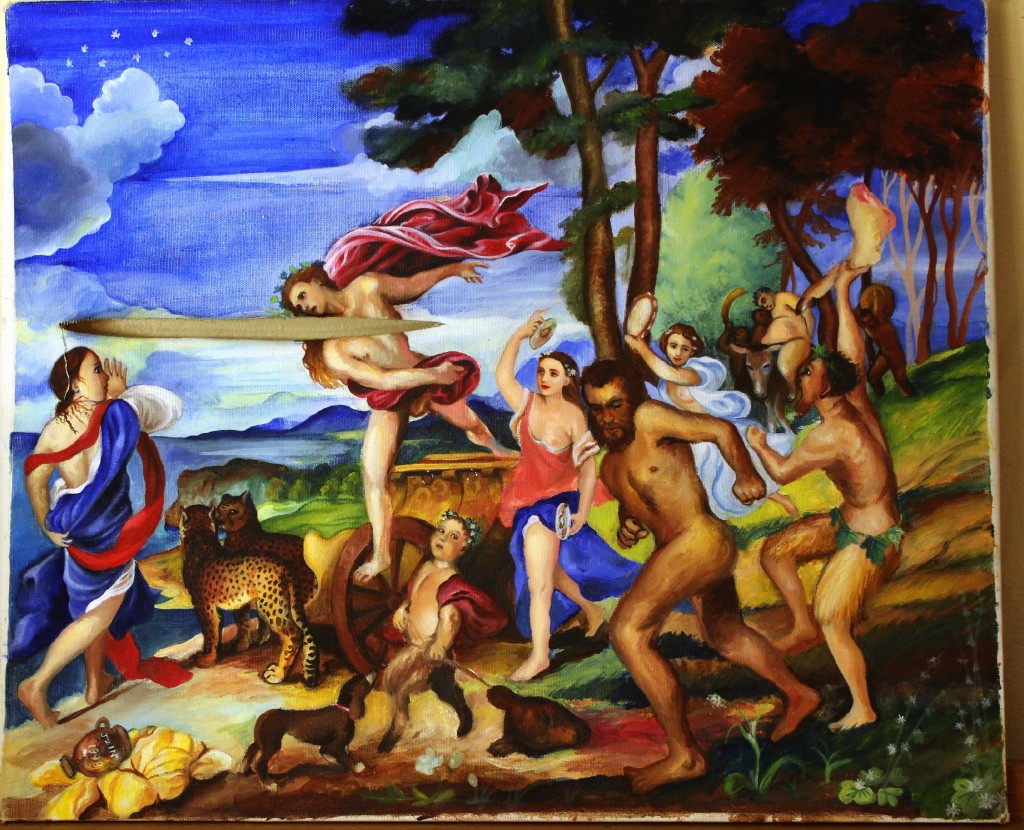
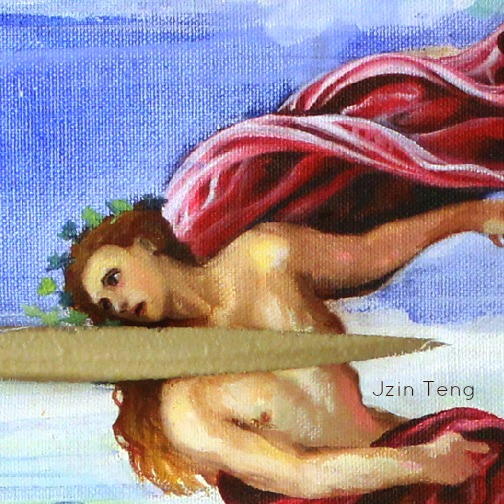
Here is my old (unfinished) exercise, Bacchus and Ariadne, after Titian from when I was still a graduate student working on my thesis. I think the gash on Bacchus was from moving home.
My old painting. Bacchus, at that moment when his life was changed forever. The gash was from bad storage.
My old painting. The bacchantes and nyads knew what Bacchus and Ariadne were, right up to that moment oblivious of.
Here are some of my old watercolor paintings here.
Click here to jump back to the menu on the top of the page. Whee!
Check out my handmade Fairy Tale Dolls: Dolls and Tales page.
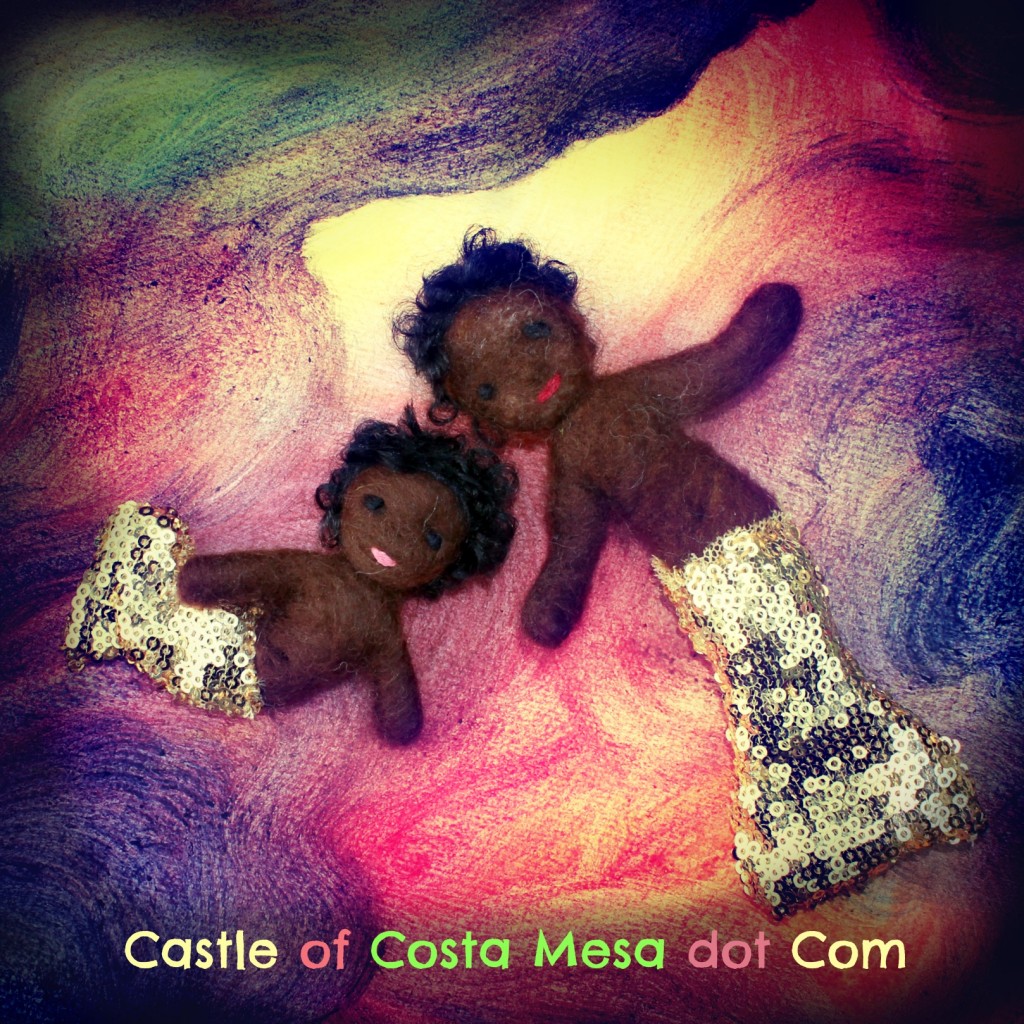
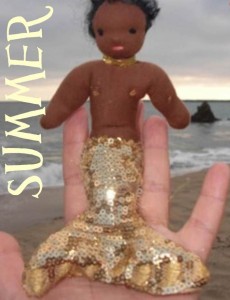
March 18, 2013. Just finished making African mermaid daddy Kabi and his merbaby, Booboo. They will love to frolic on your Summer Season table! The playful pair are available to purchase now on my Etsy store. https://www.etsy.com/
Kabi is actually named after Russian composer Dmitri Kabalevsky. Since the doll was made while my 8 year old practiced her new Kabalevsky piano piece, Ukrainian variations.
Click here to jump back to the menu on the top of the page. Whee!
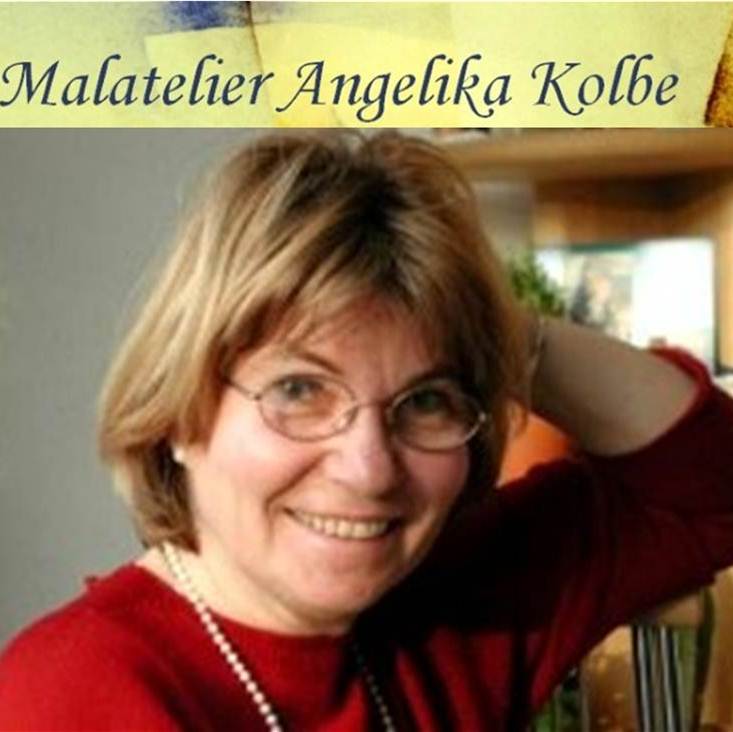
Parent Education Event: Painting Workshops with Angelika Kolbe
Shortly After Spring Break
Learn wet-on-wet painting in an engaging format from a true master. In addition to being a Waldorf class teacher for 16 years at the Waldorf School in Marnburg/Germany, Angelika taught drawing and painting to high school students. Trained at the Academy of Fine Arts at the University in Hamburg/Germany, we are lucky to have her with us for this special parent education event. Please take the opportunity to join Angelika for these painting sessions.
The total workshop is 6 sessions. You may sign up for all 6 or pick and choose dates according to your availability.
Dates: April 26, April 29, May 3, May 6, May 8, May 10. All 8:30 – 10:30 in Big Aftercare
To cover the cost of materials, each session is $10. Cash only please. You will sign up in the front office when we return from break.
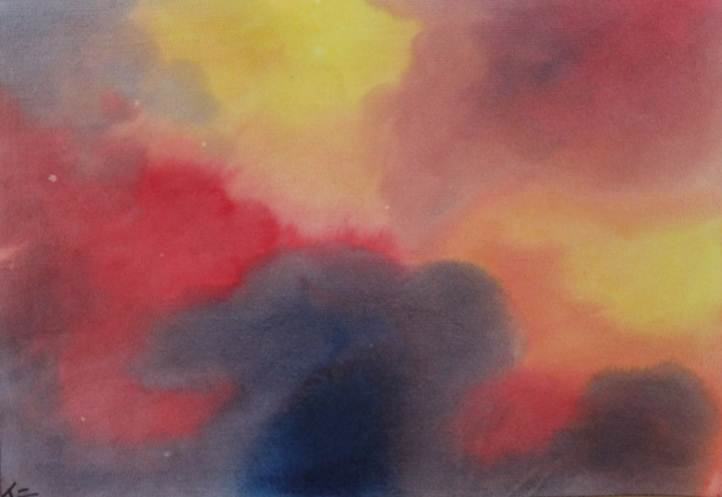
Click on picture to see my watercolor paintings done with Angelika last year.
Click here to jump back to the menu on the top of the page. Whee!
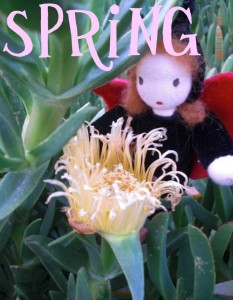
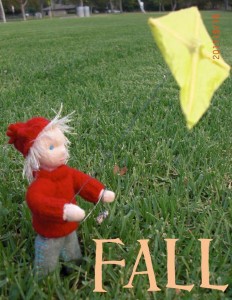
My handmade dolls for Waldorf Seasons Nature Table
Click here to jump back to the menu on the top of the page. Whee!
Maple Village Waldorf School in Long Beach Annual Fundraiser: 2 awesome raffles!
Buy some raffles and support the Maple Village Waldorf School! Click here to go to the Maple Village School Website.
Click on pictures below to share this news with your friends on facebook.
Please give our friends some help. Click below and share this on facebook!
Support Our Local Waldorf Community/ Place a Free Ad
If you are interested in placing an ad on “Support Our Southern California Waldorf Community” (free if you are a member of this community) please e-mail me a good picture and a link.
Meanwhile, please support our local peeps! Thanks! – Jzin
Click here to jump back to the menu on the top of the page. Whee!
Please “Like” Castle of Costa Mesa on Facebook
Please “Like” CastleofCostaMesa.Com on Facebook (top left sidebar of this page). You will be connected to what we do here, plus you will be notified on our up coming handmade giveaways. Click here to view our past handmade doll giveaways. Thank you! – Jzin
Click here to jump back to the menu on the top of the page. Whee!


