Click on image to enlarge view.
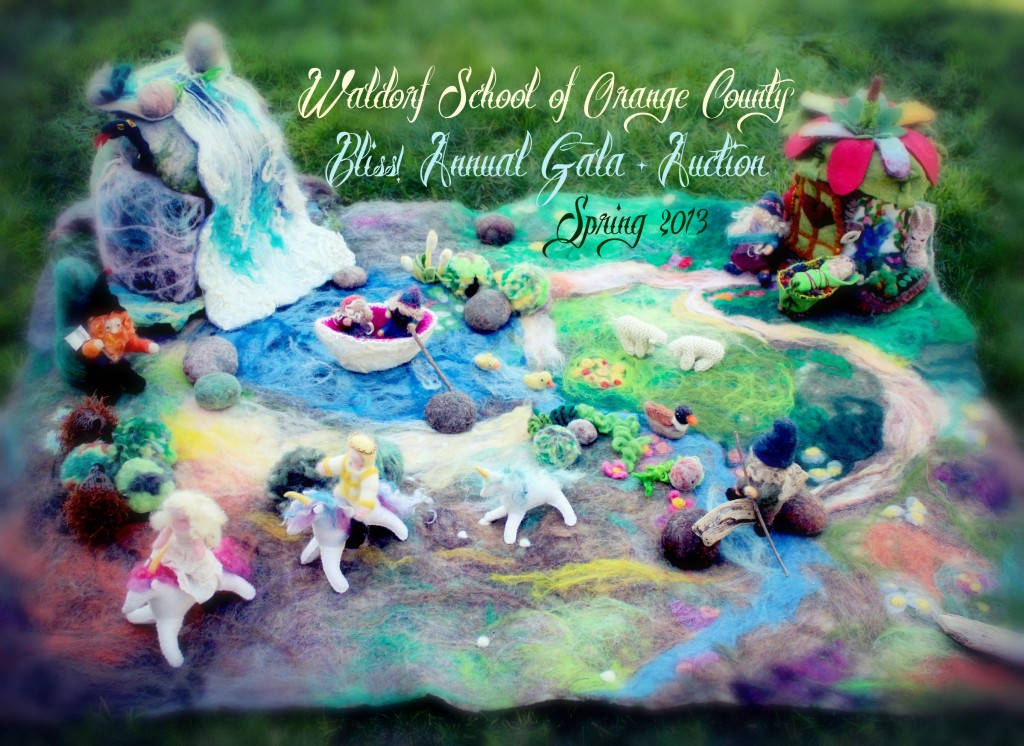
Just $20 gives you a chance to win this truly one-of-a-kind, breathtaking, magical creation and support the Waldorf School of Orange County!
Win this worldwide. Free shipping. Winner will be selected on March 9, 2013 Pacific Standard Time (California, USA).
Buy your raffle tickets on Waldorf School of Orange County online Bidpal site.
Part I. Making Wet Felted Playscape and Wet Felted Rocks. January 30, 2013
With great excitement, we gathered again today at our Wednesday Morning Craft group get-together to make a wet-felted playscape blanket to donate to our school for our upcoming Spring Gala Auction event.
Week 1 of our craft group project. To be continued next week.
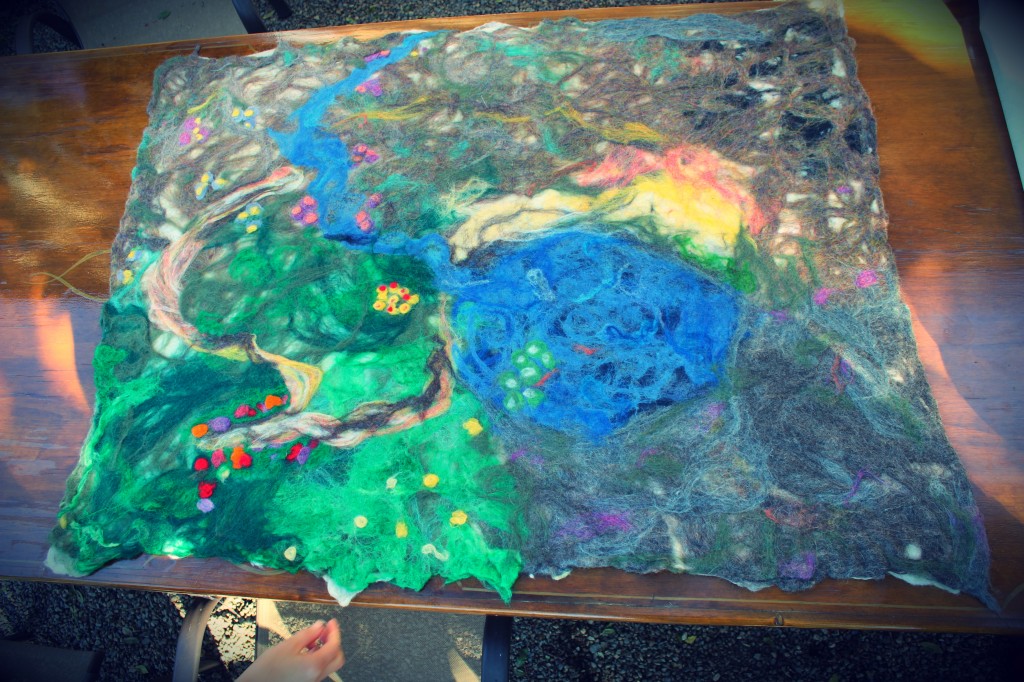
This lovingly made “Enchanted Springtime Fairy Tale Woodland” playscape will be available to bid on for our Waldorf School of Orange County’s 2013 Bliss Gala and Auction. Event: March 9, 2013. You will be able bid on it shortly on this link below!
Support our beloved Waldorf School of Orange County. Enter Bidpal.
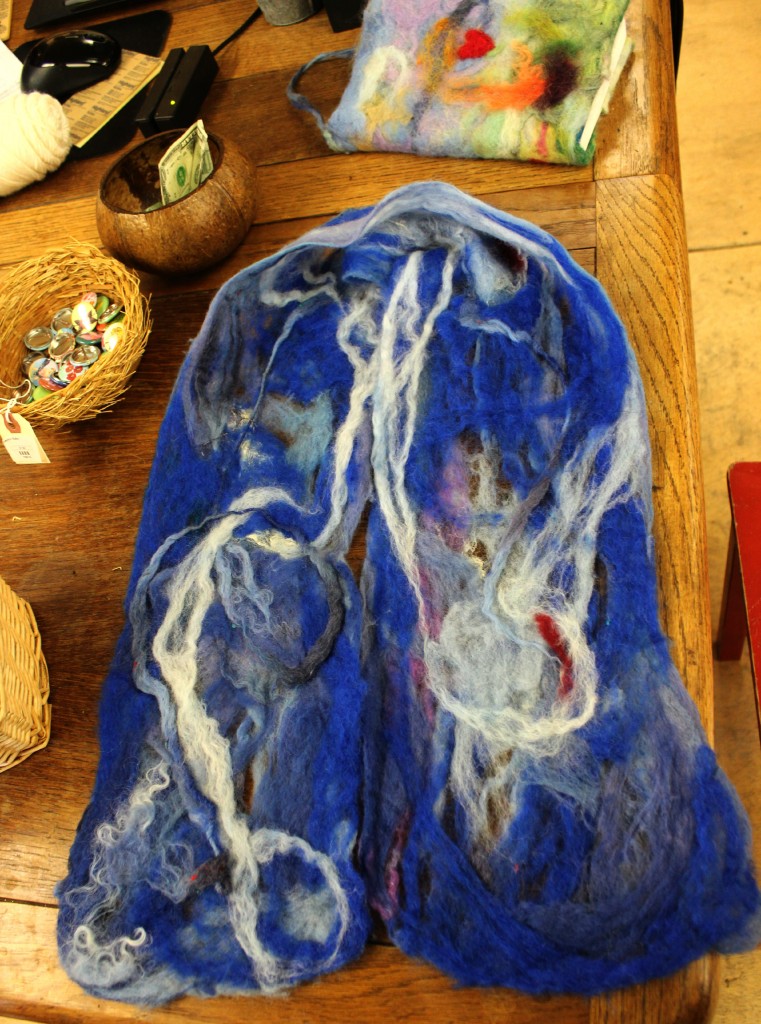
Updates added: Last week’s Artfelt scarves with completed scarves
Rachel’s Artfelt scarf made during last week’s crafting session.
Menu
Click on the following links below to jump to the parts that tickle your fancy…
- Gallery page of past craft group projects.
- Waldorf School of Orange County Spring 2013 Bliss Fundraiser
- Our crafting journal for The “Enchanted Fairy Tale Woodland” playscape blanket:
- Part I. Making Wet Felted Playscape and Wet Felted Rocks. January 30, 2013
- Part II of “Enchanted Woodland Fairy Tale” Playscape Craft Group Project. February 6, 2013
- Part III of “Enchanted Woodland Fairy Tale” Playscape Craft Group Project. February 13, 2013
- Part IV of “Enchanted Woodland Fairy Tale” Playscape Craft Group Project; Making Art Felt Scarves Again. February 27, 2013
- Raffle Page: You can win this gorgeous labor of love for $20 !!!
- Our Morning Together. January 30, 2013
- Adding Thickness to Our Base Piece by Applying Thin Layers of White Wool Batting.
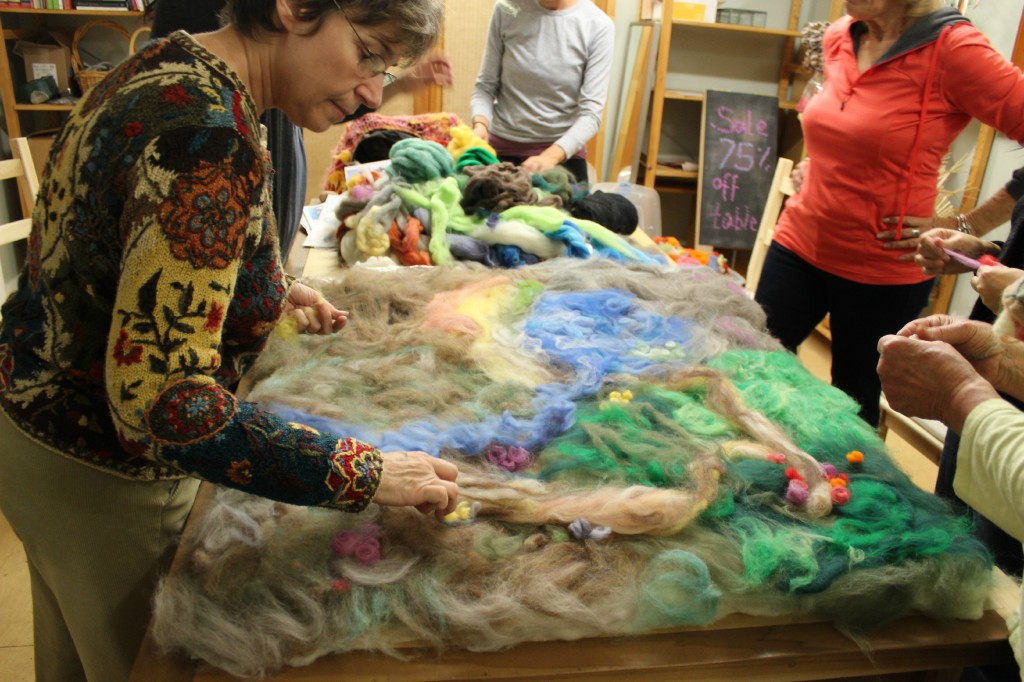
- Designing Woodland Playscape by Laying Down Thin Layers of Colored Roving
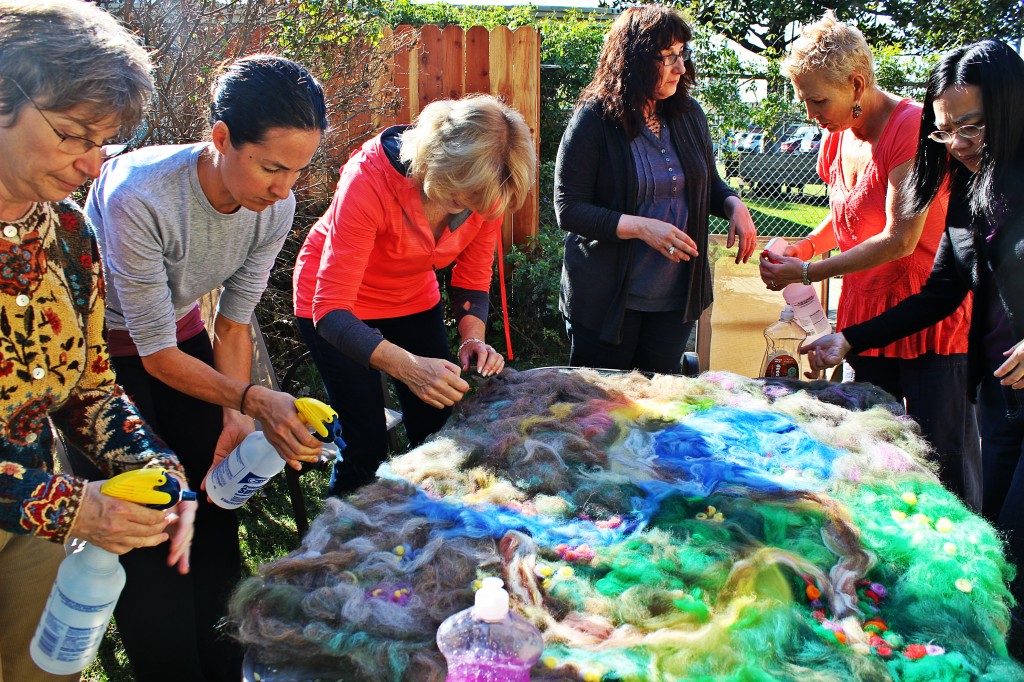
- Pausing for Our Glamour Photo Shoot with Hot Water Squirt Bottles.
- Ready to wet felt with hot water squirt bottle and bottles of soap
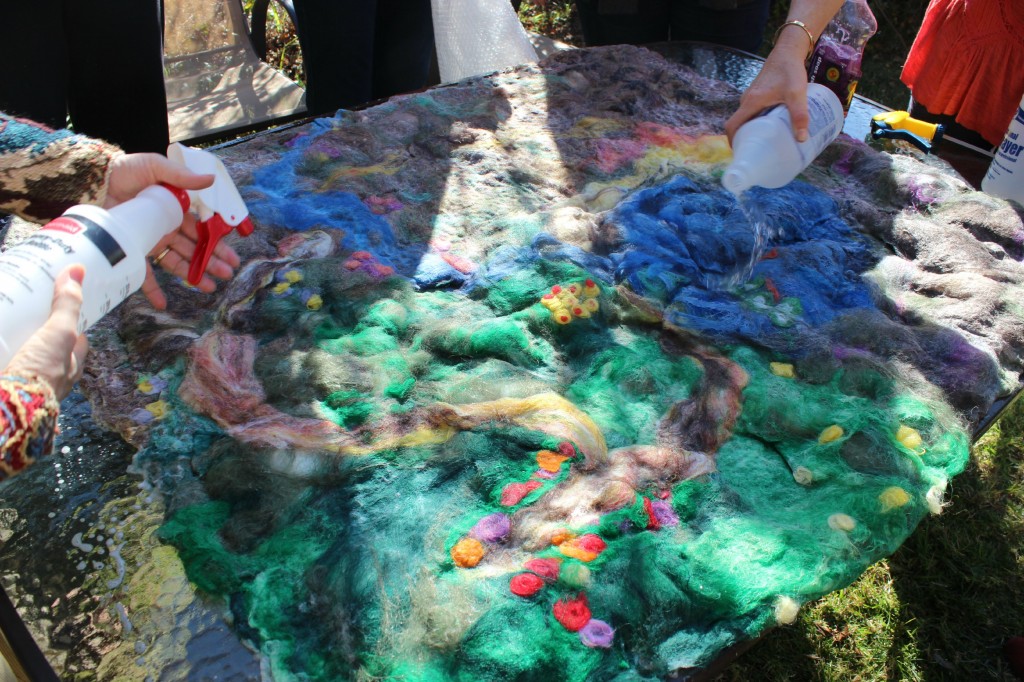
- Squirt Soap and Hot Water
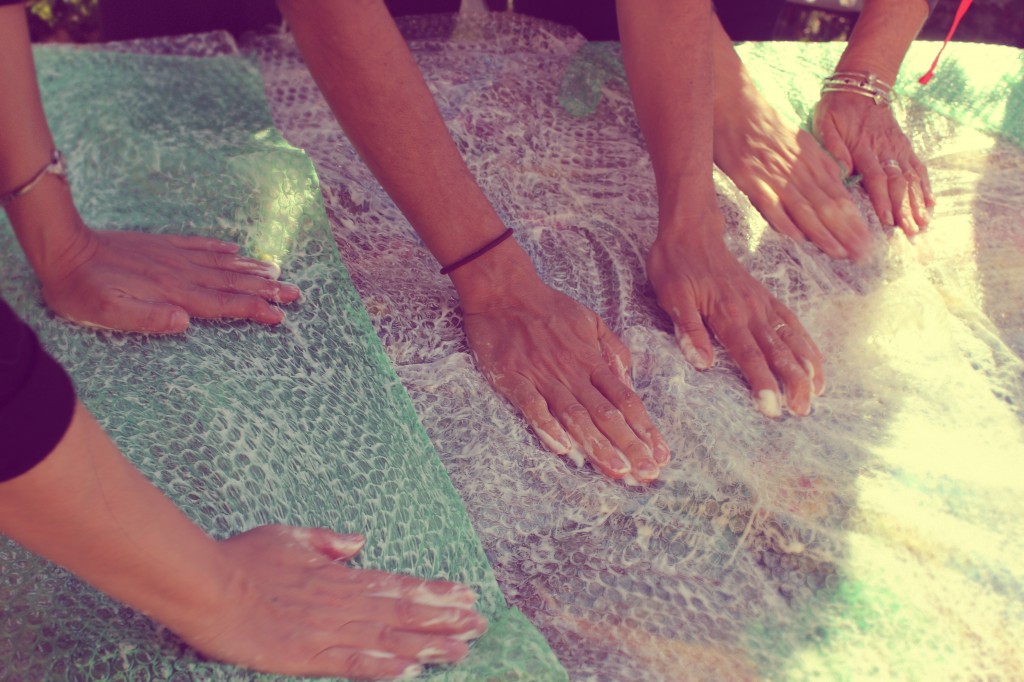
- Cover Hot and Soapy Blanket with Bubble Wrap and Rub to Felt It.
- Roll Up Playscape With A “Noodle”
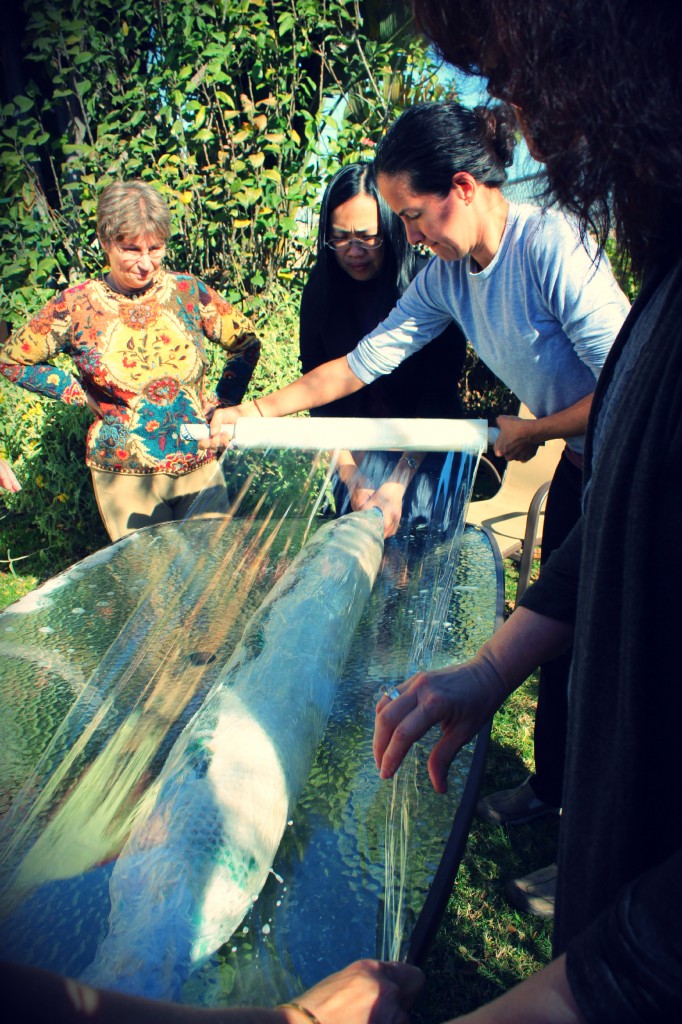
- Cover the Rolled Up Mat with Plastic Wrap
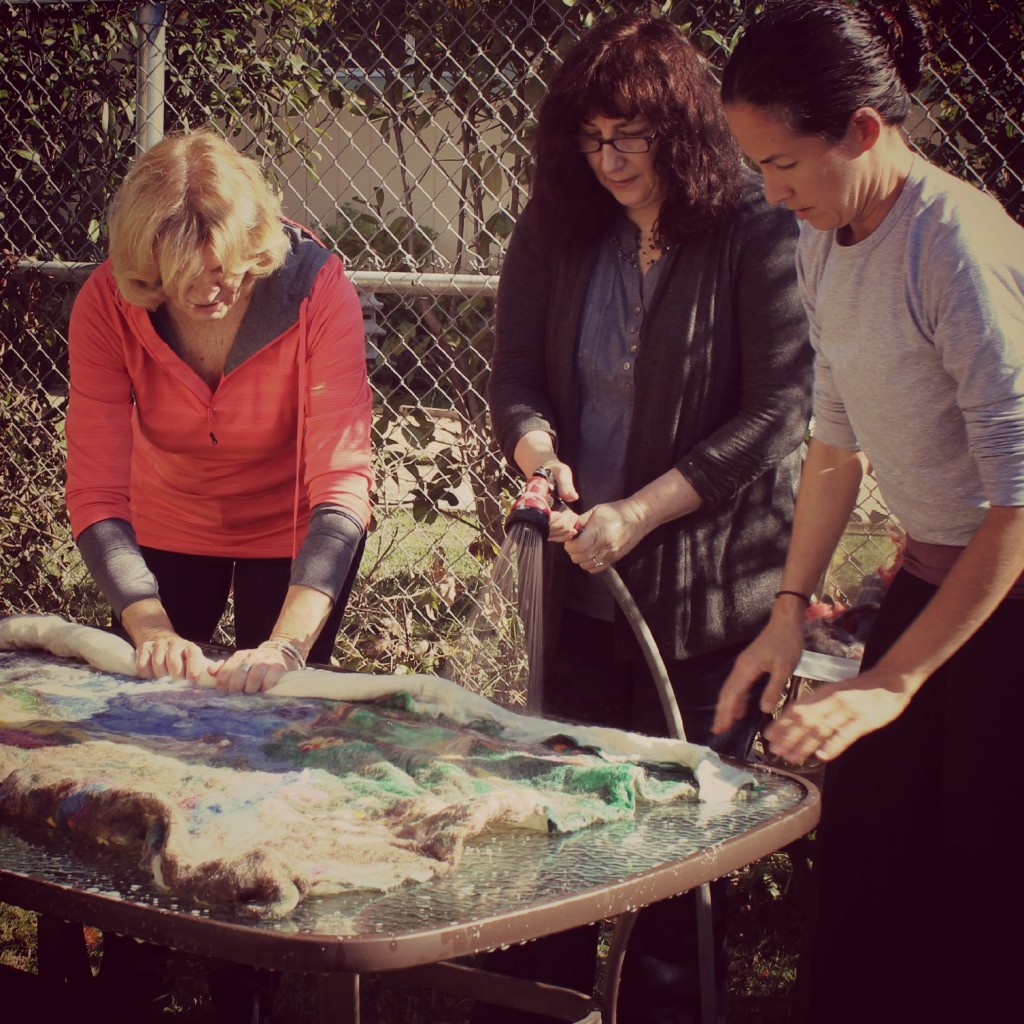
- Wash off the Soap with a Garden Hose!
- Cover the Rolled Up Mat with Plastic Wrap
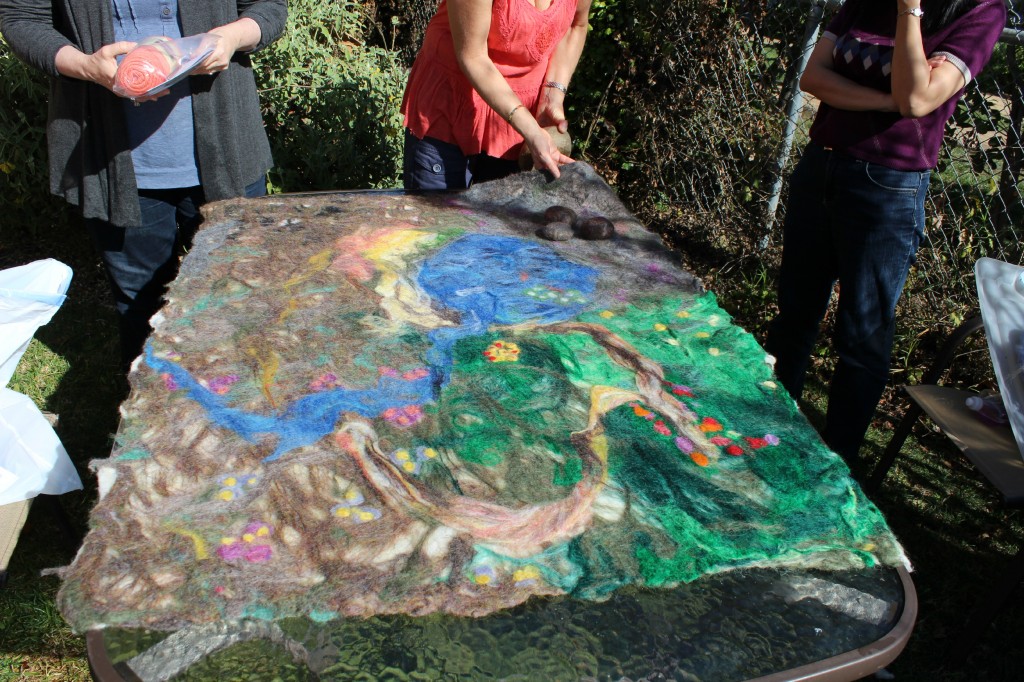
- Behold! Our wet-felted playscape blanket, after rinsing off the soap.
- Holes! We should have added more layers of Roving. We will have to needle-felt over that.
- Adding Wet-Felted Rocks (Made This Morning) to Our (Still Wet) Playscape.
- February 6, 2013. Jzin donated a wet-felted playscape for this project. “The Waterfall with a Secret”
- Making Wet Felted Pebbles/Rocks
- Ideas and Inspirations page (Trees, woodland creatures, cottages, fairy tale characters) for what to add to our Enchanted Woodland playscape next week.
Our Morning Together. January 30, 2013
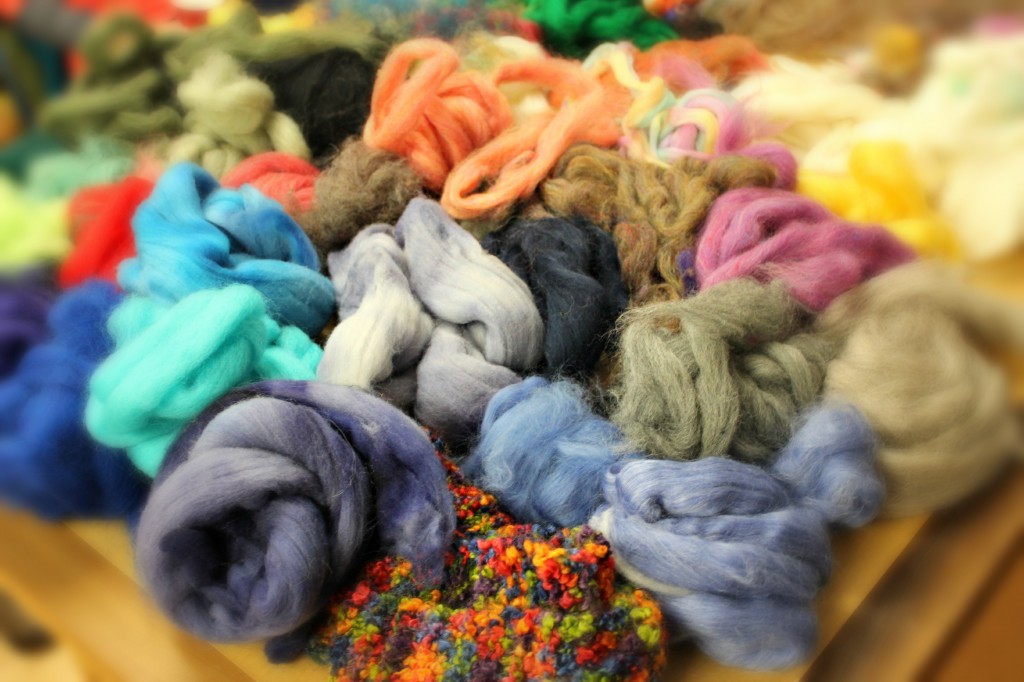
Yet another glorious morning of creating with friends. Thank you Christine for showing us how to wet felt. Thank you Rachel for the refreshments and getting supplies and tools ready. Thank you Julie for donating a whole bunch of beautiful colorful rovings for our crafting this morning!
Thank you Julie for donating gorgeous wool roving for our project!
I have been researching ideas for this project and I am very excited to learn wet felting this morning. – Jzin
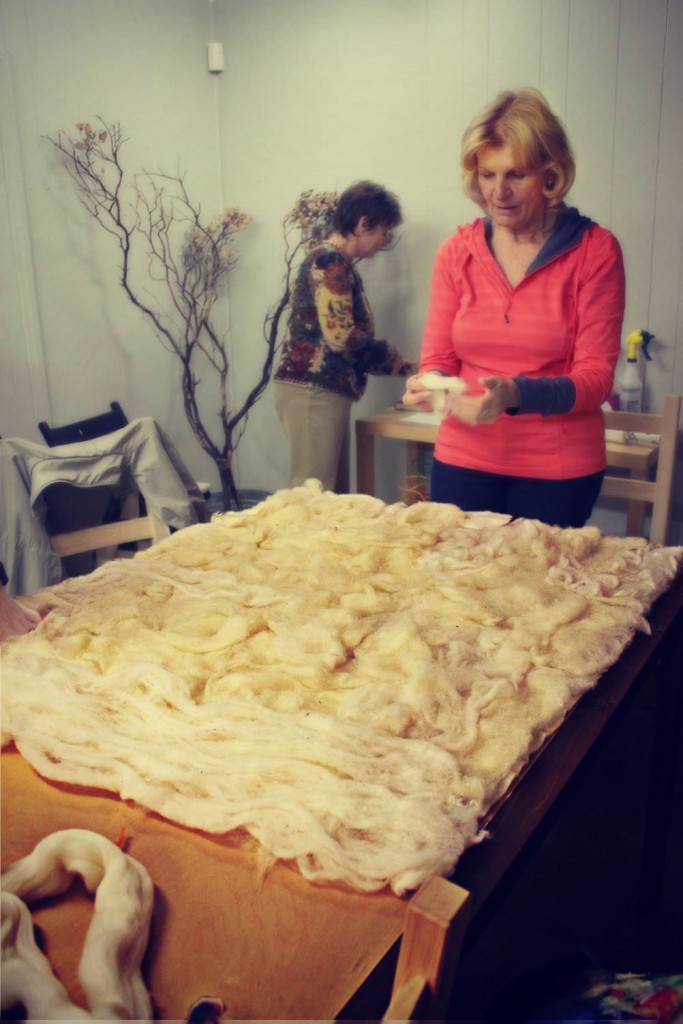
Adding Thickness to Our Base Piece by Applying Thin Layers of White Wool Batting.
Starting with a piece of about 40″x40″ size Pre-felted wool base, we added thin layers of white wool batting in layers of criss-crossing directions.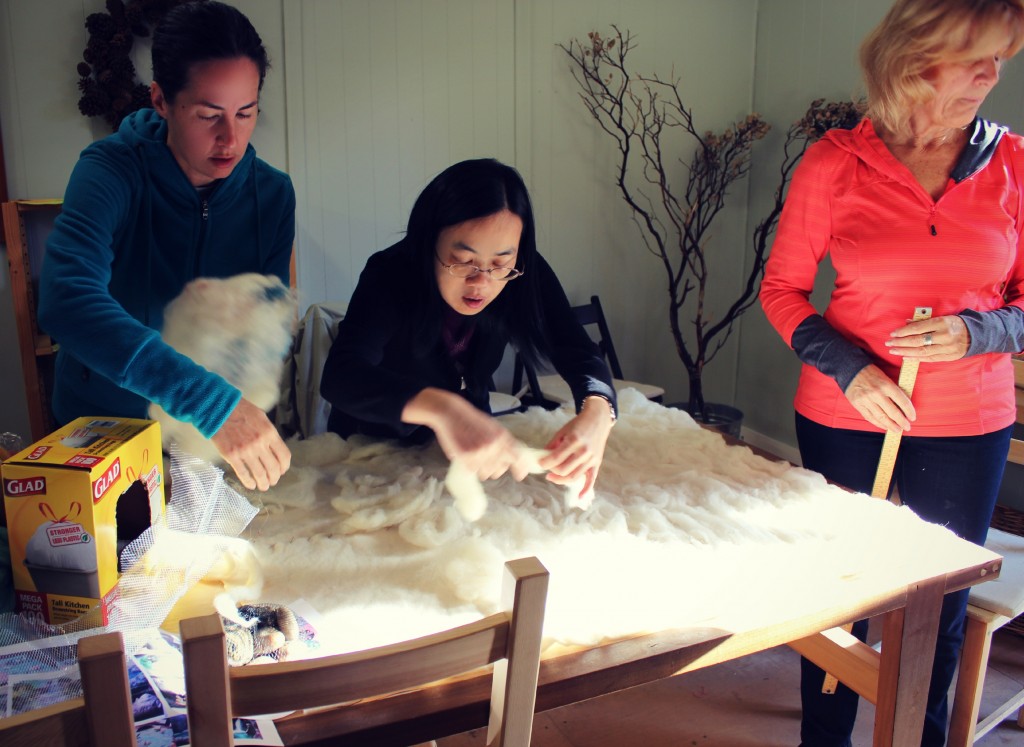
Nice thick layer of batting… Ah! My kids would love to jump in and take a nap on this creamy fluffy wool.
Click here to jump back to the menu on the top of the page. Whee!
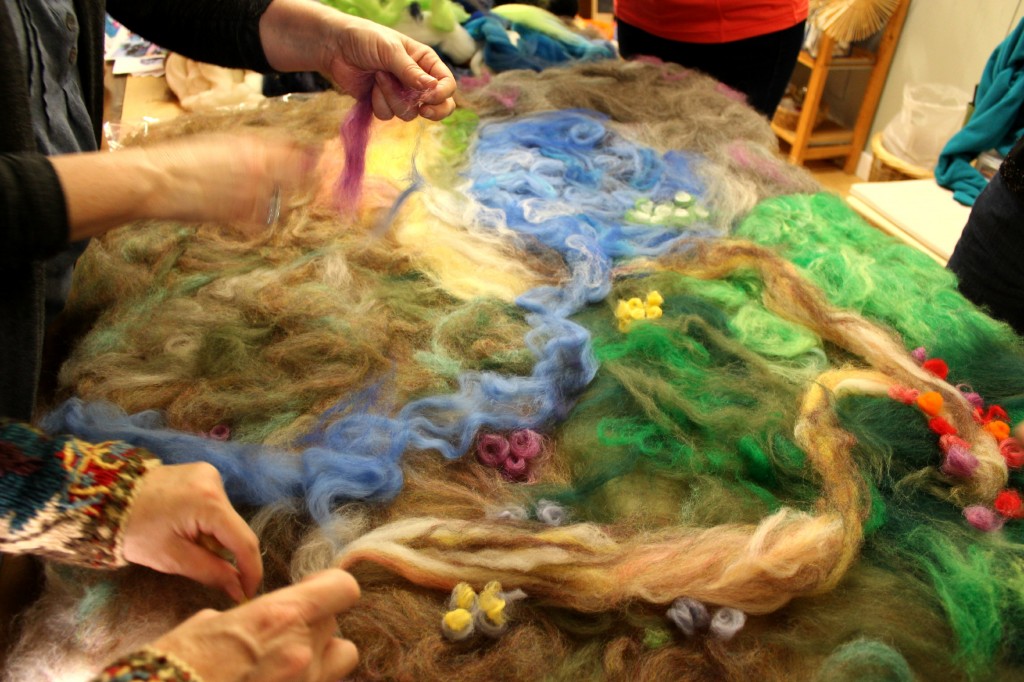
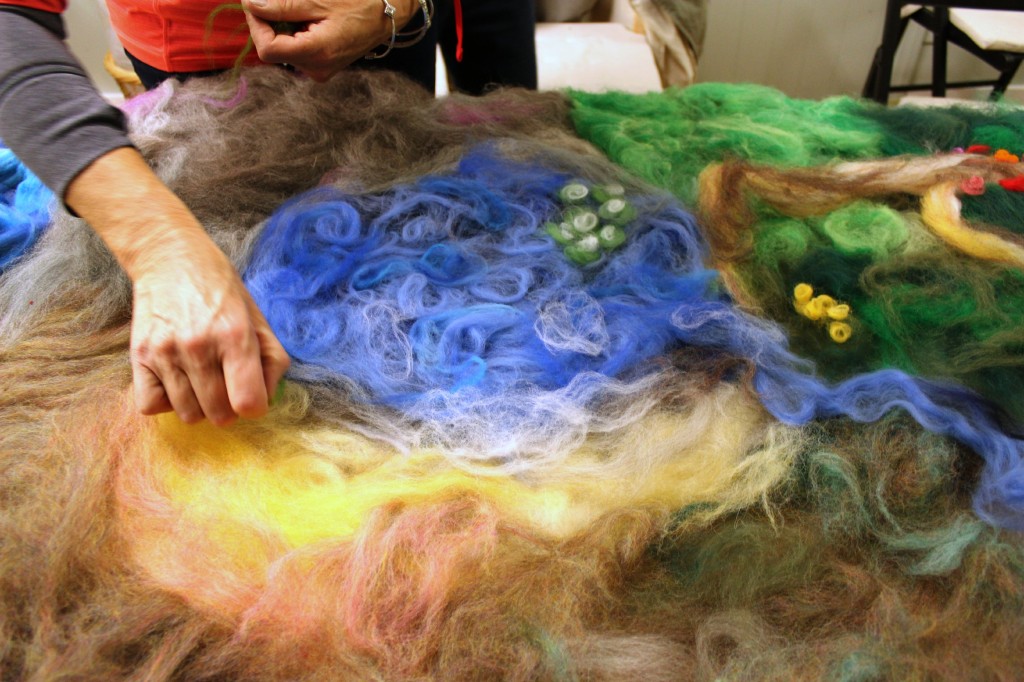
Designing Woodland Playscape by Laying Down Thin Layers of Colored Roving
Julie Added A Meandering Stream…
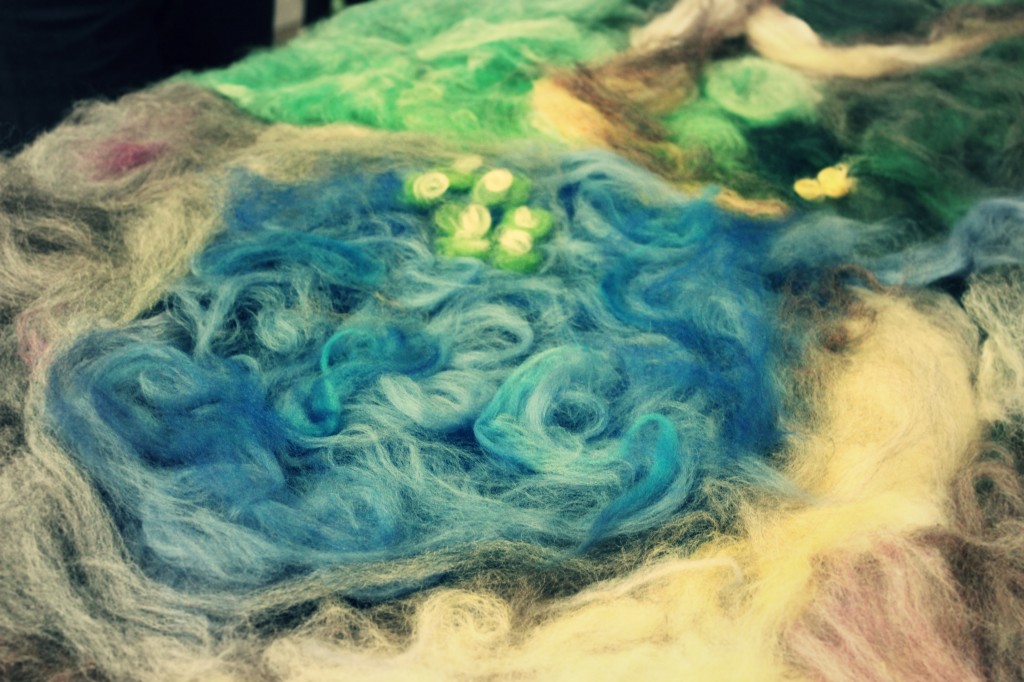
Adding Swirling Waters of the Lake…
Water Lilies Floating in the Lake…
Rachel adding Paths by the Meadow…
I tried my blending different colored rovings by hand for the path since the carder was occupied for mixing colors elsewhere.
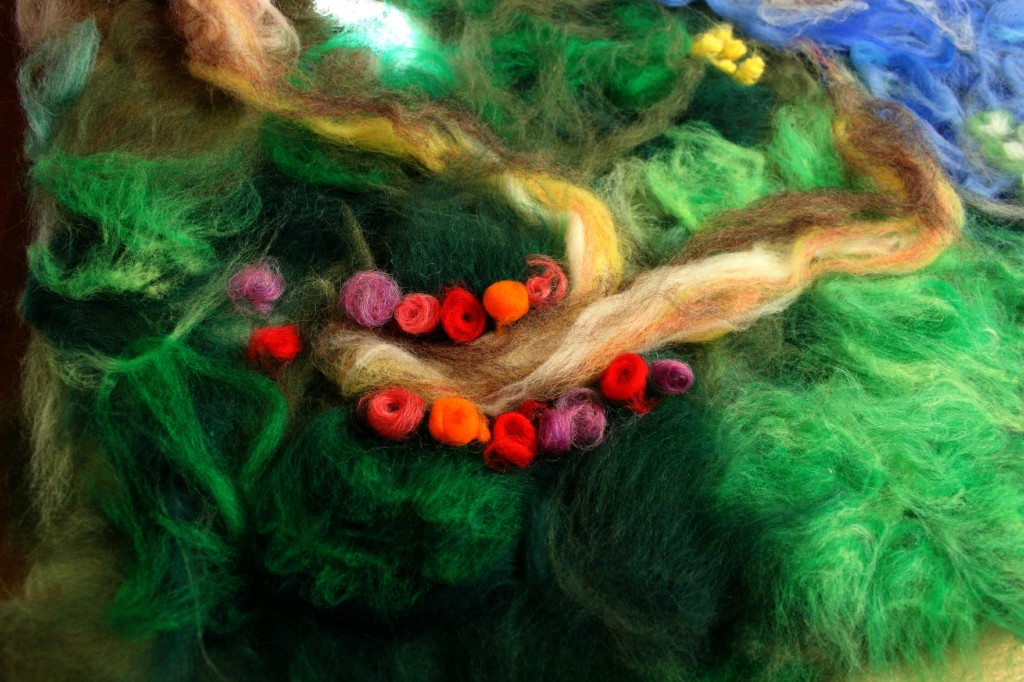
Gisela Added Delightful Spring Blossoms Along the Meadow Path
We created spaces for the woodland forest, mountainous region, meadow, lake and such.
Click here to jump back to the menu on the top of the page. Whee!
Pausing for Our Glamour Photo Shoot with Hot Water Squirt Bottles.
Happy Times with the Craft Group! Photo by Jzin (I was there, really!)
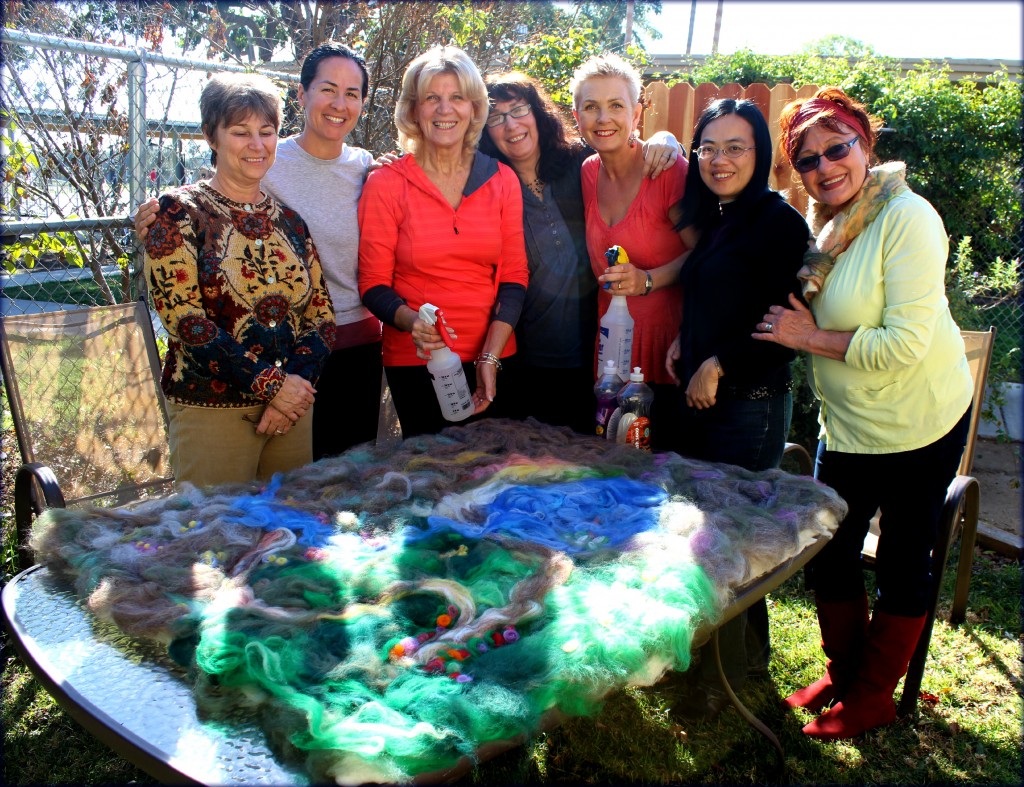
Getting ready to wet-felt that puppy with hot water and soap.
Thank you Rachel for preparing 2 bottles of dish washing detergent from Trader Joe’s and bottles of * HOT* water for the felting step.
Click here to jump back to the menu on the top of the page. Whee!
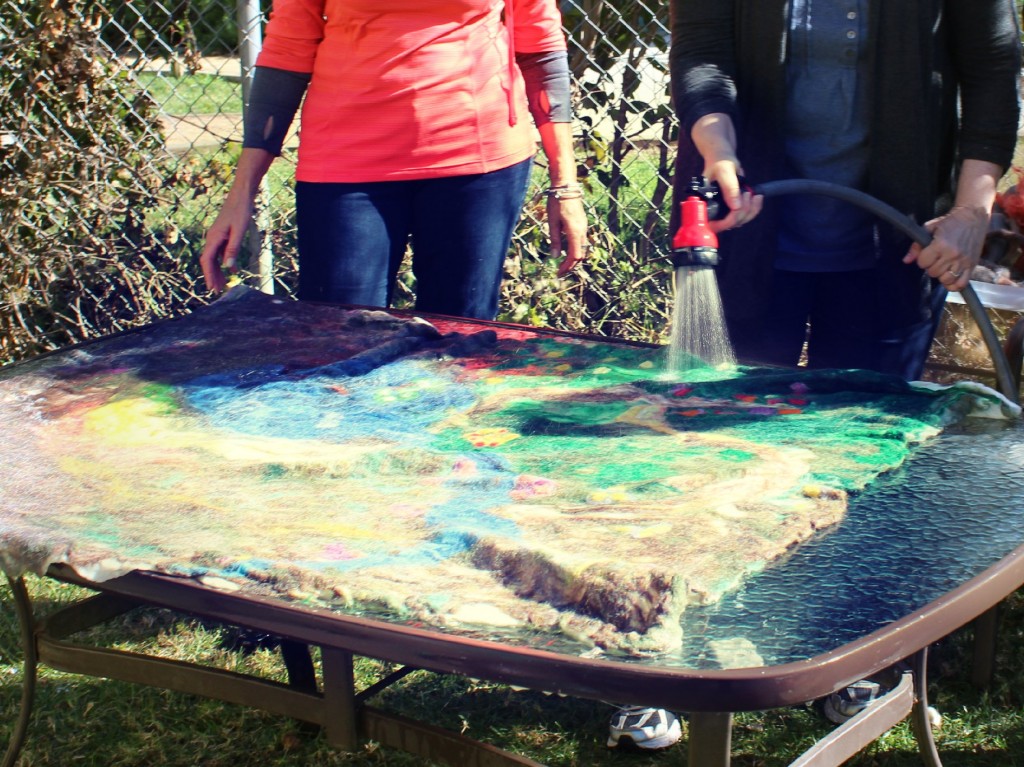
Felting the wool with HOT water and liquid soap…
Click here to jump back to the menu on the top of the page. Whee!
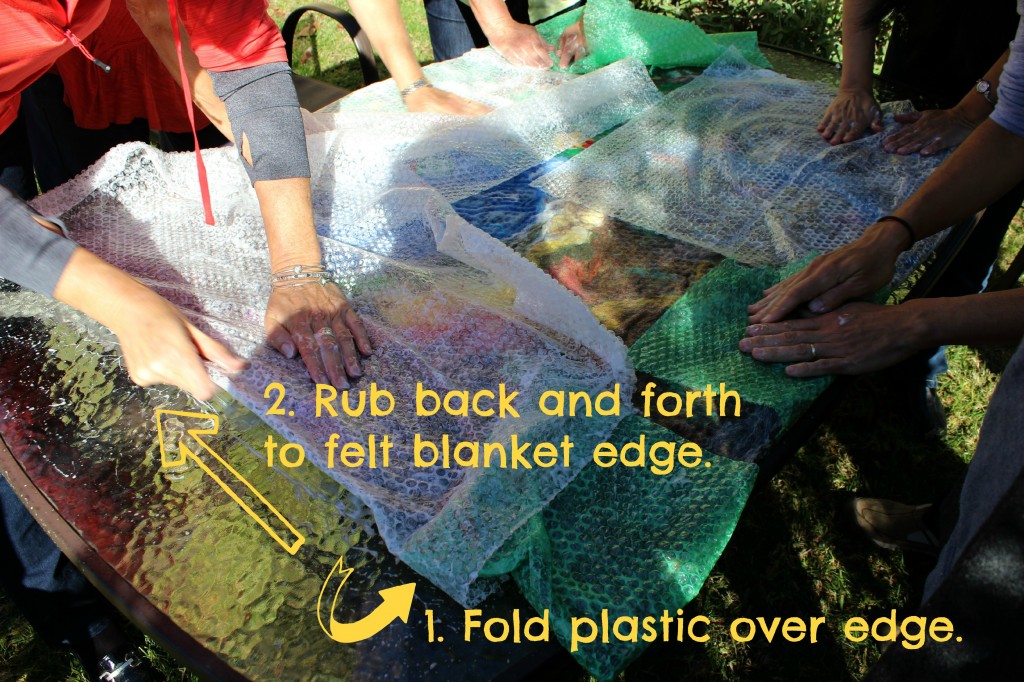
Cover the Hot and Soapy Blanket with Bubble Wrap and Rub to Felt It.
The blanket is now very hot and soapy. We covered it with bubble wrap and tap on it to felt the wool beneath. It feels good to do this work.
Fold Bubble Wrap Over The Edge and Rub. This makes a Smooth Edge.
Click here to jump back to the menu on the top of the page. Whee!
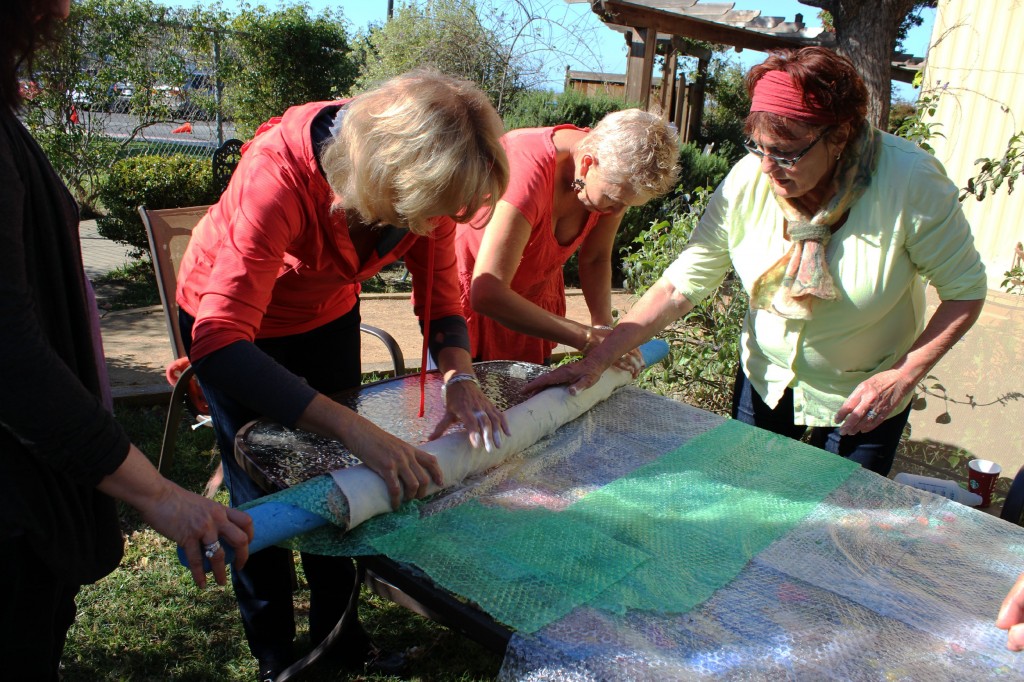
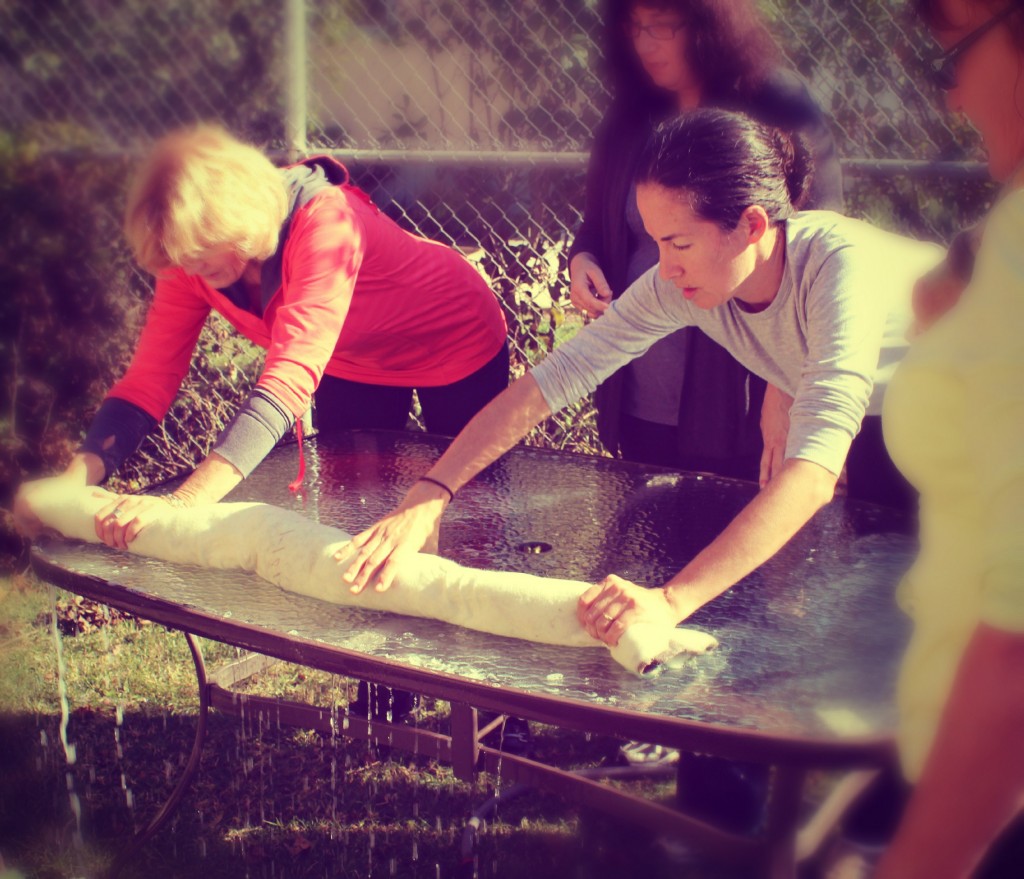
Roll Up Playscape With A “Noodle”.
Now we roll up our huge playscape blanket with a rod that is long enough for it. We use a child’s swimming pool toy, the “Noodle”.
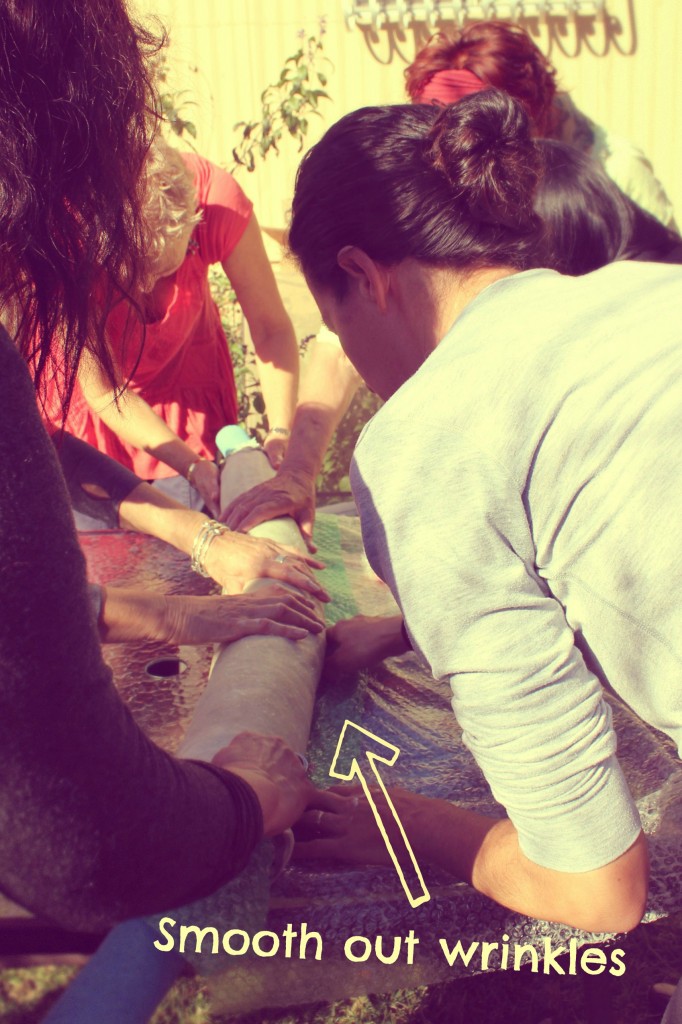
Be careful to smooth out the wrinkles, as you roll up the blanket.
Click here to jump back to the menu on the top of the page. Whee!
Cover the Rolled Up Mat with Plastic Wrap
Saran wrap up that playscape blanket!
Click here to jump back to the menu on the top of the page. Whee!
Sing a Snappy Ditty While Rolling the Blanket Back and Forth
Rebecca shared songs for felting and rolling…
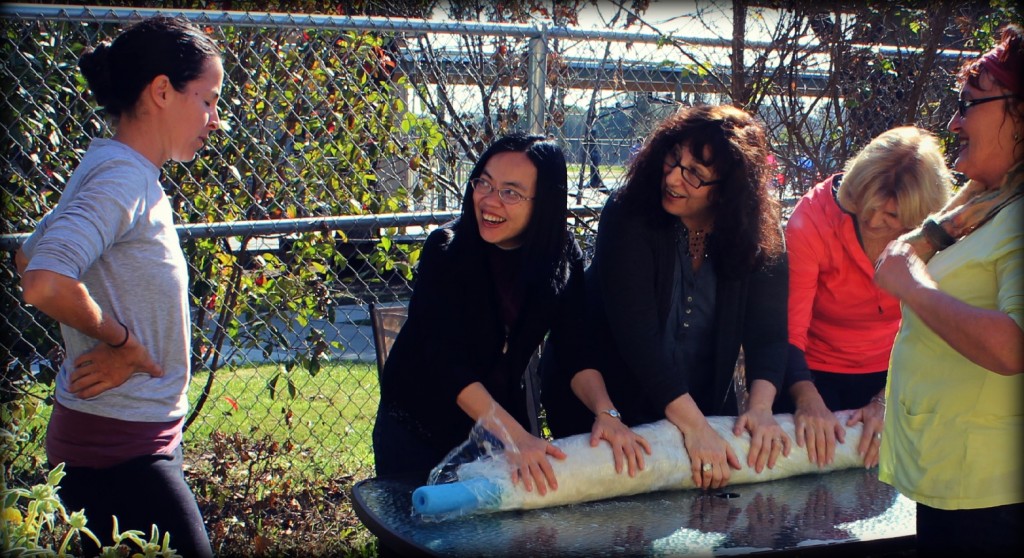
Removed Bubble Wrap. It’s Felted!
Click here to jump back to the menu on the top of the page. Whee!
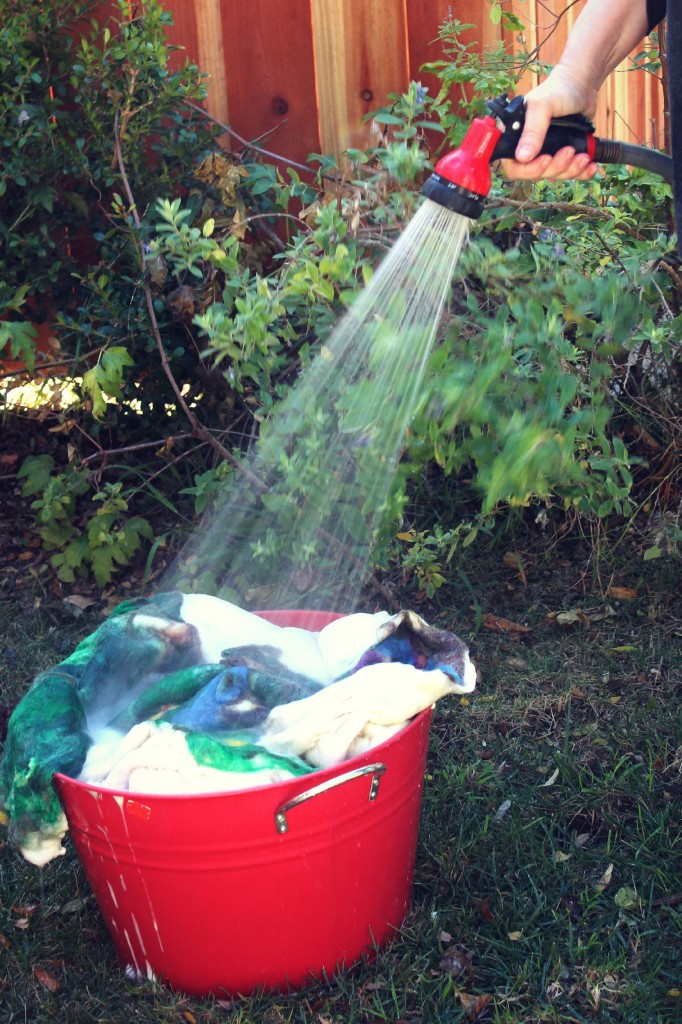
Wash off the Soap with a Garden Hose!
Rinse off the soap from the blanket with cold water from the garden hose.
Squeeeze Out The Water
Rinsing soap off our wet felting playscape blanket…
Click here to jump back to the menu on the top of the page. Whee!
Behold! Our Wet-Felted Playscape blanket, After The Soap is Rinsed Off.
Click here to jump back to the menu on the top of the page. Whee!
Flattened “Blanket”. We Will Embellish And Add More To It Next Week.
She’s a beauty! Our wet-felting craft group work thus so far this week. We shall continue next Wednesday.
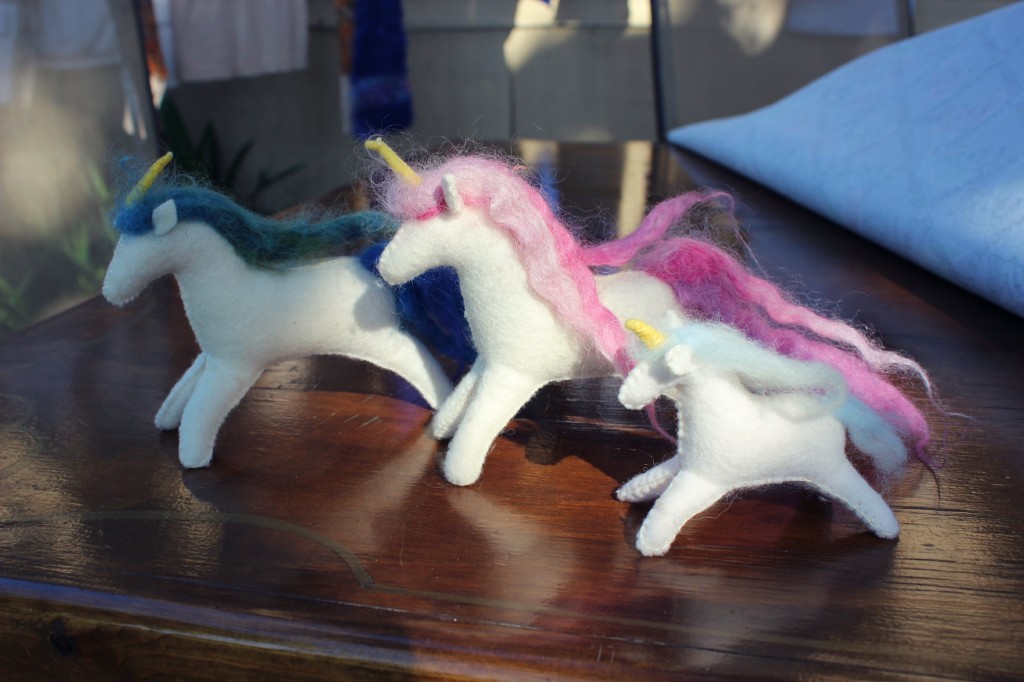
Renuka will be Making Unicorn Mommy and Baby for Our Enchanted Woodland Playscape…
Here are examples of what she handmade for her children. She is making new ones this week to donate to our school auction. Thanks Renuka!
January 30, 2013. Wednesday. Inspired by Renuka’s unicorns, I made 2 miniature dolls to go with the unicorns that evening: The Prince and Princess, both will be able to straddle and ride the unicorns.
Measuring Real Estate Dimensions for Building a Waterfall Cave to Add to Our Awesome Playscape …
Waterfront property, suitable to add a great waterfall here…
February 7, 2013. Thursday. Click on image below to see the “The Waterfall with A Secret'” I secretly wet-felted at home to donate to this project.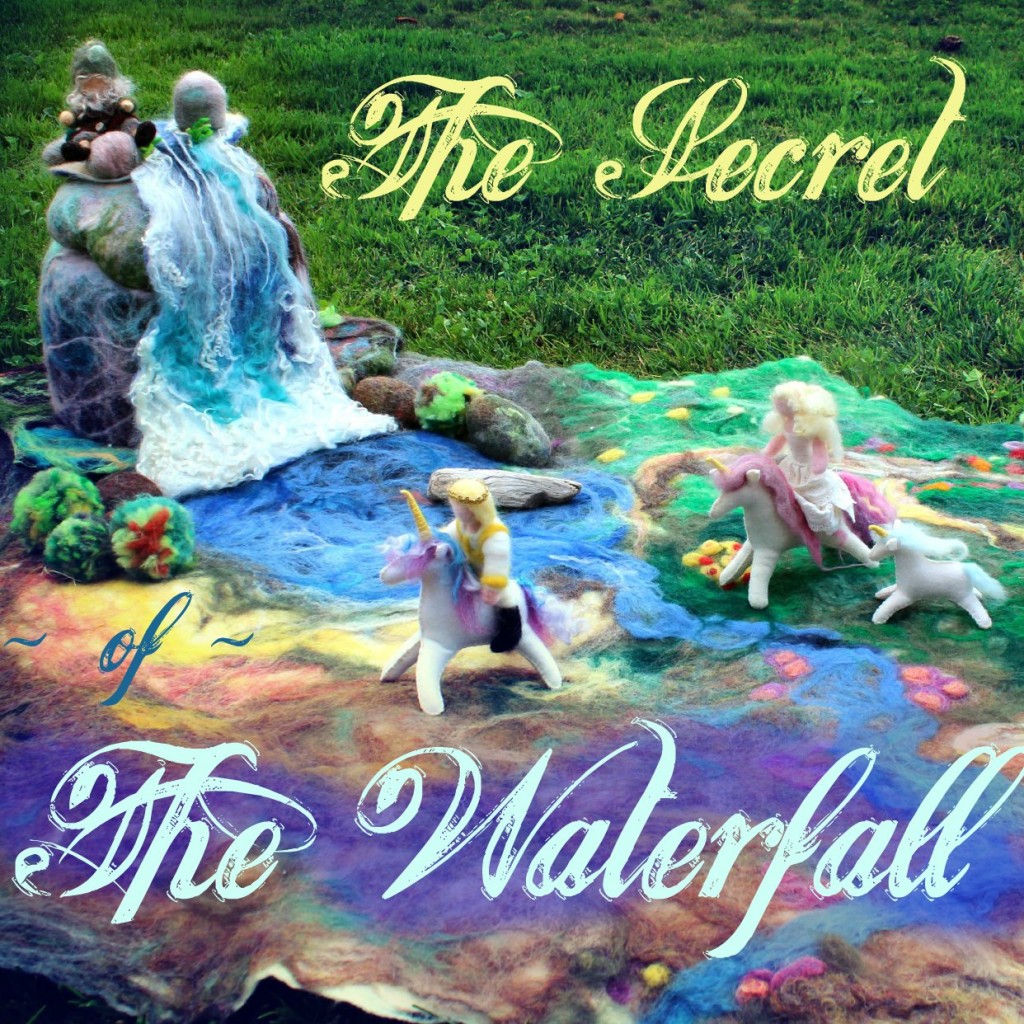
Click here to jump back to the menu on the top of the page. Whee!
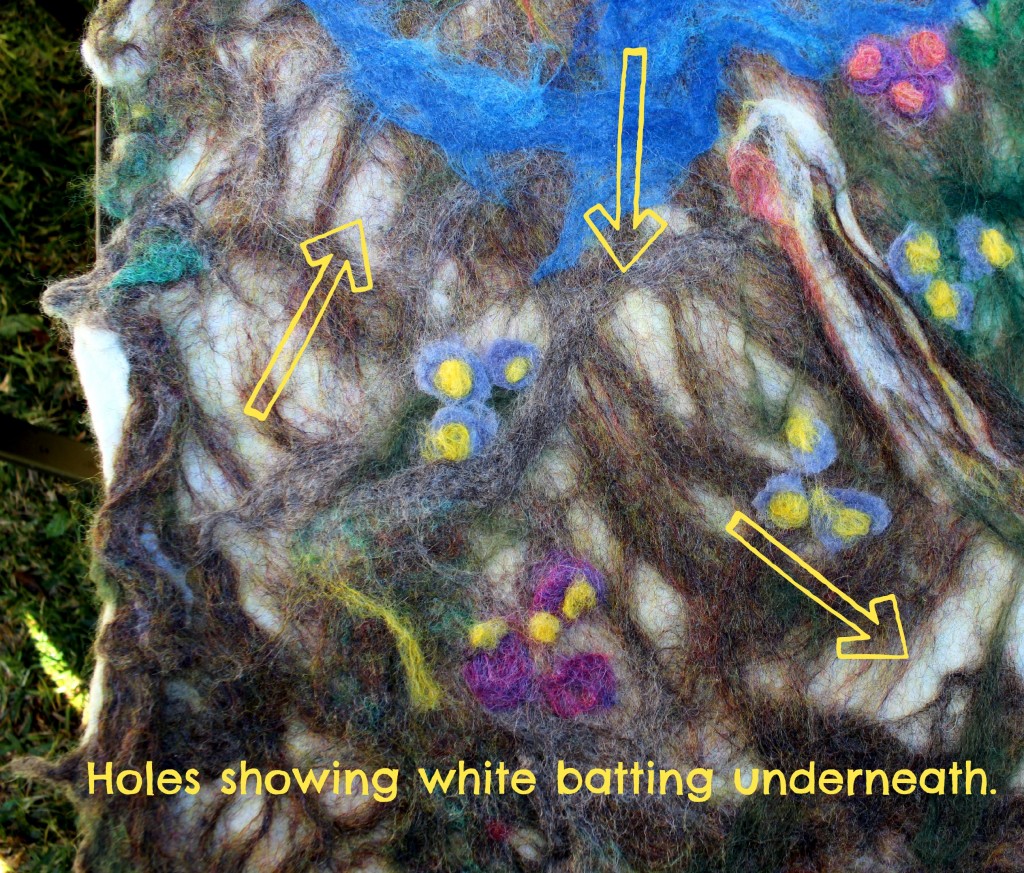
Holes! We should have added more layers of Roving. We will have to needle-felt over that.
Holes! Holes with white batting showing through the colored roving. We should have added adequate layers of roving to those areas. Lesson learned today.
We will add more colorful roving and needle-felt over those white holes next week.
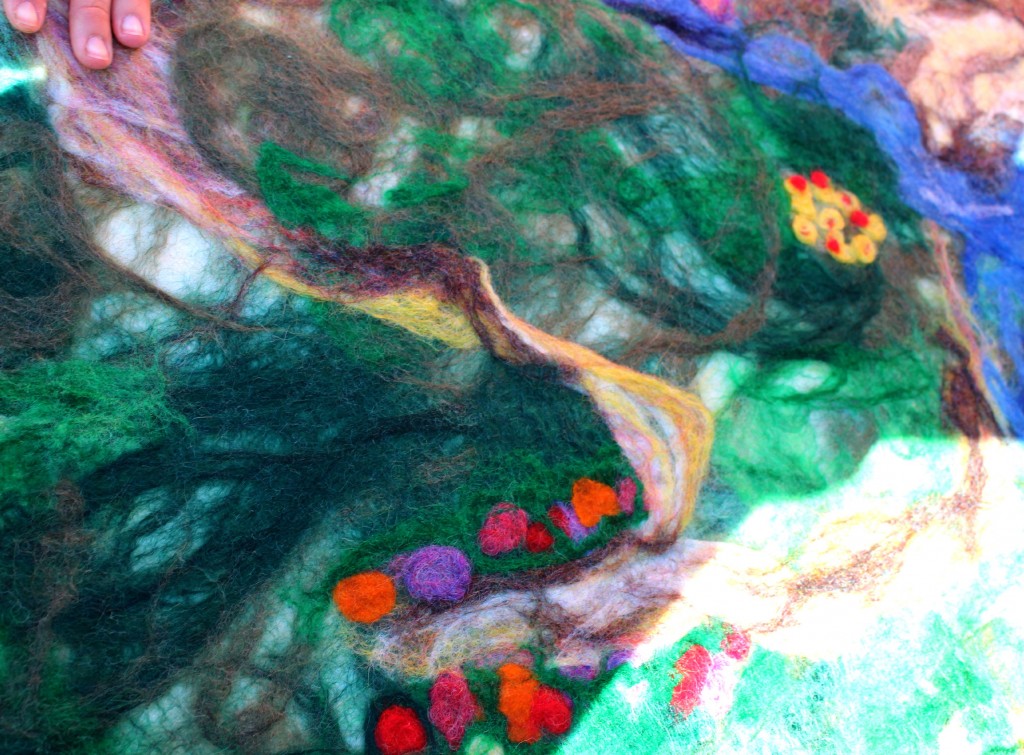
By the meadow. The lovely spring blossoms were flattened from the wet-felting process. We will needle-felt some dimensions to them next week.
compared the above newly wet-felted blanket to the below before wet-felted…
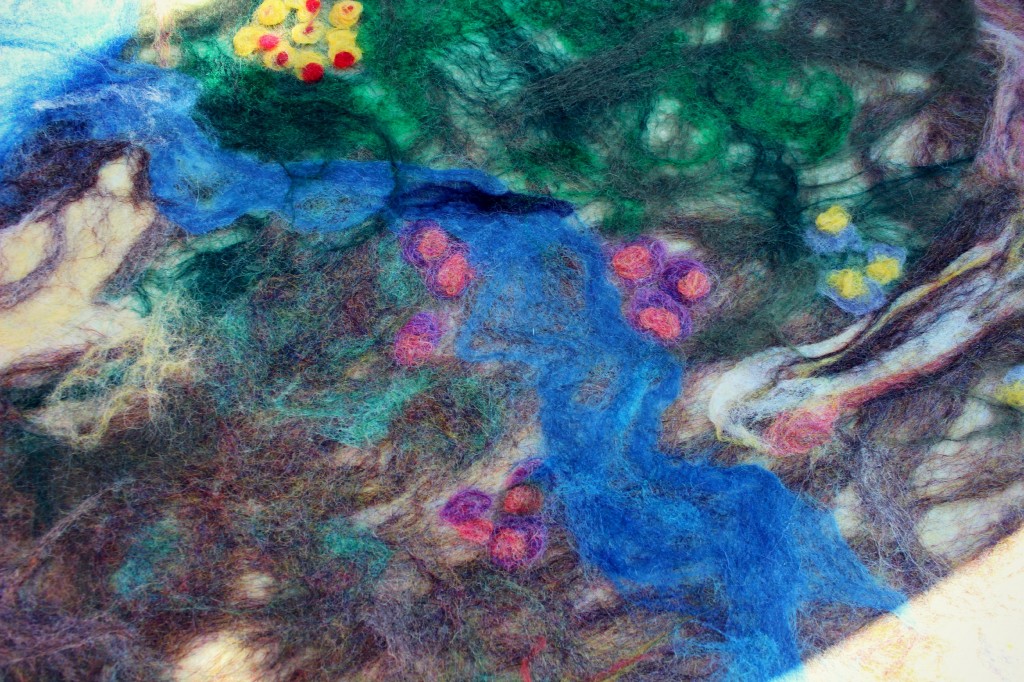
Meandering stream adorned by spring flowers. This area could use more layers of roving so that the white base does not show through.
Compared to the fullness of the dry roving before wet-felting…
Fortunately we added extra layers of roving to our region intended for rocky mountains /waterfall. No holes when adequate layers of roving are added. See below.
Click here to jump back to the menu on the top of the page. Whee!
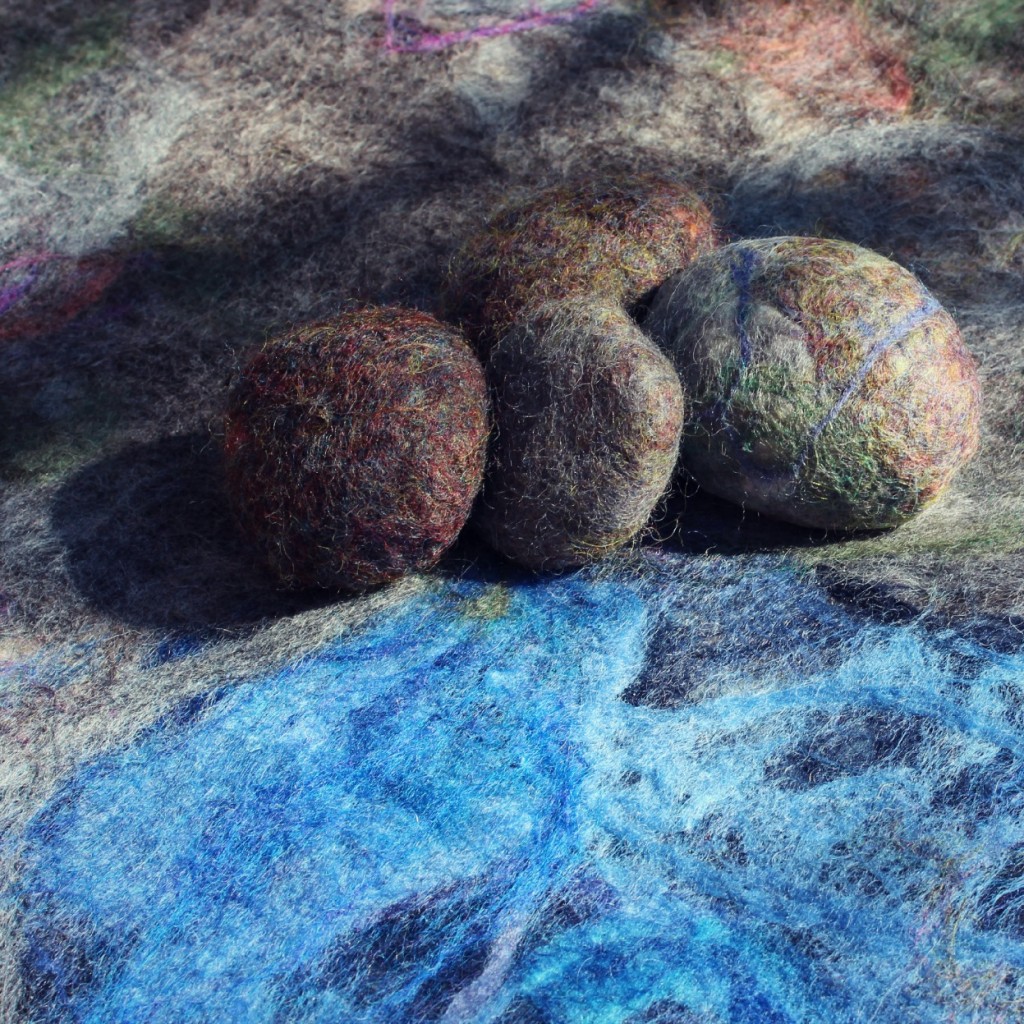
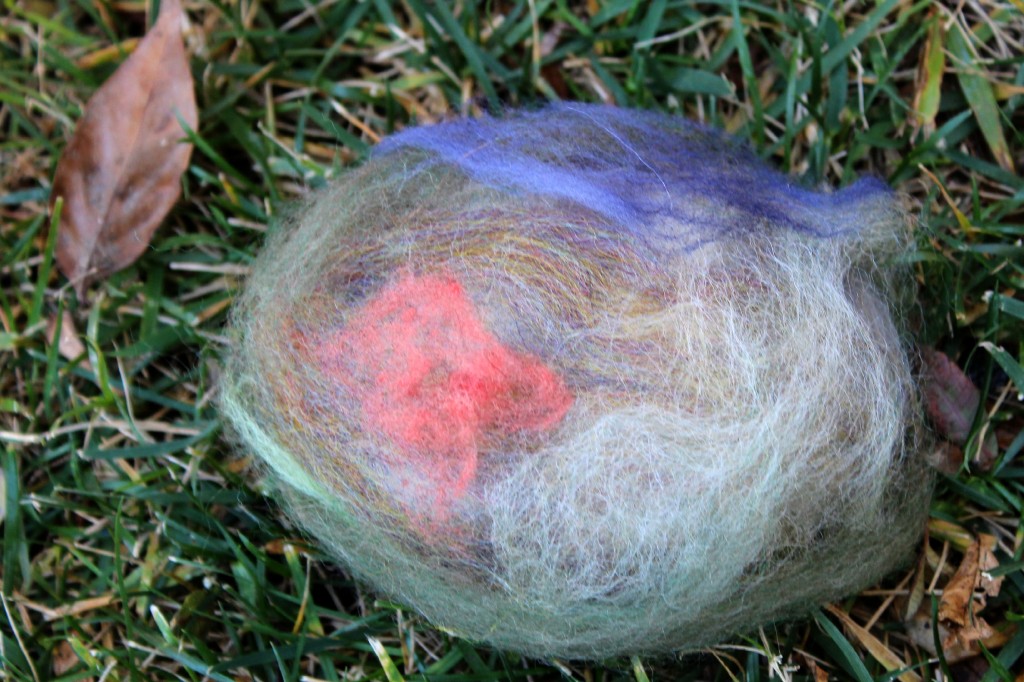
Making Wet-Felted Pebbles/Rocks.
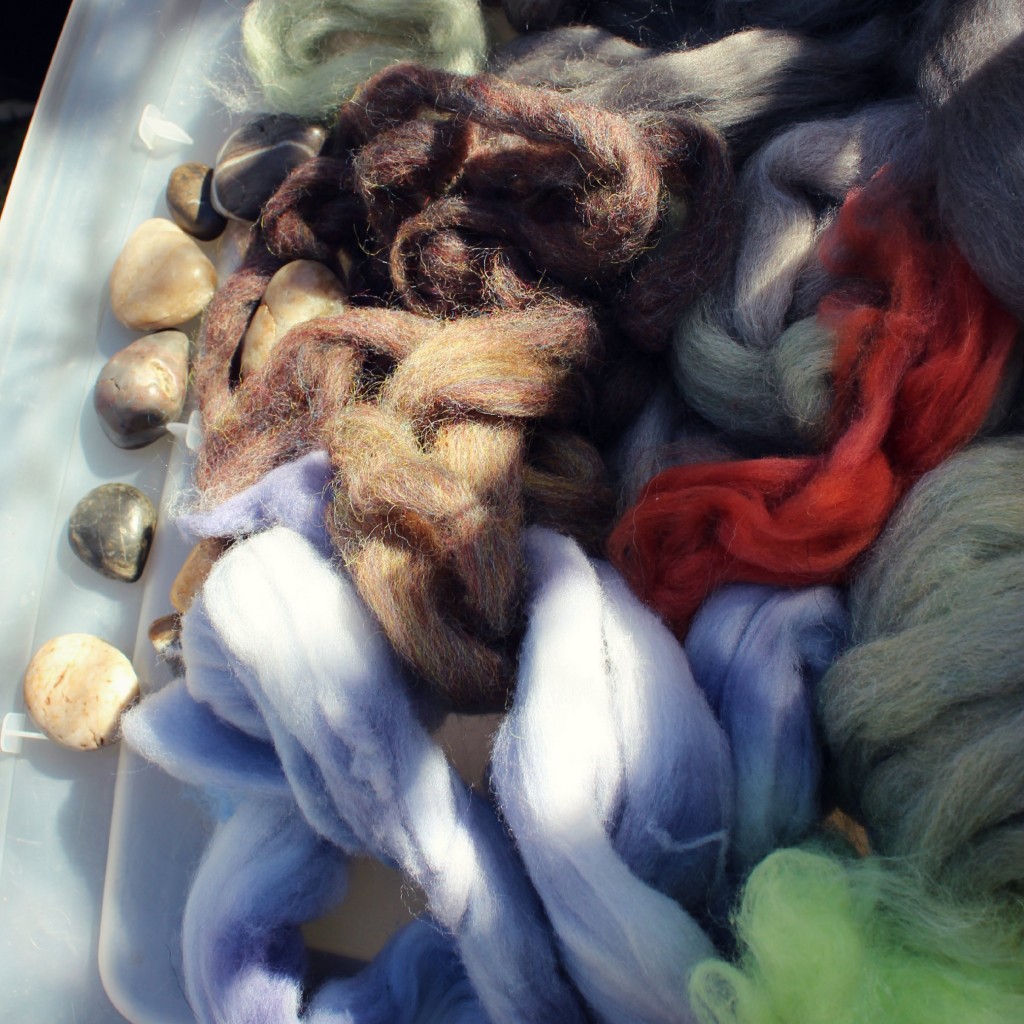
- Supplies: Hot water, liquid dishwashing detergent, colorful “rock” colored roving and a pack of large pebbles.
- Real pebbles lend weight to the “rocks” of our landscape. If you want lighter rocks/pebbles, you can wrap colorful roving around foam or wool batting.
1. Wrap a thick layer of white roving around your pebble.
2. Add thin layers of colored roving in different directions onto your pebble.
- It is good to have all your layers down before you touch the pebble with a wet hand. Roving will stick to your hands as you go back to the supplies stack to get more dry roving.
First colored layer added. Thin layers in opposite directions will be added next…
3. When all your colored roving layers are all added, squirt some liquid soap onto your dry “pebble”.
4. Wet your “pebble” using hot water.
5. Very gently “caress” your wet soapy pebble all over without pressure at first.
6. As your colorful roving have somewhat felted and will not be rearranged by pressure, you can very gradually increase pressure.
7. Wash out the soap with cold running water.
8. You may rub your pebble with increase pressure when your pebble has felted some more.
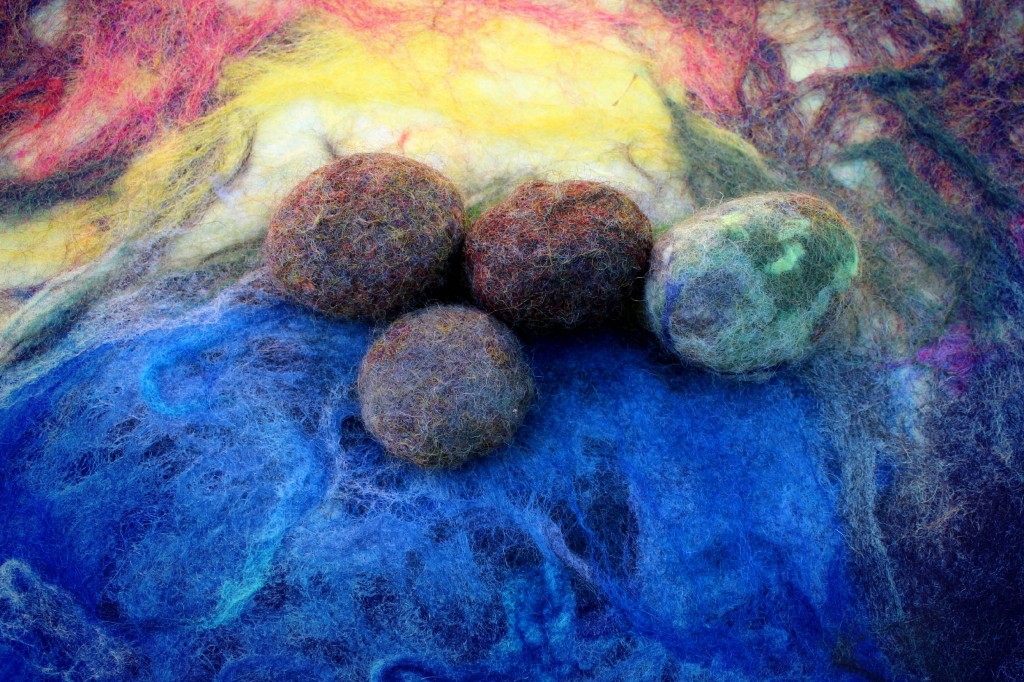
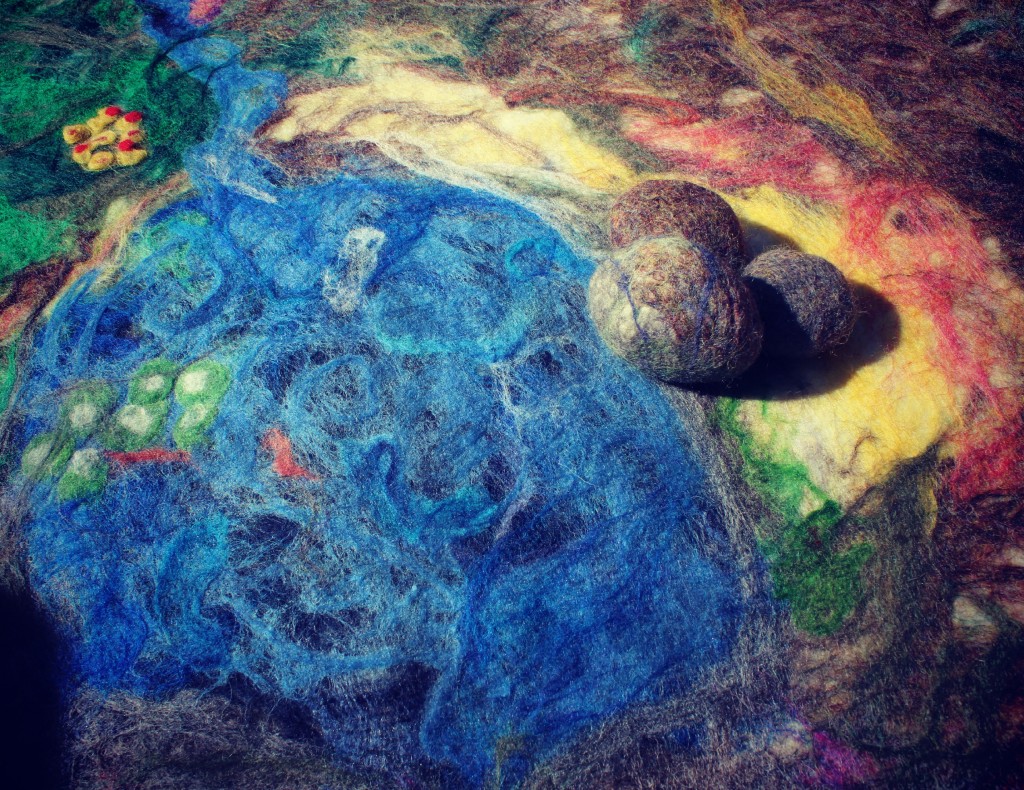
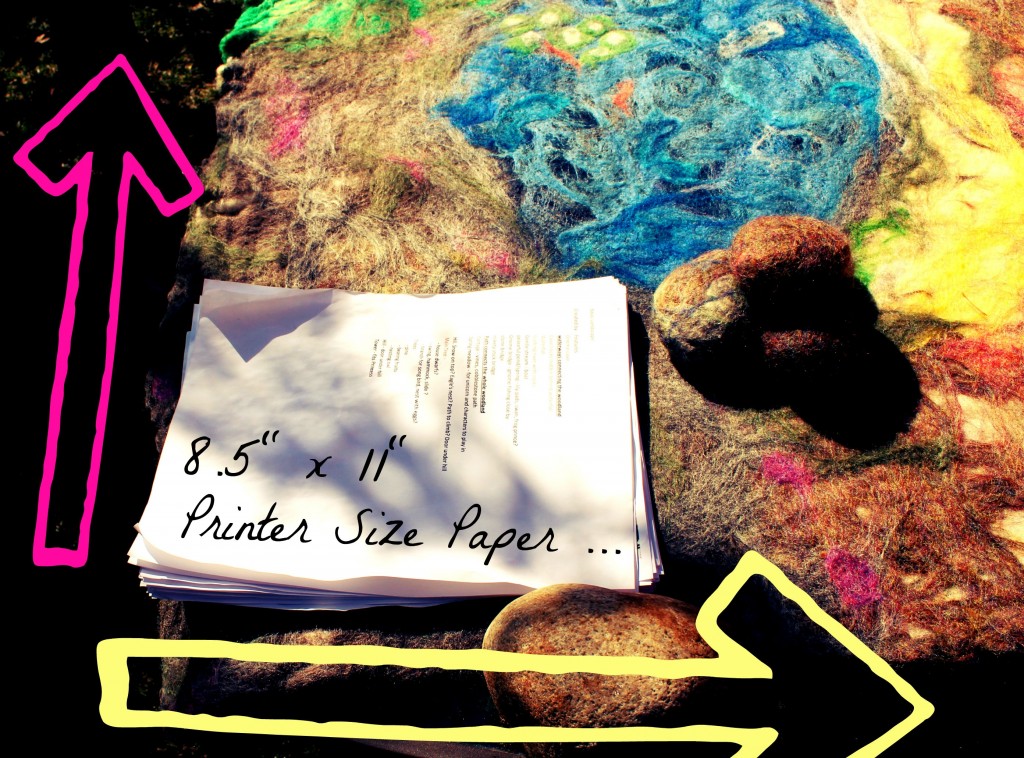
Rocks (wet-felted pebbles made this morning) sitting beside wet-felted pond with lily pad and red fishes.
February 7, 2013. Click here to view “The Waterfall with a Secret”, a wet-felted playscape handmade and donated by Jzin / CastleofCostaMesa.Com for this project.
Click here to jump back to the menu on the top of the page. Whee!
Books on Wet Felting
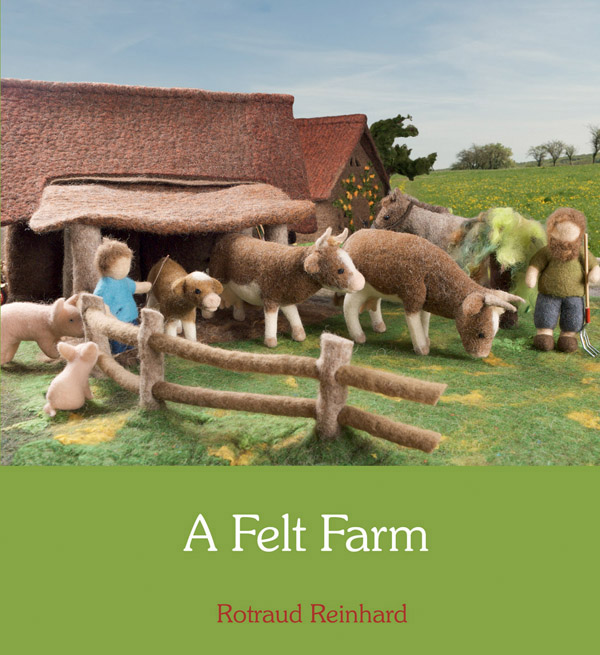
A Felt Farm by Rotraud Reinhard.
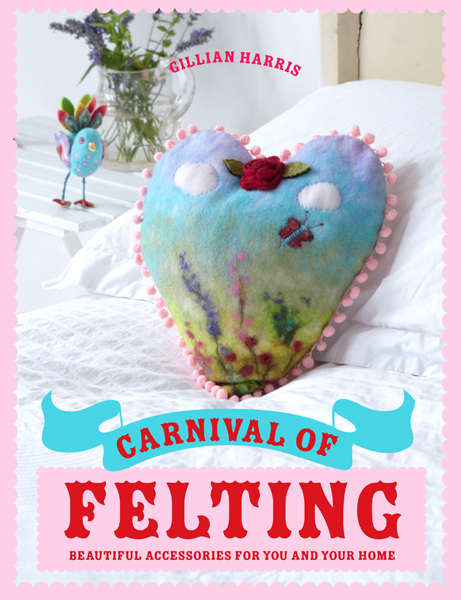
Carnival of Felting by Gillian Harris
Amazon.com. Check out Gillian’s website: http://www.gilliangladrag.co.uk/
Creating Felt Artwork (Instant download) E-Book by “Handmade by Rosiepink” 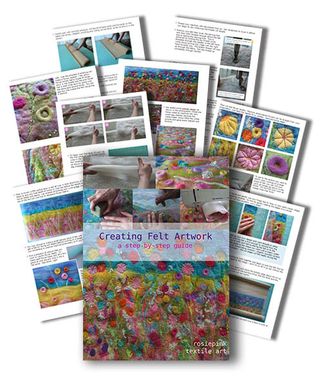
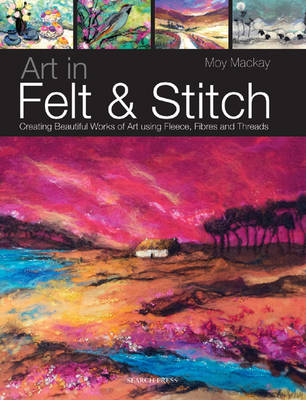 Too-dle-loo! See you next Wednesday morning! Thanks! -Jzin
Click here to jump back to the menu on the top of the page. Whee!
Check out my handmade Fairy Tale Dolls: Dolls and Tales page.
My handmade dolls for Waldorf Seasons Nature Table
Waldorf School of Orange County Spring 2013 Bliss Fundraiser
Craft donations are being accepted in the front office. Fill in Auction Donation form (Click here to download) if you have craft (or other) items to donate to our Waldorf School Spring 2013 Gala Auction.
Here are some auction items to get your bidding mojo running! Waldorf School of Orange County Bidpal site is still currently in the process of being updated, please check back periodically.
Waldorf School Auction items on Bidpal. Check back frequently. Items are currently being loaded onto the website daily. Share the magic fairy tree house on Facebook.
Jzin’s needle-felted miniature Snow White, Rose Red and Dwarf set is available for bidding on Our Waldorf School’s Gala and Auction bidding site.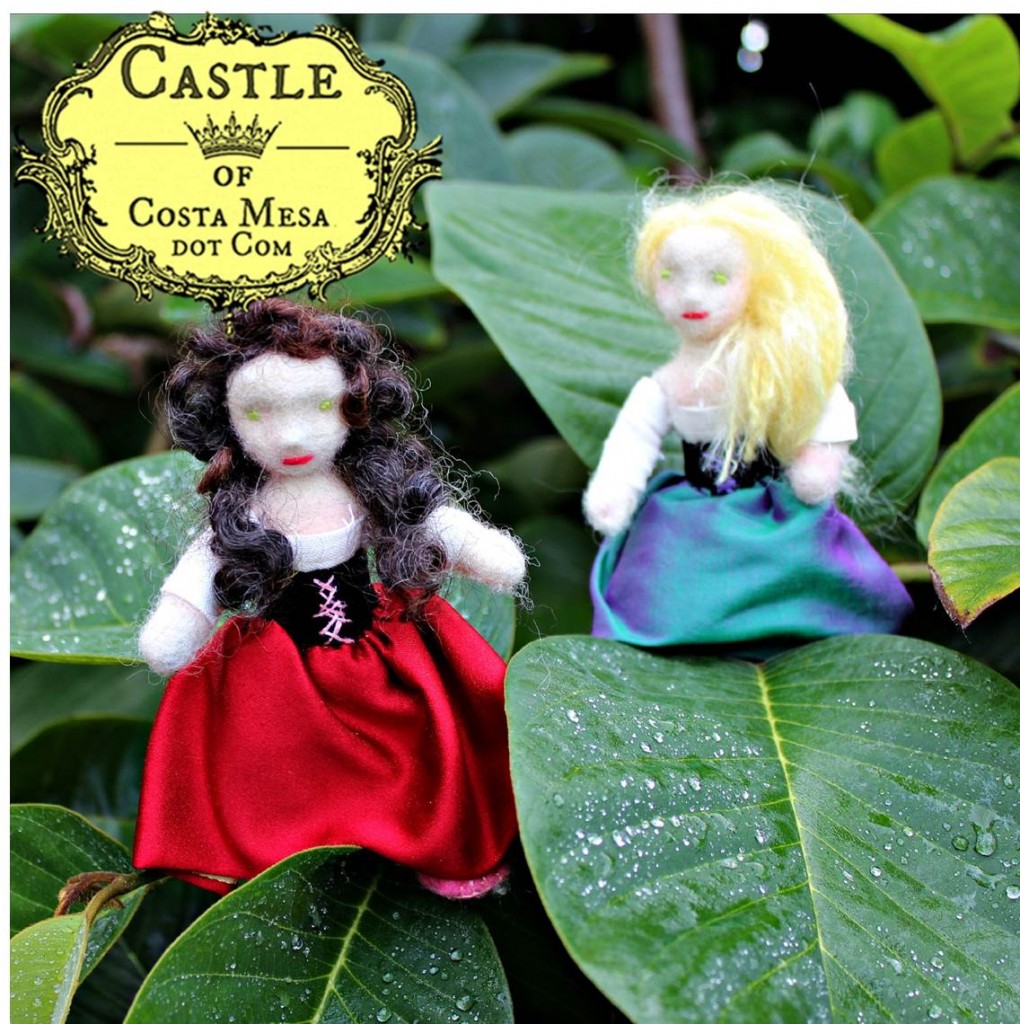
Bid on Snow White, Rose Red and Dwarf miniature handmade dolls set onWaldorf School Bidpal site.
Here’s a partial list of Waldorf School of Orange County auction items (mainly crafts are listed here) on Pinterest…(check back periodically for updates)…
Support Our Local Waldorf Community/ Place a Free Ad
If you are interested in placing an ad on “Support Our Southern California Waldorf Community” (free if you are a member of this community) please e-mail me a good picture and a link.
Meanwhile, please support our local peeps! Thanks! – Jzin
Click here to jump back to the menu on the top of the page. Whee!
Please “Like” Castle of Costa Mesa on Facebook
Please “Like” us on Facebook (top left sidebar of this page). You will be connected to what we do here, plus you will be notified on our up coming handmade giveaways. Thank you! – Jzin





martibrowne1
What amazing fiber artists you all are! Your work is absolutely beautiful! I love your Playscape! Marti 🙂
liliana
absolutely beautiful! how long did you gals rub the bubble wrap for and how long did you roll it for once you saran wrapped it? Next time how may layers of white roving would you use since you got some small holes at the end? thanks for the tutorial!
jzinius
Dear Liliana,
I think we rubbed the bubble wrap for 20 minutes (I vaguely remember since we are chatting and laughing so much) and rolled it for about the same amount of time.
In your case, you can always tell when to stop rubbing or rolling when you do the “Pinch Test”. you gently pinch and pull up the wool on your playscape. If the fibers lifts out and separate off your playscape, you have to felt your playscape more. If you pinch it and the wool fibers are still stuck to the playscape, then you are done, the fibers are felted together.
Alternately, if you are doing a smaller playscape, you can roll it up carefully with large piece of synthetic fiber e.g. polyester blend or nylon (edges of playscape not touching, or will felt and stuck together) and put that into your washing machine to felt. Here’s a smaller playscape I did this way with my children: https://castleofcostamesa.com/dolls/making-anickas-first-felted-playscape
Re: “Holes in the playscape”
The “holes” I referred to was not actual holes in the mat, but refer to the areas on the colorful playscape where the white batting were showing through. To answer that question, we used enough layers of white batting.
What we should have done is to put 3 or so layers of colorful roving on top of our white batting, so the “grass” shows green and not with white “holes”/patches in it. I realized, if you use batting (such as colorful PeaceFleece.com wool batting), it covers better, if you use wool top (finer, more delicate) it covers less well and leaving white batting below showing, unless you use many layers of your wool top.
Have fun making your playscape. Please share a picture of it on facebook with us!
https://www.facebook.com/CastleofCostaMesa
love
Jzin