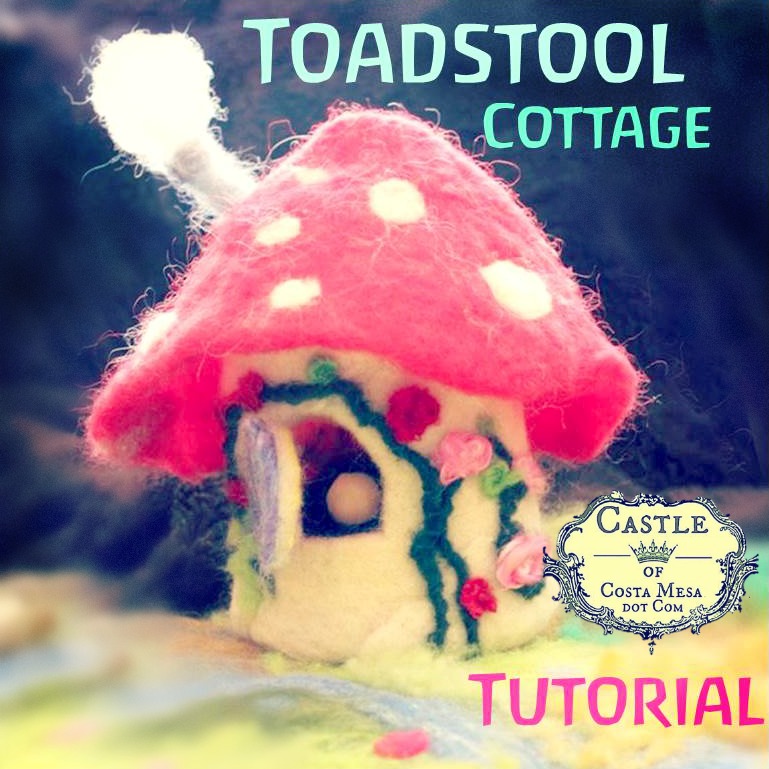
2013. Over spring break, I taught my 8 year old daughter to make her first felted toadstool cottage. It was an enjoyable bonding experience with my child.
This is the Speed and Ease Version
There are many ways to make a toadstool cottage. There are more sensory methods (not listed here) that a young child would enjoy. However, this tutorial is the “mommy with 3 children, some children needing homemade specialized diets, so mommy has limited time to craft” version of toadstool cottage, created for the sake of speed and ease. When I have time, I will show you other more rewarding, sensory wise, method, where your child will get to play in soap lather to her heart’s content. (Other ways of fulfilling your child’s need to play with soap lather: dish washing as a bonding recreation). Yet, I digressed.
Here’s our cardboard resist for the toadstool cottage roof.
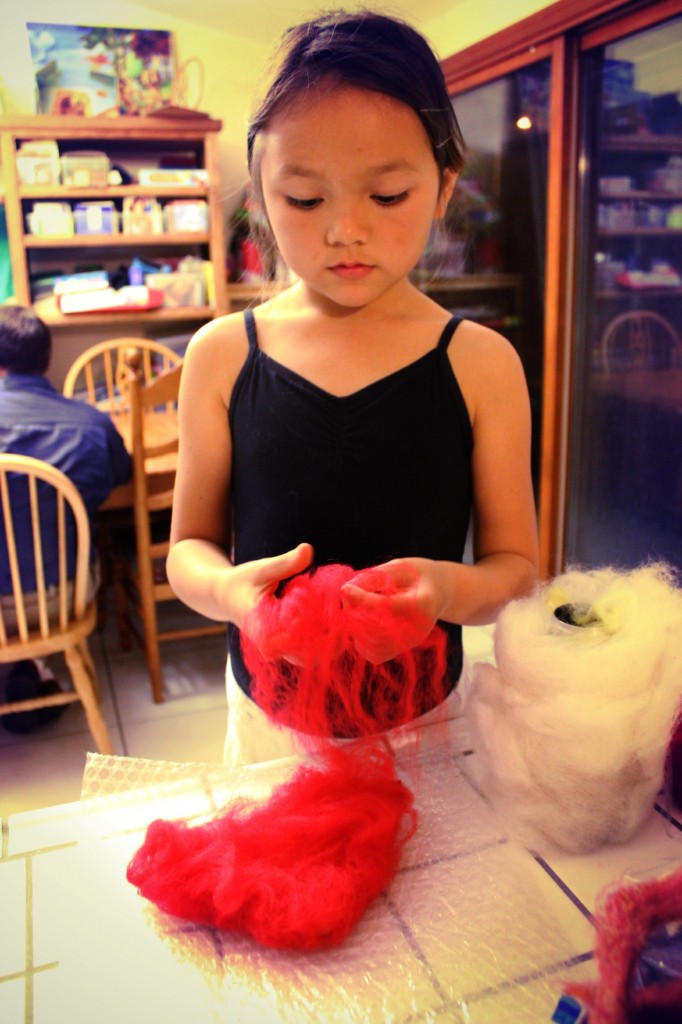
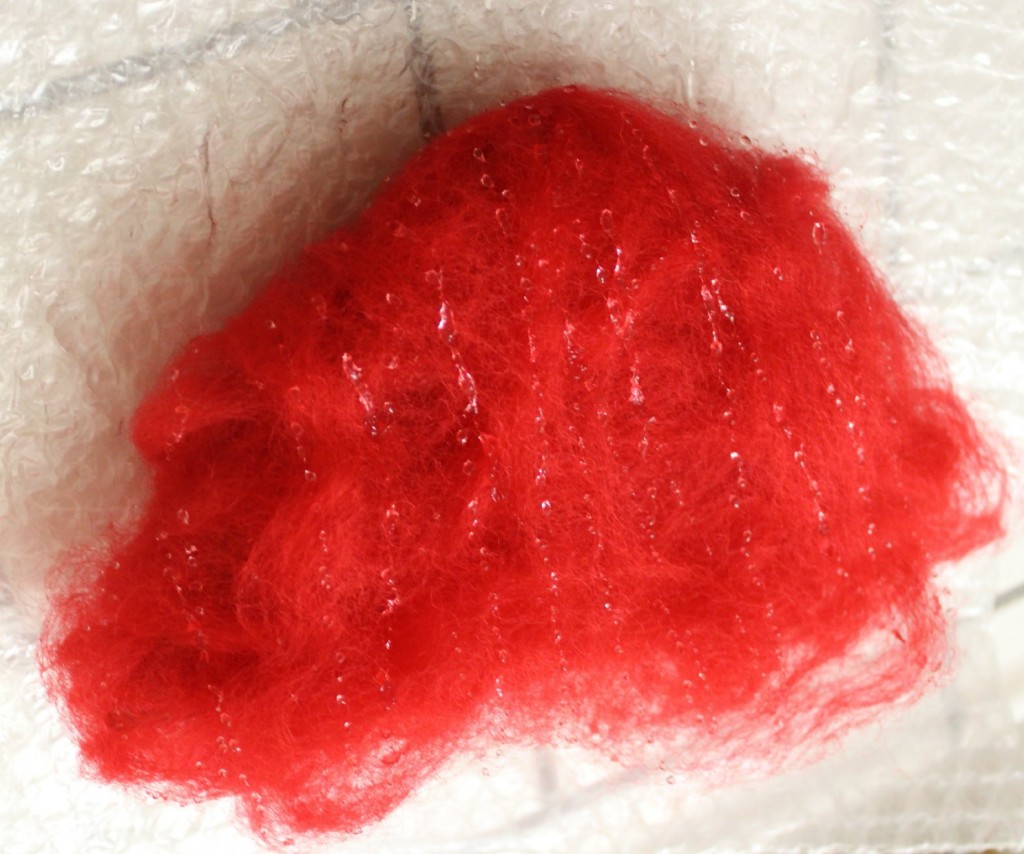
Nunu (not her real name) added thin and flat layers of red wool onto the triangular cardboard resist.
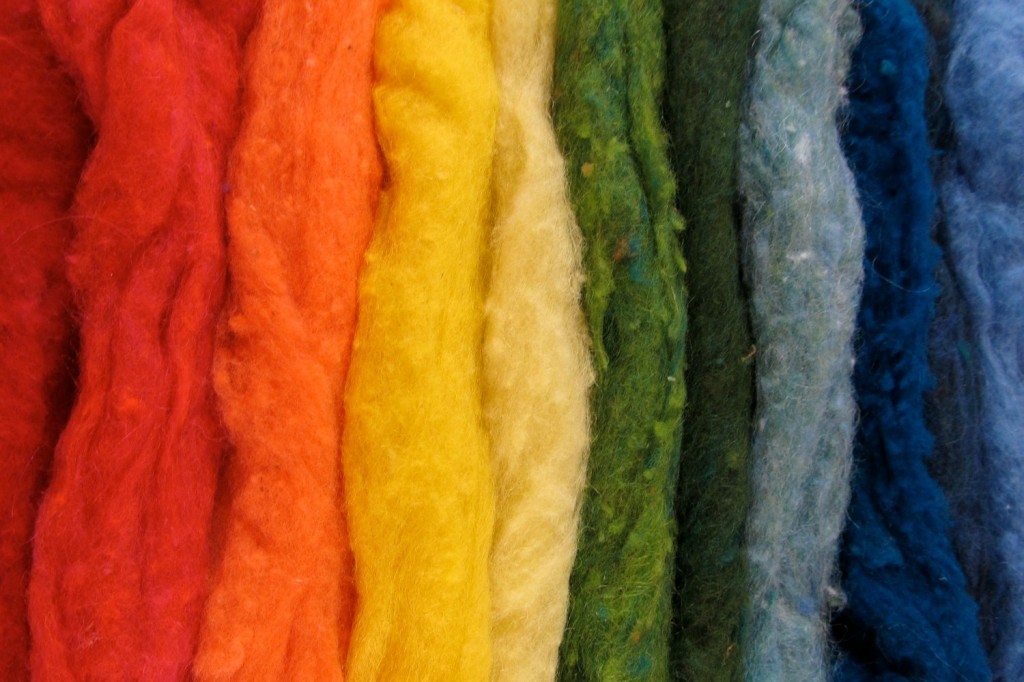
Note: We used wool fleece/batting (instead of wool tops) for the white wall and red roof. Fleece has fibers that are oriented in many different directions, they are cheaper than wool tops. Fleece, or batting will make your structure stronger.
In contrast, wool tops are more expensive, airy and light, the fibers are oriented in one direction. They are great for using to decorate for cottage in the end stage. But when you want to make strong solid walls and roofs, wool tops are too delicate and you will need a ton of them (more expensive than fleece or batting).
We love Peace Fleece as batting for this project. You can buy some Peace Fleece Wool Batting here.
Jzin’s note: it is important to pull/fit the roving somewhat tightly around the cardboard shape. If you wrap the roving too loosely on the cardboard, an unseemly line will appear on your roof after the felting process.
When the roof and wall were ready, I boiled hot water in a small pan and drizzled liquid dish washing detergent very thinly all over (both sides) our wool roving for the wet-felting step.
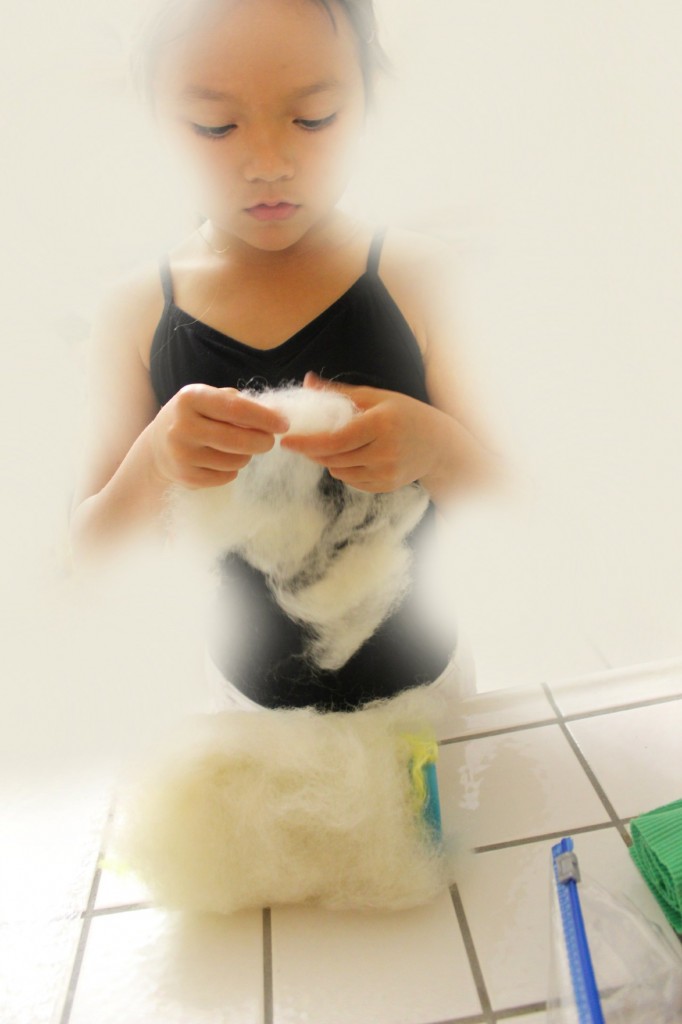
With my help, Nunu added layers of thin, flat, unbroken pieces of white batting to a non-breakable water bottle (to go into our laundry washer and dryer for felting later). The water bottle’s cylinder shape makes a nice resist for the walls of our toadstool cottage.
Once our roof and wall are saturated with water (like a moist sponge, not a dripping puppy), we inserted the white “wall” into a sock, the red “roof” into a pillow case (carefully that it is flat and not folded or wrinkled) and put them to wash and dryer with our laundry over night. The next morning we retrieved them from our dryer.
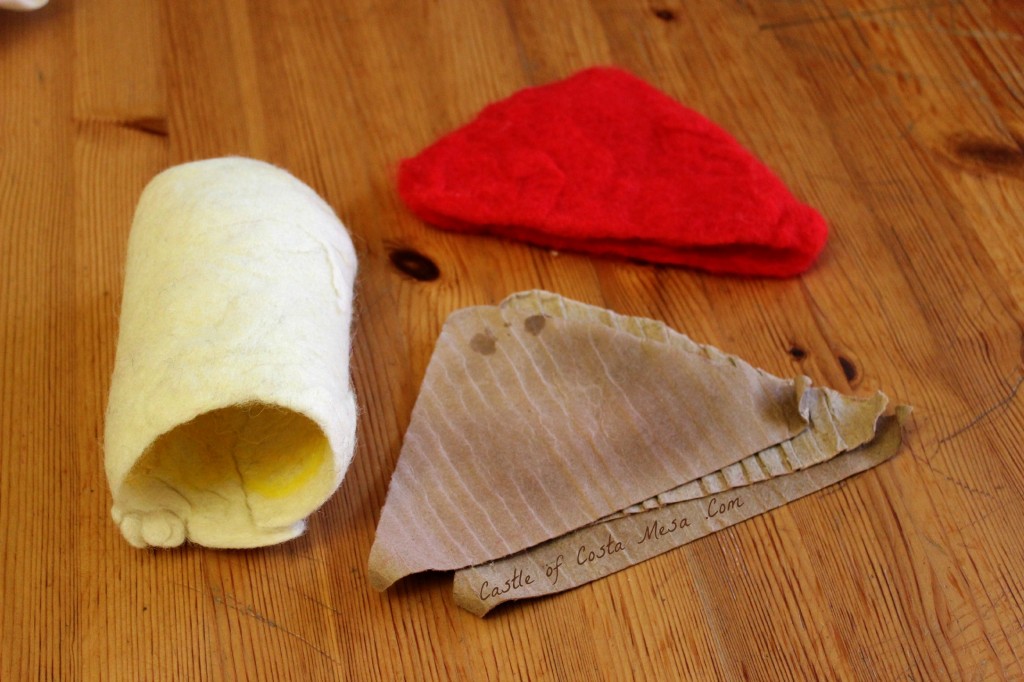
After sliding out the metal water bottle, we have the white colored wall for our toadstool cottage.
As for the toadstool roof, we used a sharp pair of small embroidery scissors to snip and start a hole on the longest side of the red triangle and proceed to cut across the base of the red triangle (with regular scissors) and remove the cardboard resist.
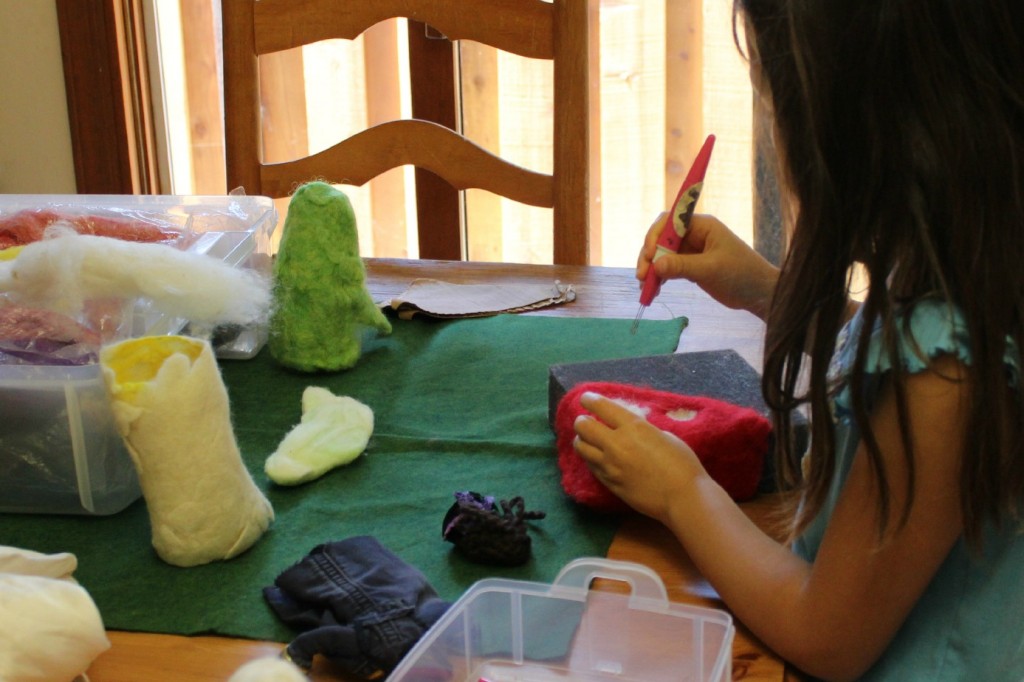
Nunu needle-felted white polka dots onto the red roof.
Be careful while letting your little ones use a felting needle. You may want to fold a narrow piece of corrugated cardboard in half, so you child can use the cardboard (like tiny forceps) to steady her felt project in place (using cardboard instead of her hand to steady the felt project) and not accidentally poke her own hand with the needle.
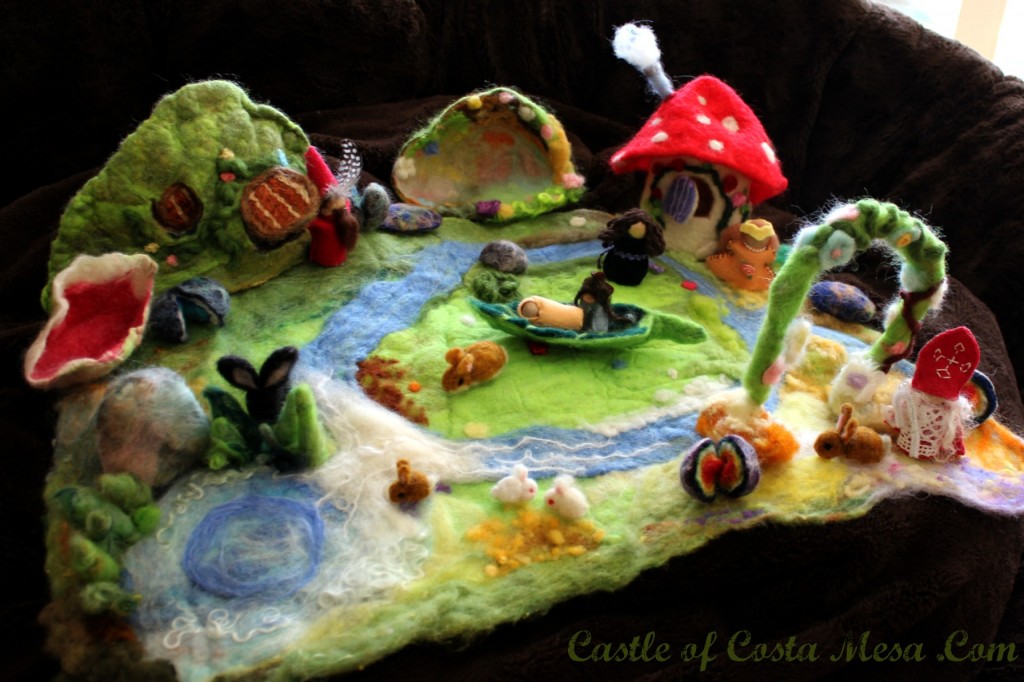
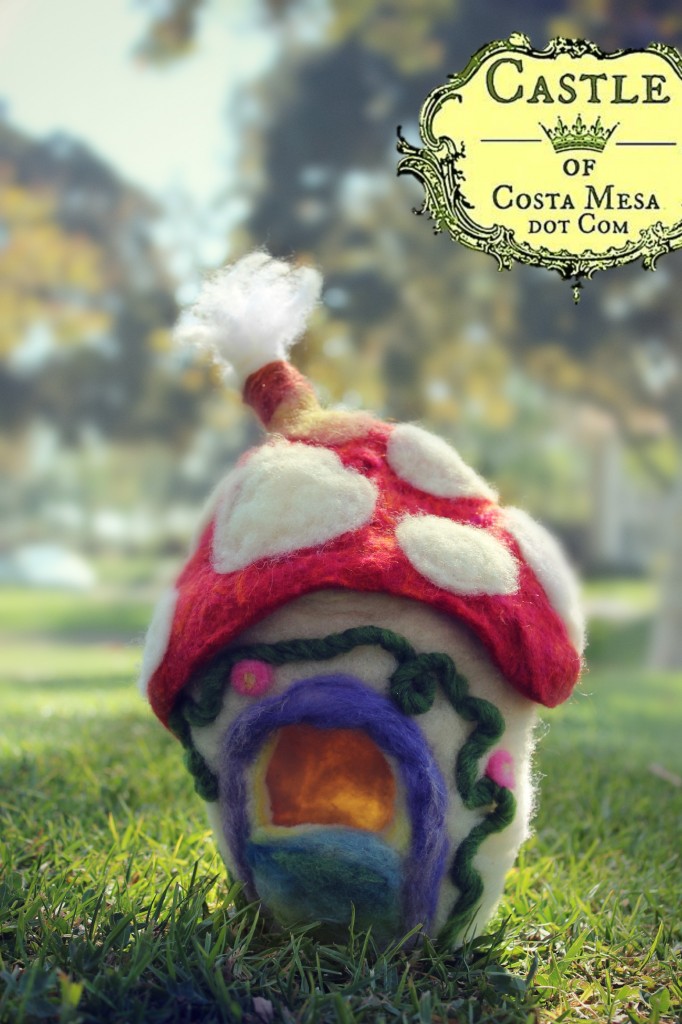
Our toadstool cottage on Nunu’s first felted playscape. Voila! Here is our mother and daughter spring break 2013 joint project.
Click on pictures to enlarge.
Click here to view our process of making the wet-felted playscape above.
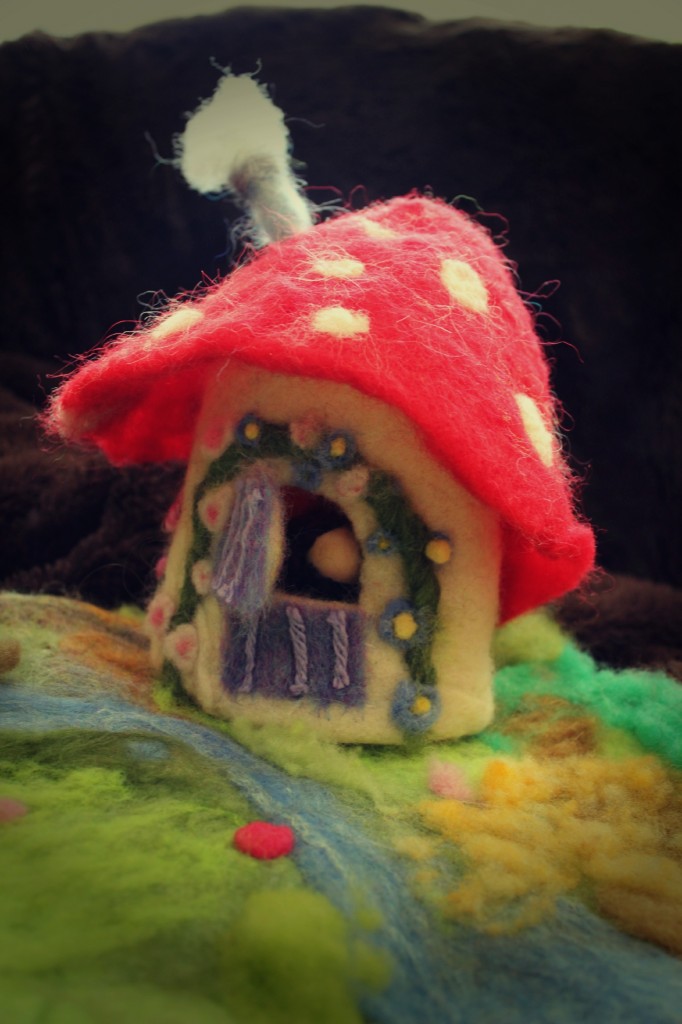
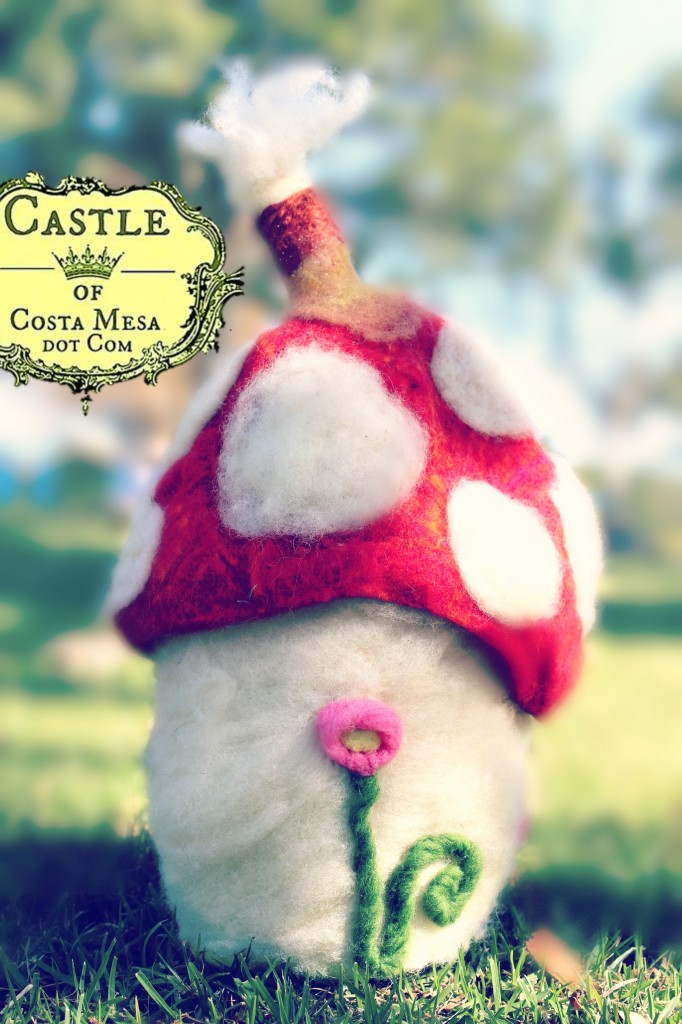
… and here is our little toadstool cottage …
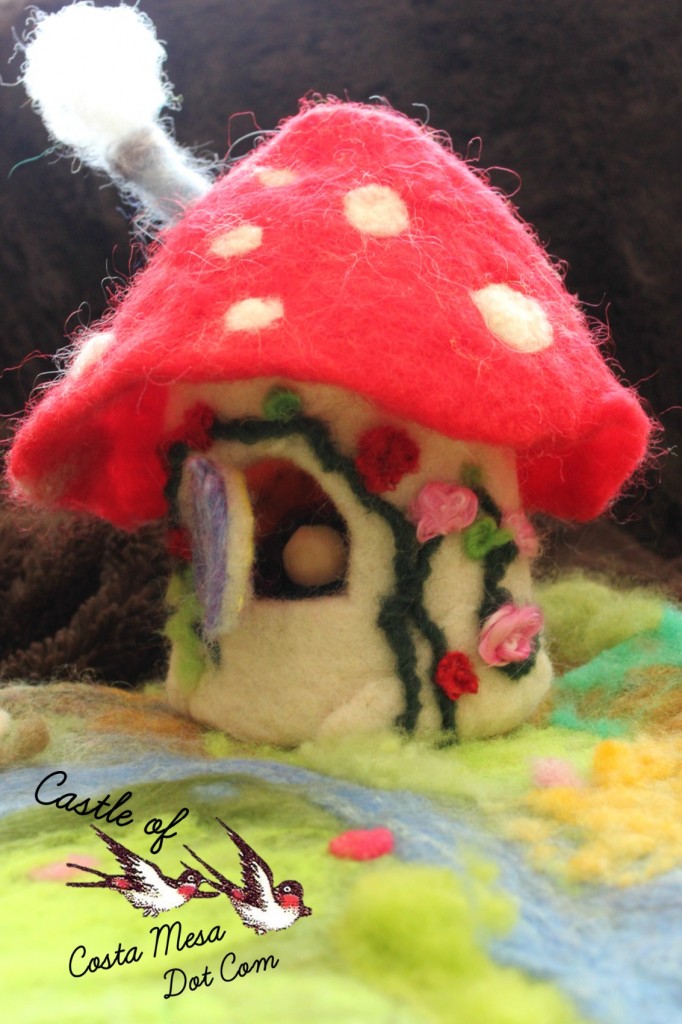
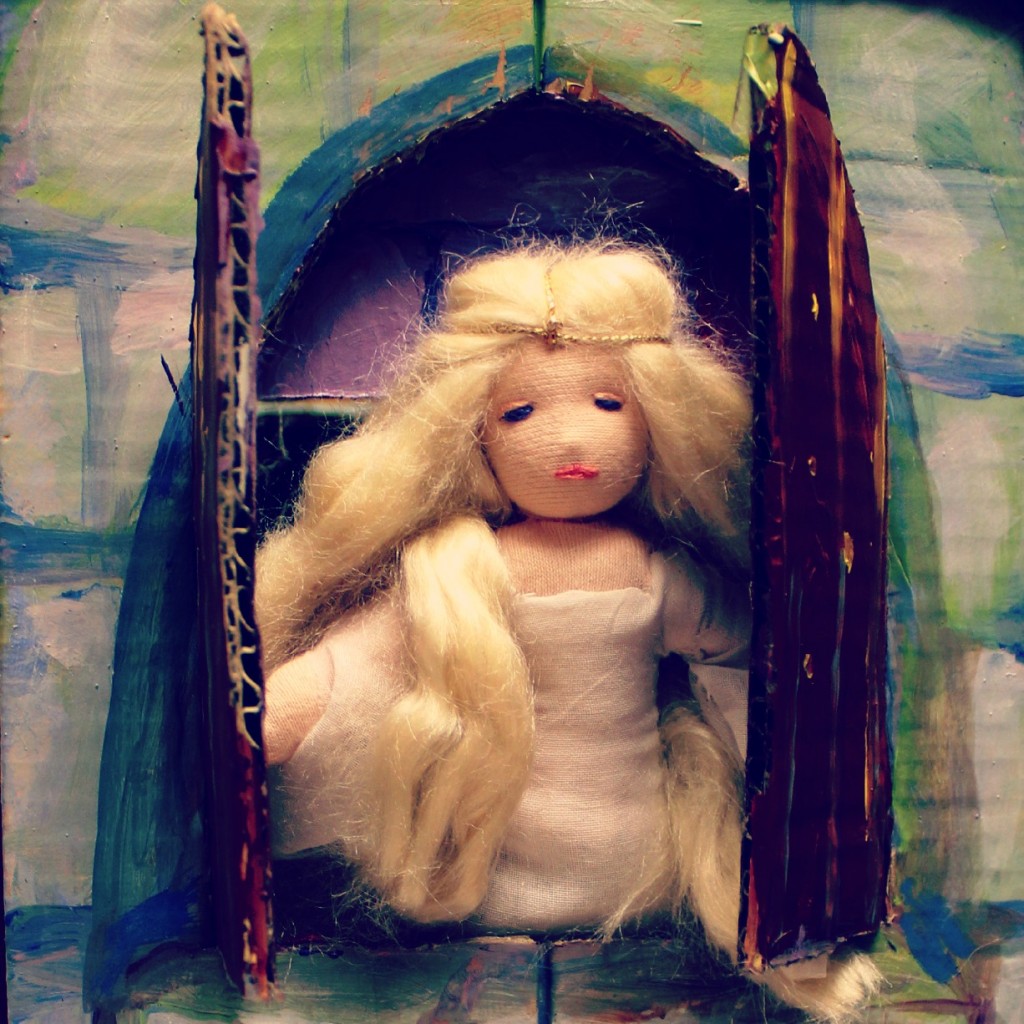
Here is the backview with Nunu’s handmade peg doll peeping through the back window!
I hope you like this tutorial. It is very easy to make, no? If you make some, please share your creations with us on CastleofCostaMesa facebook page on this link. We would love to see them! love, Jzin and the kidlets.
Another Mushroom Gnome Home made in just 1 evening!
Friday. November 8, 2013. Stacey of Jade Daisy Essentials invited me at the last minute to join her at the Neighborhood Holiday Boutique in Costa Mesa. So far I have only sold my dolls in public once, at our Waldorf School of Orange County May Faire several year ago. So I thought, why not? After feeding the children and a long list of other things one does with children, I managed to start crafting this (You see, it’s quite an easy craft!) mushroom house in the evening for my 11am setting up at my booth!
Ta-daaa! Photo shoot on Saturday morning, November 9, 2013.
This toy is also a night light for a little child who is afraid of a dark room at night. You can place a peg doll to sleep inside the gnome home (raise the roof to insert the peg doll and battery operated candle), then turn on the light on your battery operated tea light candle inside the gnome home. The little glowing light will accompany your child to sleep at night.
You can get these flameless battery operated tea-light candles on Amazon.com
The back view…
Here is a photo of my 9 year old (just turned 9 this week!) with the mushroom gnome home. You can gauge the size of the gnome home from this picture.
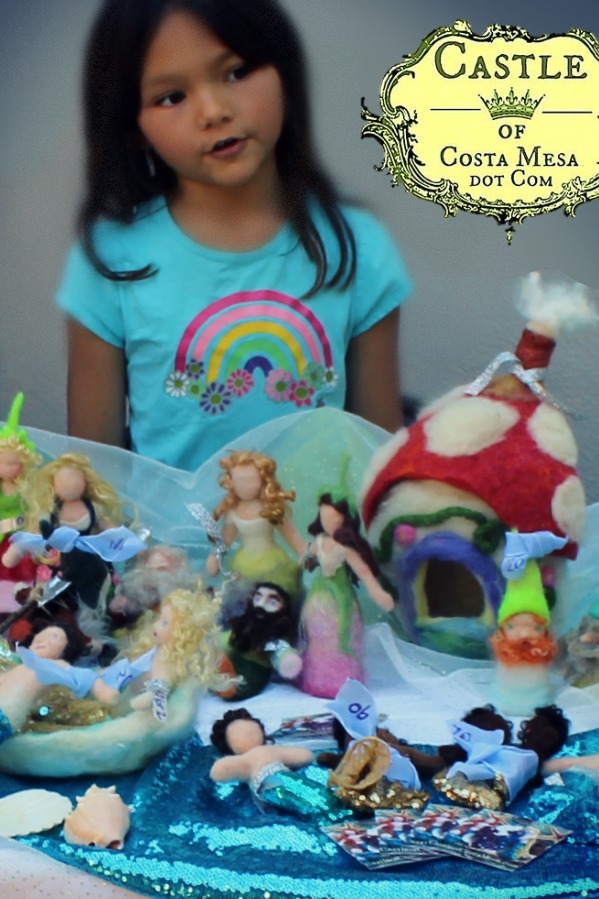
The resist used for the gnome home is a “Brown Cow” yogurt plastic cannister. Therefore this gnome home is slightly larger than the one shown in the tutorial.
I used bulky yarn for the green vine on the white wall of the gnome home. I love the raised look of green yarn on the walls. Later, I realize, if you do not have bulky yarn at hand, you can simply roll your roving of choice between your two palm with a drop of water. This you can roll into your own “bulky” yarn. I did this with pink batting to make the raised bumpy pink flowers on the vines.
Happy crafting. Please share your version of the gnome home with us on CastleofCostaMesa facebook page! – Jzin
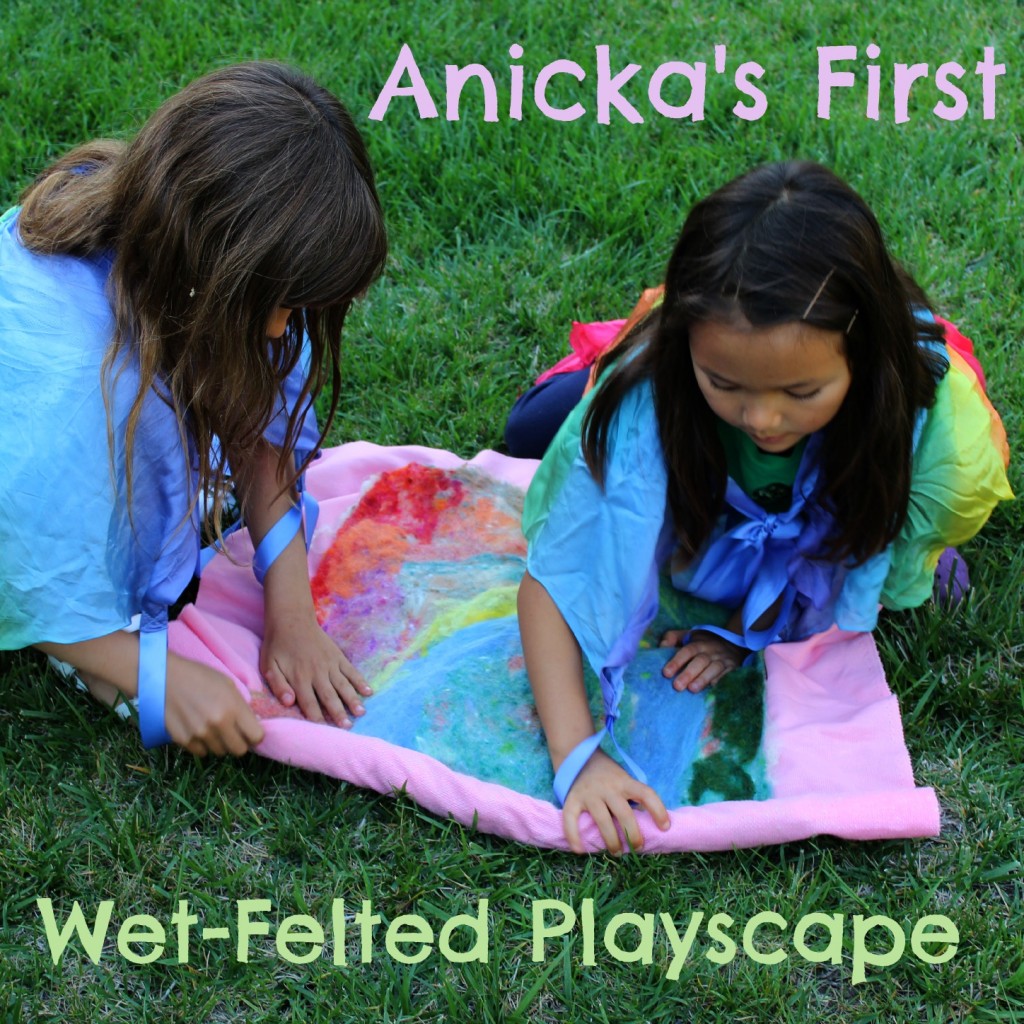
Making Anička’s Wet-Felted Playscape
Spring 2013. We also showed our friend Anička how to make a felt cottage and playscape.
Anička’s brown wall was wrapped around a wider plastic yogurt jar resist, thus her cottage is wider than our little toadstool gnome home (our resist was a metal water bottle).
This one was made by Anička with some help from her mother, Alena. You can click on this link to view our crafting process for making Anicka’s playscape.
You may like to check out our other felt crafts below…
Please Share You Version of Gnome Home on Castle of Costa Mesa Facebook Page
We would like to see what others have made with this tutorial. So please share a picture of your version on CastleofCostaMesa facebook page!
My Other Felt Related Pages
Jzin’s Handmade Dolls.
Please Like CastleofCostaMesa on Facebook.
I giveaway my handmade work frequently. Please “Like” my facebook page so you will be in the know.

















Laura (totoro peters)
such a precious work! 🙂 You are so talented!! 🙂 I wish I could be so 🙂 but I feel that I have carrots instead of fingers
Jessica
What a sweet little house! Thanks for the great tutorial. I’m just starting to experiment with felt, so this will be a fun project to try.
Fiona
Hi. Great tutorial. I have a question. How do you know what you can put in the dryer to help form the structure? I’ve made many felted balls – with nothing inside them, and felted in the dryer inside a stocking foot. I’d love to make some little houses, but is it okay to put metal (like a tin) wrapped in the wool, stocking and perhaps a pillow case, into a dryer? And in one tutorial you use a foam egg. You’ve also used cardboard and I think perhaps a plastic bottle. How do you know what is okay to put into the dryer without melting it (eg like the plastic bottle??), risking starting a fire, or ruining the dryer? Do you use your dryer on the hot setting, or only warm?
Thanks
Fiona